Shelf Unit Build Process
Page 6 of 11
Posted 6th May 2024
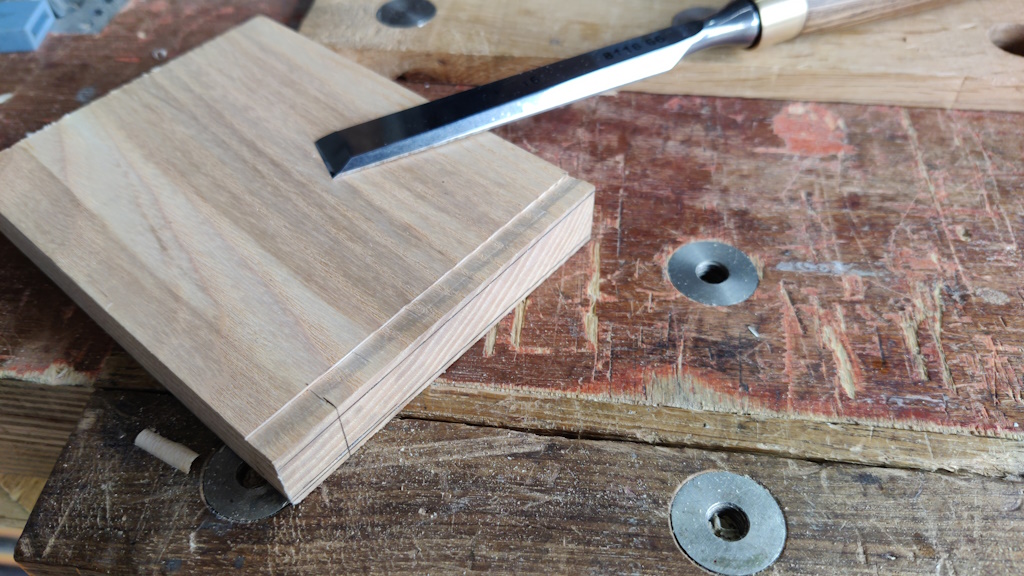
I had a fairly slow start this morning and have been taking my time, working fairly slowly. I wanted to practise a tapered dovetail housing joint, so I started by getting a couple of ash offcuts. One was cut off the end of one of the shelf unit's side pieces, so had already been planed square and to dimension. The other was rough and had a nasty knot in it, so I decided just to get the thicknesser out to get it a bit more respectable.
Interestingly, one result of this is that I've finally figured out why I'd been getting intermittent results with the thicknesser, sometimes getting loads of snipe and sometimes getting none. To sort this plank out (which was twisted and bowed), I put it on a piece of melamine-coated chipboard, shoved some wedges under it in strategic places and hot-melt glued it in place. I scribbled over the top in pencil and then, mounted on that "sled", it went through the thicknesser until the pencil marks had gone. There was loads of snipe.
The in-feed and out-feed tables on the thicknesser are raised above the bed slightly, so the ends of the board are lifted when they leave the thicknesser. However, sitting on the "sled", this action doesn't happen and hence there's nothing stopping snipe. If I then turn the board over and do the other side (without hand-planing down to the level of the snipe, which I did this time) the underside snipe results in a lack of support at the end and you may get snipe on the second side.
I guess it serves me right for trying to use a thicknesser as a surface planer.
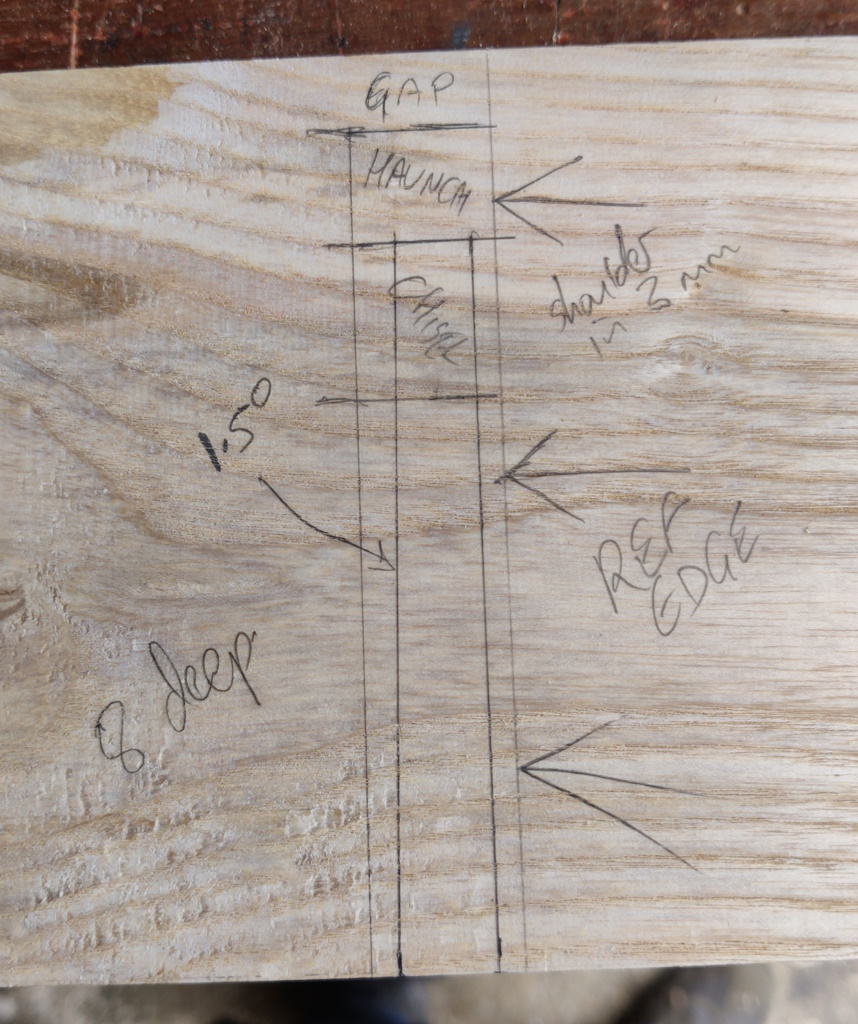
Anyway, on to the practice piece. I decided to go slightly over-board with marking out the socket:
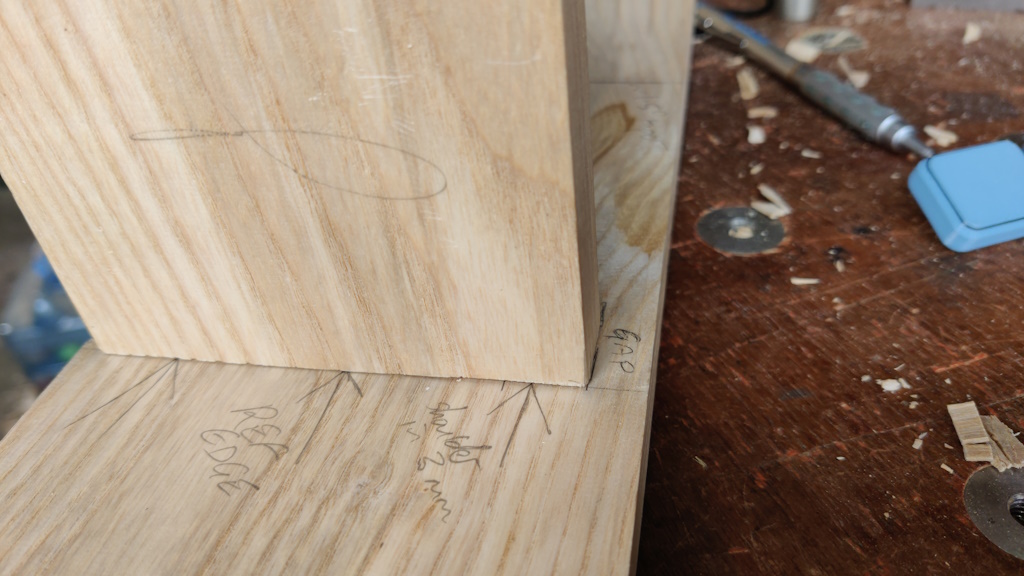
Part of the reason for quite so much information is to help me remember what I did (so if it works, I can do it again). Some of it (e.g. the big arrows pointing to the reference edge) is there so I can assess how well I did.
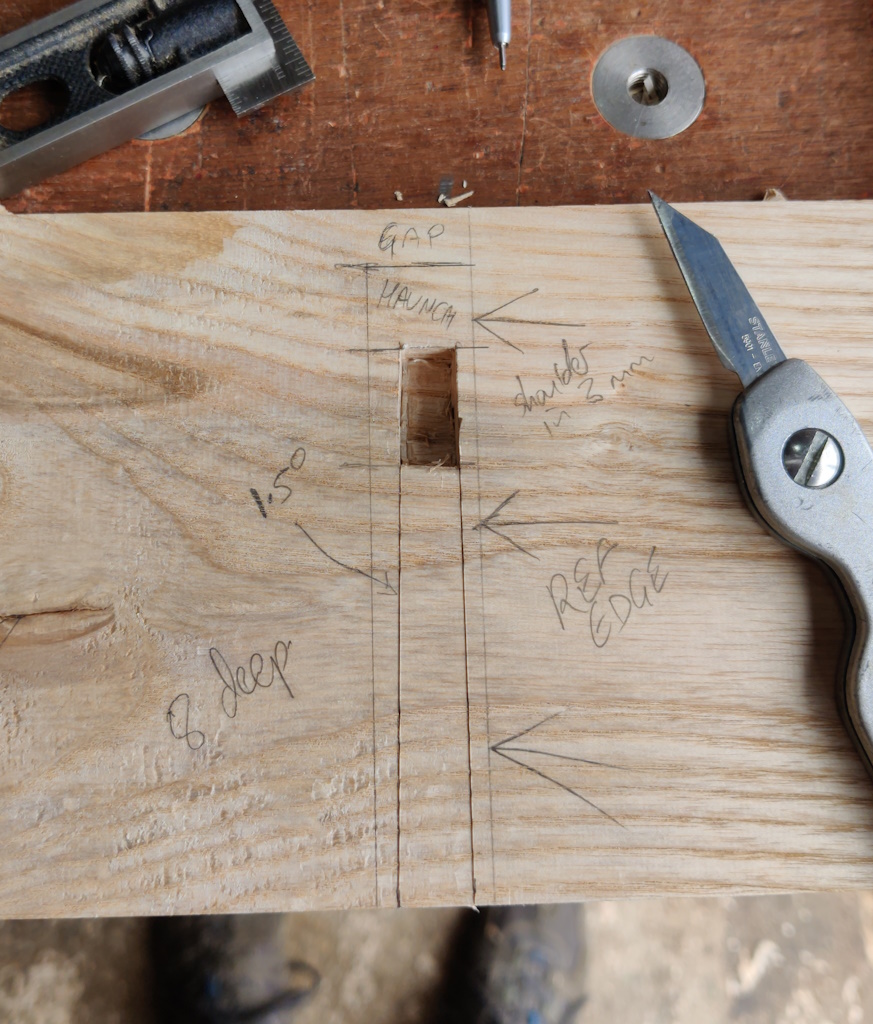
With all the marking up done, I ran a knife line along the edges of the tapered bit and then chiselled out a 20 mm long square pocket at the end:
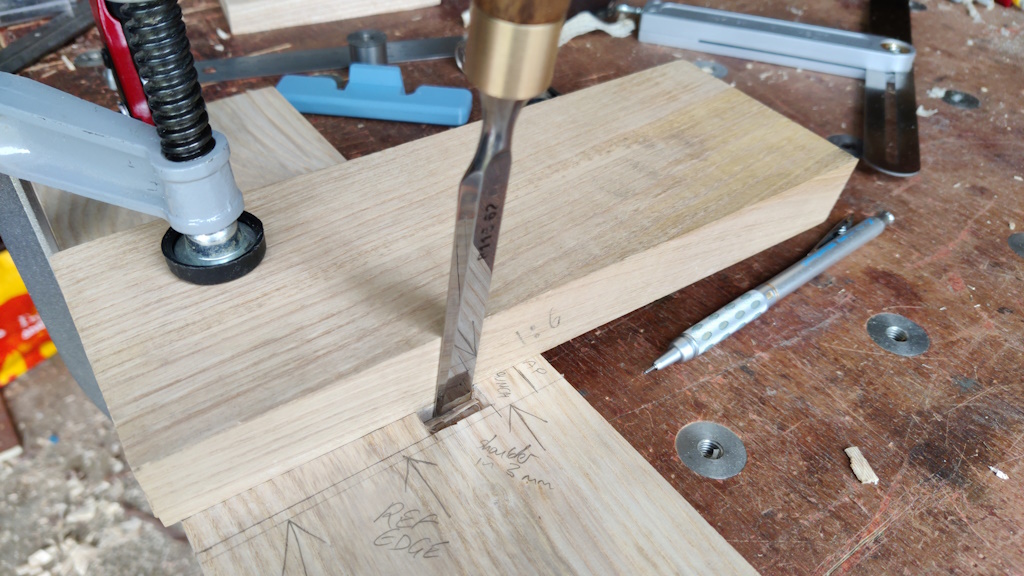
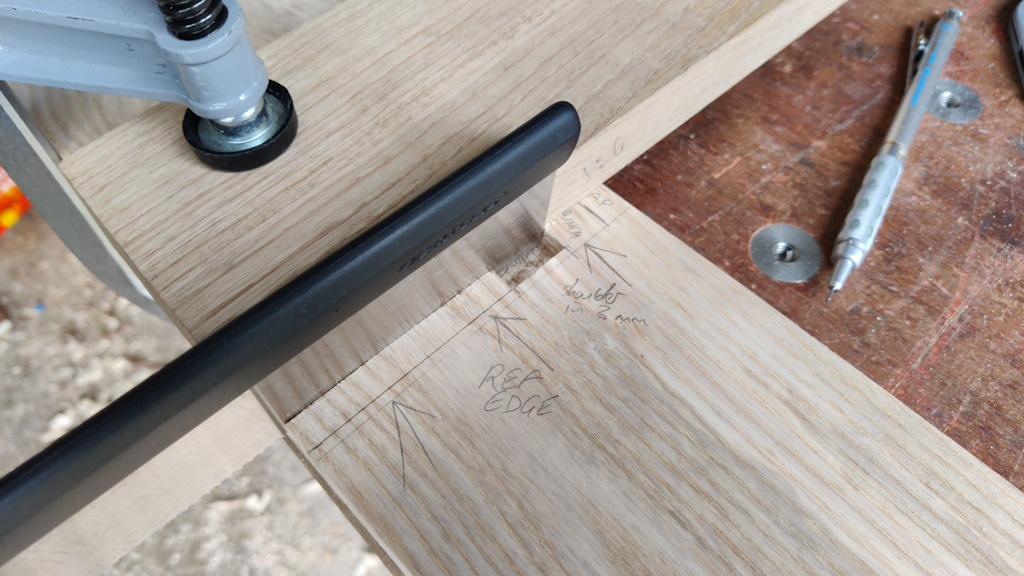
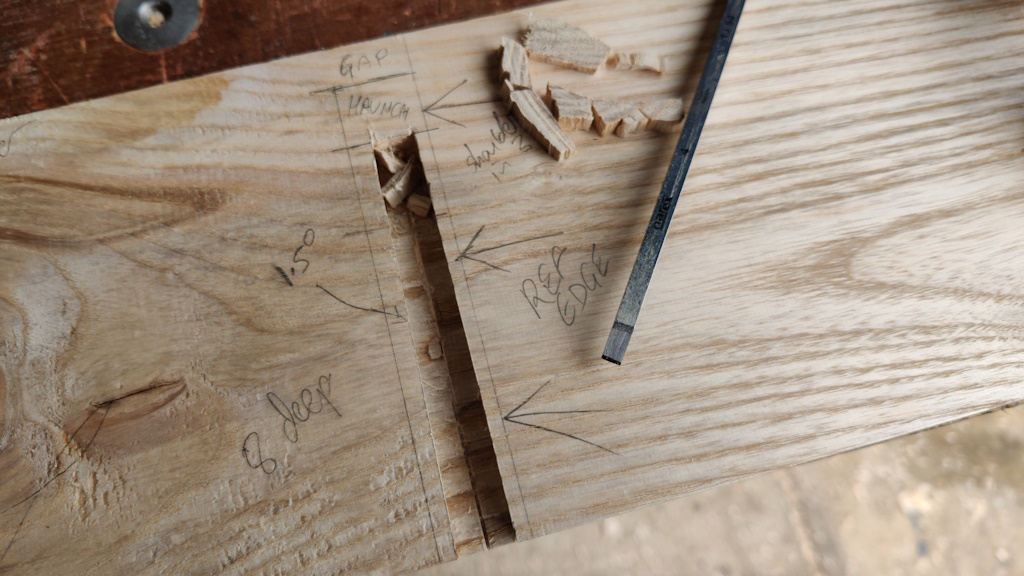
I then clamped a block of wood (sweet chestnut I think) that I'd made a few months ago to the face of the board and used it as a guide to chisel the angled sides:
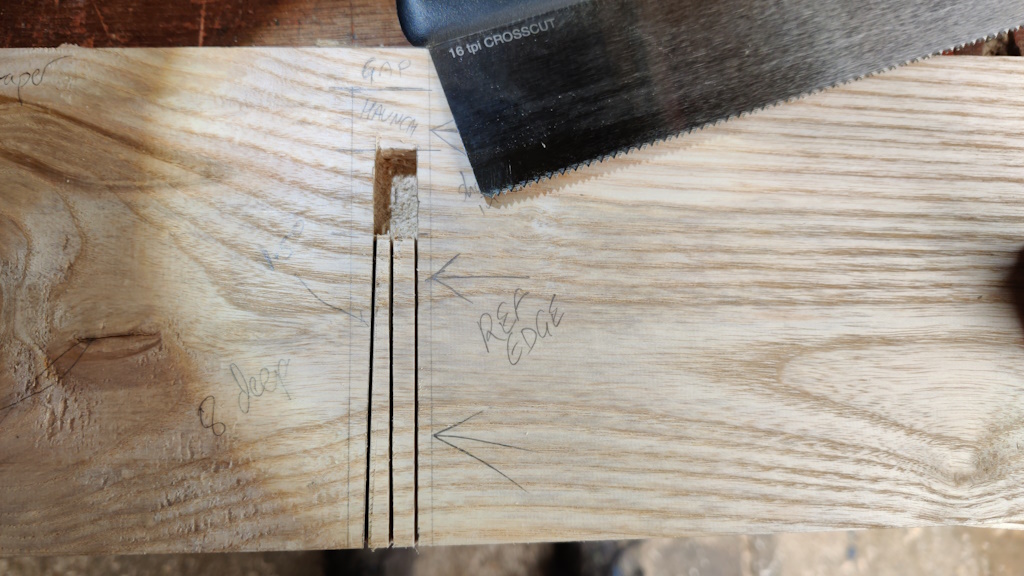
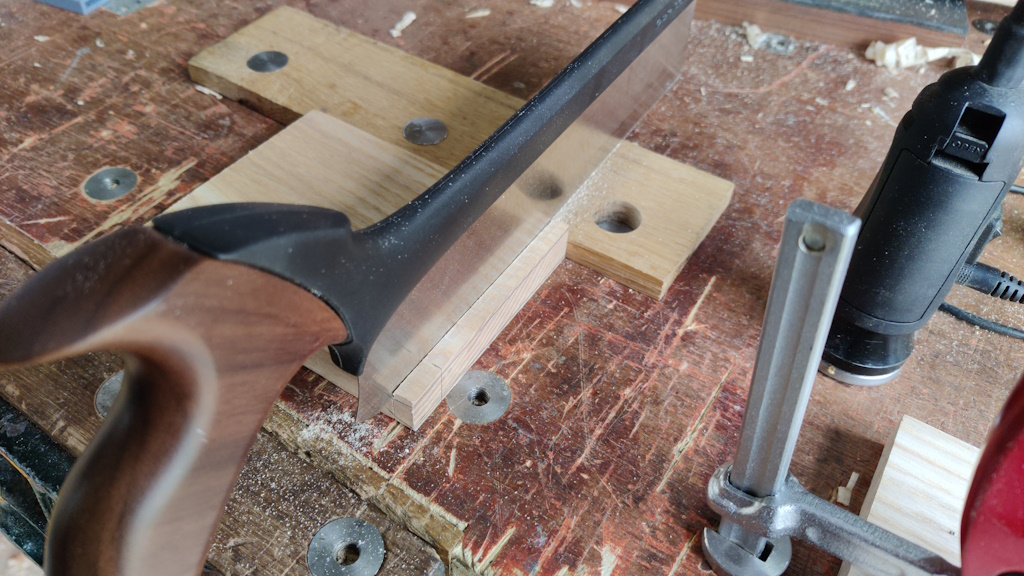
To cut the rest of the side wall, I used a western-style 16-TPI (circa 1.6 mm pitch) cross-cut saw. I prefer using Japanese saws for most things, but I don't think they work very well for this type of cut. I'm never likely to win any awards for my sawing skills and only having 20 mm of stroke certainly doesn't help matters. It was a bit of a chore, but I got there in the end:
I also sawed a line down the middle as I figured this would make it easier to knock out the waste ...
... which I did with a chisel ...
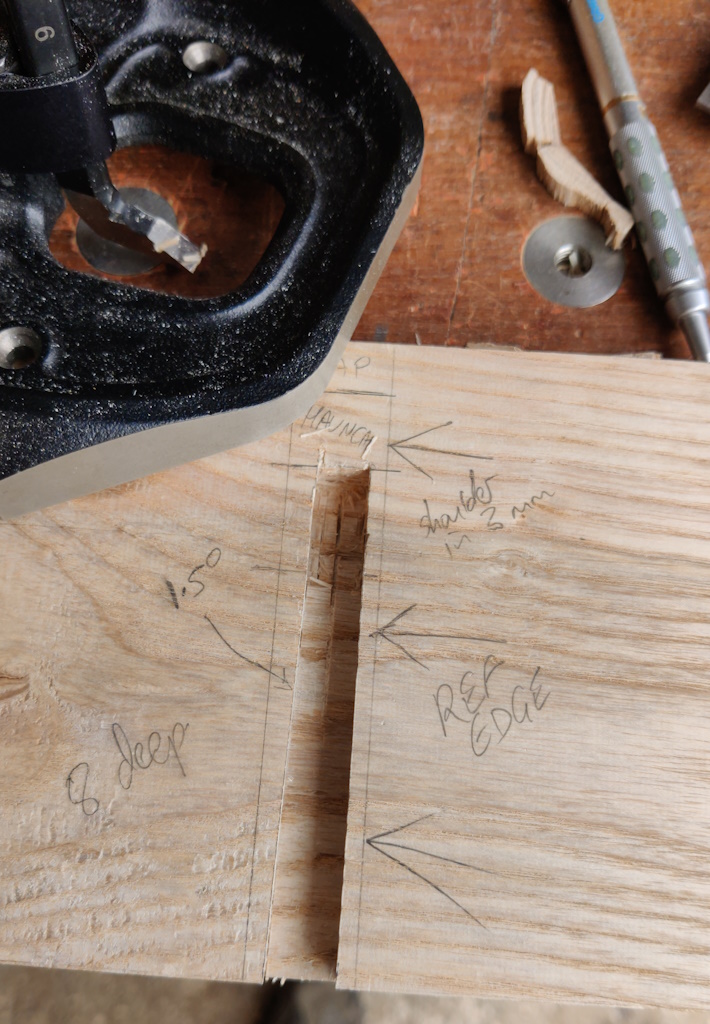
... before finishing the bottom surface with a router plane & a 6 mm cutter:
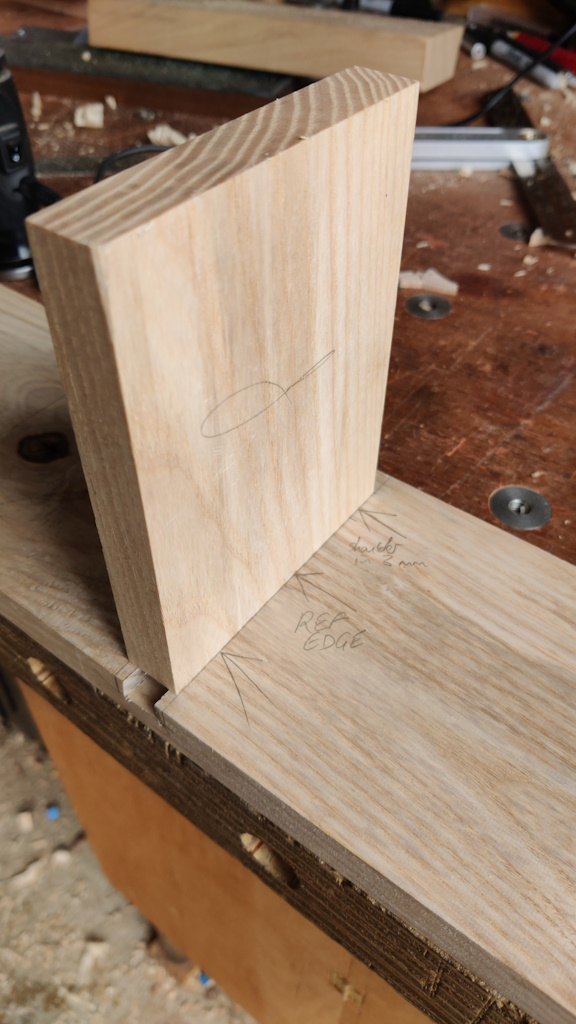
With the socket complete, I could start work on the "shelf". I placed the offcut on top of the socket ...
... and marked the width of the socket at the outer end:
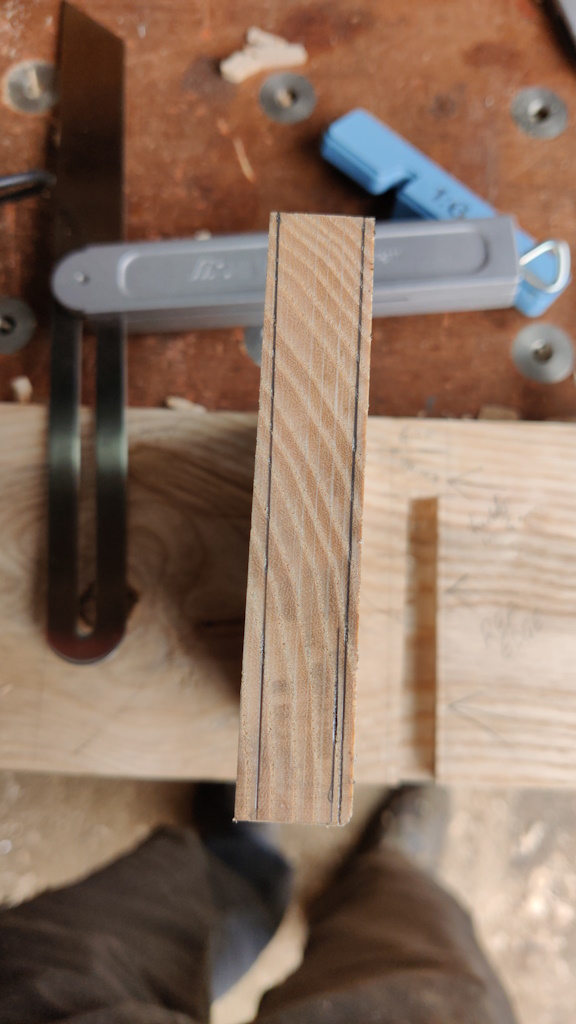
I used a marking gauge to cut a shoulder line all the way round the plank. For the real shelves, I'll transfer this distance from the inner walls of the dovetails on the top and bottom parts (to get a consistent width all the way down through the unit) and then determine the overall length of the plank from those marks, but for the offcut it made sense to just square up the end and mark in from there.
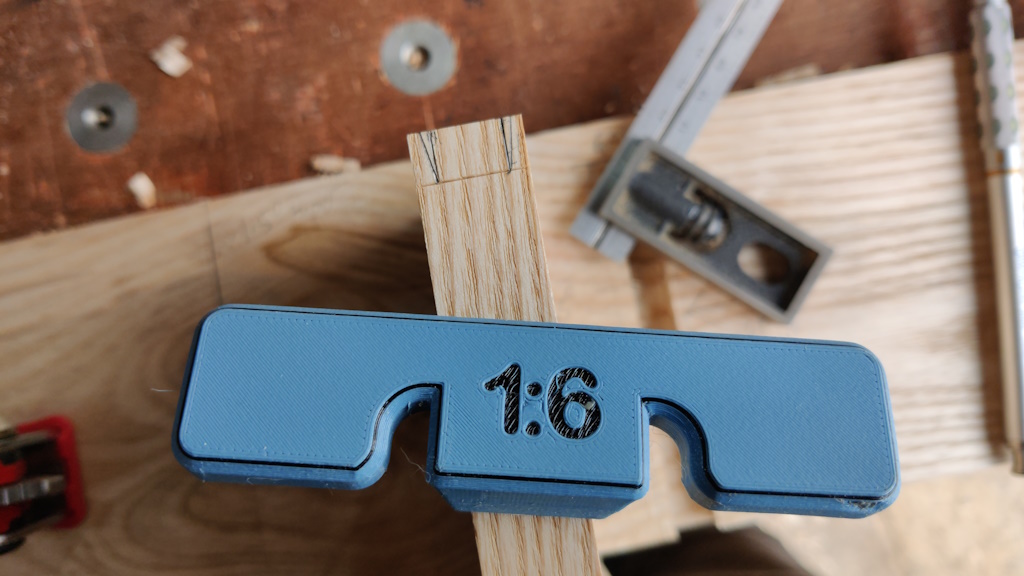
I used a square to bring the pencil marks down to the shoulder line and then a 1:6 dovetail marker to bring them back up again to the end face:
To mark the parallel edge, I used my edge distance gauge thing. For the tapered edge, I used the same sliding bevel I'd used to mark the taper on the socket.
I then spent a bit of time pondering how best to approach this. I wondered about doing the entire exercise with a chisel, but in the end decided to have another go with the western saw. I started by cutting a fairly deep knife wall (having two goes: knife, chisel, knife, chisel).
I then used the knife wall to guide the saw:
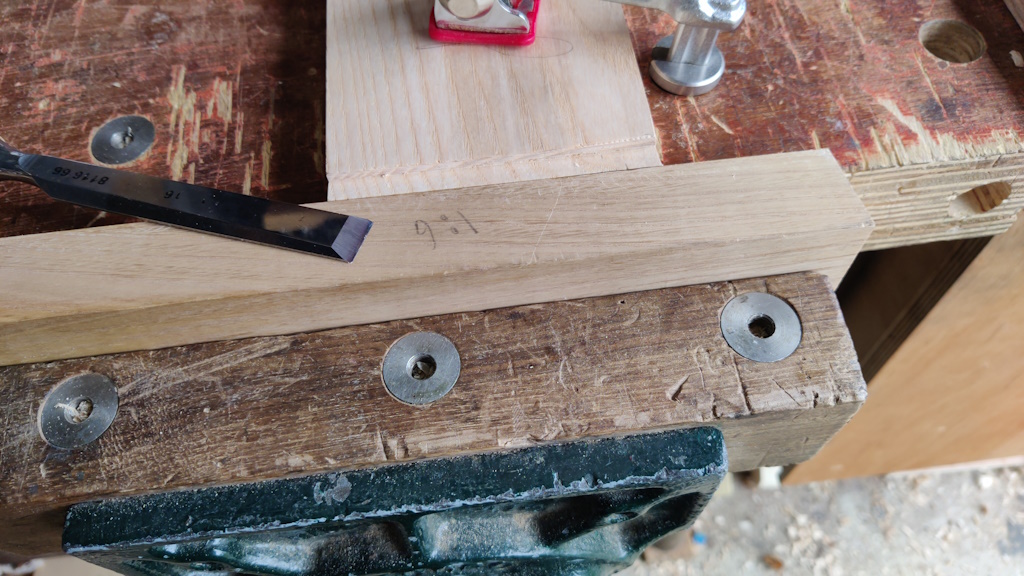
After playing around with a few options, I clamped the 1:6 guide block in the vice, lined it up with the mark on the end grain and then used a chisel to pair down to the saw cut:
I was a bit careless setting it up on the first side (the untapered side) and ended up cutting a bit deeper than I should have. I'll know not to do that on future ones. On the tapered side, it worked really well. For the tapered edge, the guide block was (obviously) at an angle relative to the top surface of the bench. That meant I could use it to guide me as I took a light cut, then check the angle with the sliding bevel. Having ensured the angle was right, I could keep taking more cuts, sliding the "shelf" along the bench and thereby (because of the angled guide block) taking a very slightly deeper cut each time as I crept up on the right dimension.
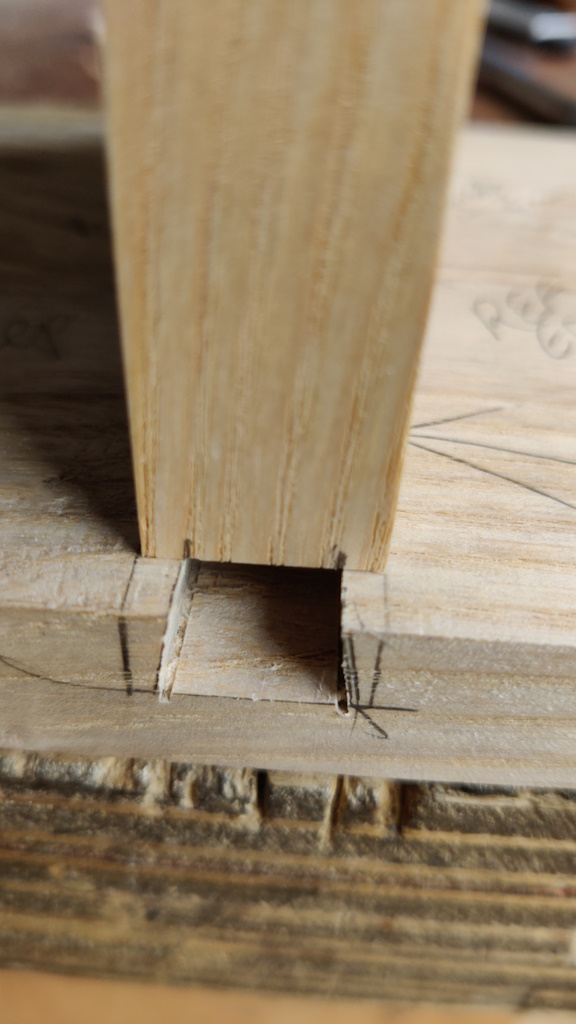
The finished result:
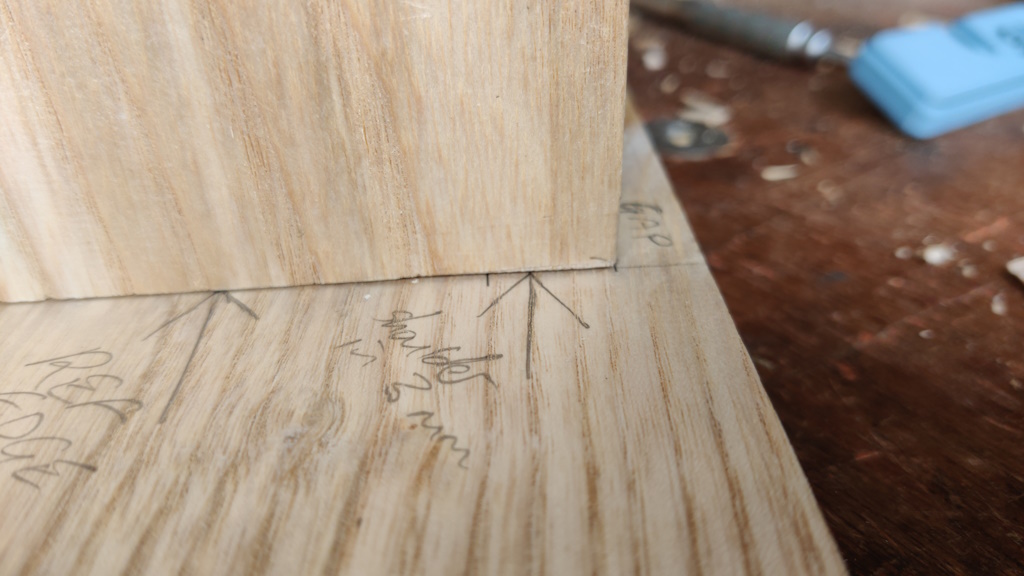
The overzealous cutting on the first side means that it doesn't line up perfectly with the reference line (which would mean that a shelf would be very slightly tilted). I know why that happened though, so I'm not too concerned:
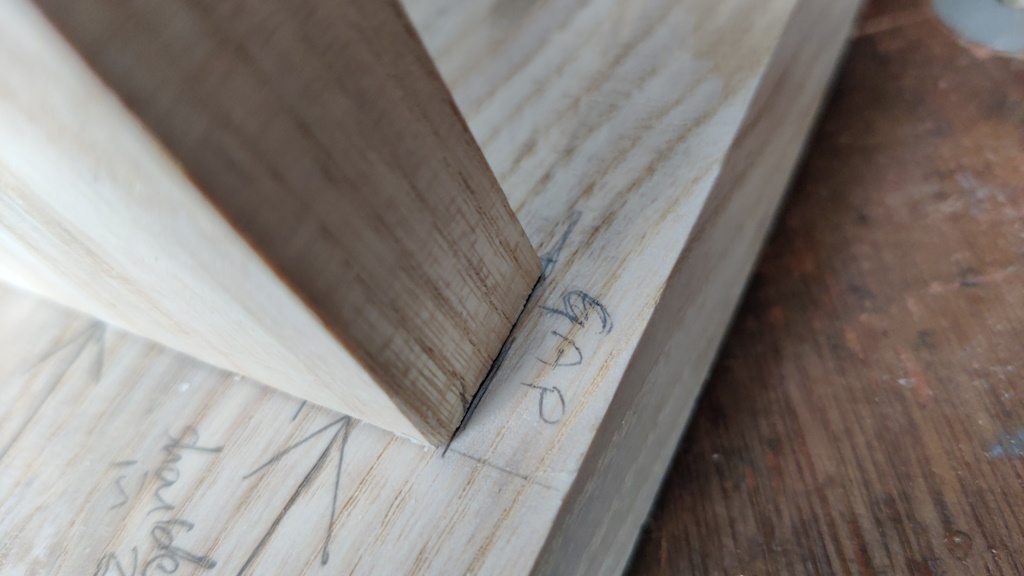
There's also a bit of a gap where it should be nice and flush on the shoulder line:
I think that's down to my (lack of) sawing skill: I'm pretty sure the blade wandered a bit as I cut the shoulder line on the "shelf". I haven't decided what to do about that on future tries, but a safe fall-back is to cut slightly-away from the line with the saw and then pare the last bit off with a chisel: I'm much more accurate with a chisel than I am with a saw!
Page 6 of 11
This website is free and ad-free, but costs me money to run. If you'd like to support this site, please consider making a small donation or sending me a message to let me know what you liked or found useful.

 Return to main project page