Shelf Unit Build Process
Page 7 of 11
Posted 6th May 2024
I was generally happy with the socket that I'd cut this morning, but less so with the tail. Therefore, rather than re-cutting the entire joint, I thought I'd just have another go at cutting the tail, using a slightly different method.
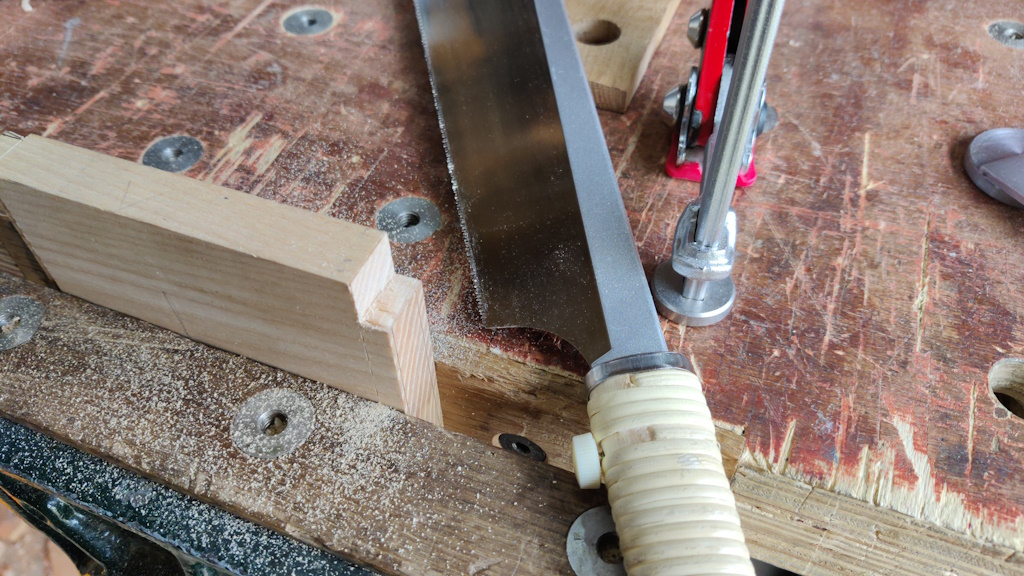
After marking out in much the same way as before, I started the cutting process by cutting off the haunch section, this time using a Dozuki and staying half a millimetre or so from the lines.
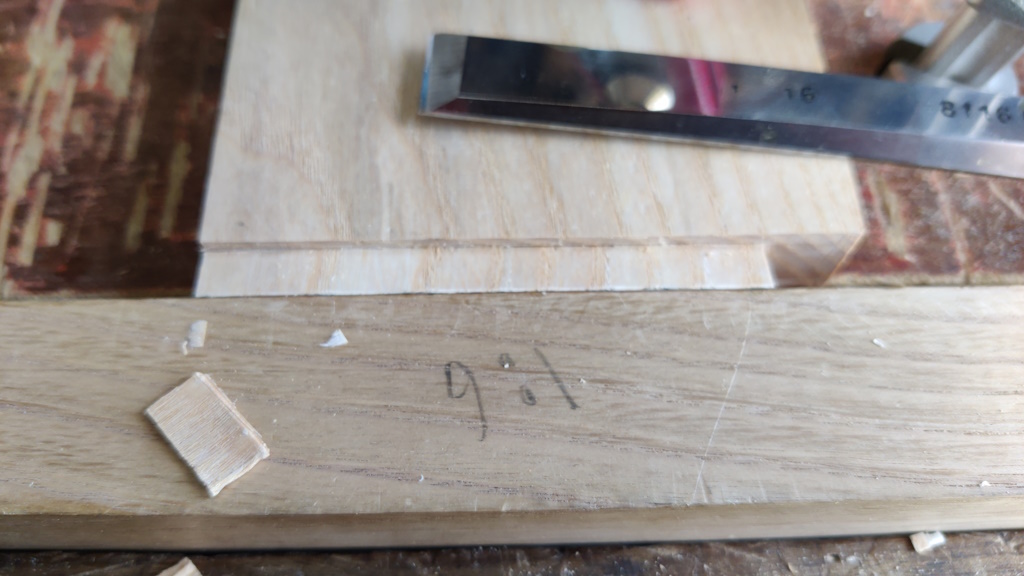
I then chiselled that bit back to the lines and then cut the tail shape out, this time working entirely with the chisel. Until I'd got down a couple of millimetres, I stayed away from the shoulder line to avoid damaging it. Once I'd got a reasonable depth down, I just alternated paring cuts and shoulder-line chops, but I undercut the shoulder a little so that the back of the chisel wasn't quite touching the shoulder and hence couldn't damage it.
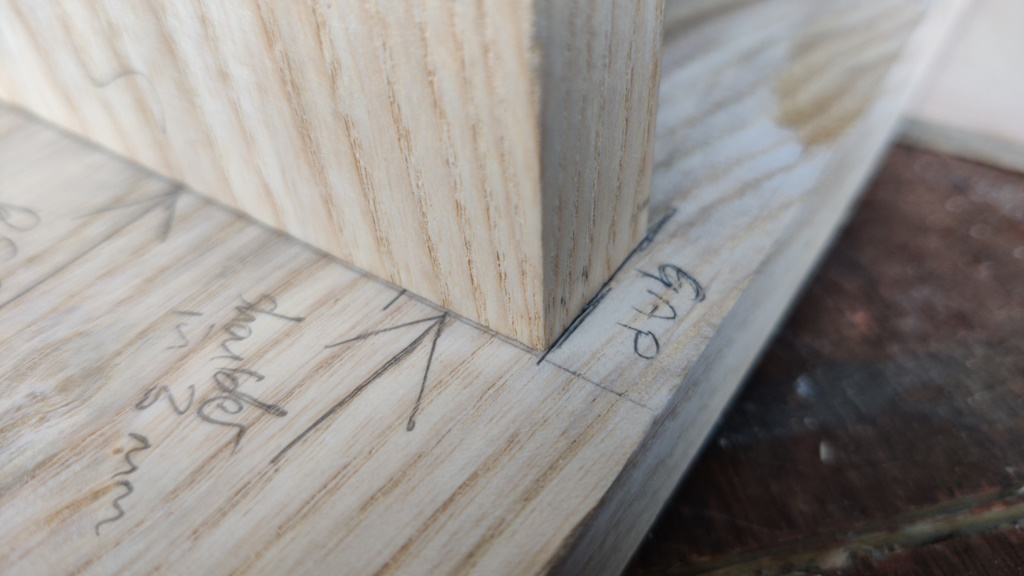
After going back and forth quite a few times sneaking up on the fit, I was much more pleased with the result. There's still a small gap between target pencil line and the actual plank, but the gap is less than a millimetre, which is good enough for me:
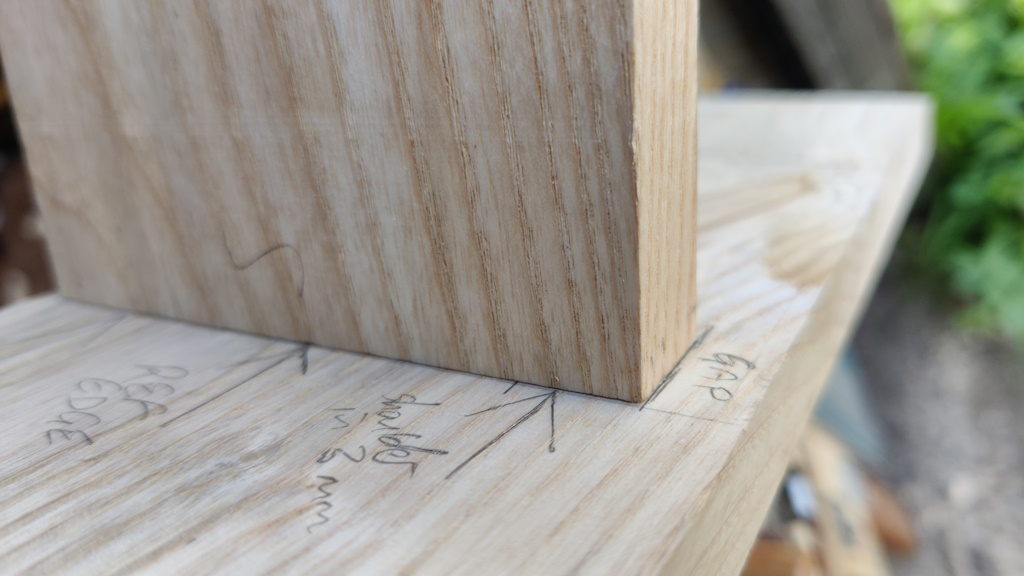
More importantly, the shoulder line looks a lot better:
I'm much happier with this method (vs the sawn shoulder line) and I don't think it took me any longer really, so this is what I'll go with when I do the real shelves.
Page 7 of 11
This website is free and ad-free, but costs me money to run. If you'd like to support this site, please consider making a small donation or sending me a message to let me know what you liked or found useful.

 Return to main project page


