Shelf Unit Build Process
Page 8 of 11
Posted 11th May 2024
I've been gradually making a bit more progress on the shelf unit. Progress has been a little slow as it's been quite hot and there's only so much time I can manage to spend in the workshop at the moment. Four mistakes have been made (three of which are relatively minor) and I'm putting those at least partly down to keeping on working beyond the limits of my heat tolerance!
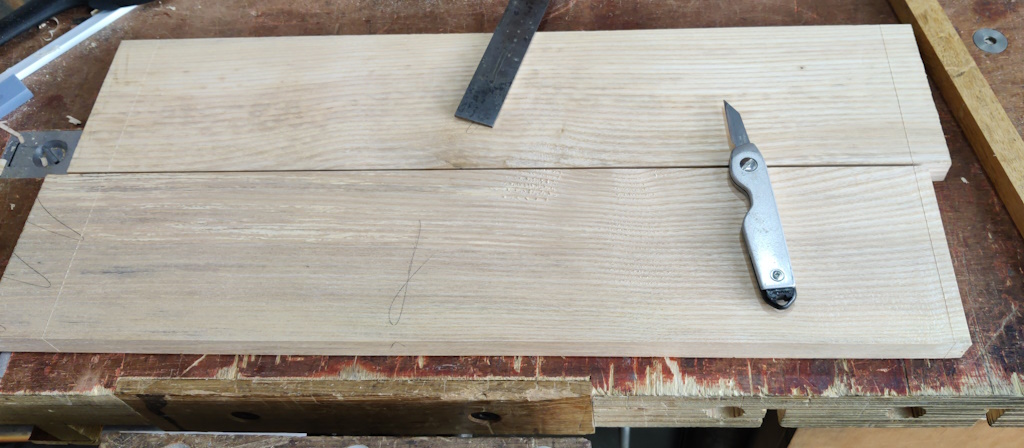
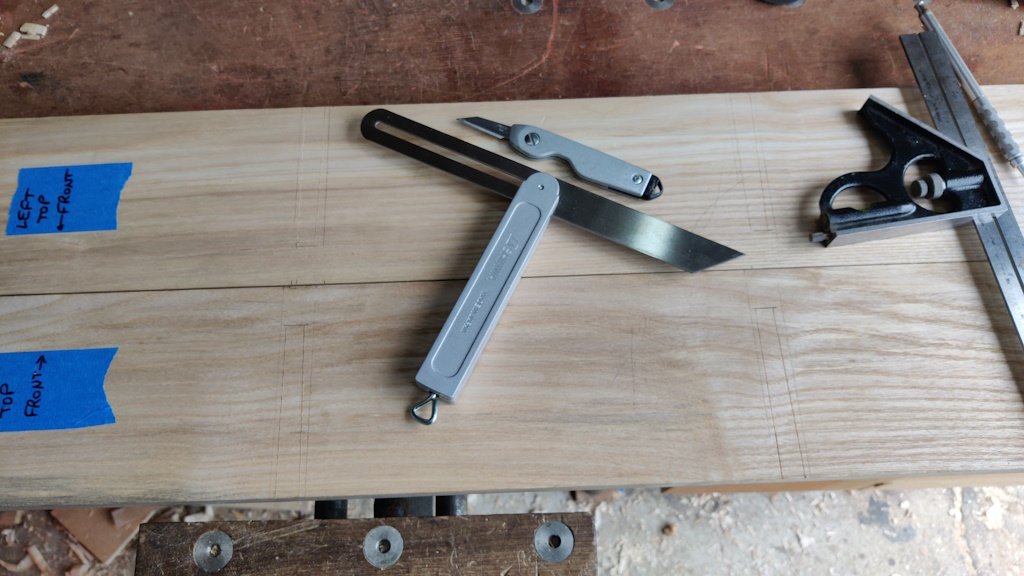
Anyway, I started the dovetail housings by marking the width of the shelf unit onto a story stick (from the inside dimension of the top and bottom dovetailed pieces) and then used that story stick to mark the width of the shoulder lines onto one of the shelves:
I then transferred that across to the other shelf.
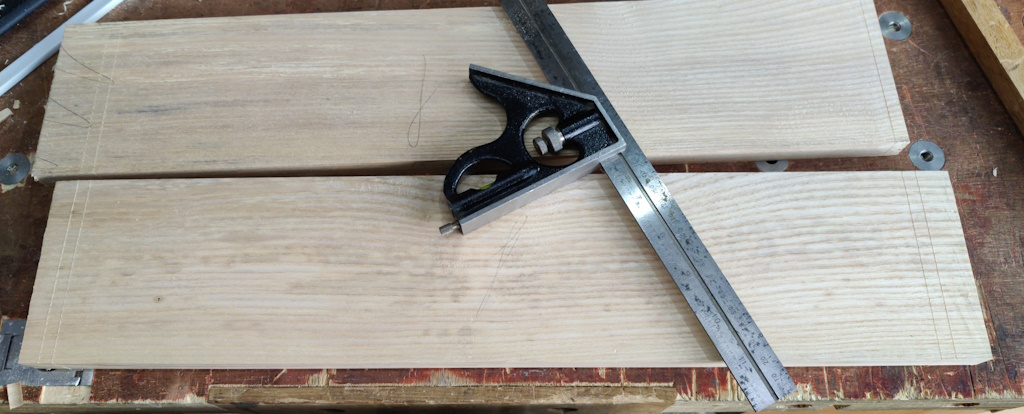
Another line was added 8 mm outside the shoulder lines. On the second shelf, I shot one end square and marked a line 8 mm in from the end and used that as one of the shoulder lines. That was a better method than on the first one, where I marked the two ends at arbitrary locations and hence had to chop off both ends of the board.
With the boards marked to length, I sawed them roughly to length with a Kataba:
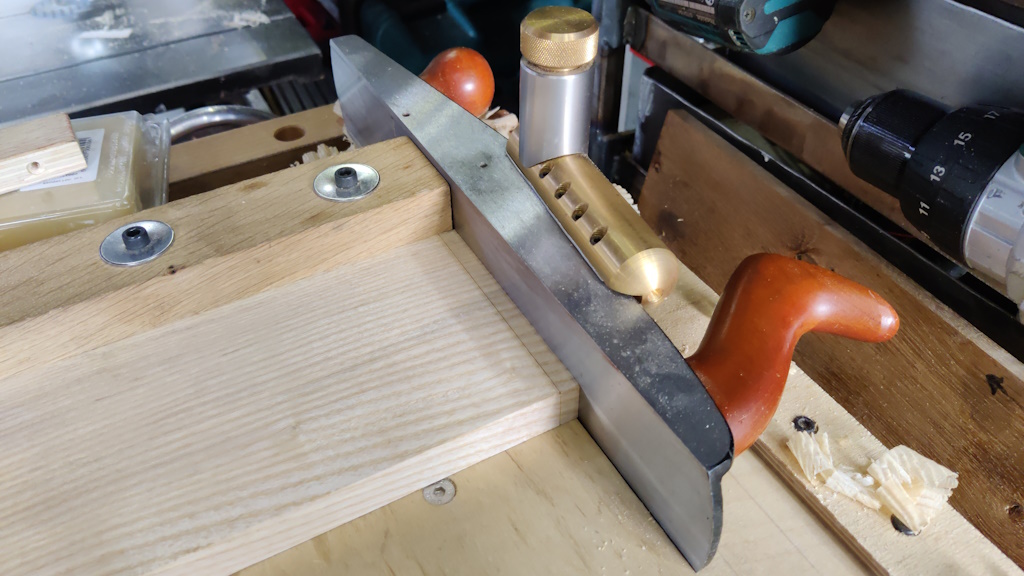
Dovetail housings reference off the shoulders and the sides of the tails, so the end isn't that important really, but I figured it couldn't hurt to quickly shoot them square and to the knife line:
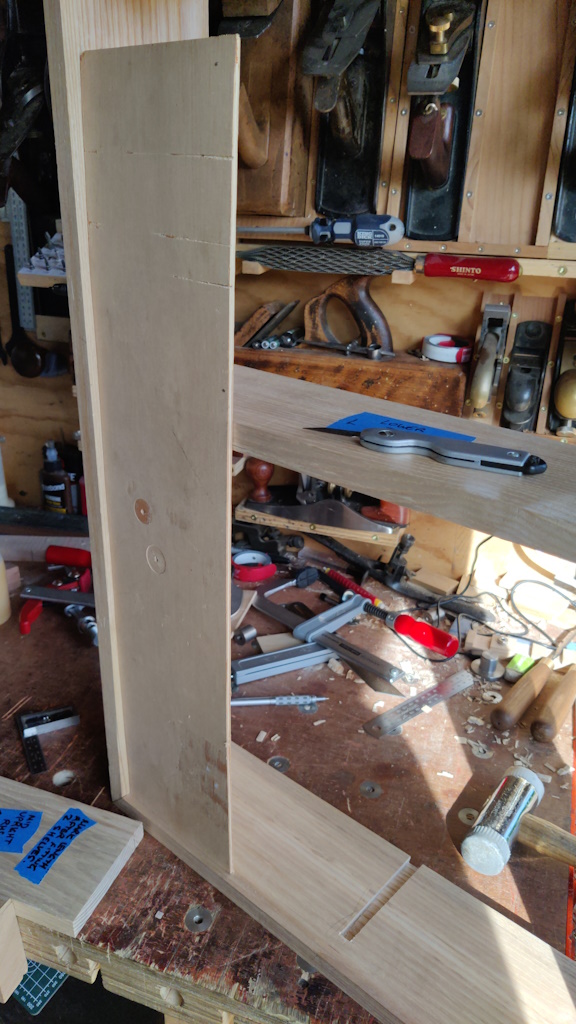
I then got on the sockets. I decided to cut as many as possible in one go and then cut the tails afterwards. I started by marking up the frame side pieces, ensuring that the straight edge of each socket lined up between the two sides of the frame:
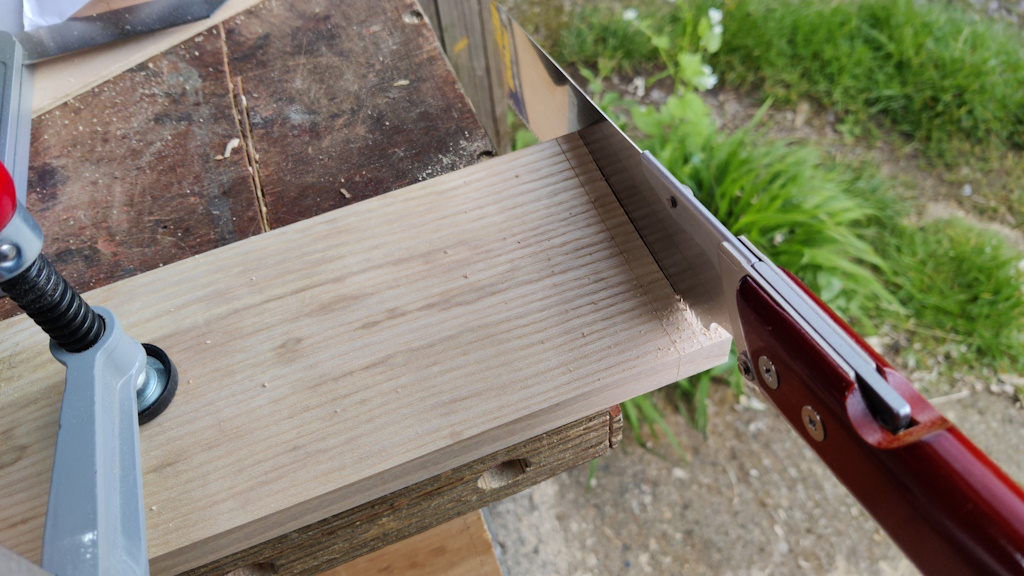
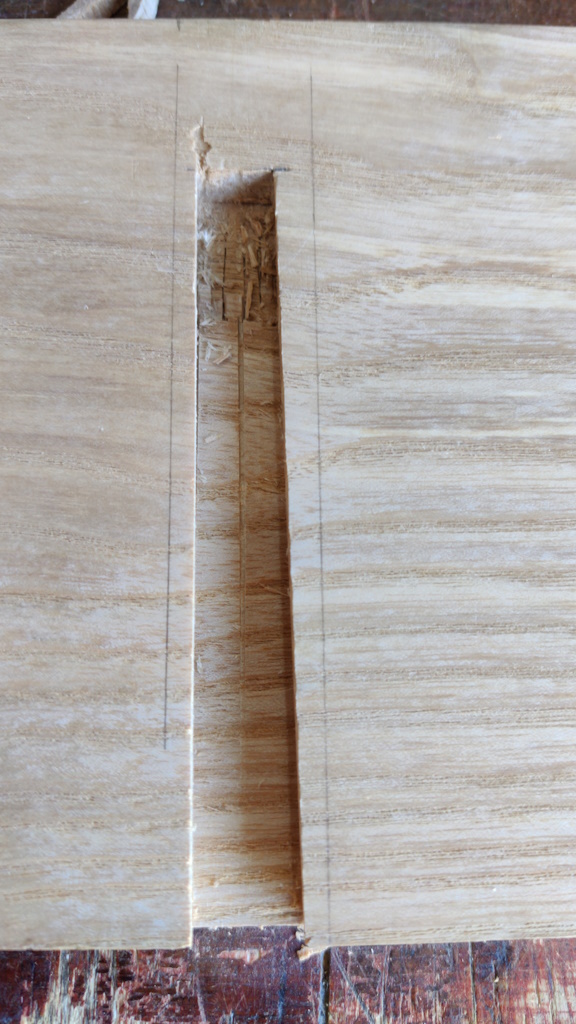
Cutting the sockets went much the same as before, except that I made one minor tweak in the process. When sawing the first side of the first socket, I slipped slightly with the saw and took a bit of a chunk out of the board face:
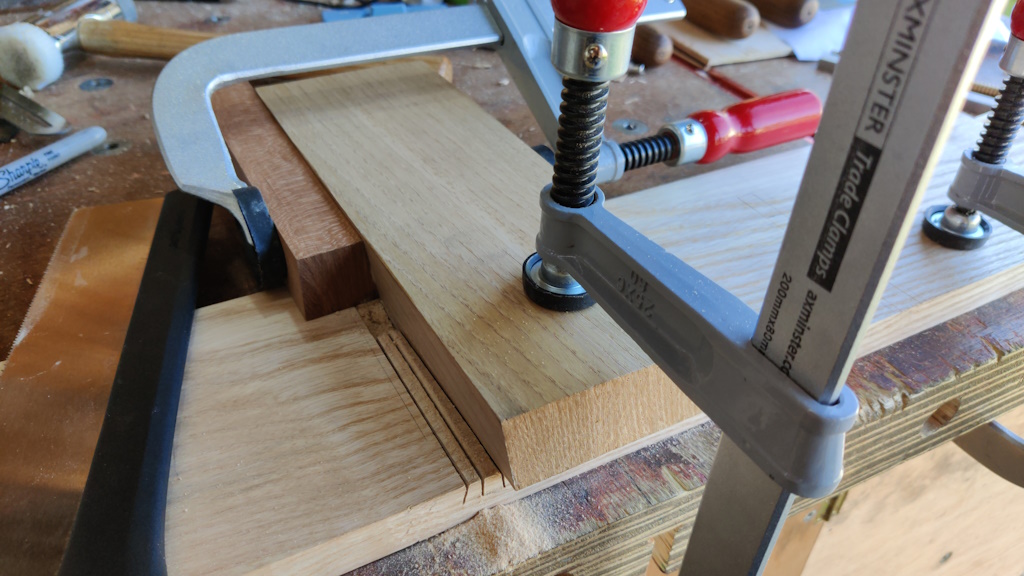
It's not a big deal (I'm not even counting it as one of the four mistakes I mentioned earlier!) as it'll get hidden under the haunch of the shelf, but for the remaining saw cuts, I clamped a stop block to make sure the saw couldn't go further than I wanted it to:
In some ways, I'm really pleased I made that slip: having the stop block there made the sawing process a lot quicker and easier as it was one fewer thing that I needed to concentrate on.
I cut as many sockets as I could without needing to mark up positions based on fitted shelves, then started working on the tails.
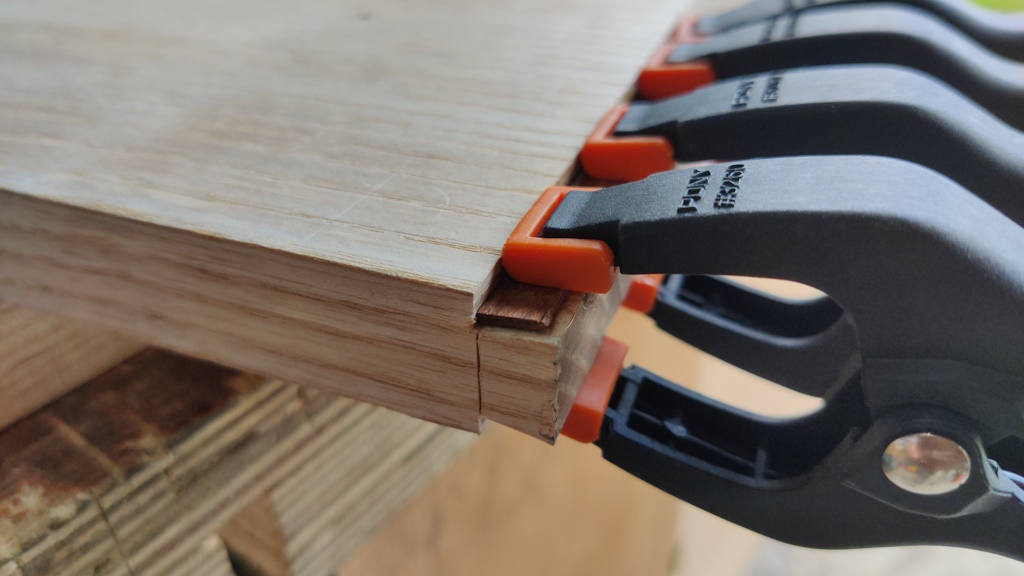
On one of the tails, I made my first mistake. I think what I did was that I offered it up to the wrong socket when doing a test fit. There was quite a lot more to be removed, so I took quite a lot off with the chisel. I then offered it up and it was very loose. To fix that, I trimmed a bit off a thin offcut I had in the drawer and re-did the process of testing and adjusting until it was a nice tight fit with the offcut shoved in as well. Then I glued the offcut onto the tail:
The second mistake was similar, except it was just a case of being a bit overzealous when paring and leaving a fit that was only very slightly loose. For that one, I fixed it by gluing a piece of paper to the side of the tail and that was enough to sort it out.
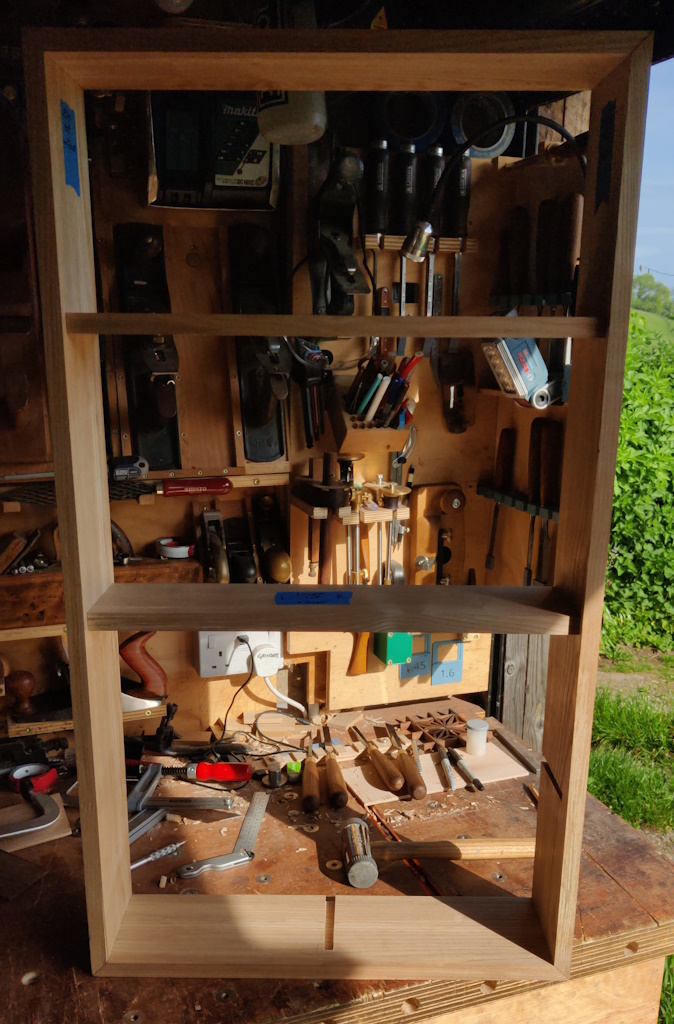
With the tails of the two full-width shelves done, I could assemble the unit:
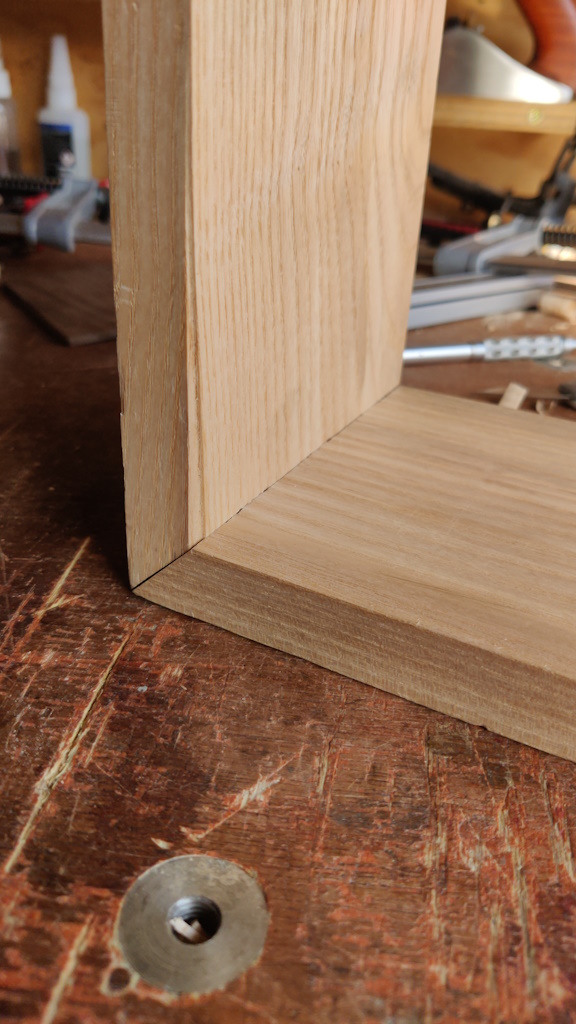
This is where I noticed the most significant of the four mistakes. If you remember back to my third post on this shelf unit, there was a bit of a notch in one of the pieces. I said at the time that "with careful planning that should get removed when I cut the rebate for the back".
Somehow I managed to arrange the panels such that the notch is at the front! Fiddlesticks!
I haven't decided exactly what I'm going to do about that; my initial thought is to round over the inside corner of the outer pieces, which should hide that blemish (but risk showing up any gaps in my mitres!)
With the frame assembled and the two shelves in place, I could use an offcut of plywood to mark the distance between the base and the bottom shelf:
I did that on both sides. The difference was less than a millimetre (which I was pleased about) and I split the difference when marking the upright.
This brings me on to mistake number four. Somehow, when I cut the piece for the upright that goes in the middle at the bottom, I cut it too short. Thankfully, it was only a few millimetres too short and I realised this after I'd only marked up the shoulder line on one end and before I'd cut the second of the two sockets into which it will engage. The fix in this case was to make the upper tail shorter (5 mm deep) than the lower one (which is 8 mm deep like all the others). Being an upright rather than a shelf, that tail isn't under much strain.
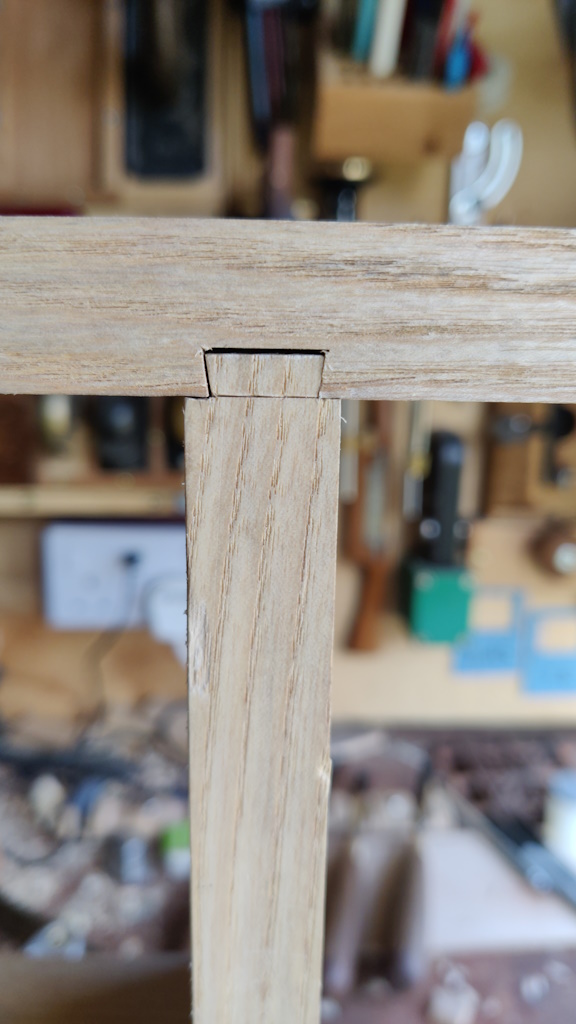
The shorter tail:
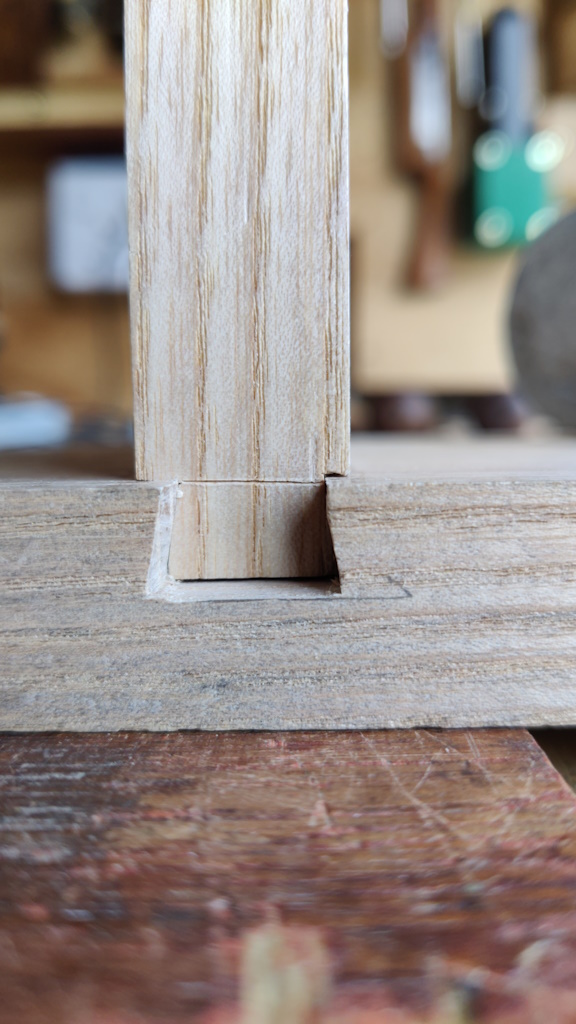
Compared with the length of the other ones:
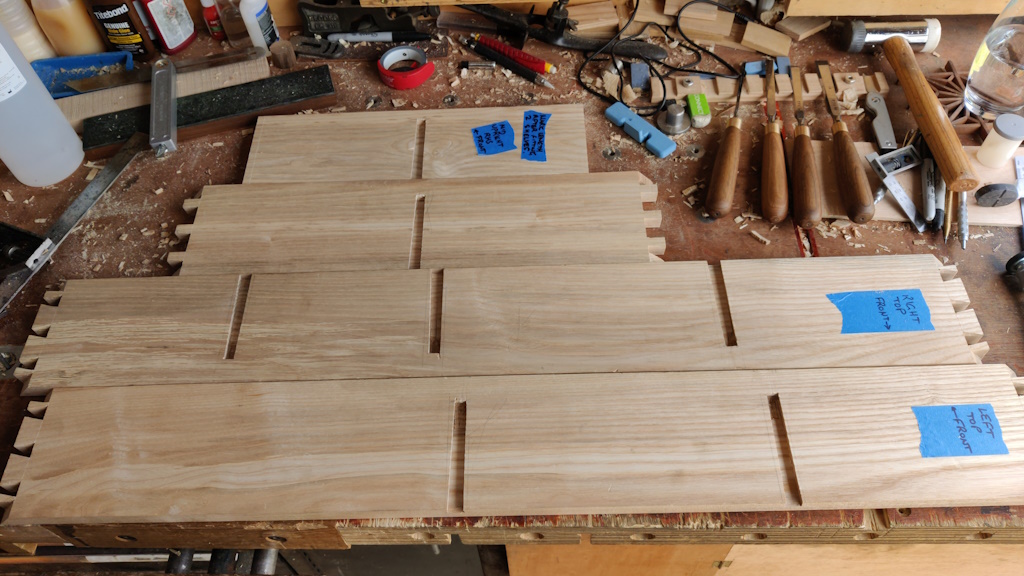
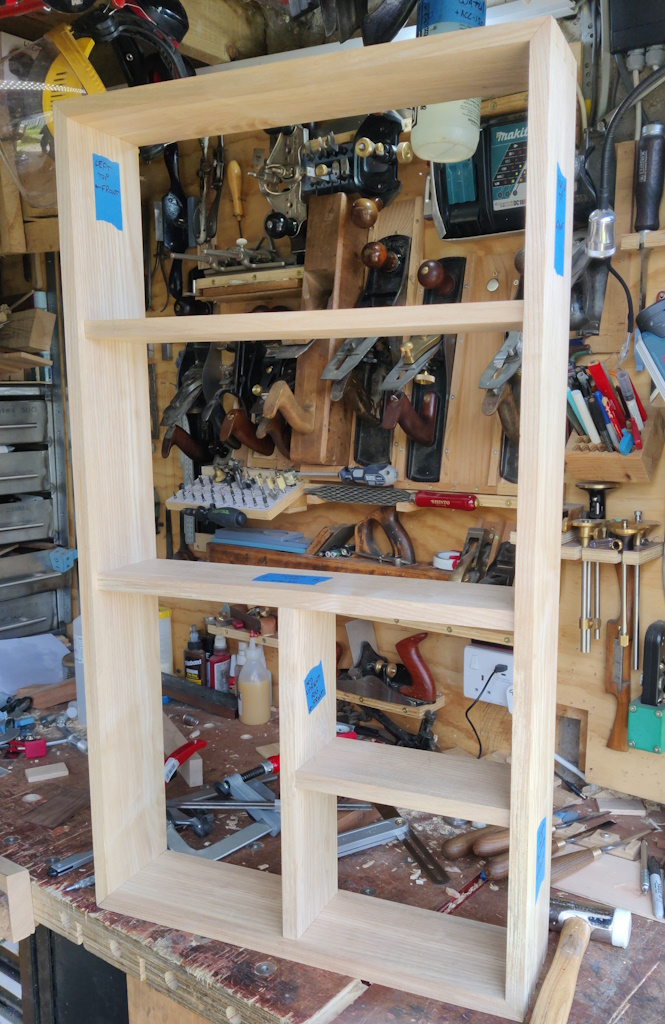
Anyway, the frame is now fully assembled:
I've still got quite a bit more to do, in particular:
- Ploughing the rebate for the back;
- Giving everything a very thorough going over with a card or cabinet scraper;
- Gluing it together & applying finish;
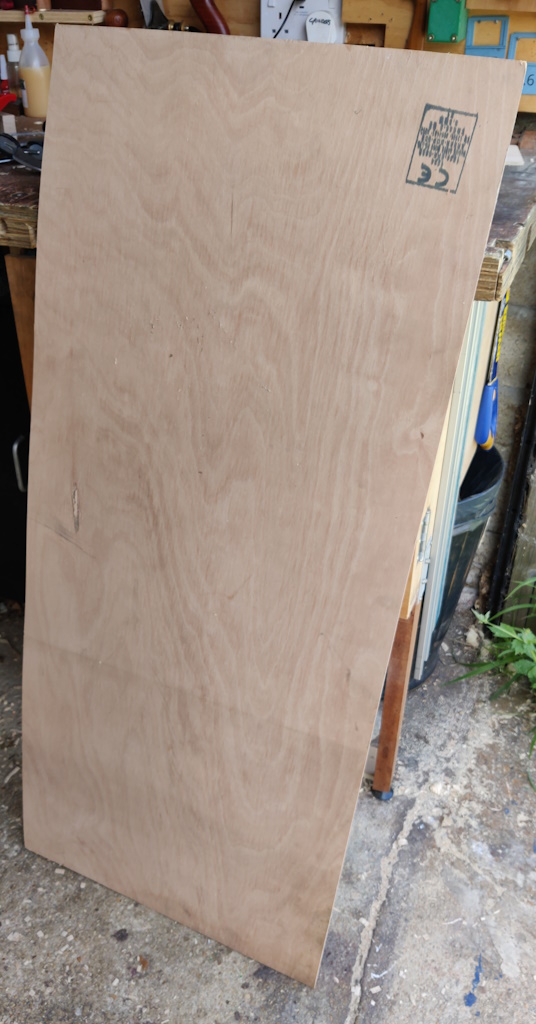
- Preparing this rather shabby bit of plywood that will become the back:
The plywood is going to get painted (hopefully not by me!) so it should look a lot better than it does at the moment. The frame feels extremely rigid, so I suspect it would probably be fine without a back, but I'm going to follow the advice I got from the Woodhaven forum and fit a back anyway.
The last thing to do after all that is sorted will be to add fixings to hold it onto the wall.
Page 8 of 11
This website is free and ad-free, but costs me money to run. If you'd like to support this site, please consider making a small donation or sending me a message to let me know what you liked or found useful.

 Return to main project page
