
Grooving Planes Build Process
 Return to main project page
Page 2 of 3
Posted 7th August 2026
Next up was a step I probably should have done earlier in the process. I placed the walnut on top of the thicker bit of beech and tapped some short panel pins into it:
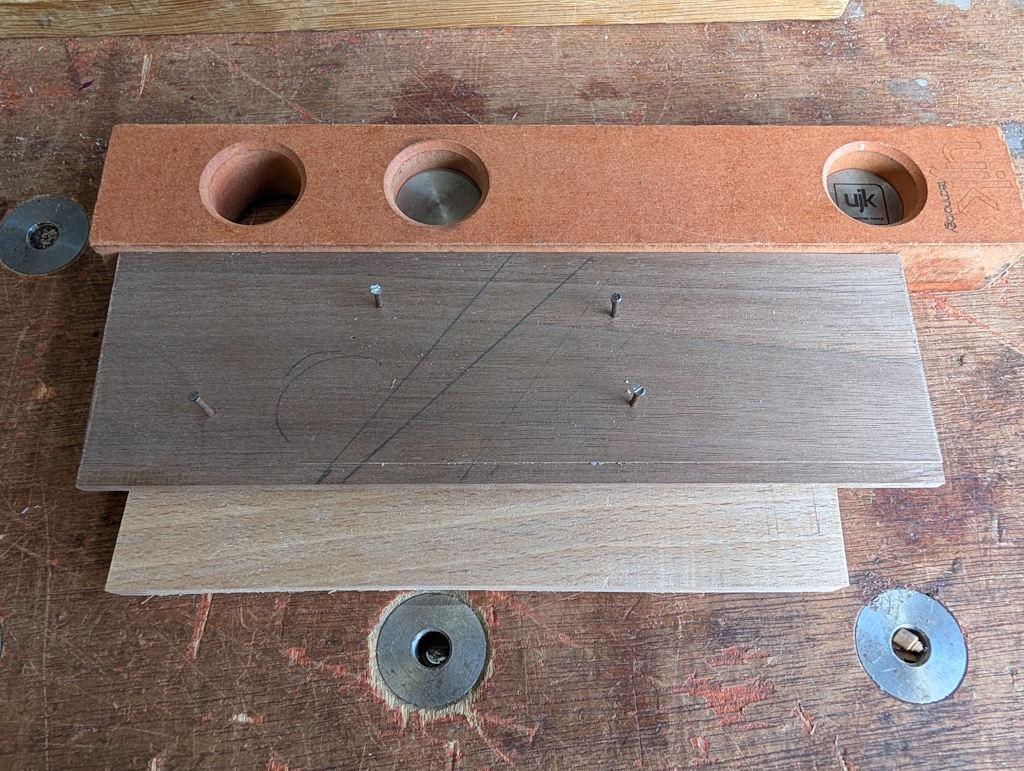
In that photo you can see the shape of the opening for the blade and a rough idea of where the hole (for shavings to escape) will go. On the previous grooving planes I made the wedge 10°. This time I thought I'd try 8°, although I didn't have a particularly good reason for that.
The pins then got snipped off...
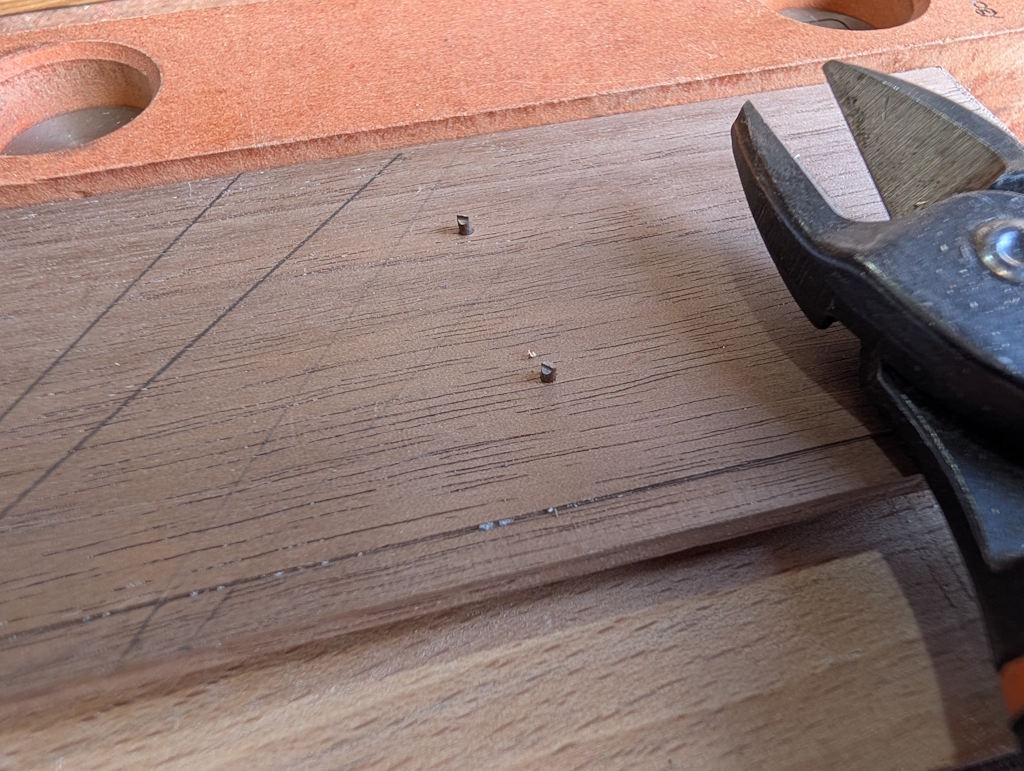
... and then the outer piece (which has yet to be cut down) was tapped onto the ends of the pins:
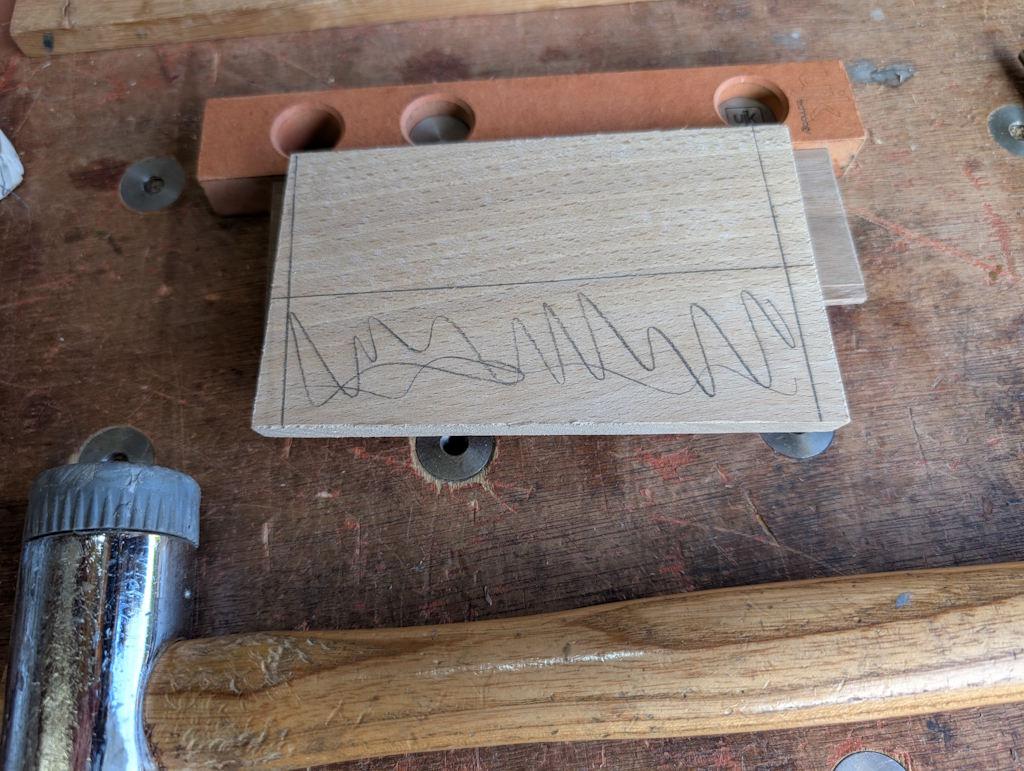
After taking it apart, I was left with little dents in the beech pieces:
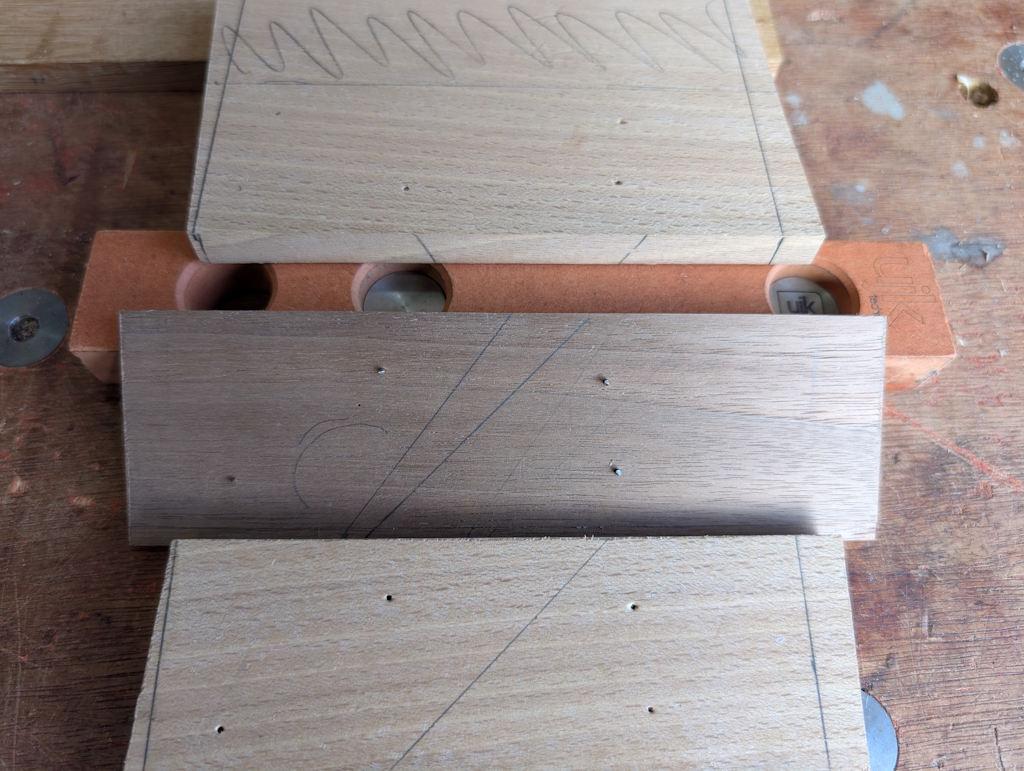
The cut-off panel pins being stuck in the walnut piece does make it slightly more awkward to work with but it's manageable.
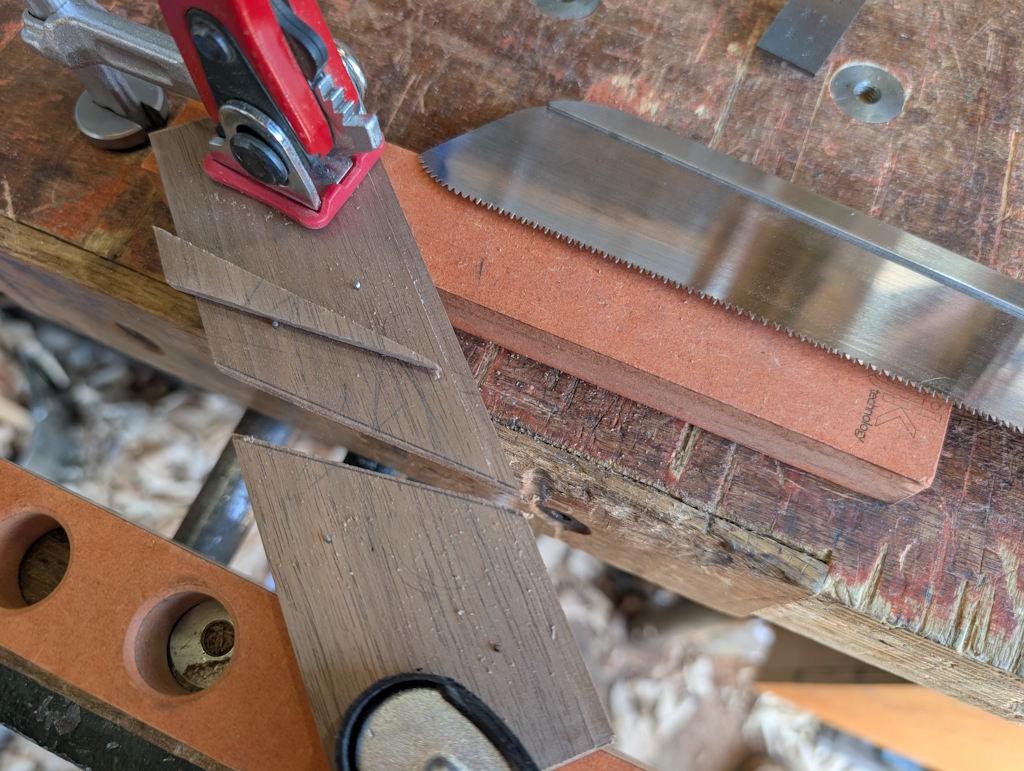
The opening for the blade got cut out with a Dozuki:
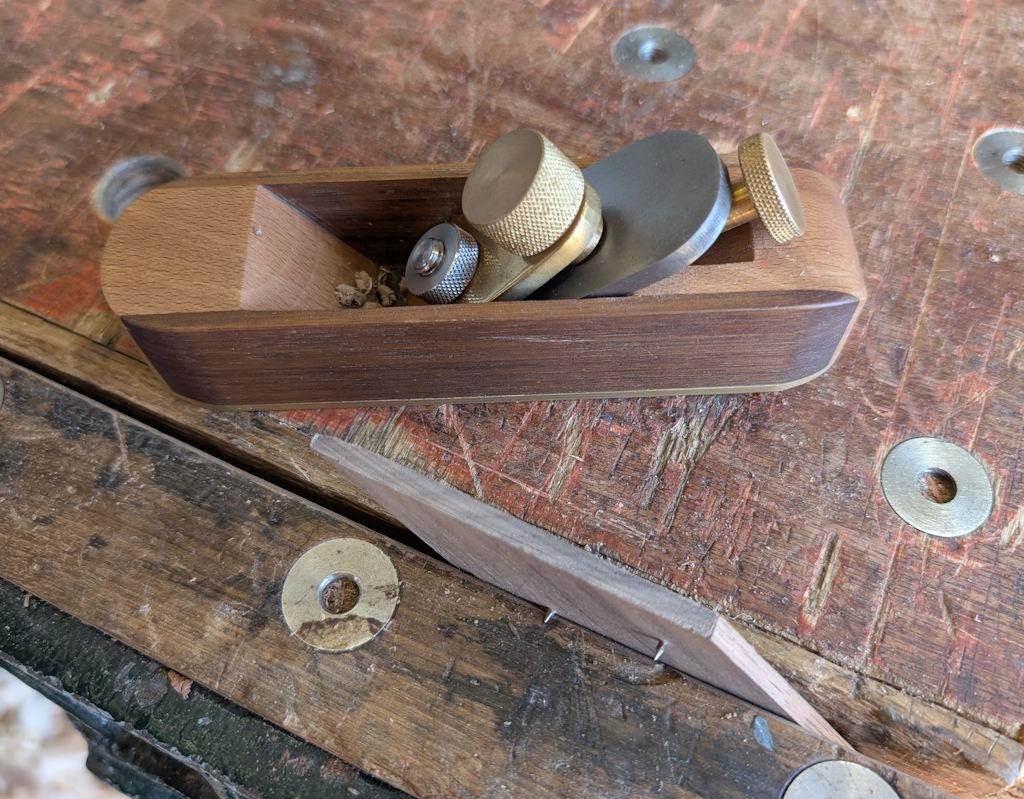
The ends got planed down to the knifed lines with my home-made block plane:
Test fit with the sharp blade:
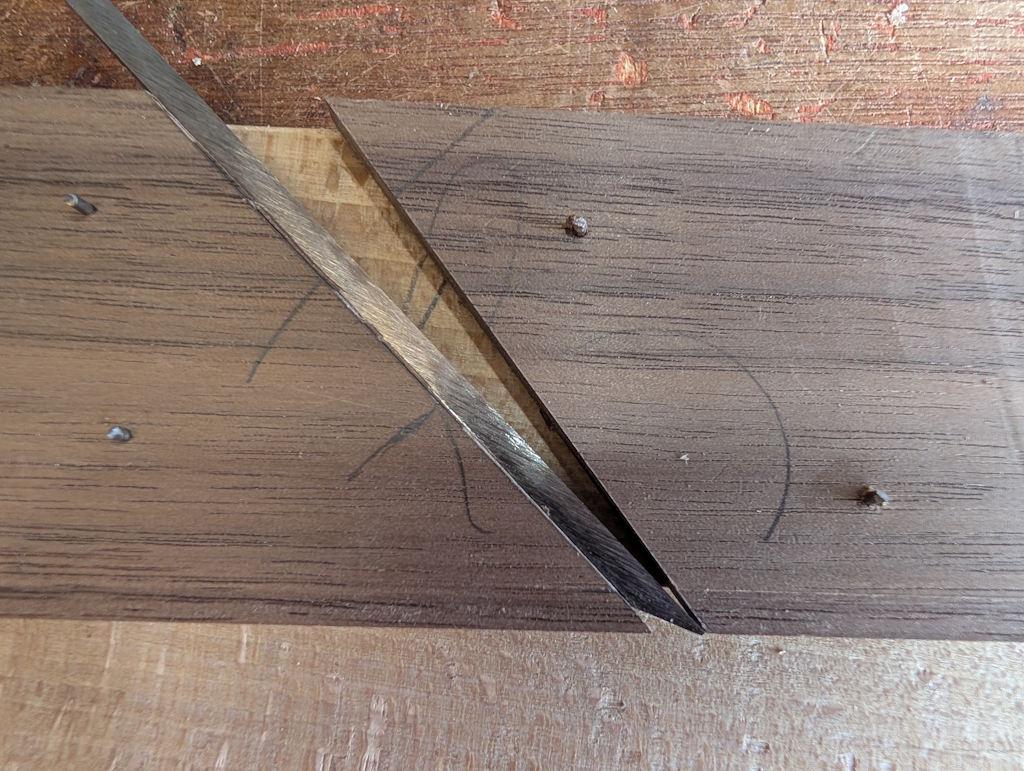
Note that it'll be fairly easy to open up the mouth if necessary later by paring away a little bit of the protruding walnut.
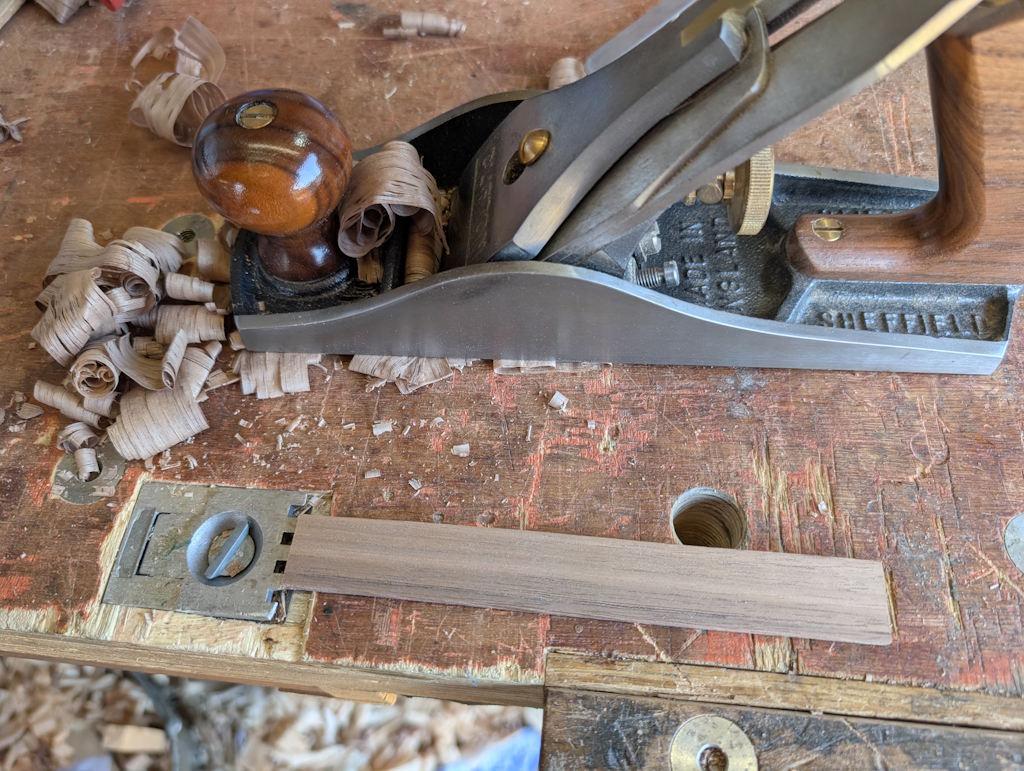
Ideally, the wedge would be made out of the same bit of planed walnut as the inner piece, with just a couple of extra plane shavings taken off to make sure it's a nice sliding fit. However, the walnut off-cut I used wasn't big enough so I just grabbed another bit, chopped a bit off with a Dozuki and planed it down to the right thickness with the #4½:
After marking an 8° angle on, I sawed the wedge in two with a Dozuki...
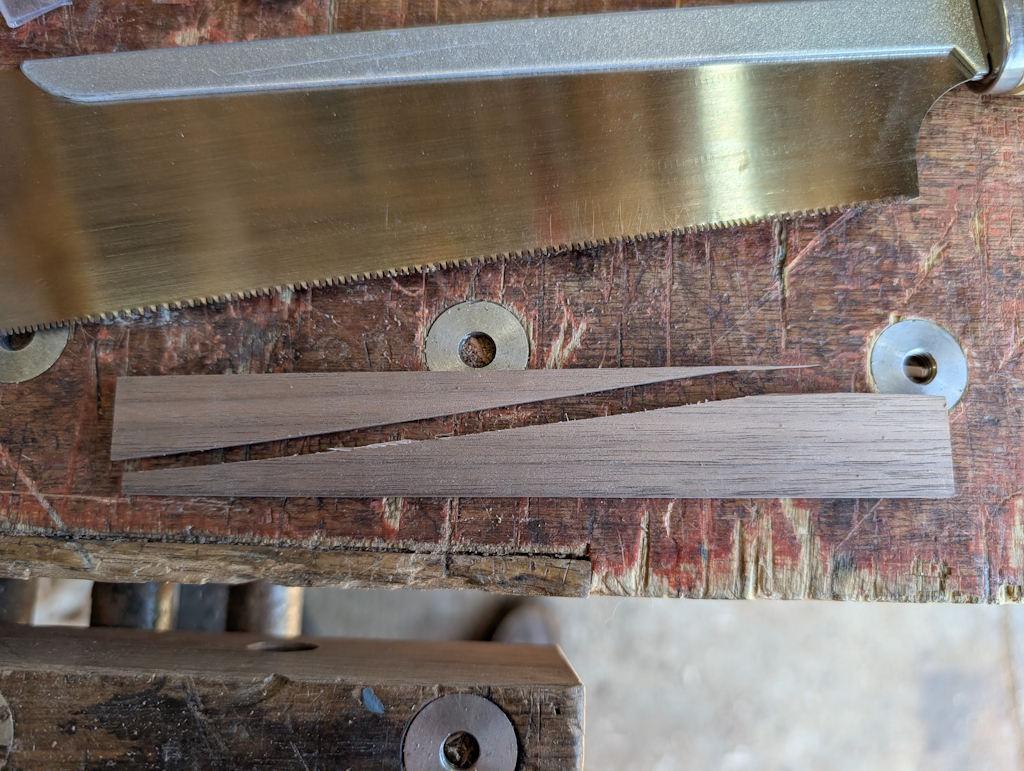
... before running the sawn edge over an inverted plane in order to clean up the surface.
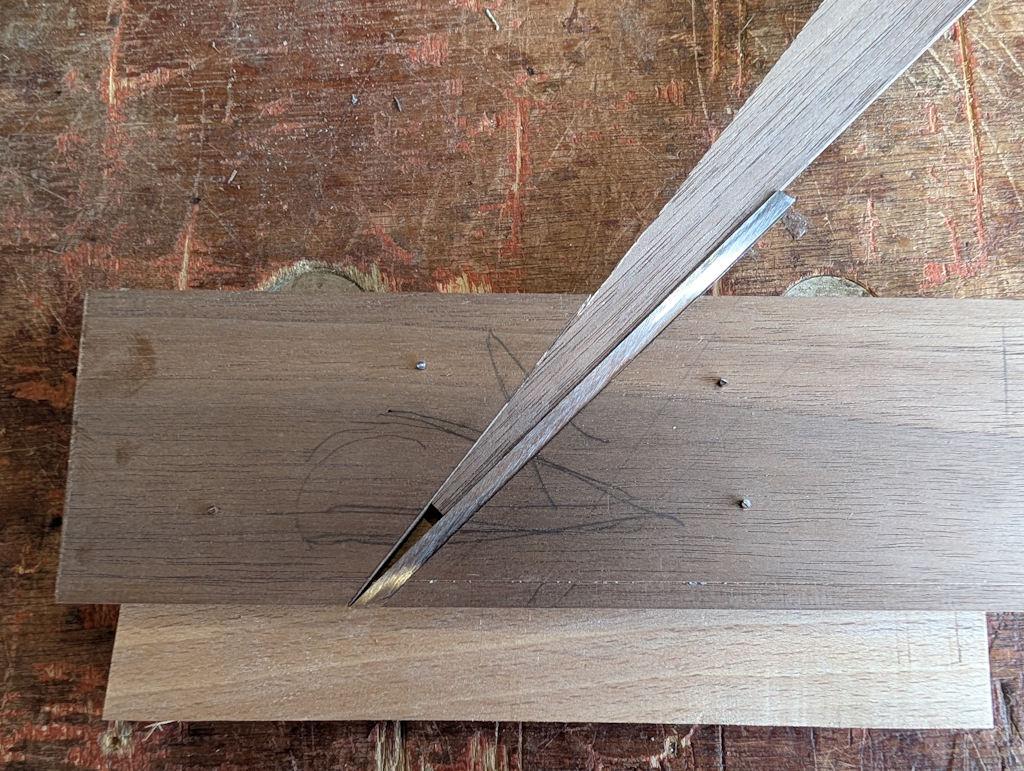
Test fit of one half...
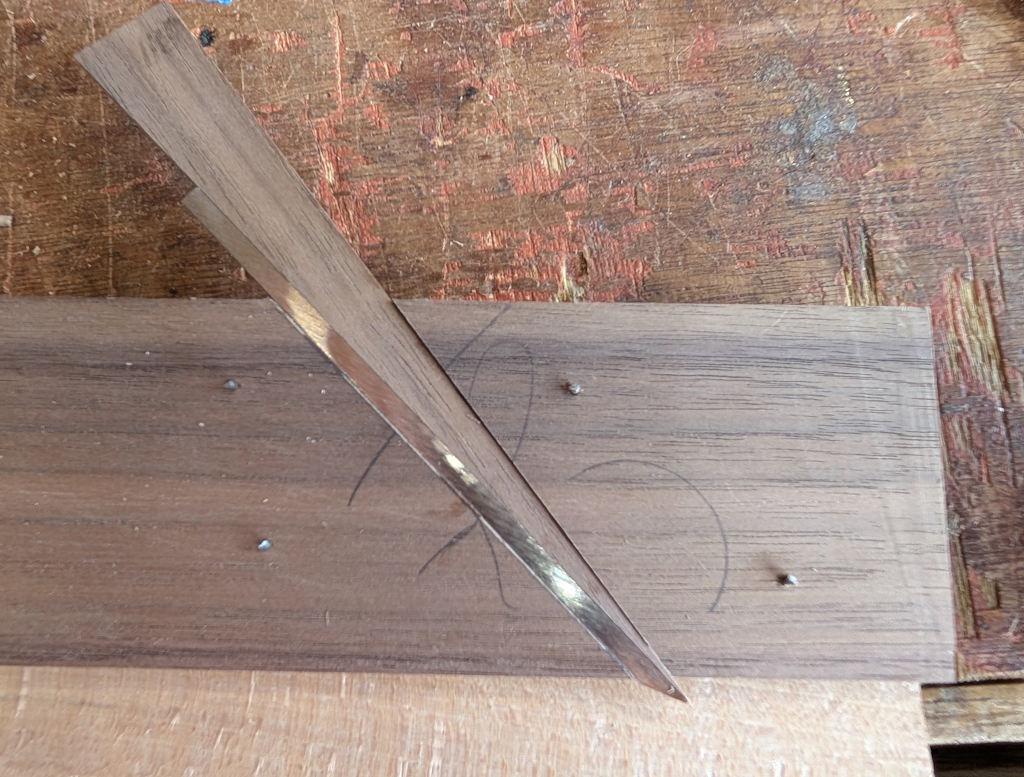
and the other (using the same blade as I only have one prepared at the moment)...
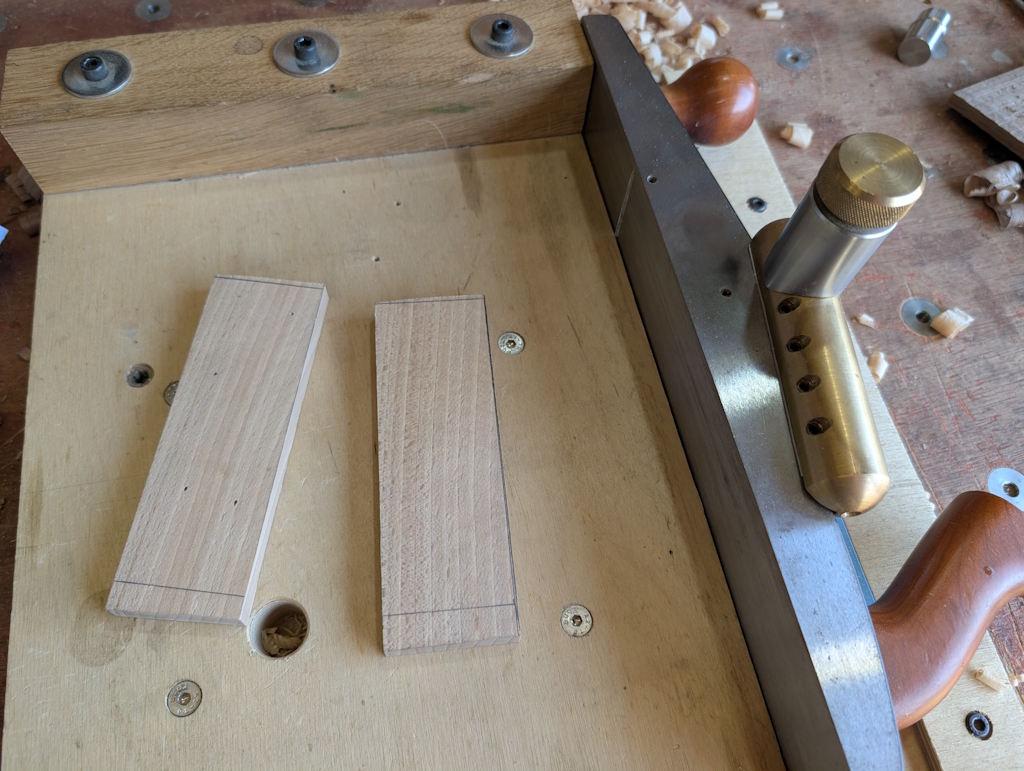
The outer pieces (the 10 mm thick beech bits) got sawn to size and had their edges planed down to the line:
After drawing pencil lines on both beech pieces showing the location of the opening, I applied some glue, keeping clear of the rebate on the walnut piece and the opening on the beech piece:
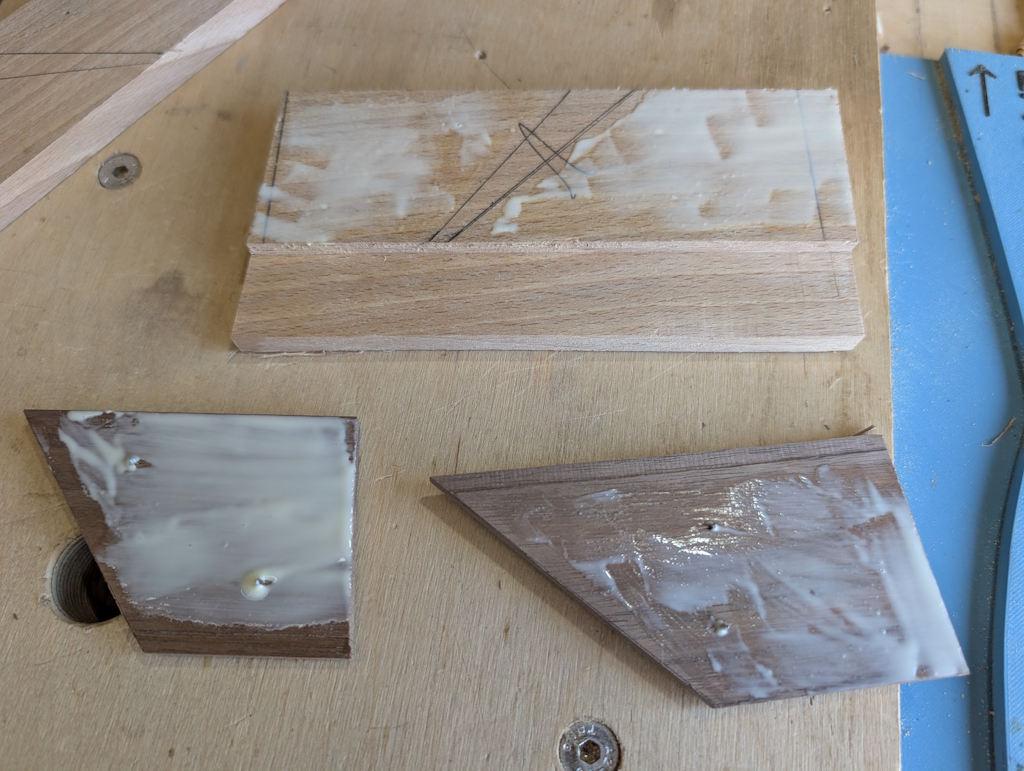
After pressing the walnut pieces into place, I applied more glue...
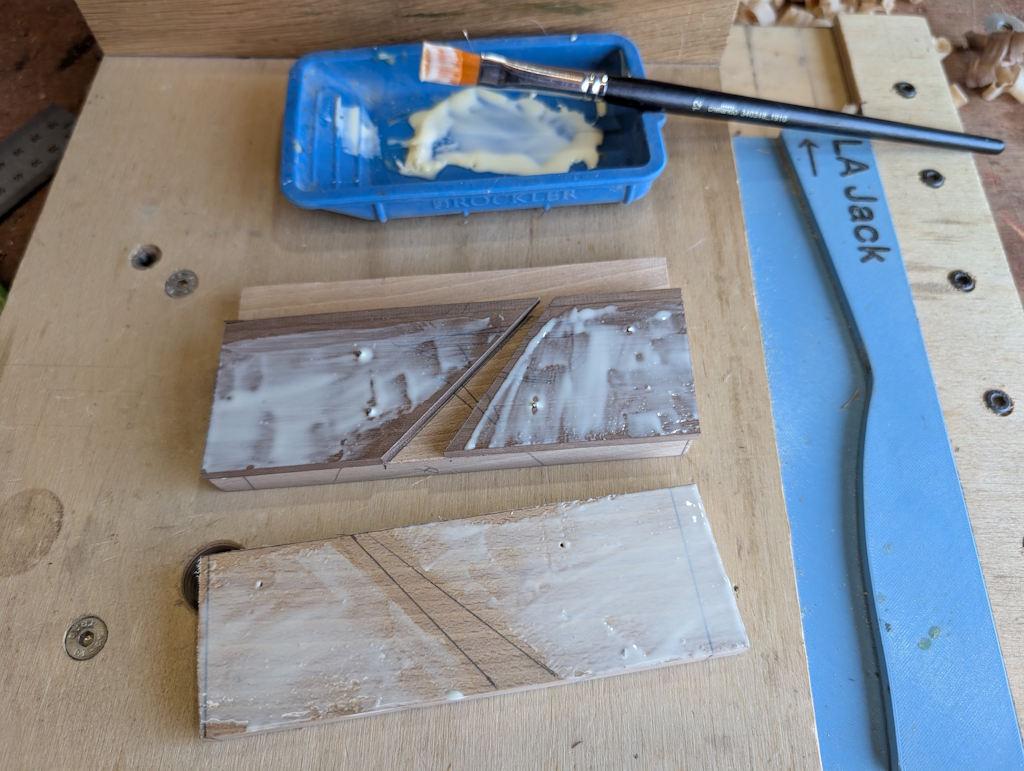
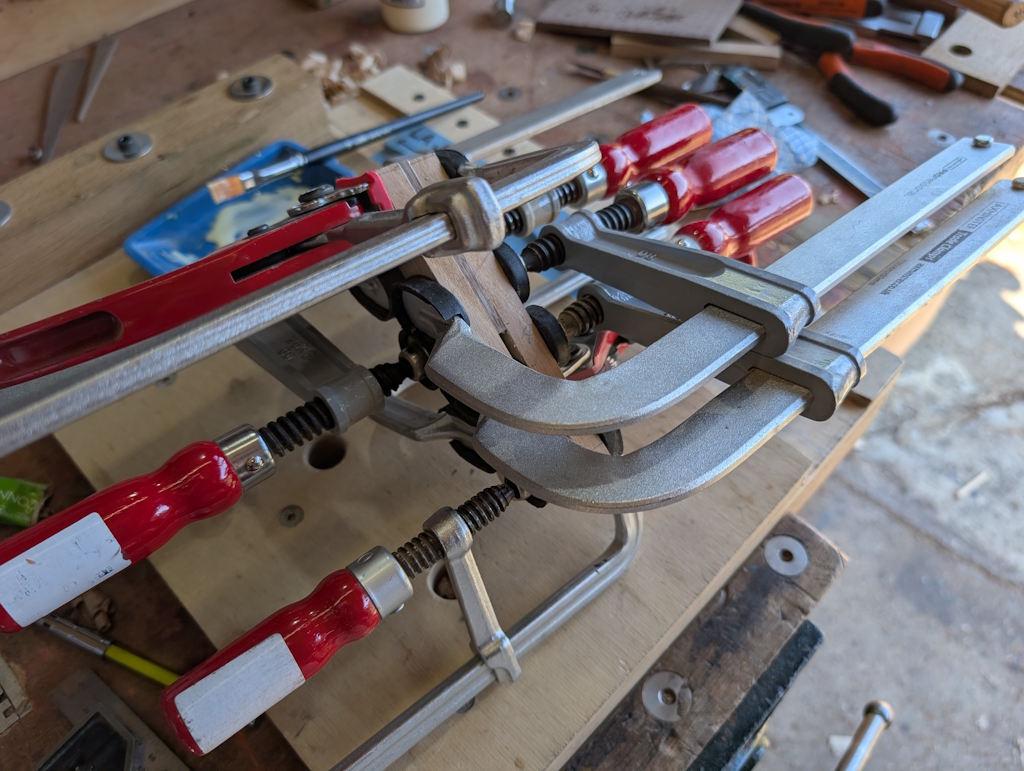
... and then put a slightly ridiculous number of clamps on:
Page 2 of 3
This website is free and ad-free, but costs me money to run. If you'd like to support this site, please consider making a small donation or sending me a message to let me know what you liked or found useful.