
Grooving Planes Build Process
 Return to main project page
Page 3 of 3
Posted 7th August 2026
While the glue was drying, I got on with the other blade. When I made the first set of grooving planes, I made the blades out of gauge plate (aka O1 tool steel). That means they're very easy to shape (as the steel is relatively soft) but they need hardening and tempering (which is quite simple with such a small blade).
If memory serves me correctly, I started with a relatively wide piece of gauge plate, used the bandsaw to get them down to slightly over the right width for the cutter, then used the milling machine to bring to size. A hand file was used to add the slight taper on the sides and then I hardened and tempered them before sharpening.
This time, I'm starting with a bit of 3 × 4 mm high-speed steel. That means none of the hardening and tempering is required and, since it's already the right width (4 mm) I don't need to do any dimensioning either. What I do need to do is to add a slight taper on the sides and grind the profile on the end.
The taper on the sides changes the rectangular cross-section of the cutter into a trapezium, with it narrower further away from the cutting edge. This gives some clearance behind the cutting edge and means the cutter scrapes the side of the groove rather than rubbing on it. Without the taper you tend to get lots of tear-out on the groove walls.
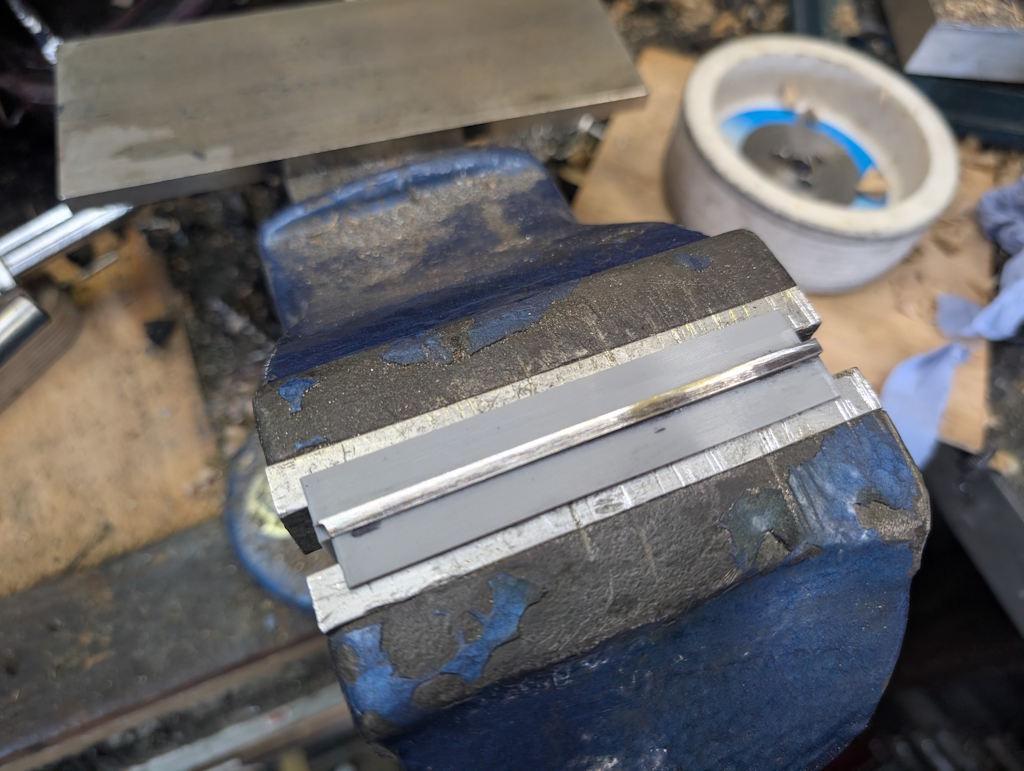
On the first blade (the one I've been showing in the earlier posts), I did this with some little 3D-printed jaw liners (made with a slight angle) to allow me to hold the blade at an angle in the bench vice so I could rub a diamond plate horizontally over the top:
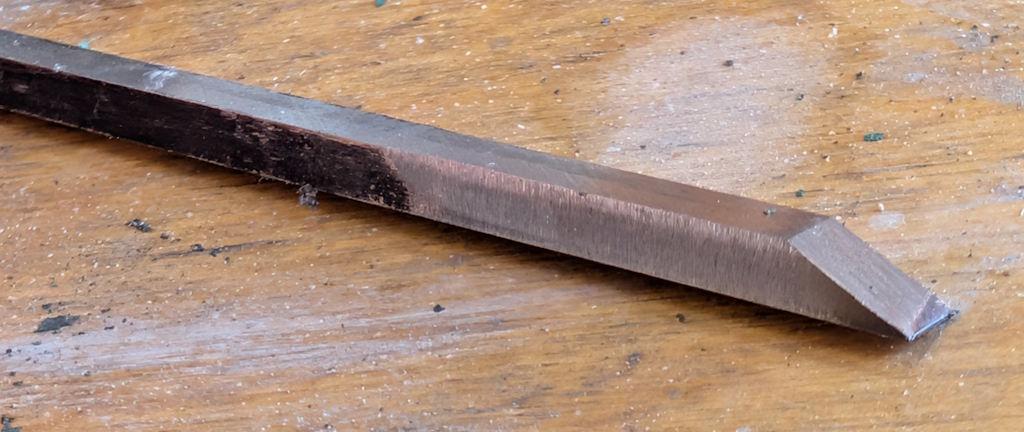
That was quite tedious (high-speed steel is hard!) so for the second blade I decided to do it a different way. The taper is only needed near the cutting edge, so instead of trying to grind away the blade all the way along, I held it in the bench vice with a bit sticking out and attacked it with the coarse diamond plate held at a slight (but arbitrary) angle:
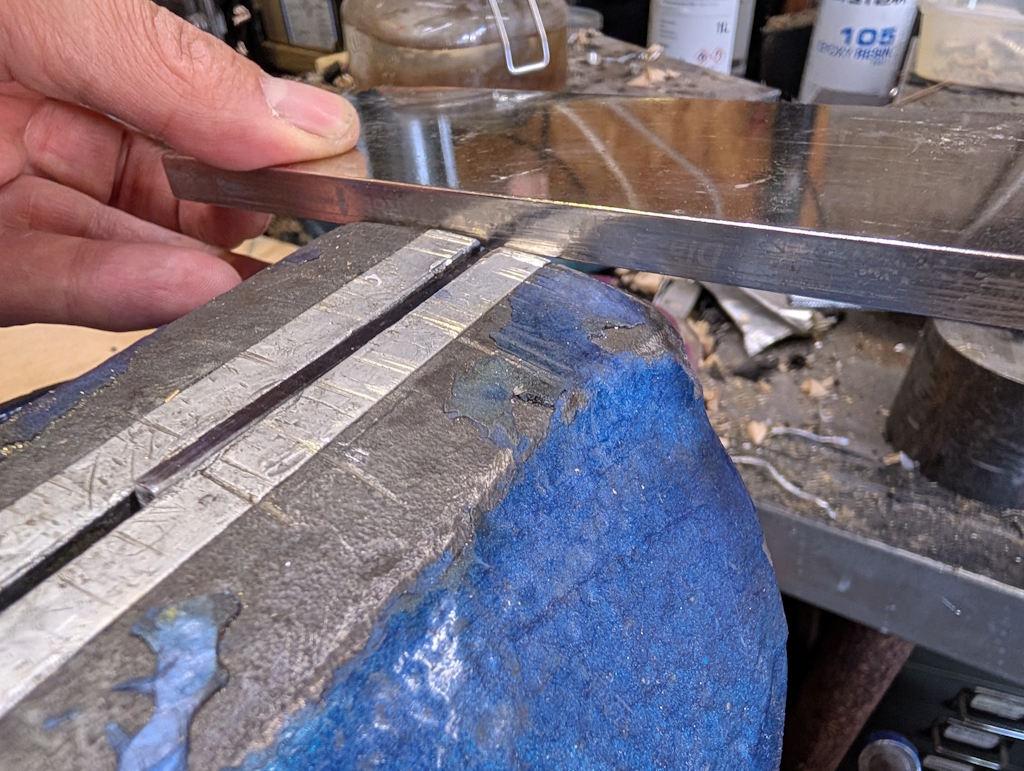
After a few strokes it looked like this (the marker pen helps me see where I've ground and where I haven't):
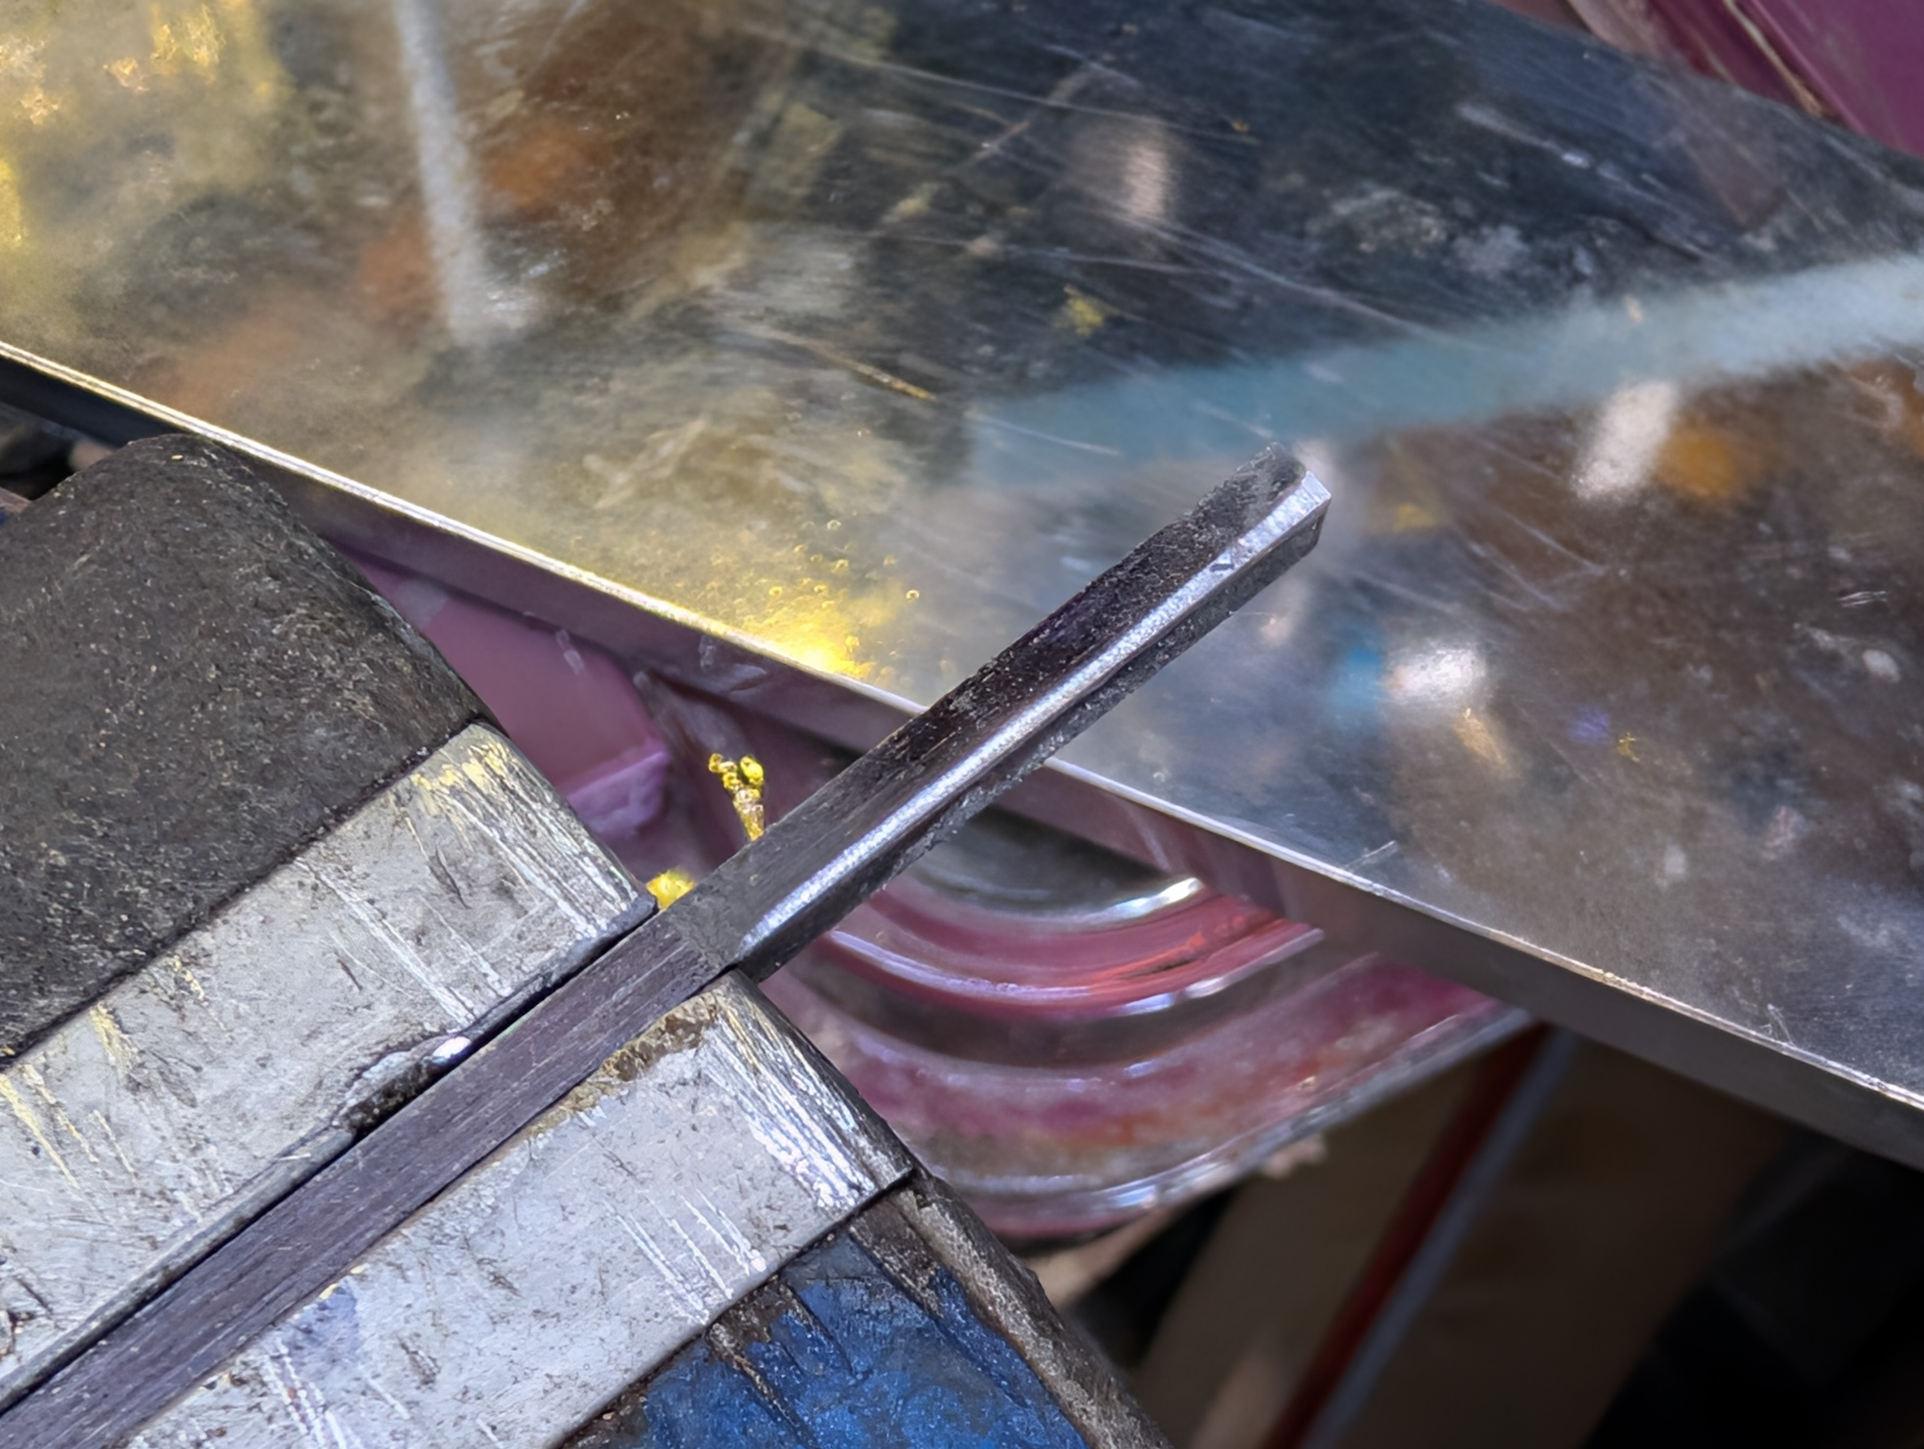
After a little bit more work it looked like this:
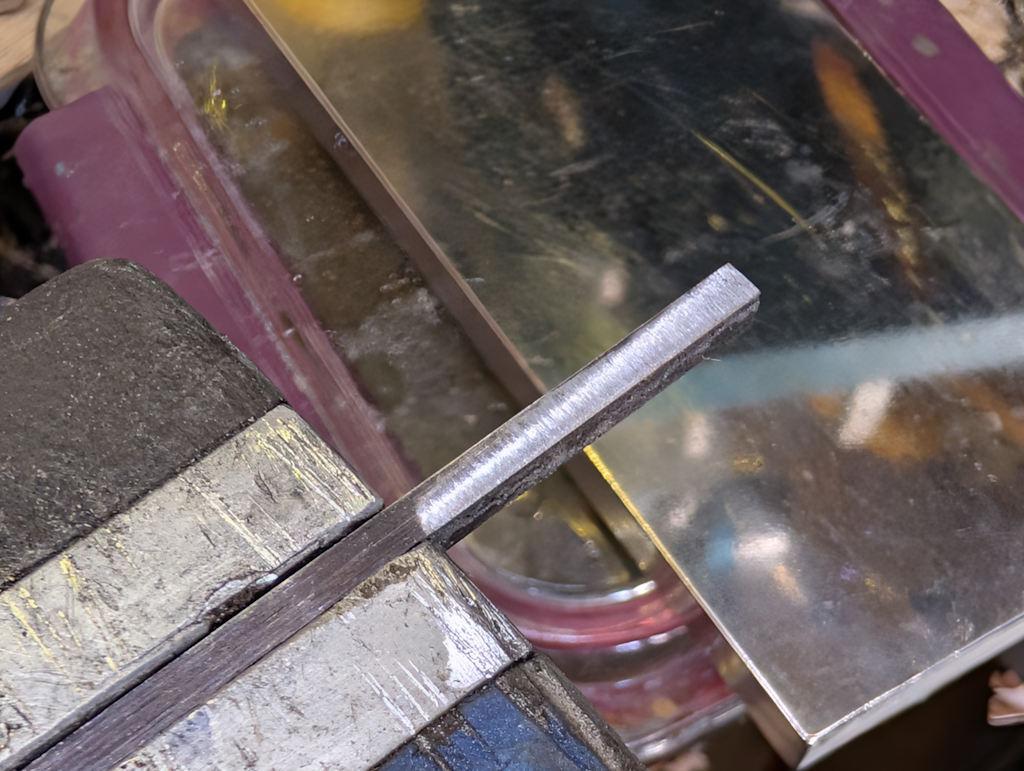
I then flipped it over and did the other side, being careful to make sure the angle resulted in a trapezium and not a parallelogram!
Once both sides were done, it could be ground and sharpened. I went with the angle that the bench grinder's table was already set up for because I was lazy, but any angle less than about 40° should be fine.
With the second blade prepared, I took the bodies out of the clamps and marked up a location for the hole that will allow shavings to escape:
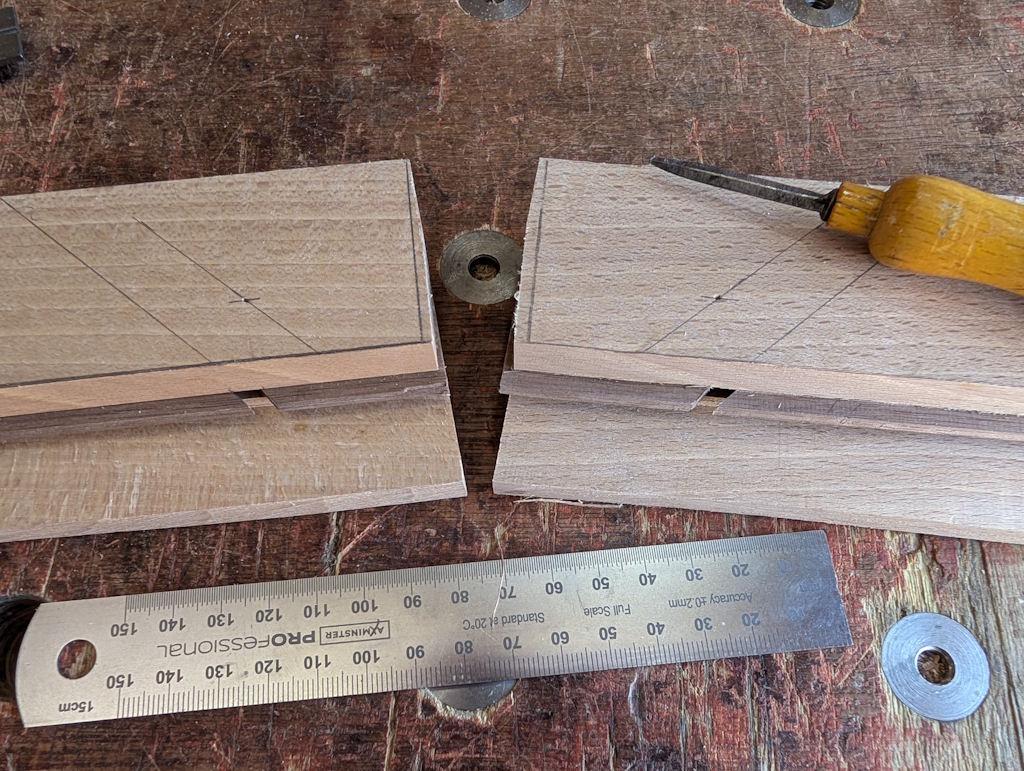
It needs to be fairly close to the bottom and the bed but mustn't cut into the bed or it could affect the way the blade sits. I measured 14 mm from the bottom and 14 mm from the bed position. I'm using a 25 mm Forstner bit, so I probably could have got away with 13 mm, but this was fine.
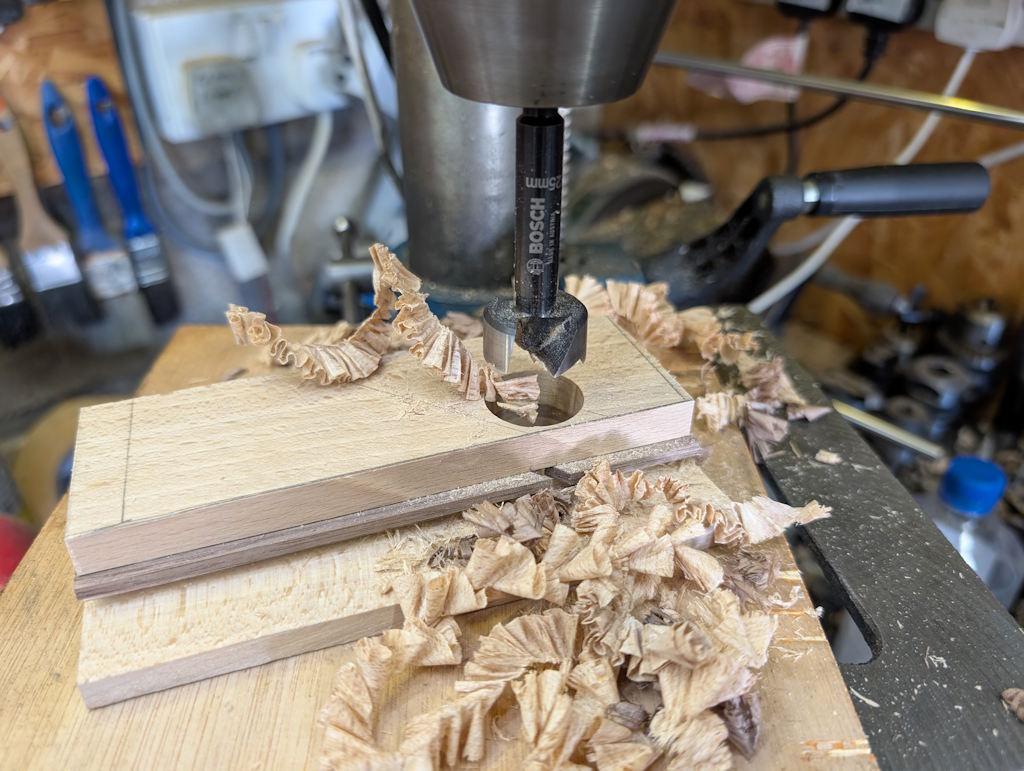
The hole then got opened out with a Dozuki:
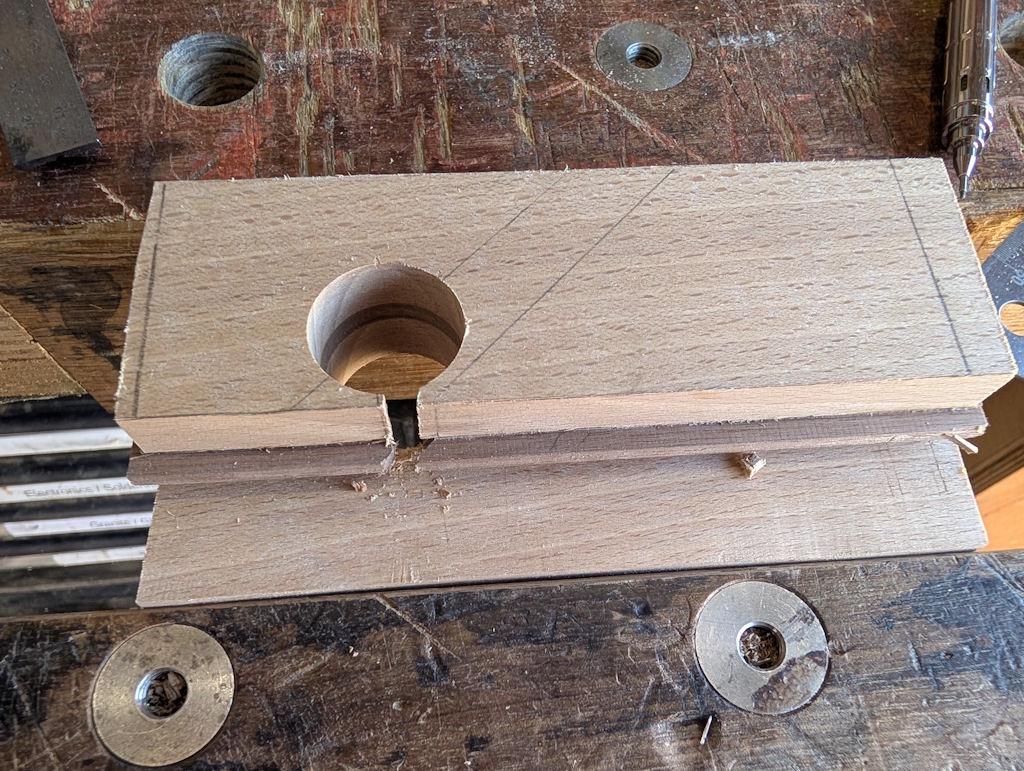
At this point, it's a fully functional plough plane. I couldn't resist giving it a go:
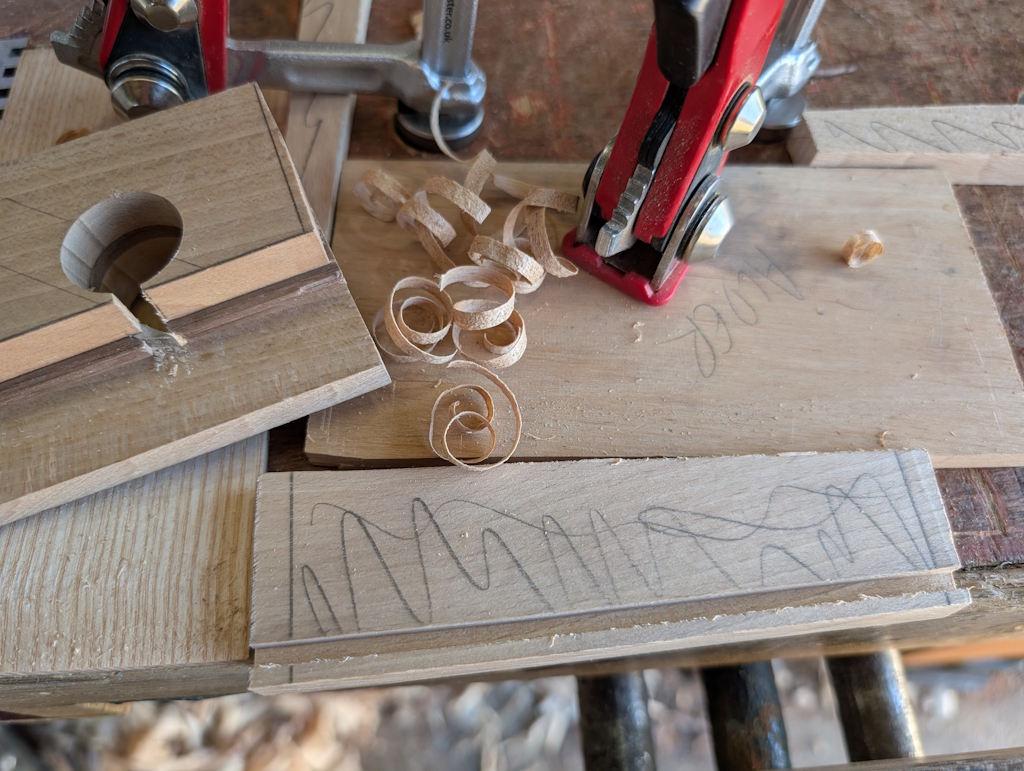
It worked!
When I made the first set, it took absolutely ages to get to the point that it was working (due to the issues with the walnut middle piece being the same thickness all the way down). The little rebate on the bottom has cured that nicely.
While it worked, it was (unsurprisingly) extremely uncomfortable to use, so it was time to get on with a bit of shaping. Everything from now on is ergonomics so nothing is too critical really.
I started by shortening the back a little with a saw and then shooting both ends to square it all up:
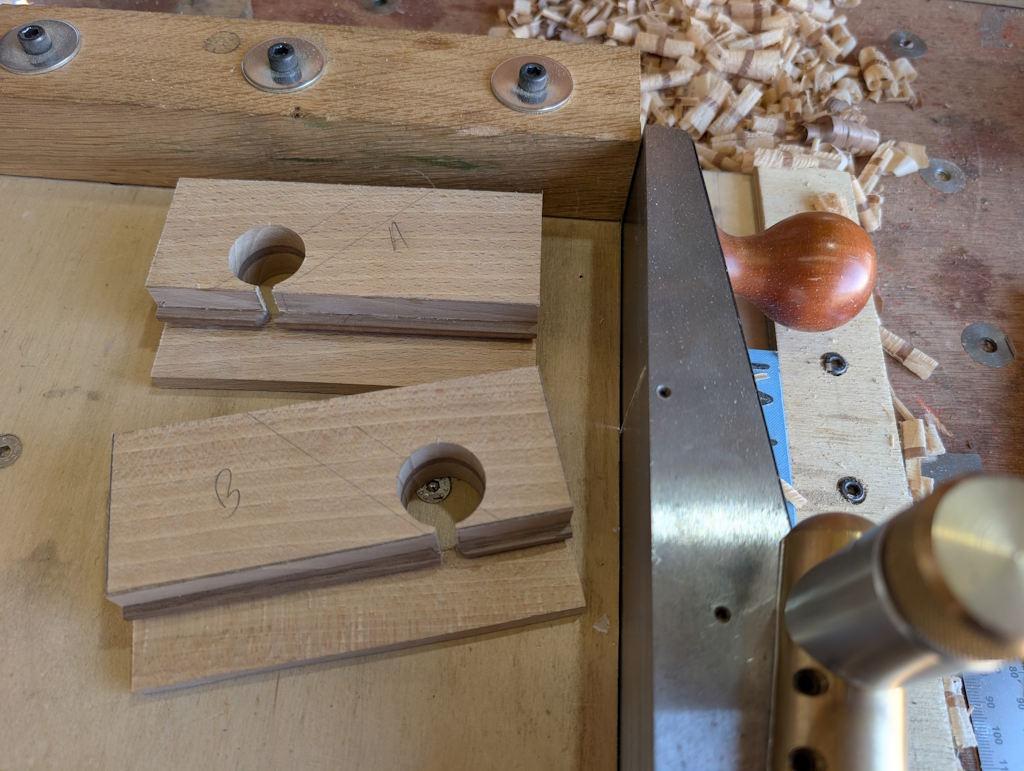
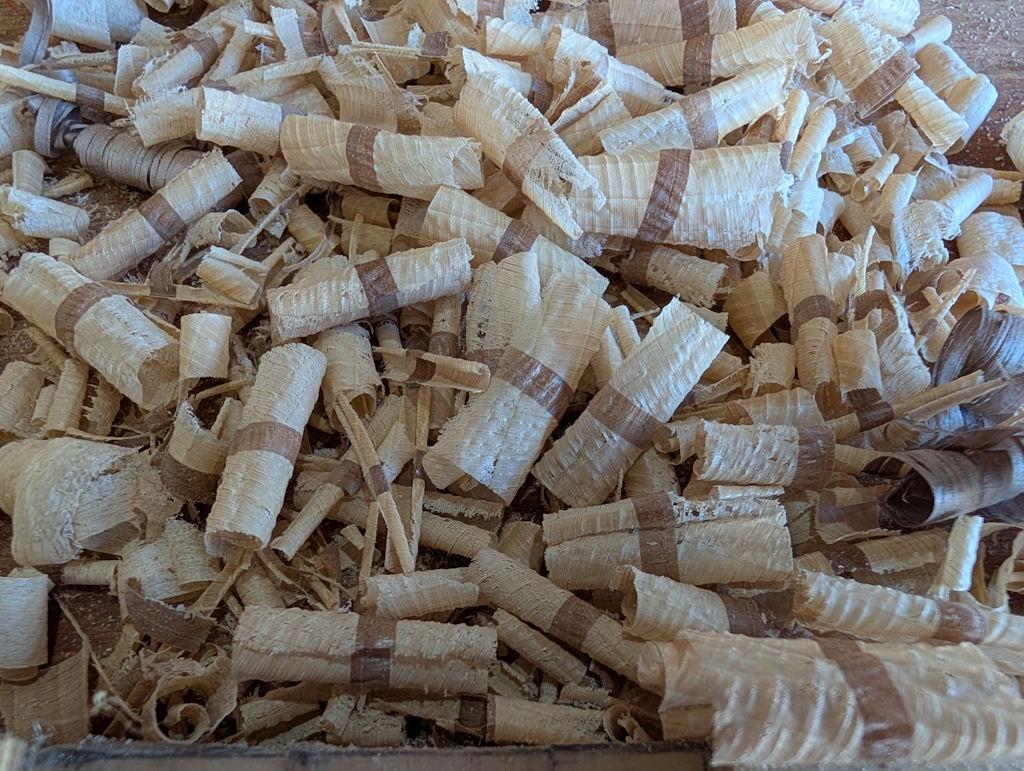
That produced some funky end-grain shavings:
I was recently given a set of Japanese chisels by an astonishingly generous member of the MIG welding forum, so I decided to put one of them to use for shaping the backs of the planes. Work-in-progress shot:
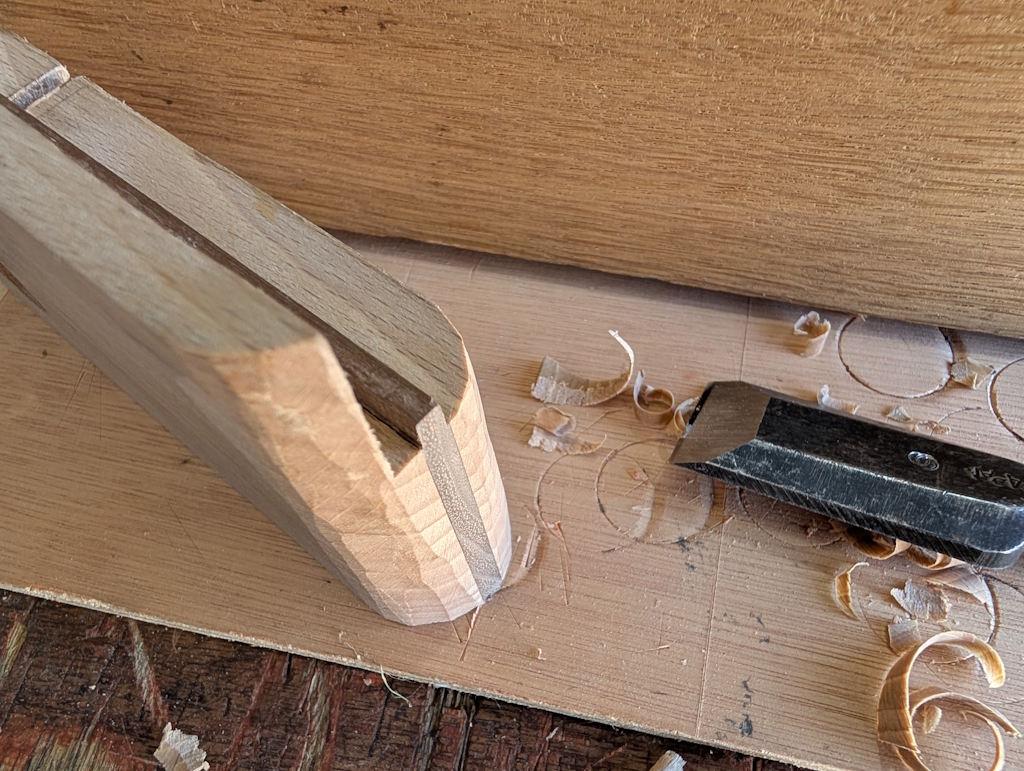
When I did that on the first set of grooving planes I used a round-over bit in the screaming monster (electric router). Doing it with a chisel is a far more pleasant experience.
Once the back was rounded over, I did a lot more in the way of chamfering and rounding over with my little block plane:
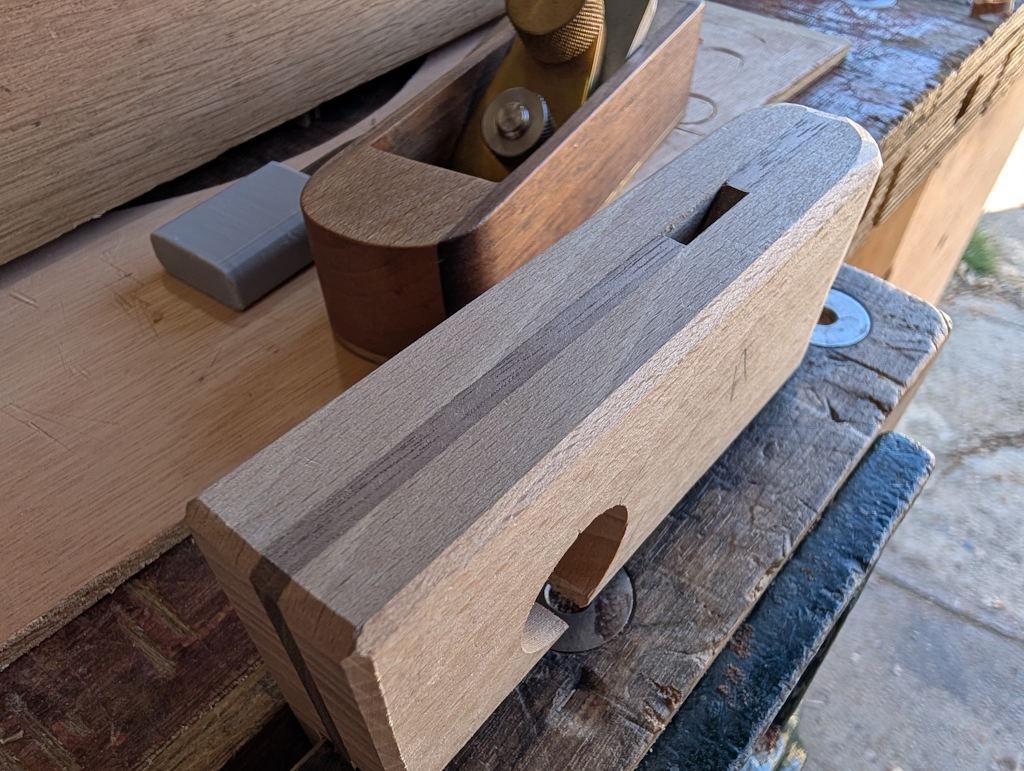
The wedge got shaped mostly by chisel, with the finger indent roughly shaped with the chisel bevel-down:
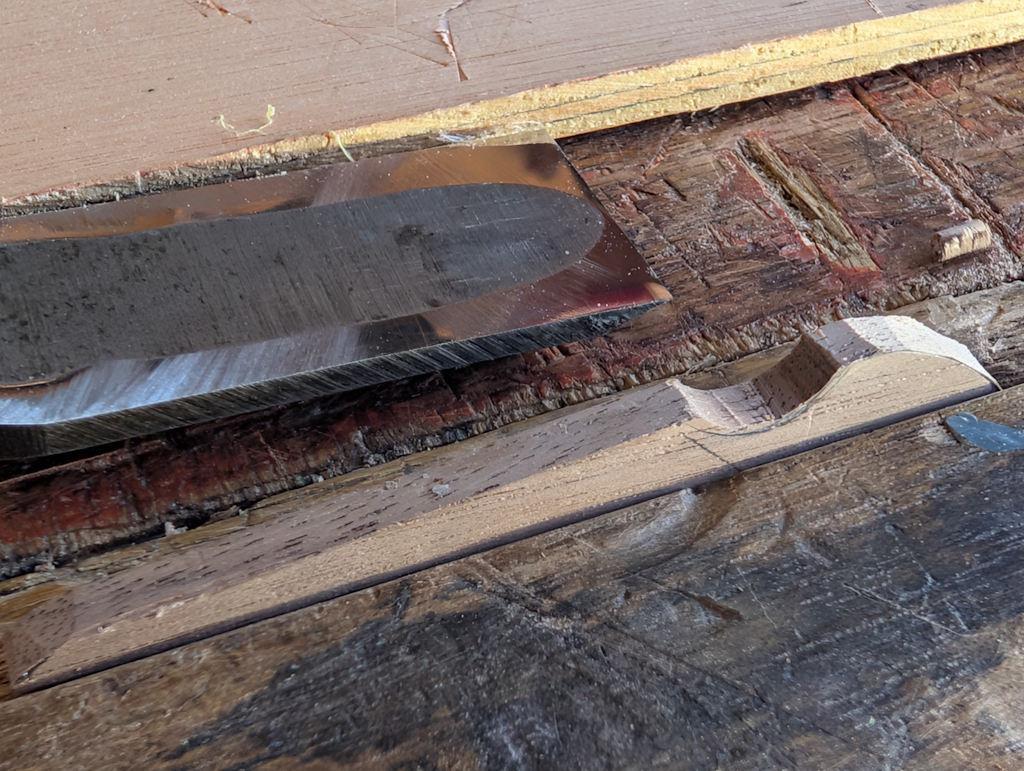
My curvy thing chisel skills are somewhat lacking, so I finished the shaping with a half-round file:
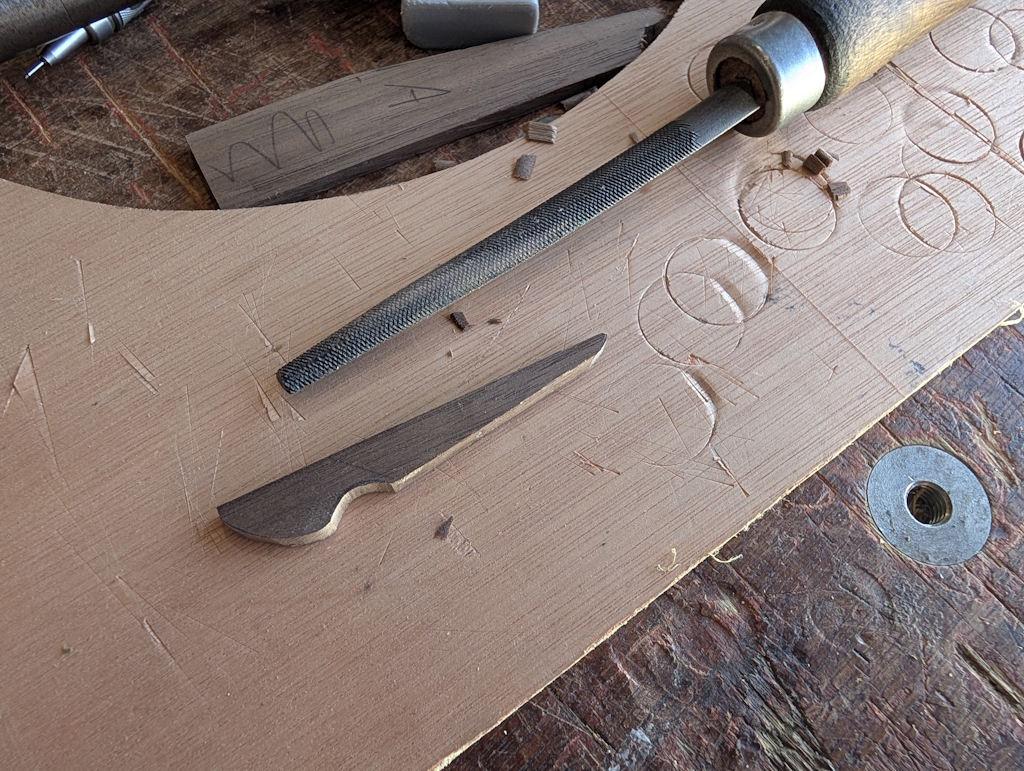
I also used the half-round file to round over the Forstner hole openings. I'd love to be able to do this sort of thing with chisels but I need to practise on some scrap pieces rather than something that's nearly finished!
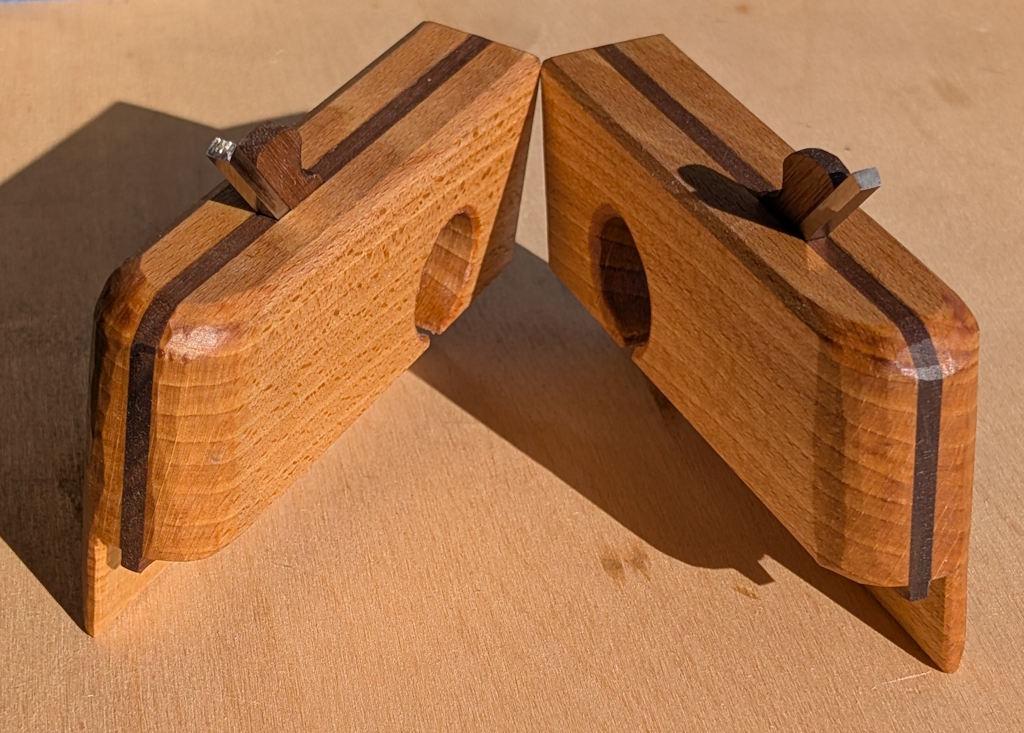
With that done, the planes were essentially complete: they just needed a few coats of oil to protect them:
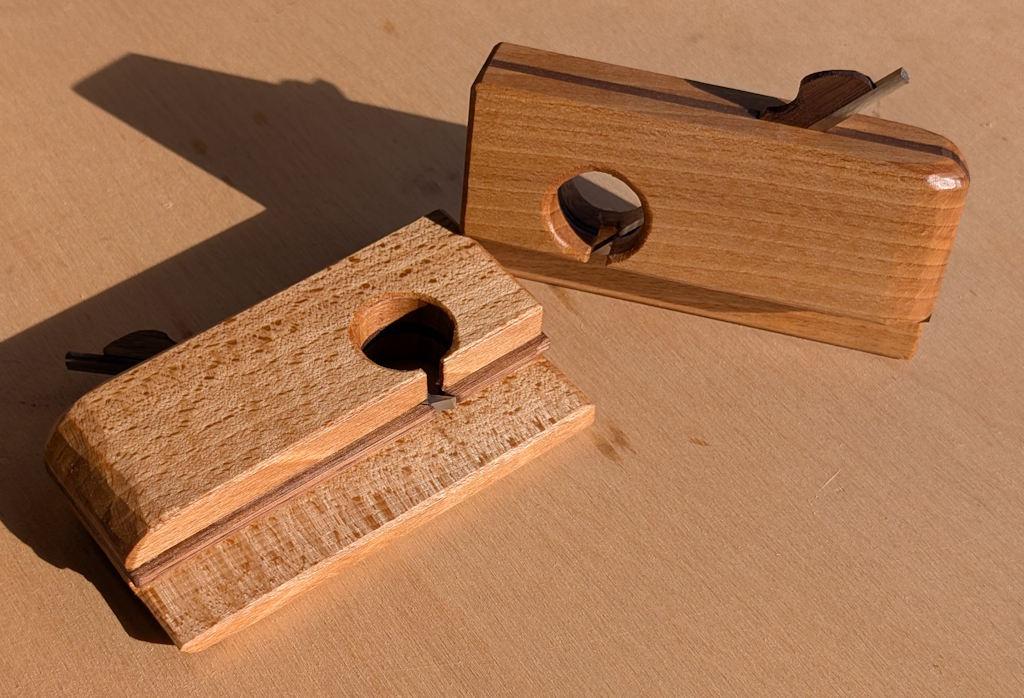
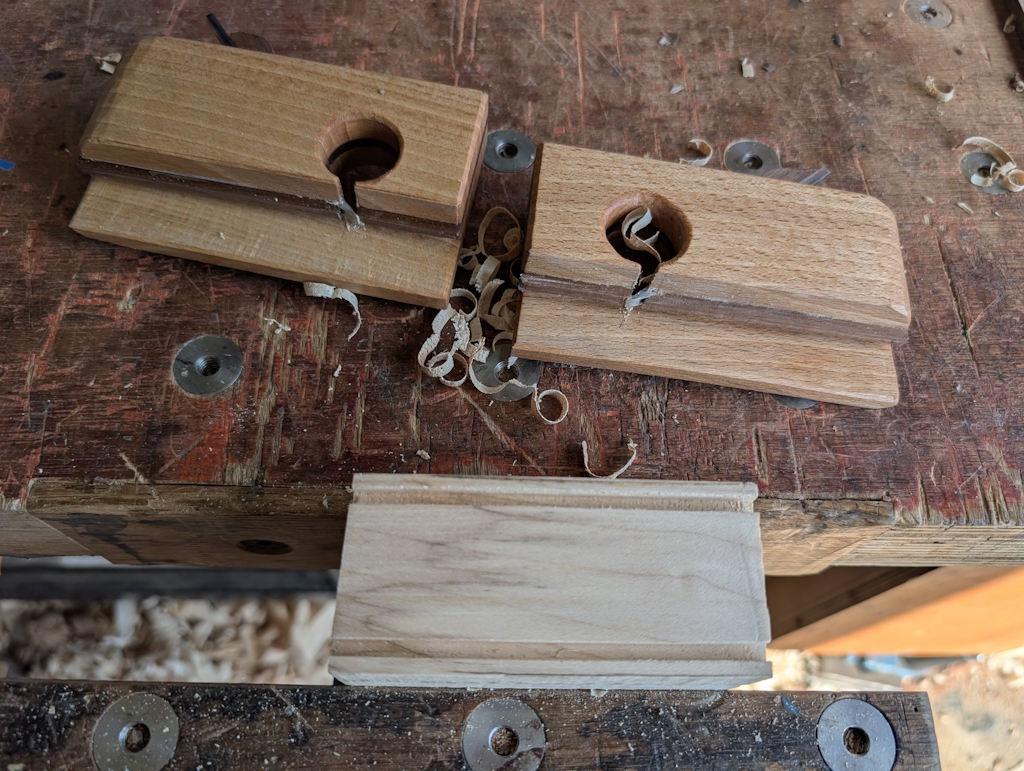
It would seem wrong not to finish with a quick test:
Page 3 of 3
This website is free and ad-free, but costs me money to run. If you'd like to support this site, please consider making a small donation or sending me a message to let me know what you liked or found useful.