Travel Tool Chest & Workbench Build Process
Page 10 of 144
Posted 21st January 2023
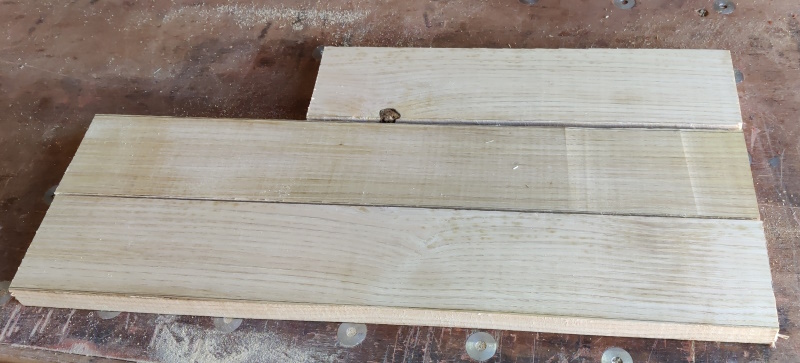
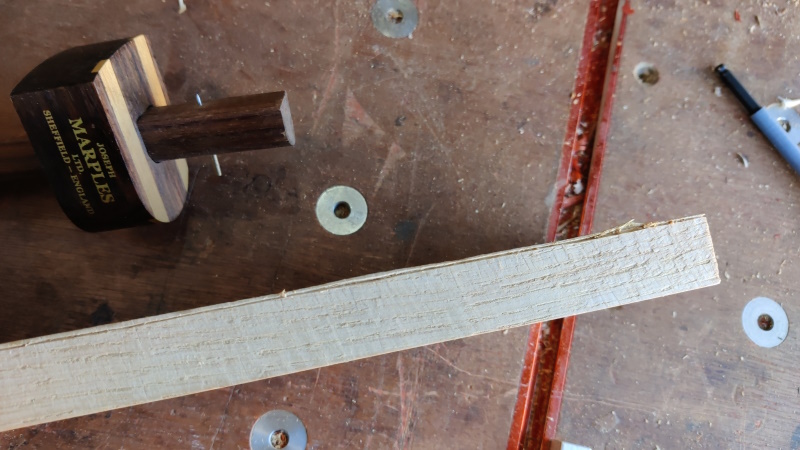
Sticking with the theme of "sometimes you've just got to start and see what happens", I decided to take the thinnest bit of wood and chop it into three pieces:
The two longer pieces are 560 mm; the shorter one is whatever was left; about 360 mm. The current plan for the chest is to make it 550 mm wide and 300 mm tall, so cutting the piece into those lengths should work quite well I think. It'll be 350ish mm deep, so each face will be made up of several pieces joined together.
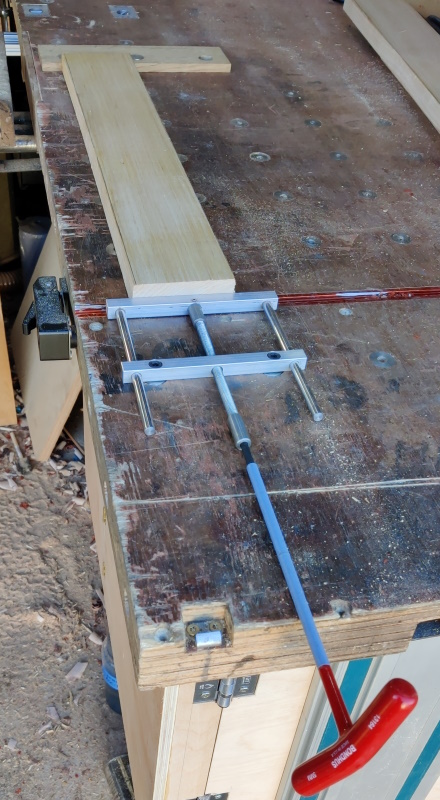
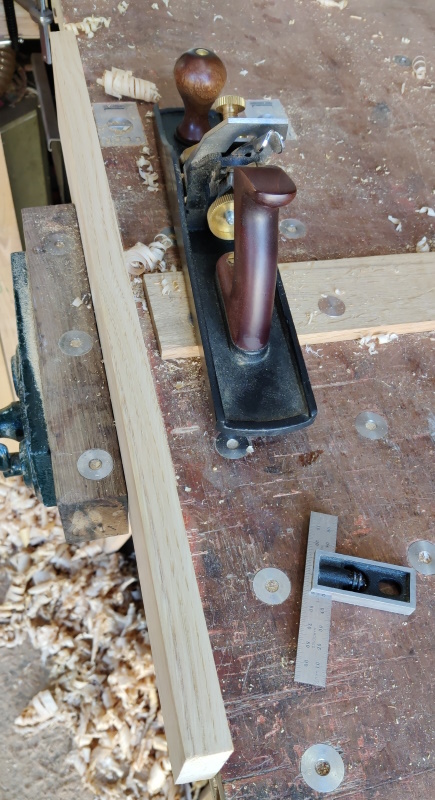
Next up was to clamp it with my dog hole tail vice and start cleaning up the first face:
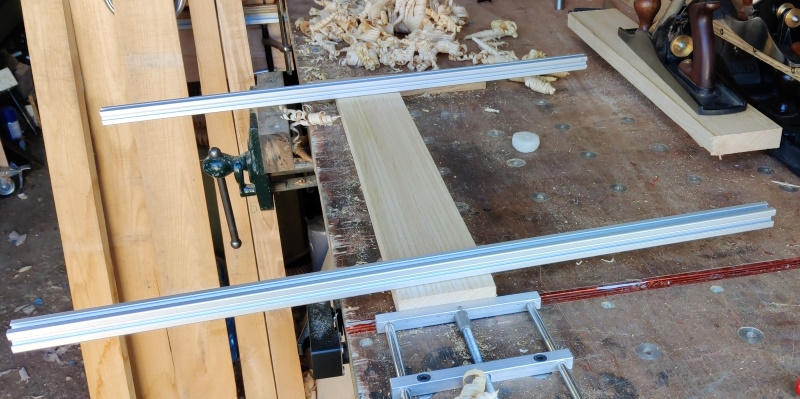
I used my simple winding sticks (just some lengths of 2020 extrusion I pulled out of a skip) to check for twist:
and gradually worked at it until I was happy that it was flat and untwisted.
I'm aiming for about 20 mm thickness and after checking this first piece (remember that I picked the thinnest board for my first attempt), it was tapered such that one end was only about 18 mm.
I think it was partly that I'd looked (not very closely) at one end and seen some yellowy colour and thought I hadn't planed enough of the saw marks off. Looking at it more closely later, I realised that the yellowy colour was quite deep in the material and is presumably just a characteristic of the wood.
Rather than carrying on with that one, I thought I'd put it aside for now (I can always use it elsewhere in the project) and get the second 560 mm board out.
That one came flat and untwisted a lot quicker and was thick enough that I thought I stood a chance of getting 20 mm after planing.
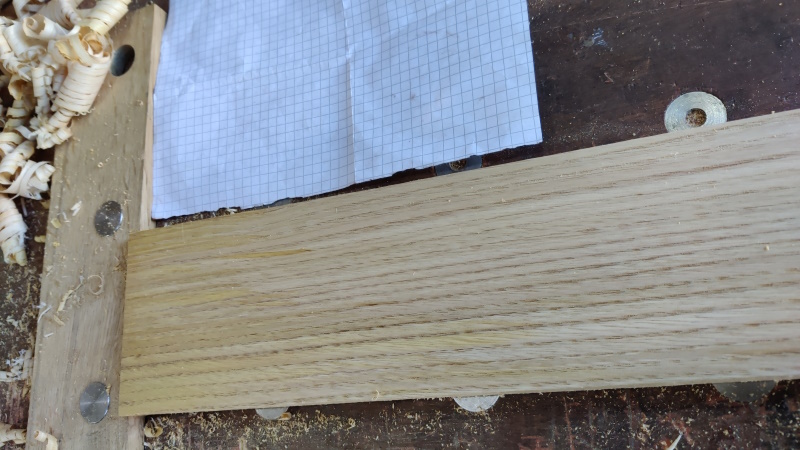
I got my pin marking gauge out and set it to 20 mm and then used it to mark all the way round all four sides.
After that I got on with the bit I was most nervous about: planing it to thickness. I've tried this a few times in the past with mixed results (hence buying a thicknesser). I'd like to get better at doing this by hand so I'll use this project as an opportunity to practise (although I'm not ruling out using the thicknesser rather than a scrub plane when there's a lot of stock to remove).
Anyway, after taking it steadily and checking the line very very regularly I got a thicknessed board:
Checking with some calipers, the thickness on the corners varied from 20.05 mm to 20.25 mm, which is good enough for me!
The next job was to stick it in the vice and get the first edge square:
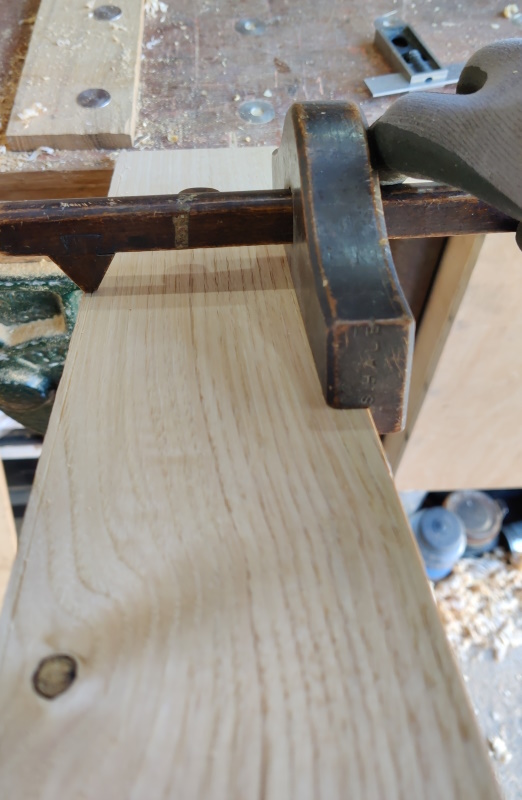
I didn't want to move the setting of the pin marking gauge, so I thought this was a perfect opportunity to get out the panel gauge that I picked up late last year in a junk shop:
That gauge was just set to the thickness I thought I could get out of the board rather than a specific target number; I'll work out what thicknesses I want later. I could then work my way down to the line, trying to get it square and at the right thickness all at the same time, which I always find a bit of a challenge. Nevertheless, on this occasion at least, it worked and the board was amazingly about 0.1 mm difference in width across the 560 mm length – I'm sure that was as much luck as judgement!
Anyway, that's one piece done. There's one more to do out of that plank and another 9 planks; with 3 pieces per plank I've probably got 28 more attempts to get good (or consistently bad!) at this. At some point along the process I'll have to work out how many of these I actually need so I don't end up with a huge pile of perfectly squared pieces of completely the wrong length for their intended purpose.
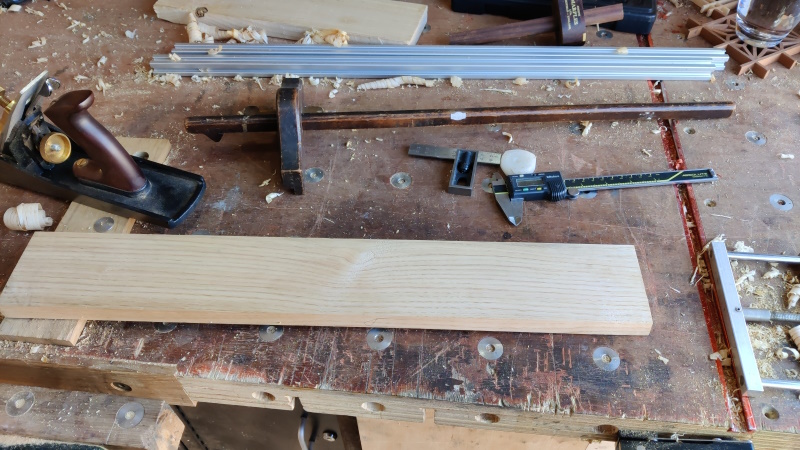
Anyway, here's a picture of the one board I've done along with all the tools I used:
Page 10 of 144
This website is free and ad-free, but costs me money to run. If you'd like to support this site, please consider making a small donation or sending me a message to let me know what you liked or found useful.

 Return to main project page