Travel Tool Chest & Workbench Build Process
Page 11 of 144
Posted 28th January 2023
I didn't make it out to the garage during the week, so I've still got lots of bits to plane; I'm gradually working through them though and I'm getting quicker and more accurate as I go so that's quite nice. It's amazingly satisfying when planing the second face of a piece of wood to see the gauge lines appear all the way round the perimeter of the face during a single pass with the plane.
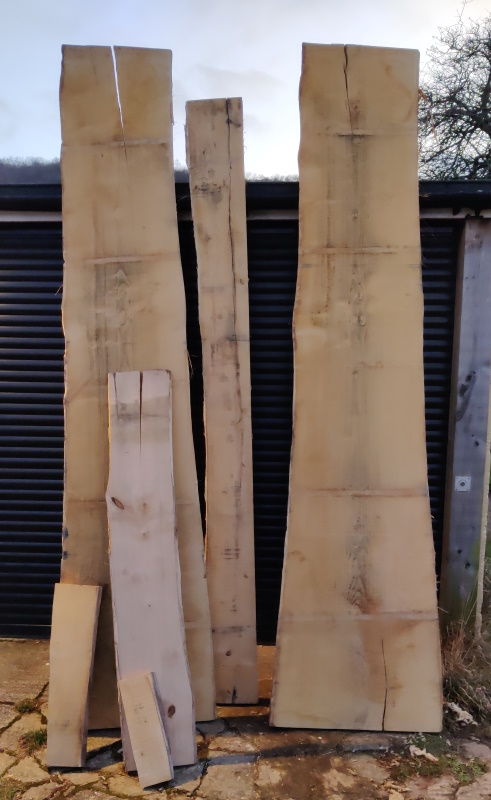
Yesterday I had a trip out to Wentwood and came back with some more sweet chestnut; this lot should keep me going for a while and will hopefully mean I've got enough for the tool chest and also the garden table when I've figured out what that's going to look like.
Garage for scale!
The big pieces (which seem to be cut across the centre of the tree so have something close to quarter sawn grain on either side) are 3 metres long and about 550 mm wide in the middle. The narrower long one is 50 mm thick and also pretty close to quarter sawn – I thought that might be good for the legs of the garden table. All the bits apart from that one are about 30–35 mm thick.
I had some help loading the longer pieces onto the roof:
Hopefully I won't need to get into any of my drawers (in either this unit or the one under the milling machine) any time in the near future!
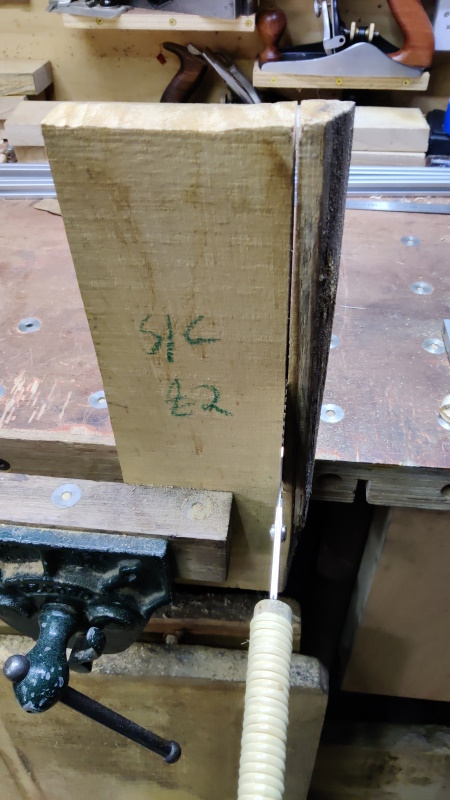
While I was planing the pieces I'd previously cut, I also got the saw out on the two little offcut pieces from Wentwood. This one will be long enough to make part of the sides of the tool chest:
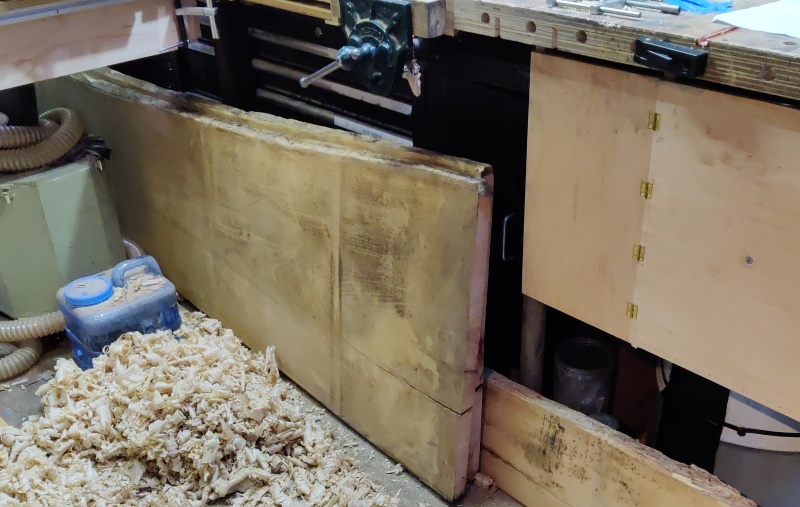
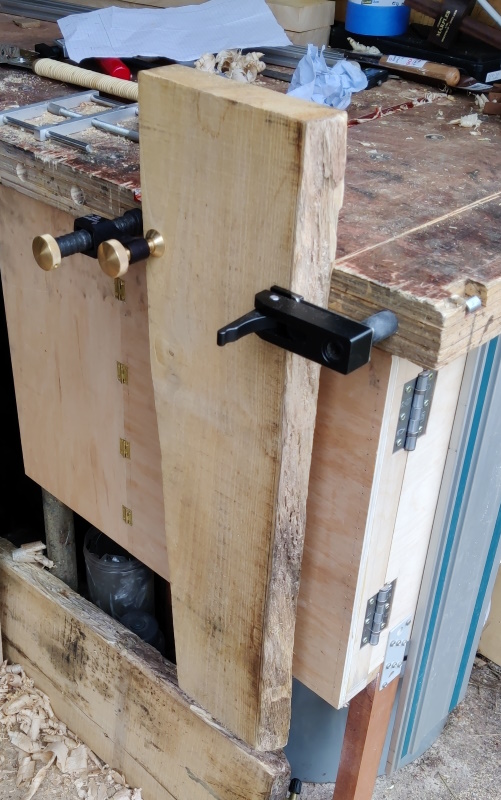
This one (which I couldn't clamp in the vice as the big planks under the bench got in the way!) will be long enough to make part of the top surface:
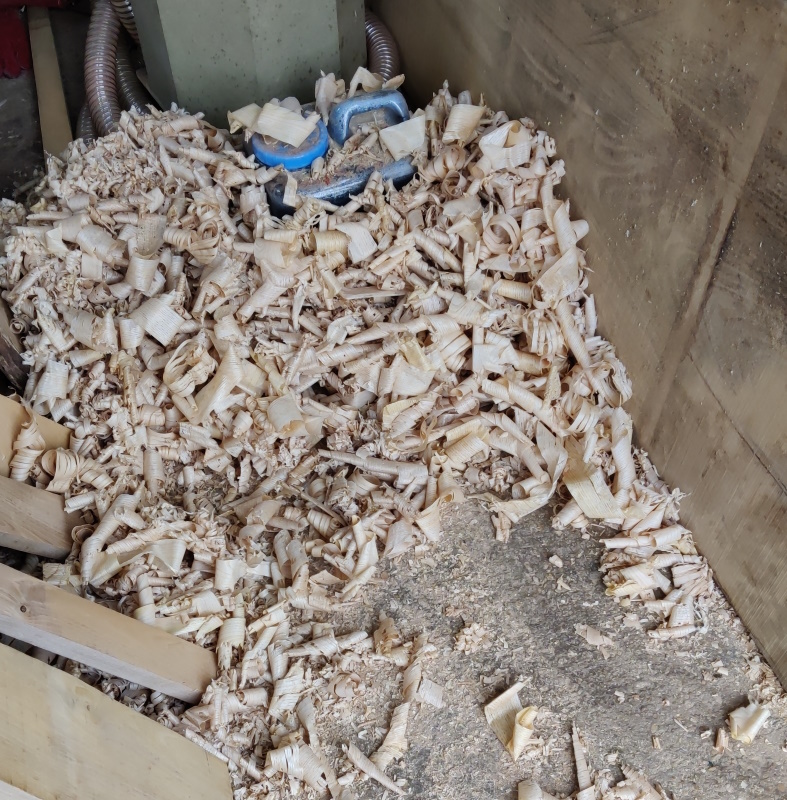
After sawing those two up, it was back to planing. I'm going to have to sweep the floor pretty soon I think...
Page 11 of 144
This website is free and ad-free, but costs me money to run. If you'd like to support this site, please consider making a small donation or sending me a message to let me know what you liked or found useful.

 Return to main project page