Travel Tool Chest & Workbench Build Process
Page 103 of 144
Posted 28th October 2023
Welcome to the next instalment in this rather slow but someone epic toolchest build. Are you sitting comfortably? Then I'll begin.
I'd investigated a few other types of threaded fastener, but in the end I decided to stick with the ones I had. I did a few careful measurements and I think I should be able to use standard length M6 low-head cap screws and get a decent amount of thread engagement in the insert.
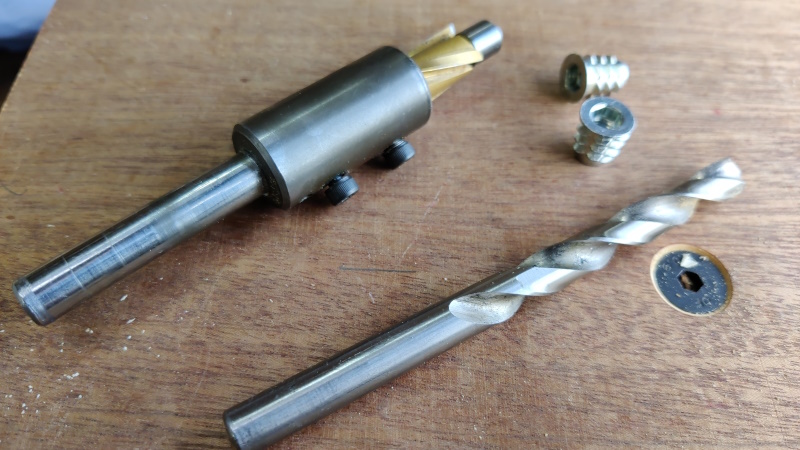
To that end, I started by collecting some hole-making tools: a 9 mm drill bit and a counterboring tool with a 9 mm alignment piece and a 13.5 mm cutter:
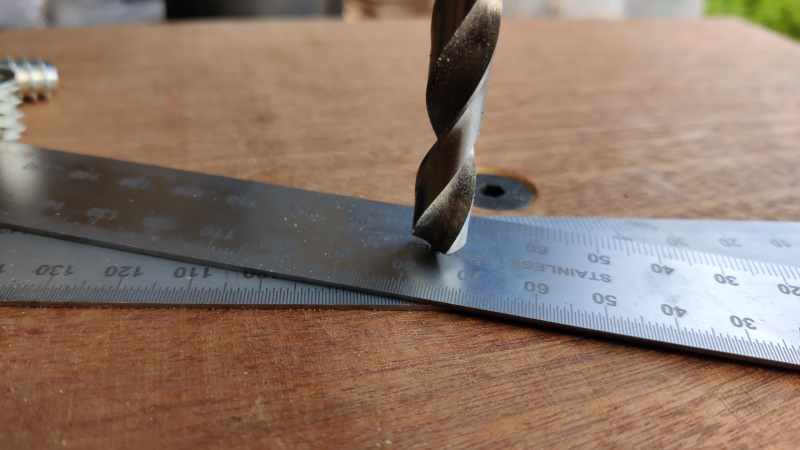
To set the depth on the hand pillar drill, I extended the quill as far as it would go and then lowered the head down until the drill bit just touched a couple of 1 mm thick steel rules.
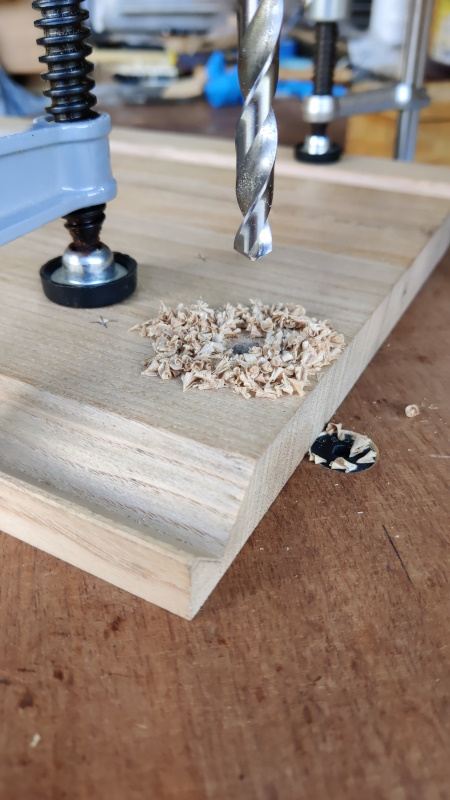
There was a brief interlude while I sharpened the drill bit and then I proceeded to drill all the holes...
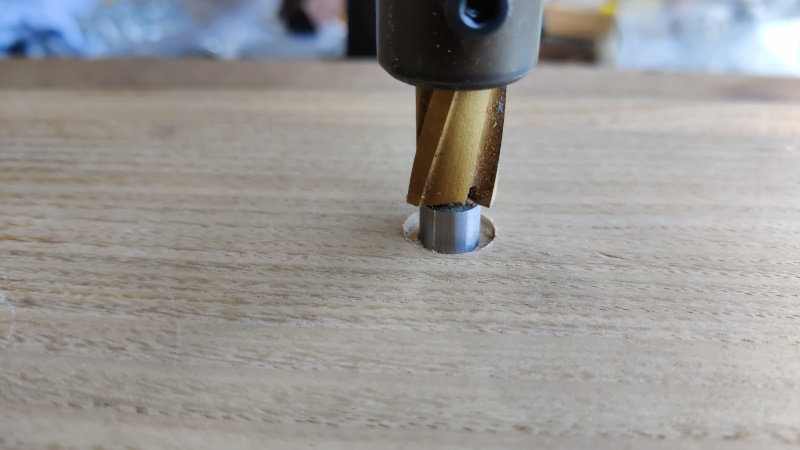
... and then counterbore them. I didn't use a depth stop for counterboring, I just turned the pillar drill's handle until the counterbore started to cut, then turned it 10 more times (based on experimentation on the first hole) for consistency.
That left the counterbore deeper than the head of the threaded insert, so I'll still be able to take a very light smoothing plane pass if I want to later.
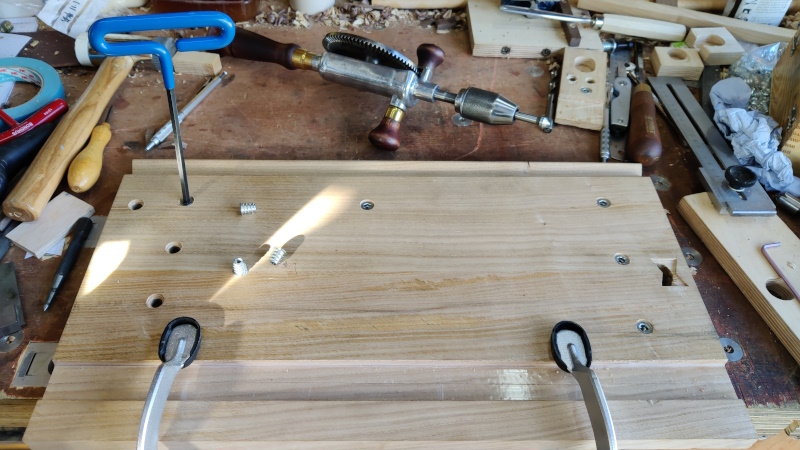
To help get the inserts started (and to compensate for a small fillet on the inside of the insert), I put a 12 mm countersinking bit into a hand drill and chamfered the 9 mm hole slightly. I could then screw in the inserts using a t-handled non-ball-end hex key (to help ensure they went in straight).
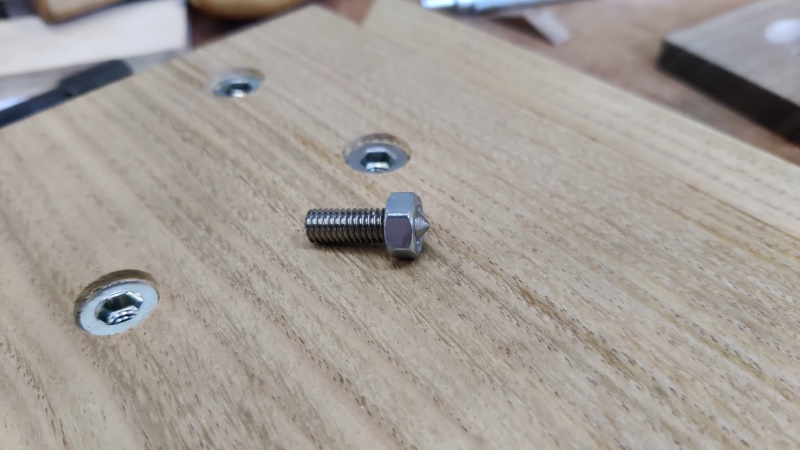
That left one more hole to be drilled: an access hole to get at one of the screws in the mitre fence. To locate that, I turned a (not especially sharp) point on a bit of M6 threaded rod and then superglued a nut to it:
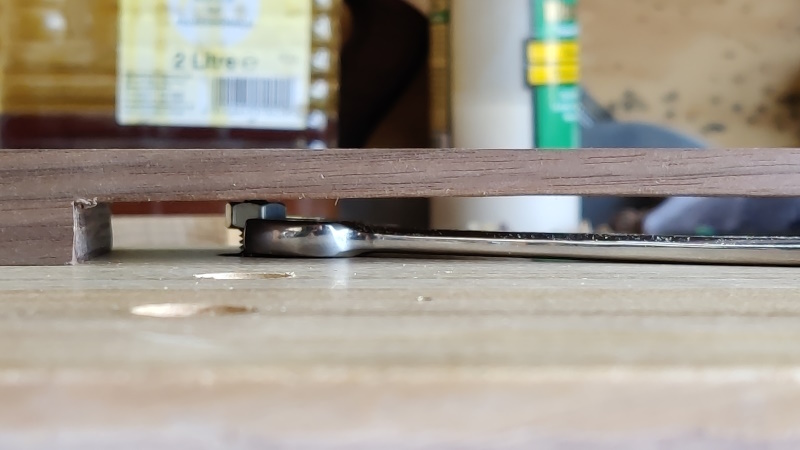
That got screwed into the relevant fence-mounting hole and then the mitre support got attached and a spanner was used to raise the locating screw until it dug into the mitre support:
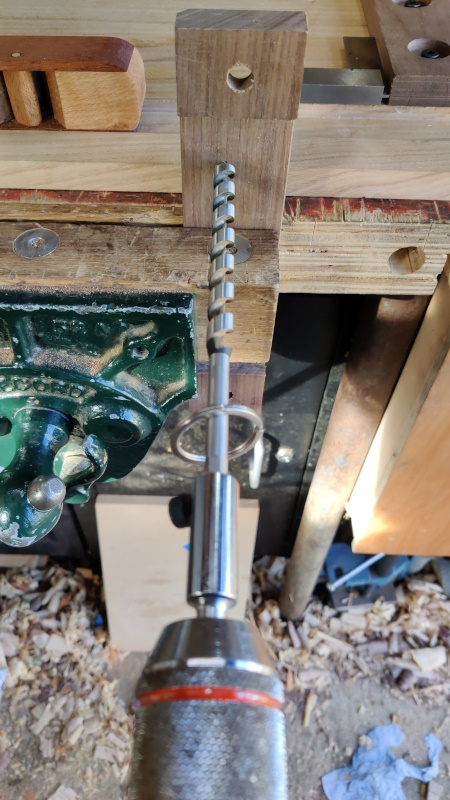
I then went with the relatively quick option of a brace to drill the hole (starting from one side and then finishing from t'other):
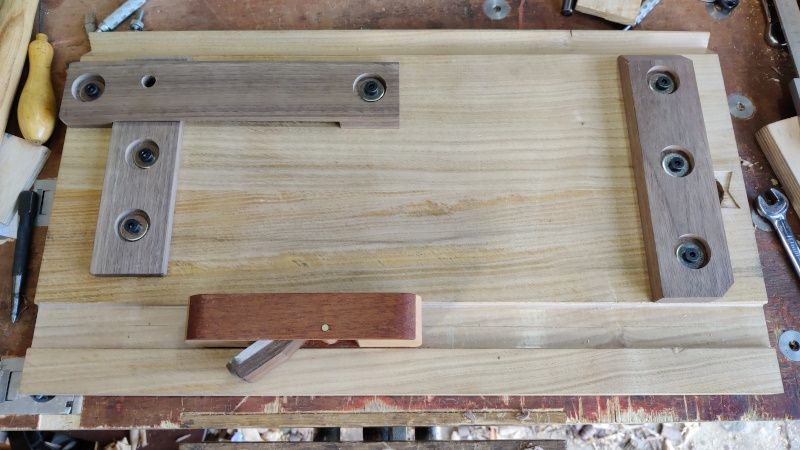
Time for a test fit:
I think that's everything done on the shooting board now, except for gluing in the lock pieces and the Dutchmen. Note I said "men". Before carrying on, I made another butterfly thing and used the same method as posted yesterday (chisel, knife & router plane) to cut out the shape on the other end of the shooting board. I didn't take any photos of that process.
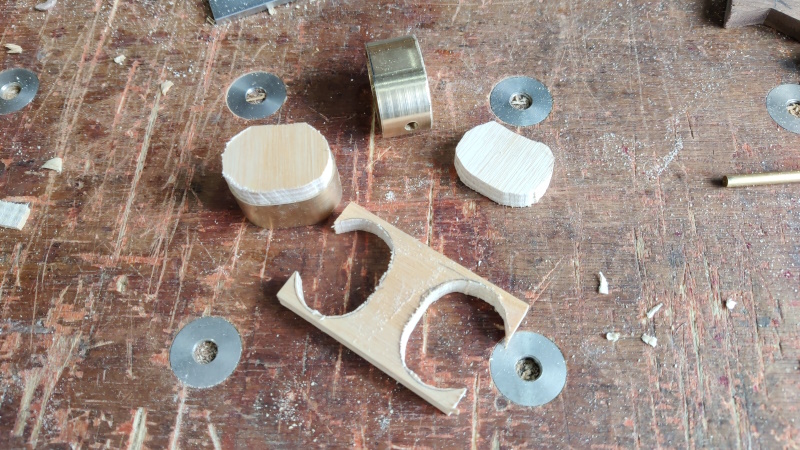
The first things to get glued in are the brass pieces. To help press them down firmly, I drew round them on handy bit of wood and cut the shape out very roughly with a coping saw:
I then coated one side of each clamping pad with parcel tape to help keep it from sticking to the brass.
A couple of bits of plywood were also coated in parcel tape to put on the butterfly side of the board. I'm sure there will be plenty of epoxy that oozes down the sides of the butterfly hole, but hopefully there won't be too much on the face of the board as the parcel-tape covered plywood bits will stop it leaking round the corners.
I also put parcel tape over the hole into which the brass bit will go and then cut round the hole with a knife. That was intended to keep the squeeze-out off the wood and it seemed to work given that I only remembered to do the parcel tape on one of the two holes so I could see how effective it was on the one I remembered vs the one I didn't.
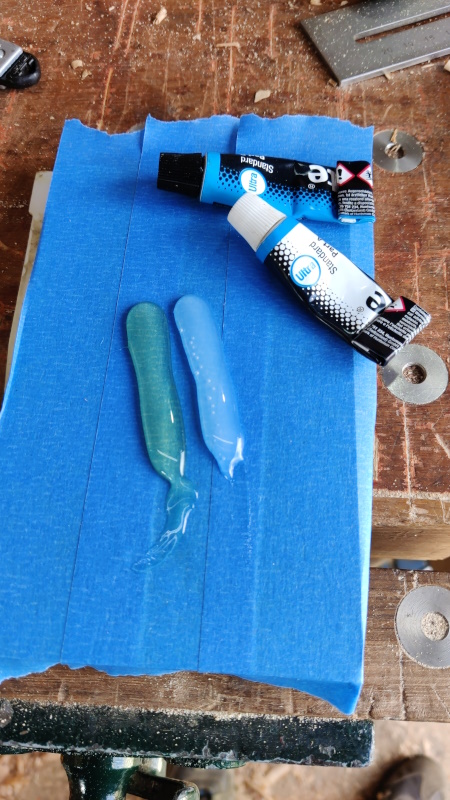
With everything (apart from the missing bit of parcel tape!) prepared, I mixed up some epoxy on some masking tape:
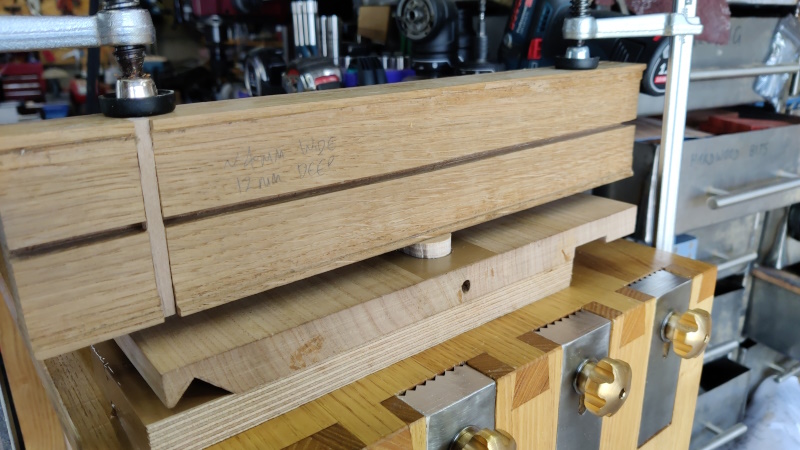
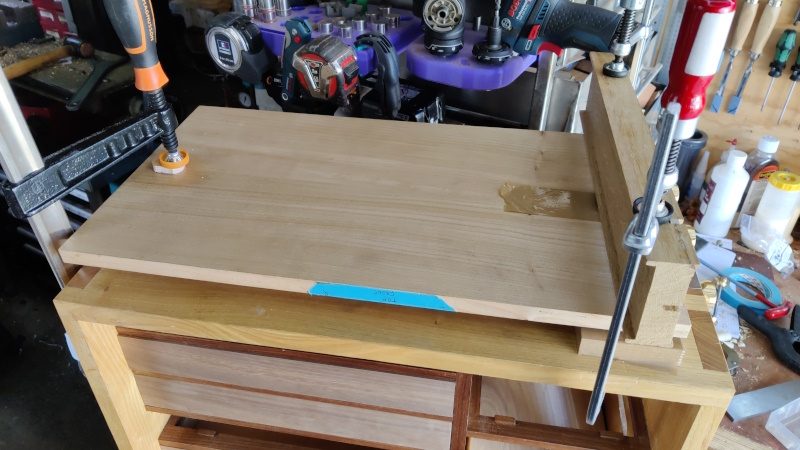
Then used the clamping pads and a handily thick bit of wood to clamp everything down on top of the tool chest (to keep it out of the way):
The other end was clamped directly down as I could get access to the underside of the toolchest at that end:
If you look at the left-hand end of that picture, you can see the darker area of wood where I wiped the excess epoxy off with some IPA on a rag.
That's going to take a long time to cure now. I'm pondering fitting the butterflies before the epoxy has fully cured (I'll leave it a good few hours before doing so though). Alternatively, I could leave it until tomorrow morning and then fit the butterflies, but then I probably won't get them planed down and the shooting board finished until next weekend.
Page 103 of 144
This website is free and ad-free, but costs me money to run. If you'd like to support this site, please consider making a small donation or sending me a message to let me know what you liked or found useful.

 Return to main project page