Travel Tool Chest & Workbench Build Process
Page 104 of 144
Posted 28th October 2023
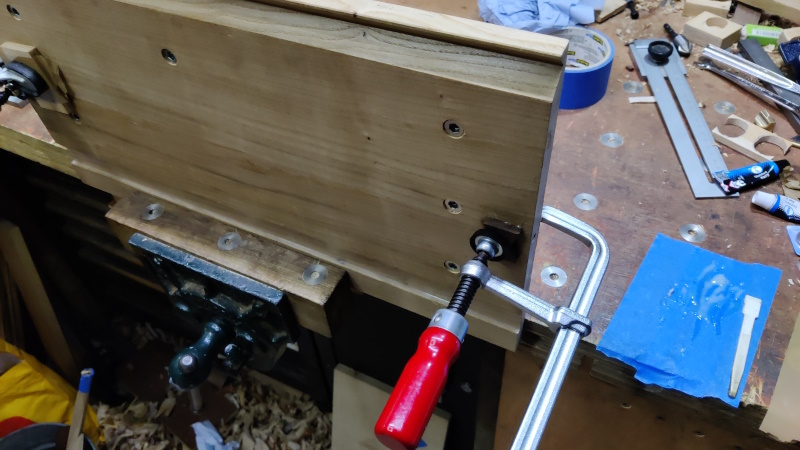
Just before coming in this evening, I decided I was going to be impatient (as if you couldn't have guessed that was going to happen). I took the shooting board out of its clamps, flipped it over and had a look under the parcel tape covered plywood bits. The epoxy that had squeezed out into the butterfly slot was still fluid, but very viscous, so I figured what the heck and scraped the excess out before replacing it with some fresh stuff and attaching the butterflies with clamps:
(the other side of the clamp is holding onto the little coping-sawed-out bit of wood, which is pushed up against the brass insert).
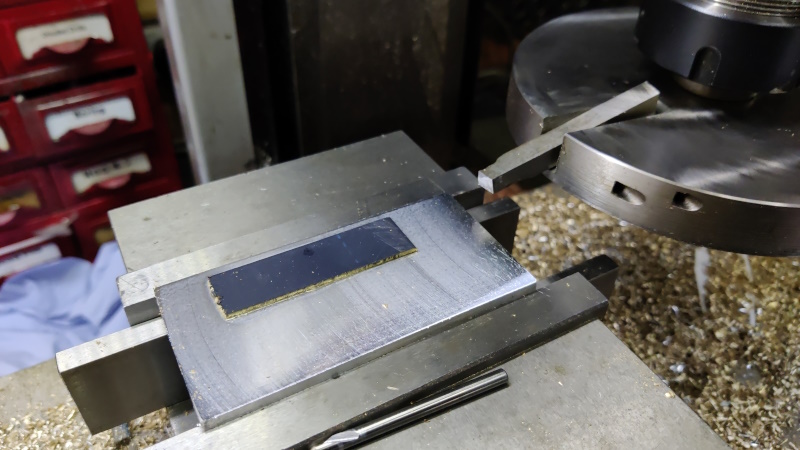
Before all that happened, I had some time to kill while waiting for the epoxy to do its thing. I grabbed a random scrap of aluminium out of the drawer and used a flycutter to skim the top surface of it on the mill. I then superglued a bit of thin (1.6 mm) brass to the aluminium and plonked a heavy lump of steel on top of it to hold it down while the superglue cured.
The blue covering on the brass is just a plastic protective sheet thing. I figured I'd leave that on while machining and take it off later.
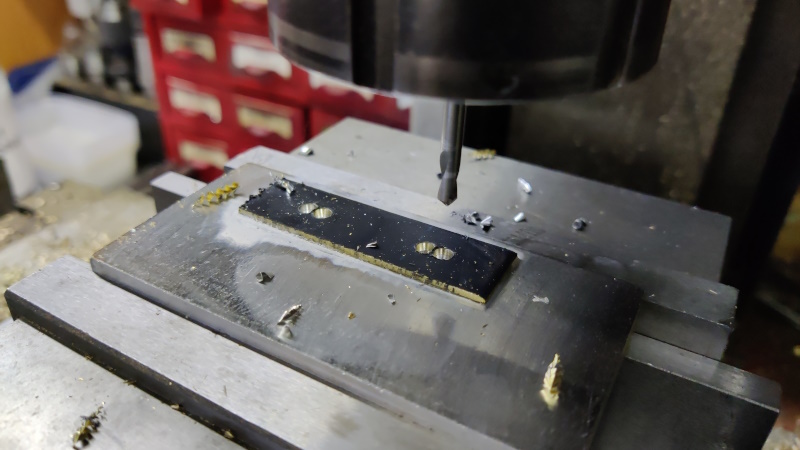
Once the glue was cured, I drilled four 4 mm holes:
I then replaced the drill bit with a 4 mm end mill (I don't have any 4 mm slot drills), inserted it into one of the drill holes and then joined the pairs of holes together. I then ran the end mill along the length on both sides of hole, to give to edges parallel with the slots.
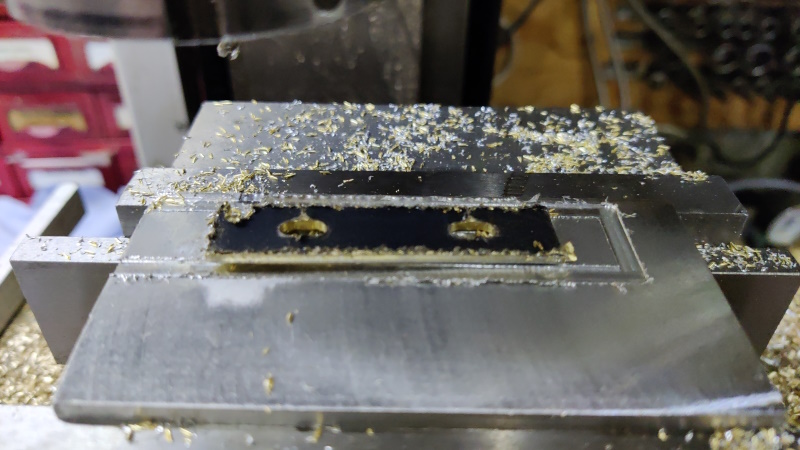
Finally, I started milling in the other axis to split the part up and sort out the ends of the pieces, but I'd obviously been a bit over-eager and let it get warm enough to soften the superglue (either that or I was suffering from the fact the superglue is about 5 years old).
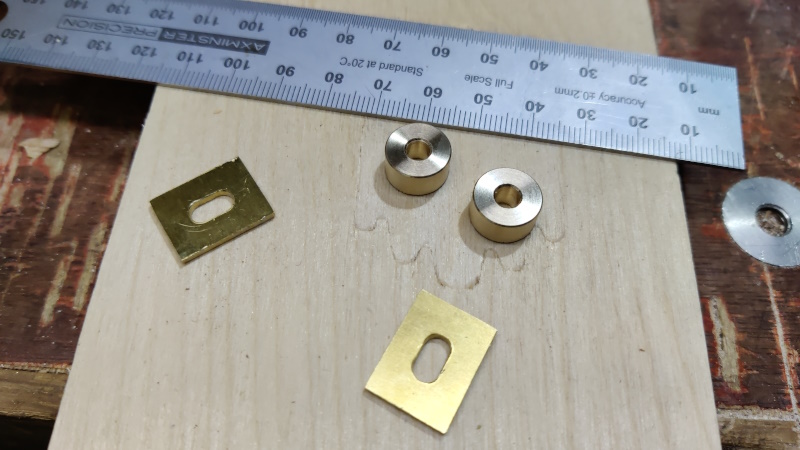
Not the end of the world though: I'd done the important bit (getting the sides parallel to the slot). I marked the ends with a square and a scriber and finished them with hacksaw and hand files.
While I was at it, I also made a couple of simple brass bushes: 12 mm OD and 4.1 mm ID.
I haven't decided whether to use the brass cylinders yet, but if I do they'll be inserted into the end of the shooting board to guide the travel of the locking pin.
The thin brass slotted pieces will be inserted into the sides of the chest to give somewhere for the pins to go (the slots will allow for some wood movement).
Page 104 of 144
This website is free and ad-free, but costs me money to run. If you'd like to support this site, please consider making a small donation or sending me a message to let me know what you liked or found useful.

 Return to main project page