Travel Tool Chest & Workbench Build Process
Page 106 of 144
Posted 29th October 2023
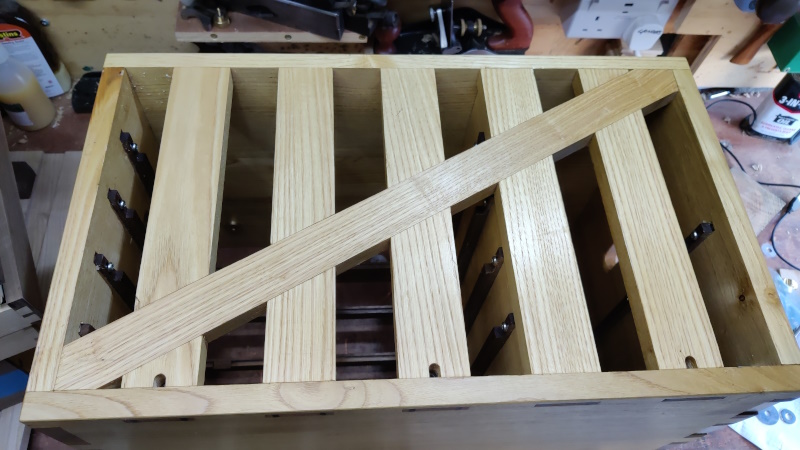
Buoyed by the success (ish) of the butterfly Dutchmen, I thought I'd deal with a longer-standing issue:
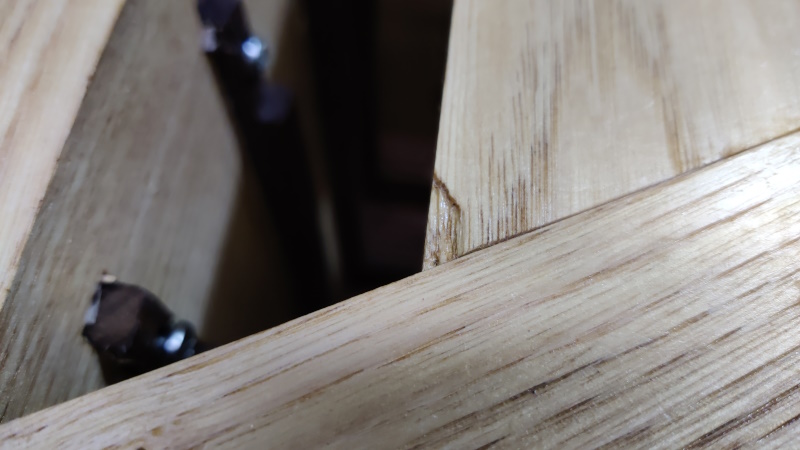
If you look closely at the bottom-left of that picture, you might spot the issue. When I was originally planing the back of the chest back in May or thereabouts, I was working my way up the diagonal with the smoothing plane and the blade caught on the edge of one of the uprights and tore a chunk out. This sort of planing (where two pieces join at such an angle that planing along one grain is planing across another) is definitely not something I've mastered yet. A closer look:
It's hidden behind the vice jaw thing when that's fitted, but nevertheless it was going to bug me if I didn't do something about it.
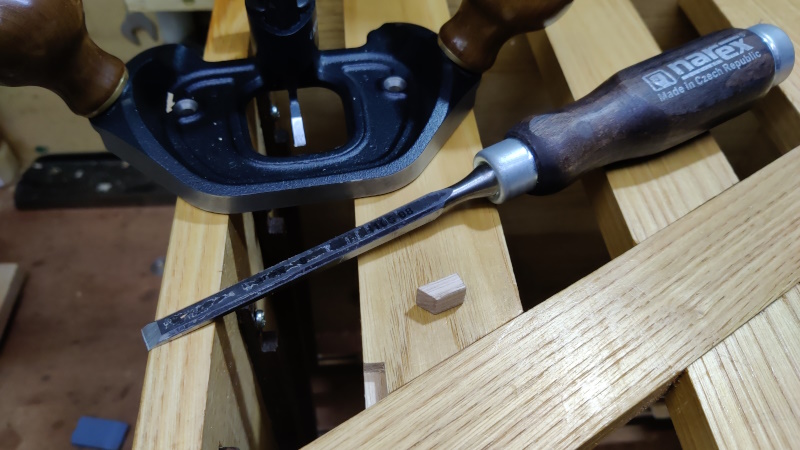
Being on the flat back surface of the chest, access was quite easy with an 8 mm chisel and my beloved router plane. I was very cautious with the down-cuts with the chisel as there's nothing supporting the underside of the uprights, but it went very smoothly.
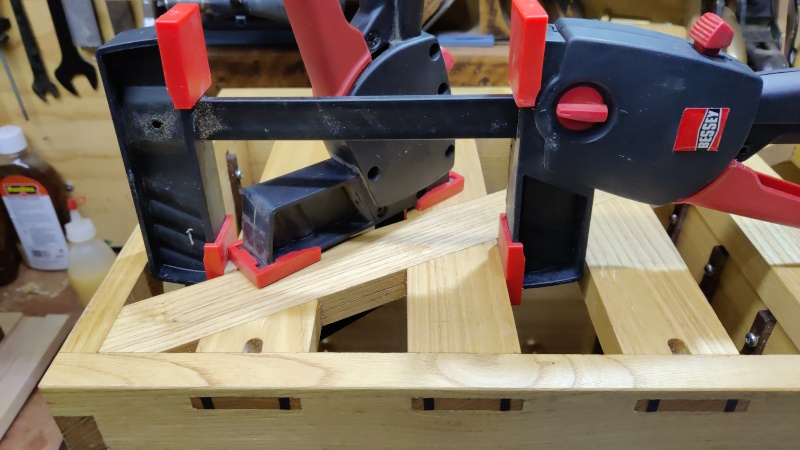
Clamping was a little more awkward on such a small piece; this was the best I could come up with:
I used fish glue so it needs a fairly long time to dry. I'm not sure how busy my evenings are going to be this week, but worst case I'll tidy it up next weekend.
Page 106 of 144
This website is free and ad-free, but costs me money to run. If you'd like to support this site, please consider making a small donation or sending me a message to let me know what you liked or found useful.

 Return to main project page


