Travel Tool Chest & Workbench Build Process
Page 105 of 144
Posted 29th October 2023
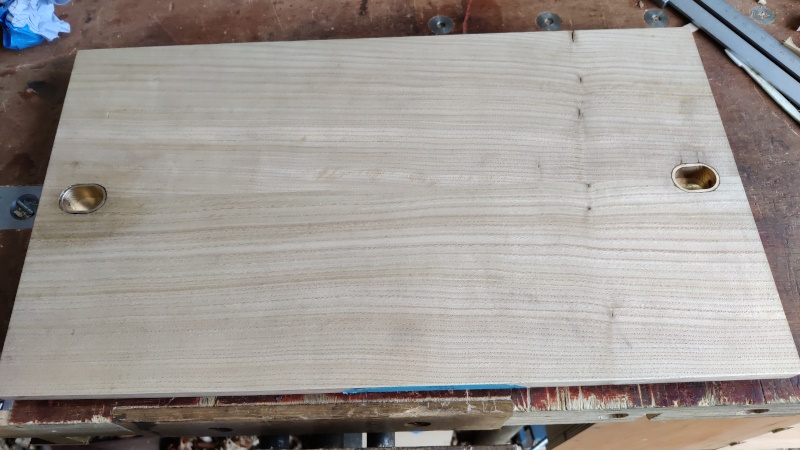
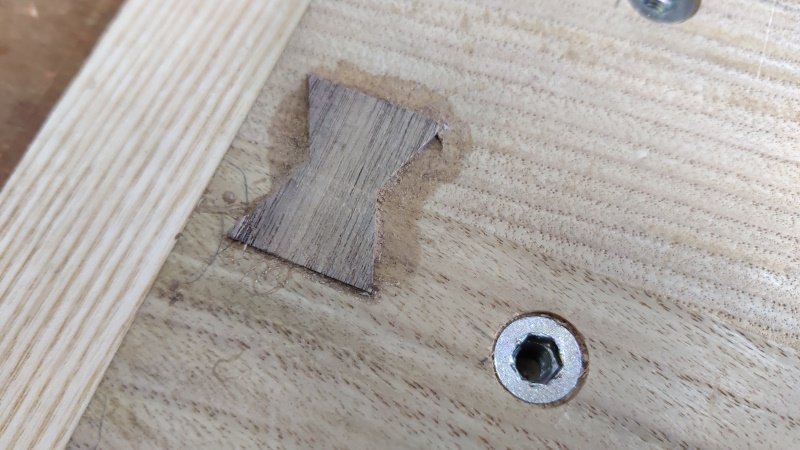
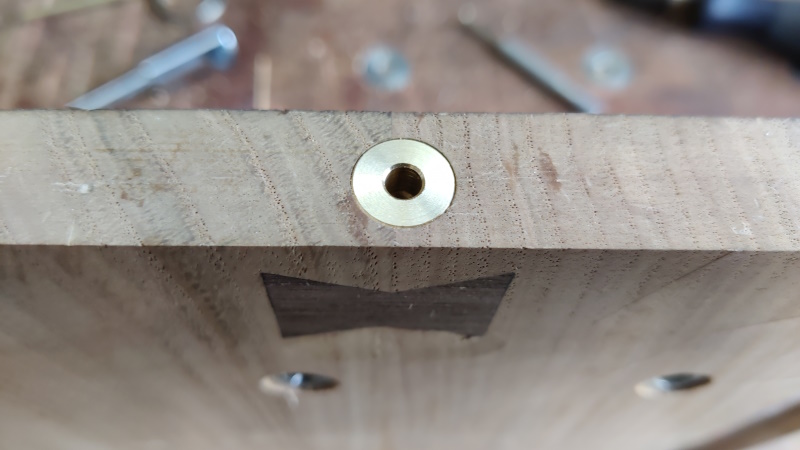
Having taken the clamps off, this is what one side looked like:
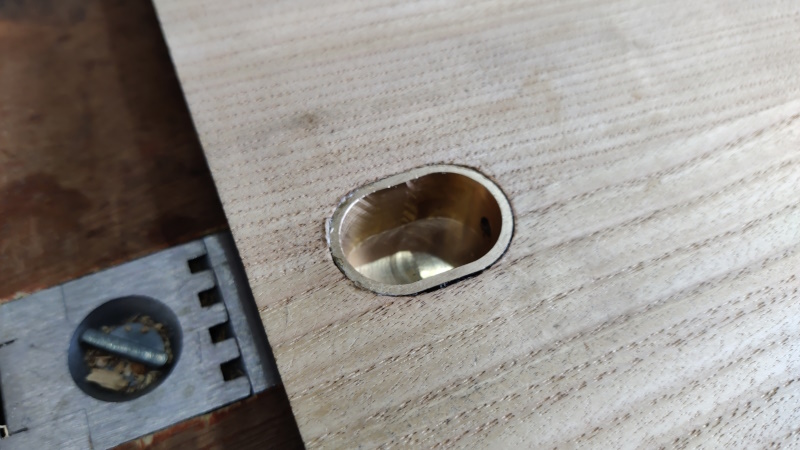
It's a bit gappy around the edge of the brass, so I guess my chopping wasn't perfect:
The second side looked like this:
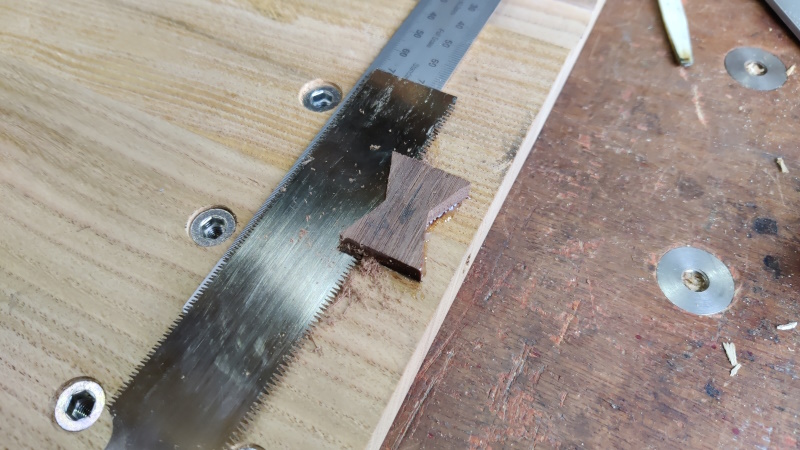
I sawed off the excess with a flush-cut saw, but decided to put it on top of a 1 mm thick ruler rather than trying to cut it flush. I could then clean it up flush with a smoothing plane.
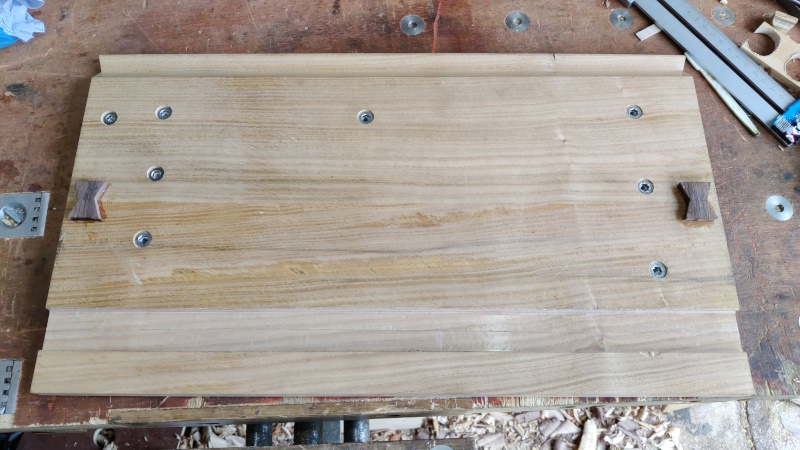
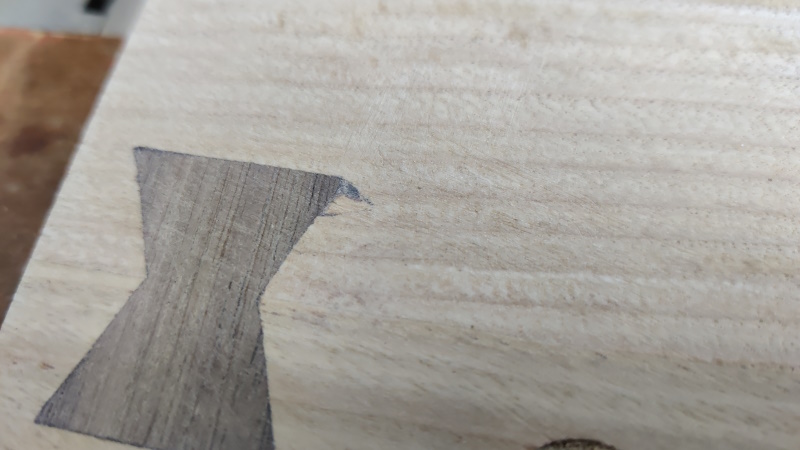
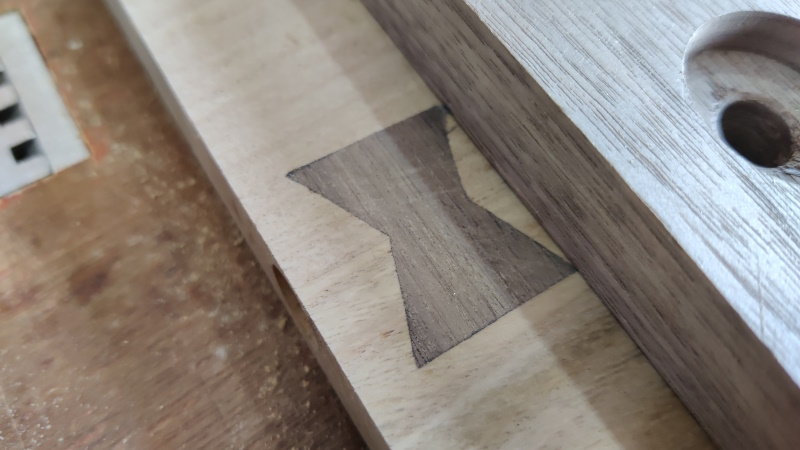
That bout of impatience yesterday showed its ugly head on one of the butterflies: the thin and unsupported bit of chestnut had cracked slightly when I inserted the Dutchman (visible in the top-right of this image):
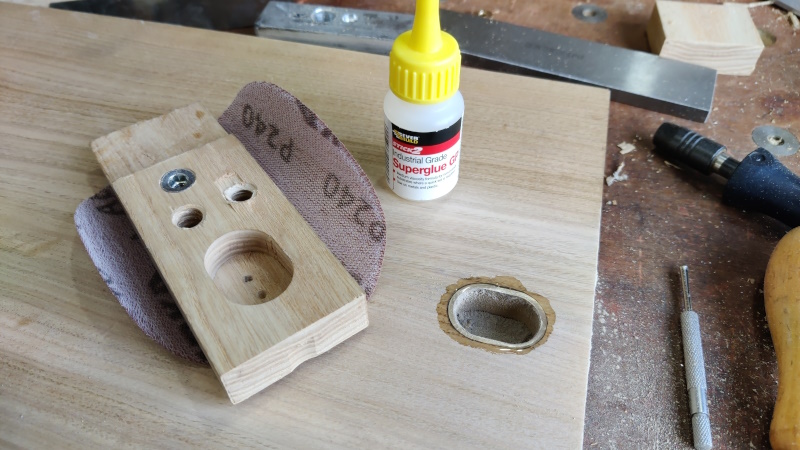
As there were a few little gaps to fill (including the small knots that I mentioned a month or so ago). I thought I'd try out the sanding-dust-and-superglue method to fill these as they're all quite small. I've tried this a few times before (on oak I think) and not had a lot of success, but I couldn't think of a better way so I thought I'd give it a go.
The first problem was that I've managed so far without doing any sanding (apart from on the hand grip holes on the sides), so sanding dust wasn't something I had a stock of. I grabbed a random orbital sandpaper sheet and a block of plywood and attacked the outside face. I'm not sure I'd want to plane this face now given the presence of the brass, so it was the least impact thing to sand (I might still give it a once over with a card scraper later anyway).
That made a small pile of wood dust, which I carefully swept into a component bag and then stuffed into the various holes. I then dribbled on some (old) superglue, took a photo, then poured some more dust on top and tamped it down a bit with a plastic spatula. I was going to use a bottle of low viscosity superglue I had in the drawer, but it turned out to be significantly higher viscosity than the normal stuff (probably related to the "best before" date of September 2021!).
I did that on all the various holes and left it to dry for a bit. Once I was fairly confident it was fully cured, I rubbed all the bits with my 240 grit sandpaper pad. The results were similar to my previous attempts at sawdust filling (whether with CA or wood glue): a bit meh, but it'll do.
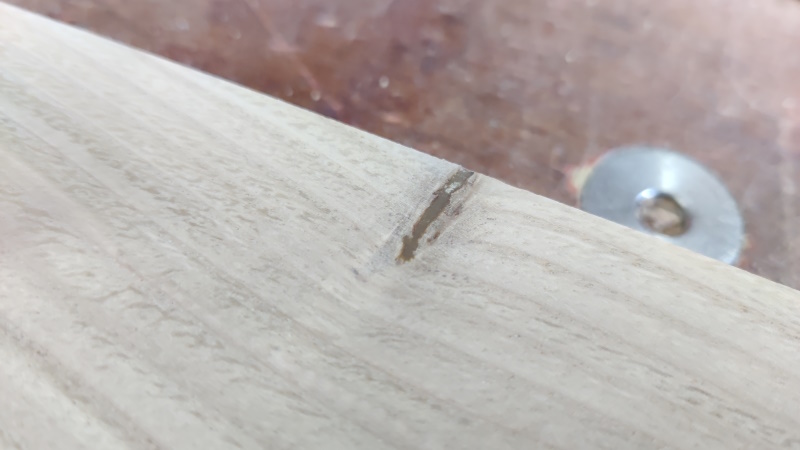
The crack is smoothly filled but fairly obvious:
However, once the fence is fitted, it'll be virtually invisible, so I can live with it:
I decided I definitely wanted to fit the little brass bushes I made yesterday. To help get them in the right place and with hole that's square to the end, I drilled a 12 mm hole in a bit of aluminium. After fitting both bushes in the hole in the aluminium, I could fit a bit of 4 mm brass bar all the way through the knob mechanism and out through the bushes and the aluminium offcut.
That made sure that the aluminium offcut's 12 mm hole was centred on the axis of the locking bar and, after clamping the aluminium offcut in place, I could remove the 4 mm brass bar and the two bushes.
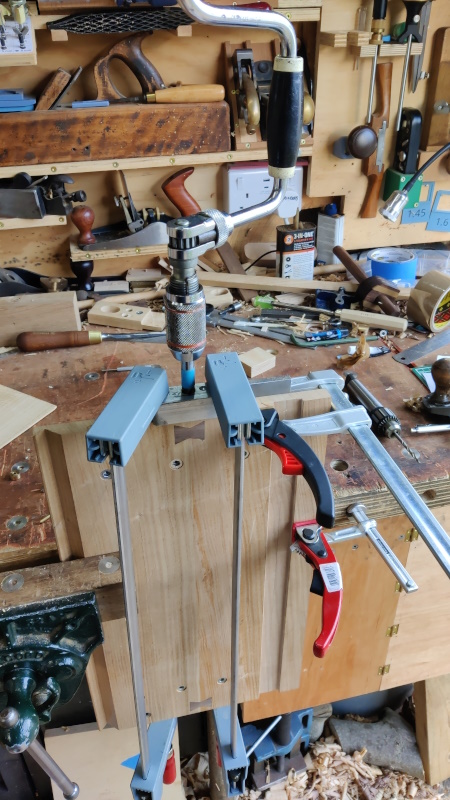
I then did something that I imagine very few people have ever tried: using an end mill in a drill brace:
The 12 mm end mill seemed like the easiest way to make a flat bottomed hole of the right size; the aluminium block stopped it from wandering around and hence it made a nice hole. The brace slipped a few times on the end mill (the gripping mechanism on a brace isn't ideally suited to an end mill), but it worked:
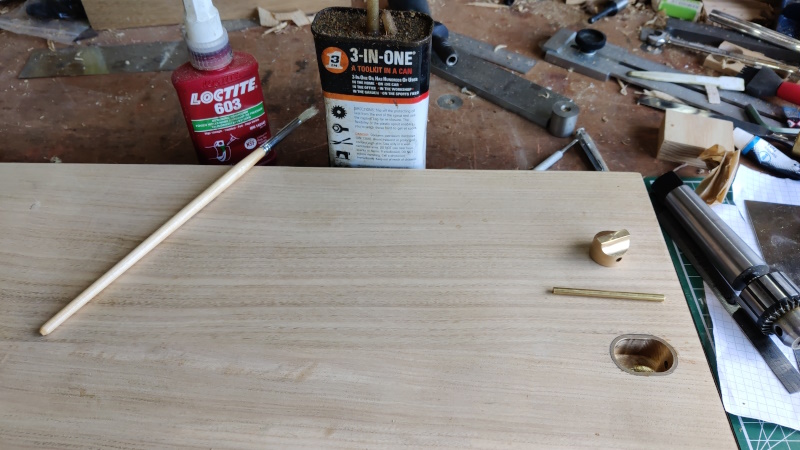
After gluing the bush in with superglue, I put a little bit of 3-in-1 oil on a paint brush and brushed the oil into the brass housing thing, focusing on the 4.1 mm hole furthest from the edge of the shooting board. The oil is there to stop any glue from sticking where it shouldn't.
I used a dressmaker's needle to put a few drops of Loctite 603 in the hole in the knob piece. I then inserted a (cut to length and lightly chamfered) brass bar through the bush and the first hole in the housing. Another drop of Loctite 603 was added to the protruding bit of brass bar and then it was pushed through the knob. A quick wipe with a towel on the exit of the knob and it could be pushed the rest of the way into the housing and left to dry.
There's a bit of clearance in the shooting board / front relative to the size of the chest. That's to allow for wood movement. To mark the locking pin locations in the centre of the chest, I used some 1 mm thick rules to lift the chest front up slightly. I used another 1 mm thick rule at the top to check the shooting board was equally spaced from top and bottom.
After clamping the chest front in place, I then used a small offcut of wood and a persuading stick to push the knobs outwards and make a small indent from the locking pin in the sides of the chest.
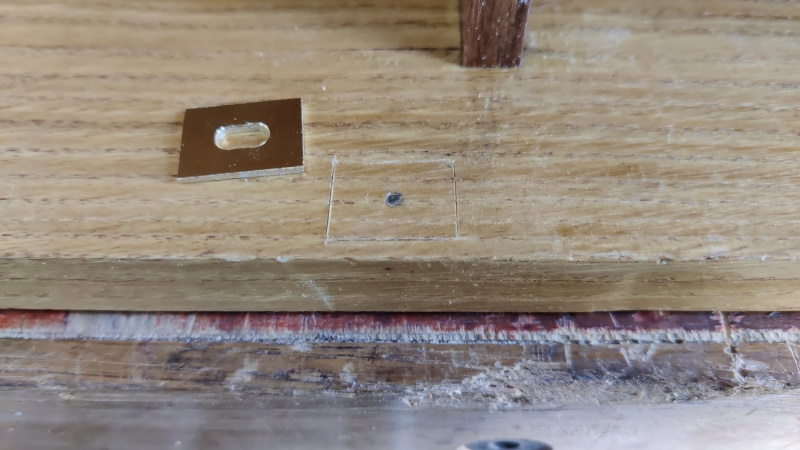
I could then empty the chest, stand it up on one end and mark around the little brass sheet piece on the chest (after spending rather a long time hunting around in the pile of plane shavings on the floor after knocking the brass piece off the bench).
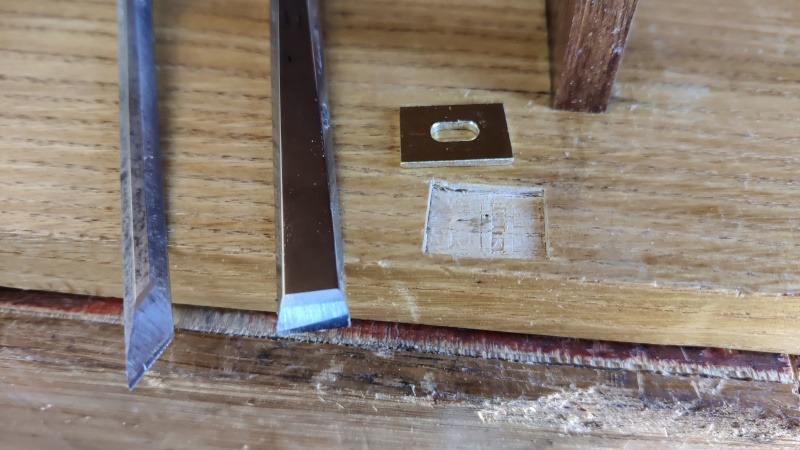
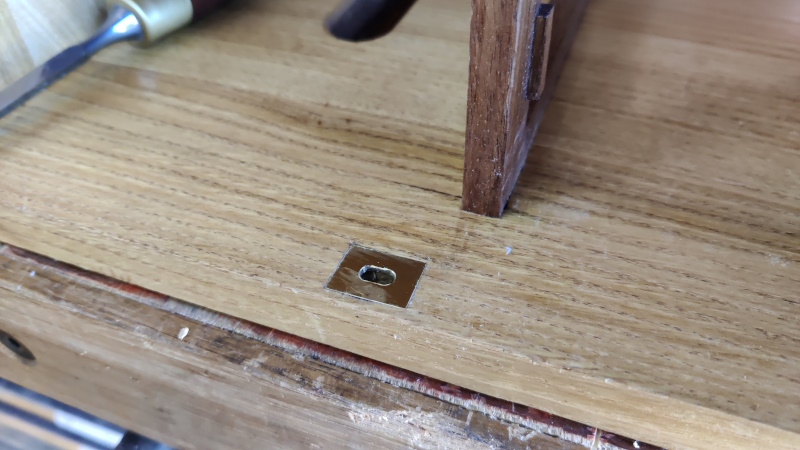
There was no way I was going to get a router plane near that hole, so chopping out the pocket was just a case of taking my time with a 10 mm chisel and skewed end chisel:
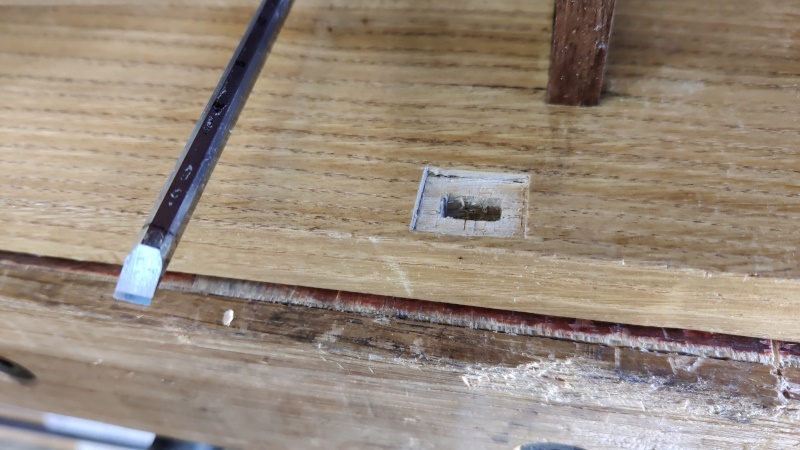
Once the brass bit fitted nicely, I drew round the hole shape with a pencil and then used a 5 mm chisel to chop out a clearance pocket for the locking pin to go into:
That was quite tedious as I couldn't lever the chisel far enough over to get the waste out (due to the chest walls getting in the way). In the end I just mashed it up as much as I could and then used compressed air to blow the waste out.
Once the pocket was complete, the brass piece could be glued in with superglue.
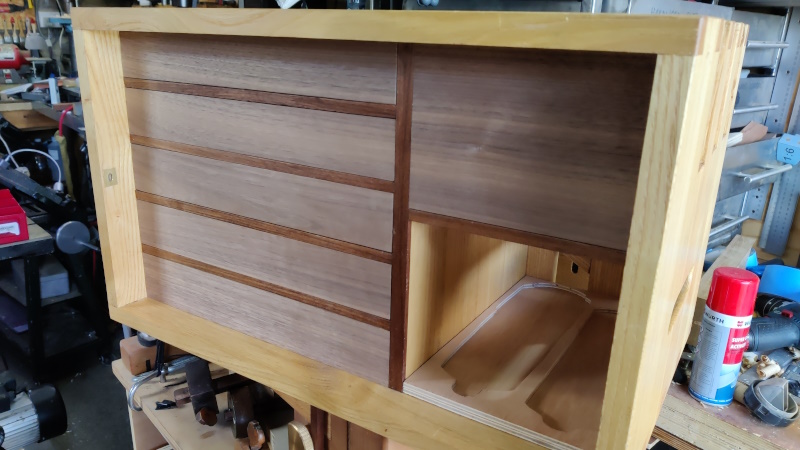
Then it was just a case of refitting the drawers...
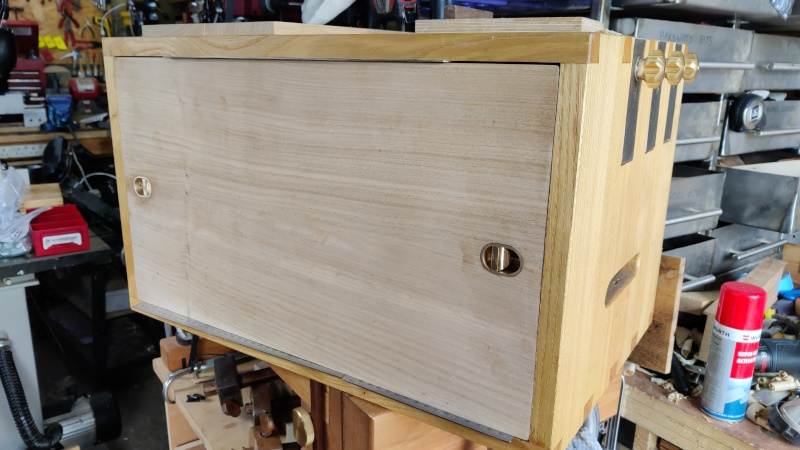
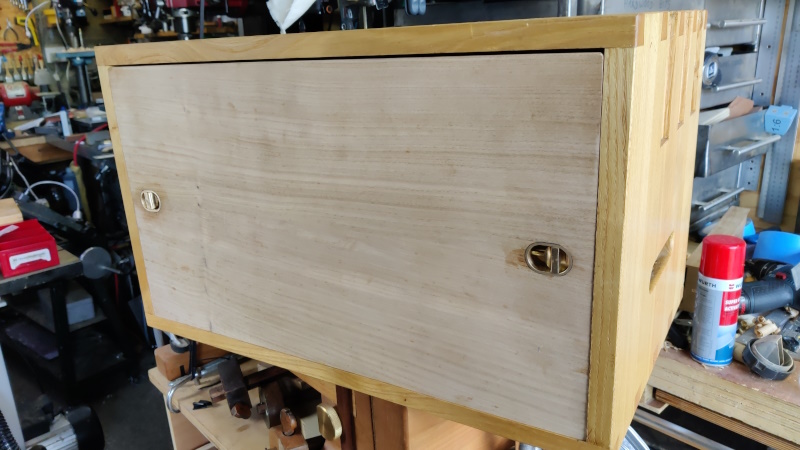
... and dropping the front into place:
It still needs a going over with a smoothing plane and/or card scraper (probably the latter on the outside face and the former on the shooting board face) and then I'll give it the Mike's Magic Mix treatment.
The next major job to sort out is the drawer handles. At the moment, the only way to get the drawers out is to push them from behind, but I'd like to have something or other to pull on.
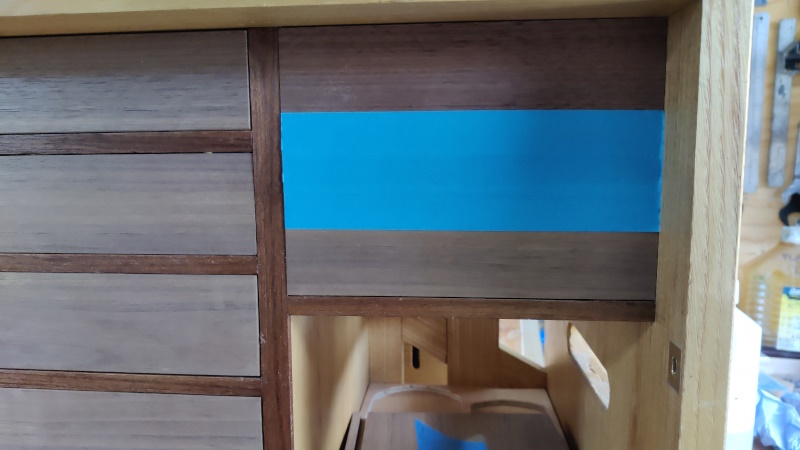
There are a few difficulties with this. One is that the mitre support piece and main shooting fence press against the drawers. The main fence is far enough to the left of the chest that it won't get in the way of a centrally mounted knob on the wider drawers. The mitre support piece is more of an issue as it goes across the right-hand drawer (it also goes across the left-hand ones, but again I don't think it'll reach the centre of those drawers so it shouldn't be an issue).
I've marked the "keep-out zone" with masking tape on the right-hand drawer:
That feels to me like it covers the most "aesthetically pleasing" location for a knob.
One option is to take Ian's (I think) suggestion and just drill some holes for a finger to go through and pull the drawer open. I won't be able to use the hand pillar drill for that, but I guess that's good for testing my drilling skills.
Another option is just to offset the drawer pull-thing, maybe mounting something near the top of the drawer.
Another option is to drill or carve an indent into the front of the drawers and fit a knob ends up flush with the front of the drawers. A bit like this image, but with a much, much deeper indent and a much, much shorter knob:
Yet another option would be to make a strategically placed hole in the mitre support piece for the knob to go into when the chest is closed. Whether that's even possible will depend on how the existing holes in the mitre support piece sit relative to where the knob would be.
Any other thoughts?
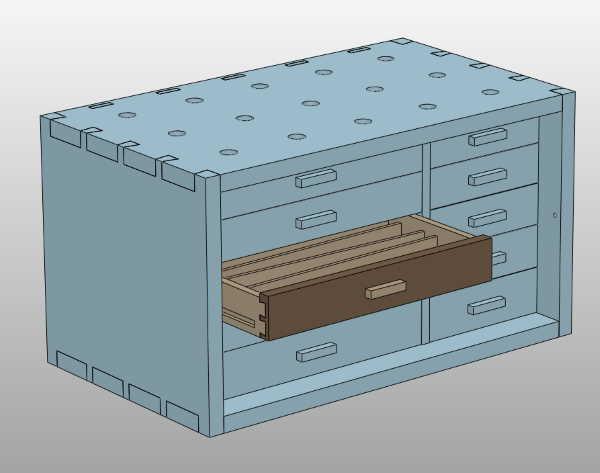
Another challenge that comes with knobs / pulls is how to make them. I'd originally imagined having a simple rectangular block, as you can see in this old CAD model image:
That has one significant advantage over a knob in the style of the GR Woodworking image above: I can think of a way to make it! I don't have a woodworking lathe and even when/if I get one, it'll be a powered one as I don't have space for some sort of treadle operated thing (and this project is supposed to be hand-tool woodwork only, so a powered lathe is out).
Again I'd welcome any and all thoughts on this as I'm lacking inspiration somewhat.
Page 105 of 144
This website is free and ad-free, but costs me money to run. If you'd like to support this site, please consider making a small donation or sending me a message to let me know what you liked or found useful.

 Return to main project page