Travel Tool Chest & Workbench Build Process
Page 111 of 144
Posted 5th November 2023
I was supposed to be meeting my parents & brother today, but when my father went out to his car he found a big puddle of oil underneath so we decided to postpone the meet-up until he can get it sorted. That gave me a free day, so I got on with experimenting with drawer pulls.
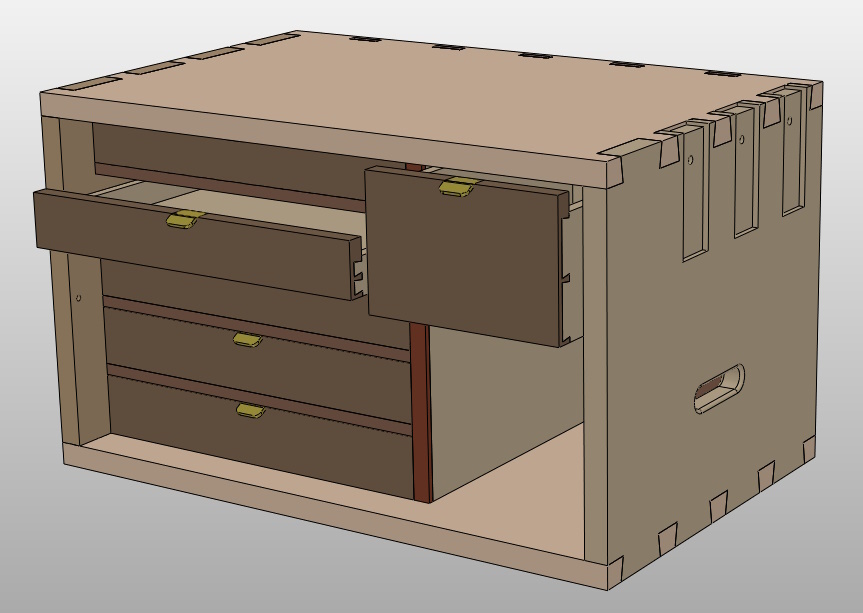
This time, I decided to have a go at making the top-of-drawer brass things shown in this CAD model:
I figured that making one of these would be almost as much work as making 6, so I decided to just make 6 in one go and accept that they might all end up in the bin.
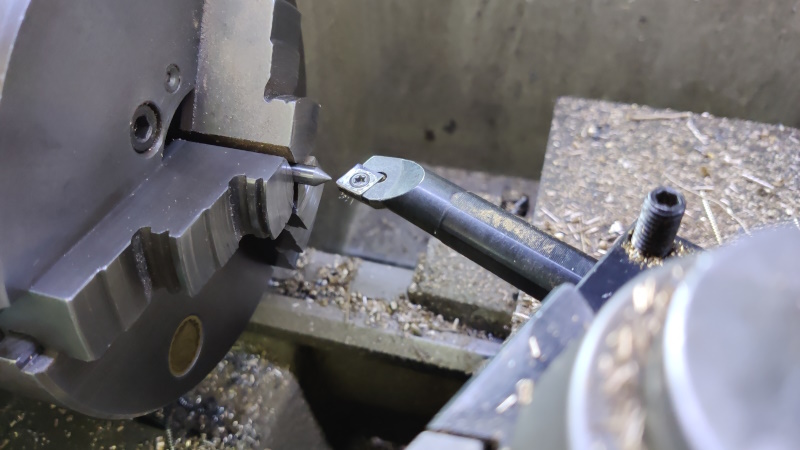
I started by getting some 6 mm silver steel and turning a point on it. I did this on two pieces, cutting one at a 45° angle (giving a 90° included angle) and cutting one at a 30° angle (giving a 60° included angle). For this type of cut, I find it much easier to use a boring bar type cutter on the back of the workpiece and run the lathe in reverse. I find being able to run the lathe backwards useful for lots of different applications and it's one of the reason why I'd never get a metalworking lathe with a screwed-on chuck (which would unscrew and fall off if you tried to take a cut while running the lathe backwards).
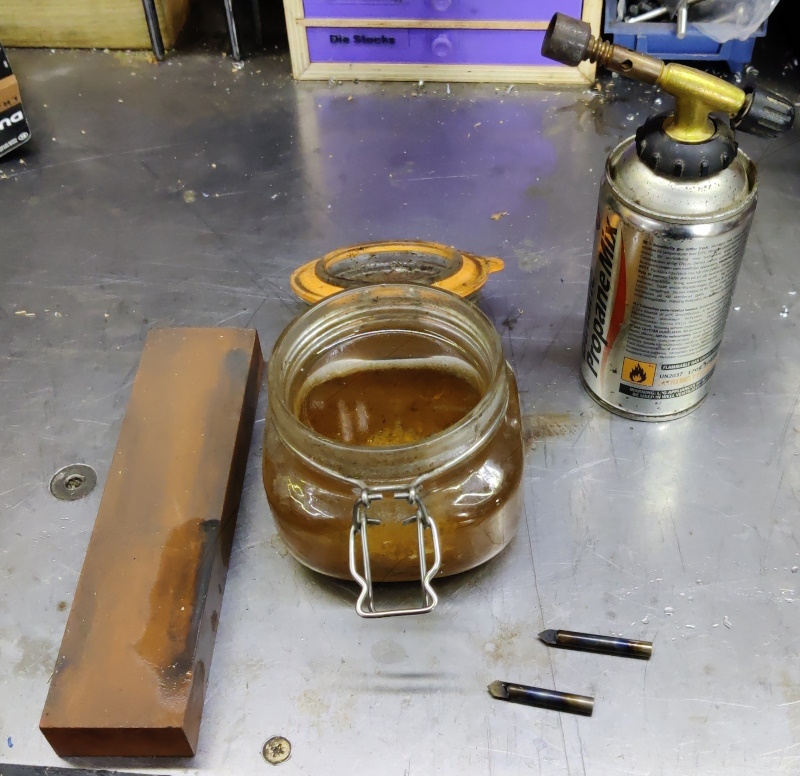
I then milled away slightly less than half of the cutting tip, before heating them to cherry red, quenching in water, then heating to a straw colour and quenching again. Finally I rubbed the flat surface of both pieces on an oilstone to bring them both fairly close to half thickness.
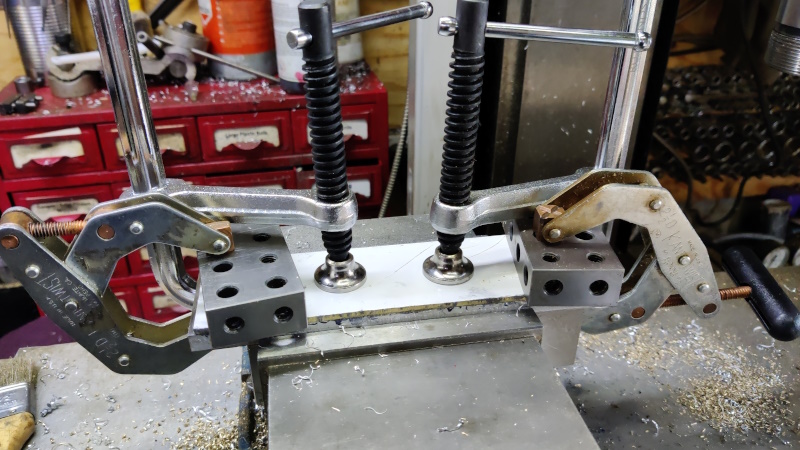
Once that was done, I put another scrap of aluminium in the milling machine vice and used the fly cutter to skim the surface flat, much like I did when making the little lock inserts. This time I used a brand new bottle of superglue to hold the (3 mm thick) brass down and held it in place with some clamps.
I then went and had a cup of tea to give the glue chance to thoroughly cure.
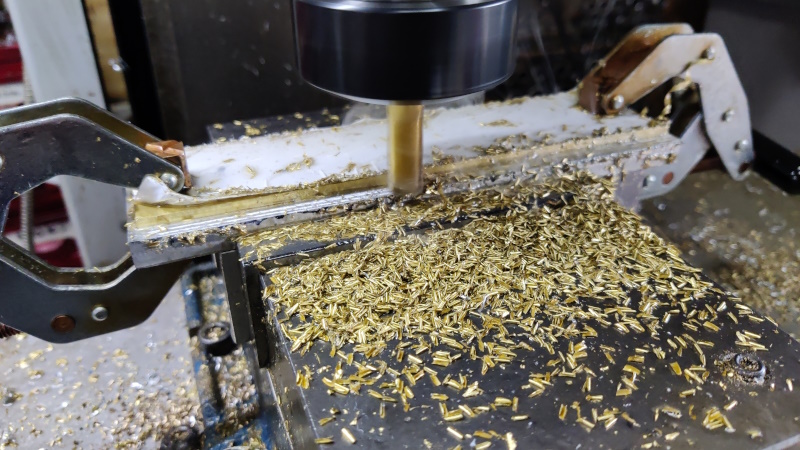
A 10 mm end mill was used to square up the front and rear edges (with clamps holding the brass down in case of superglue issues and also with lots of WD40 sprayed over the cutter to keep things cool):
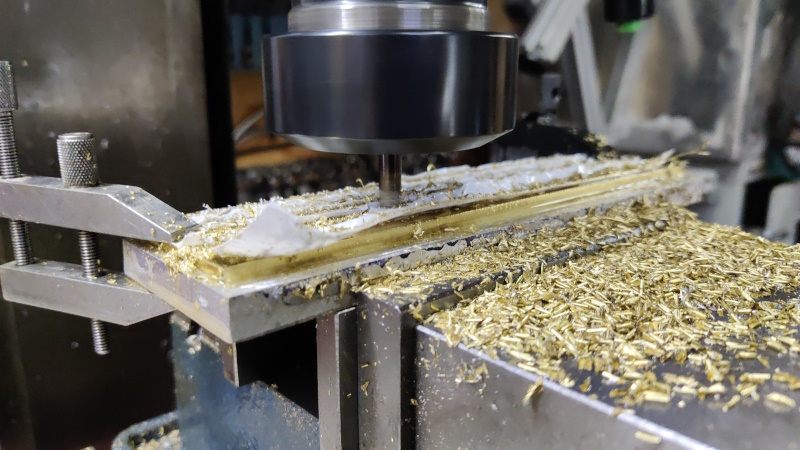
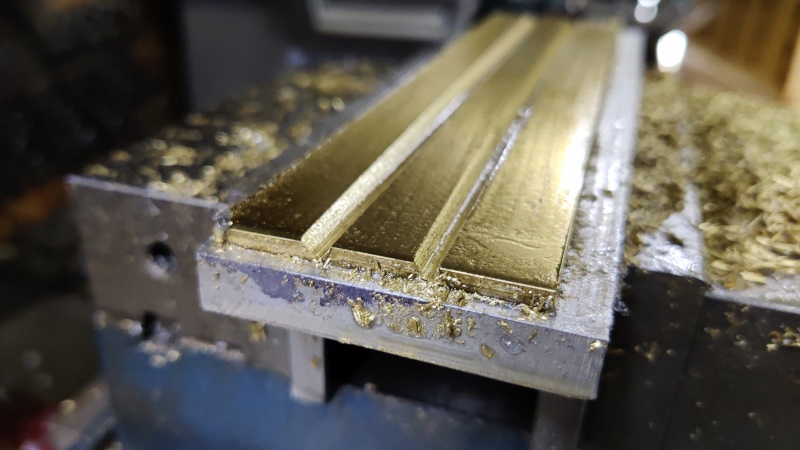
The little silver steel engraving cutters were then used to make a couple of grooves along the length of the brass piece (lowering the cutter 0.25 mm at a time to err on the side of caution).
Groovy:
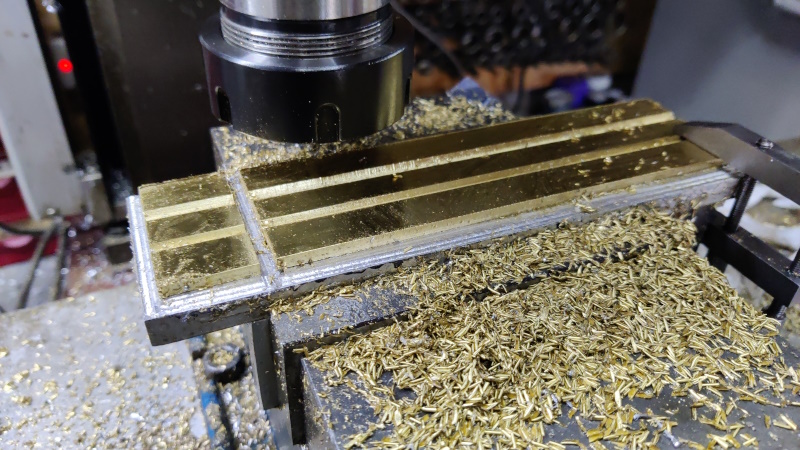
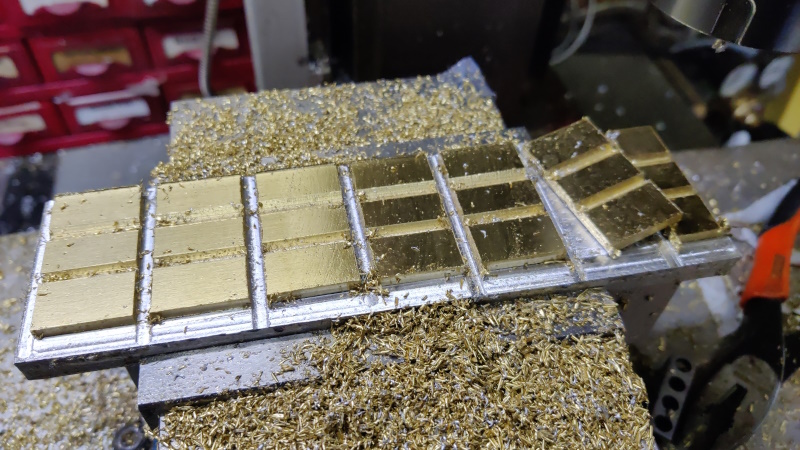
Finally, 4 mm end mill was used to split the length of brass into pieces (going down 0.5 mm at a time until the pieces were separated):
That went well up until the very last cut on the very last piece, during which the piece separated from the aluminium base. Thankfully it was the last cut (so only the last 0.5 mm or thereabouts of cut) and right at the exit end of the cut, so it just meant a little bit needed finishing off with a file, but no big deal.
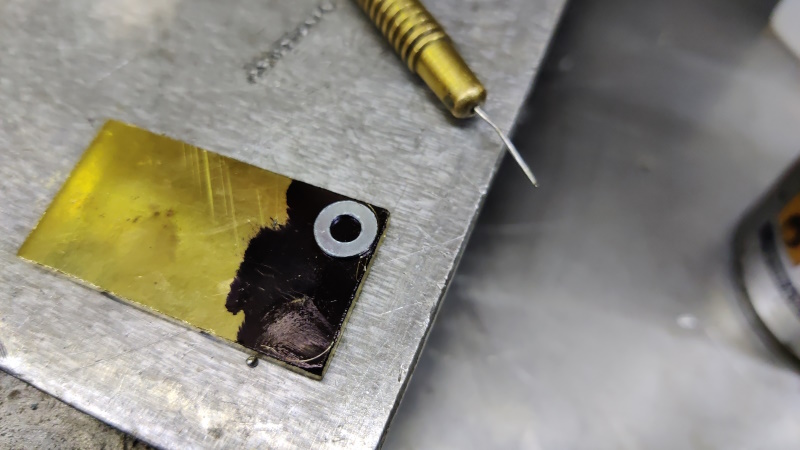
To make a radius on the corners, I used a magnum sharpie to cover the brass and then drew around an M4 washer, which looked to be about the right radius to me:
I then used a bench-top belt sander thing to grind it down to the line.
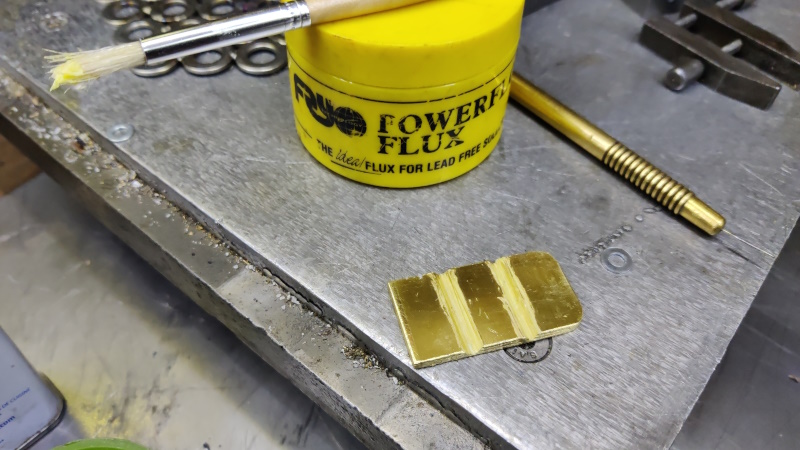
I was originally planning on silver soldering the joints, but I decided to just use soft solder instead as it's quicker and easier. After a thorough clean with acetone, I painted a bit of flux onto the grooved bits:
I then put the brass bit in the vice and bent it by hand until the grooved edges touched.
Next up was putting a tiny snip of plumbing solder onto each joint...
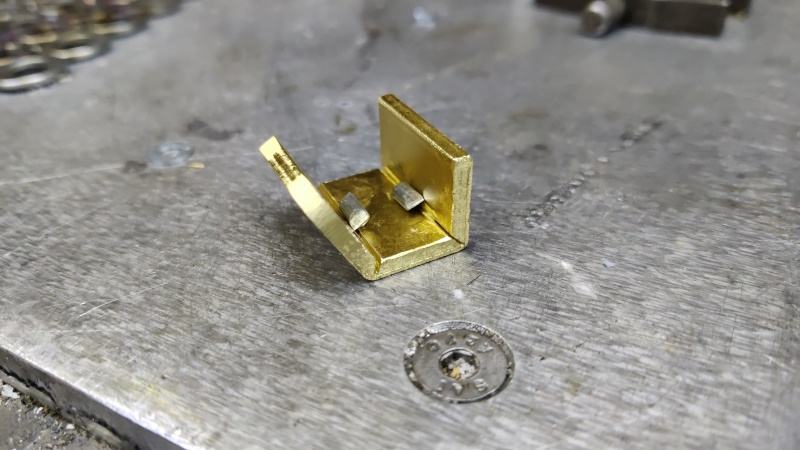
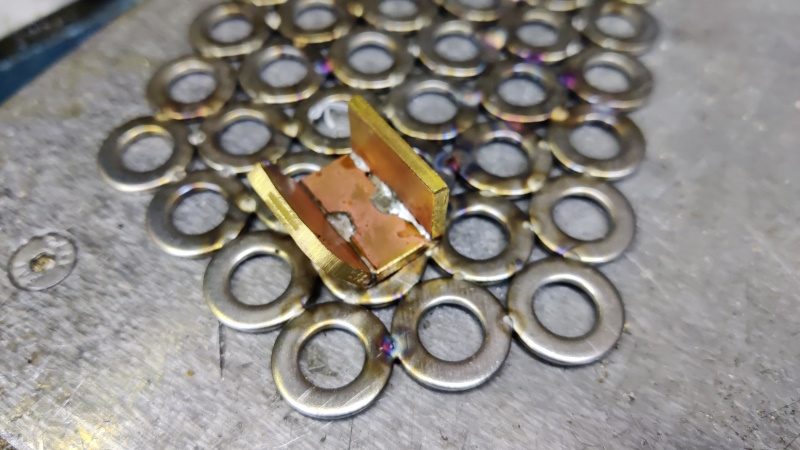
... and applying some heat from a blowtorch. After applying the heat for a minute or so I realised that doing this on a big lump of aluminium was probably a stupid idea, so I moved it onto some stainless steel washers and the solder melted really quickly.
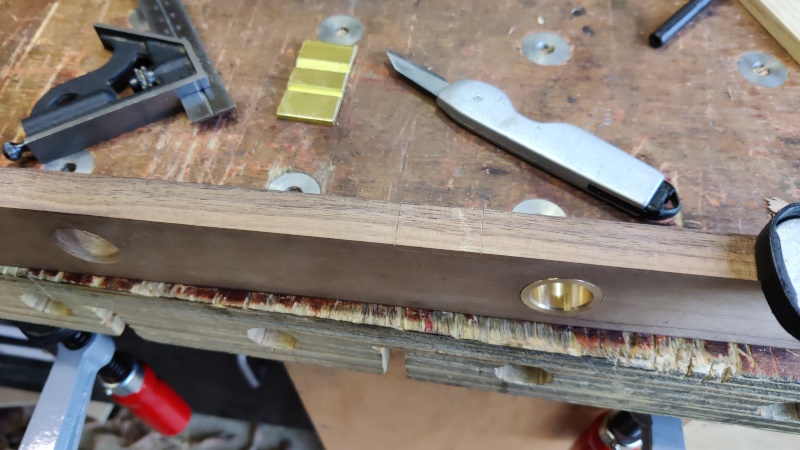
While that was cooling down, I took one of the other fledgling hook things over to my mock-up piece and marked up for cutting out:
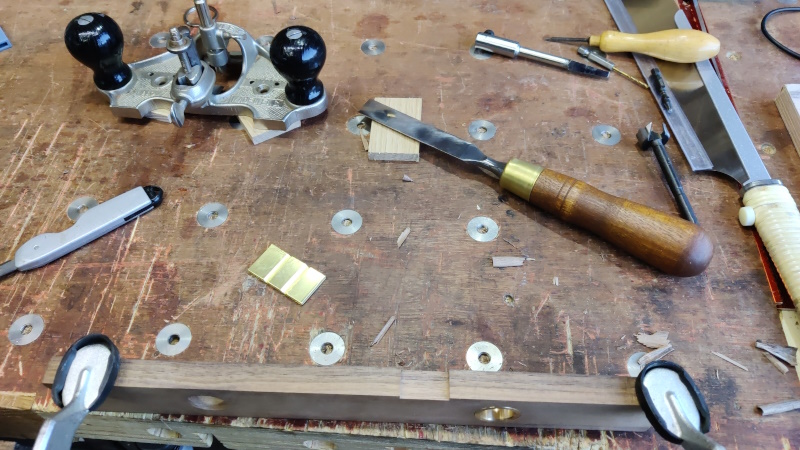
A dozuki, 18 mm chisel and Stanley router plane were used to cut the top bit out:
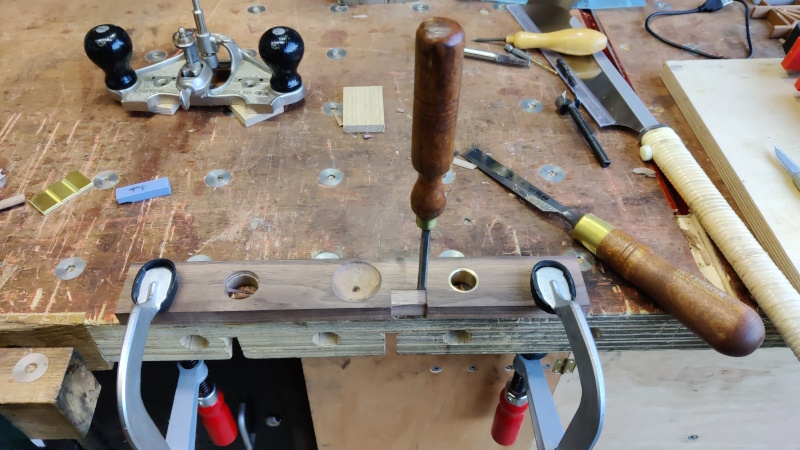
For the back, I used a short chisel for all the vertical bits (my standard chisels wouldn't fit in the depth of the drawer, which would be getting in the way if this were a real drawer):
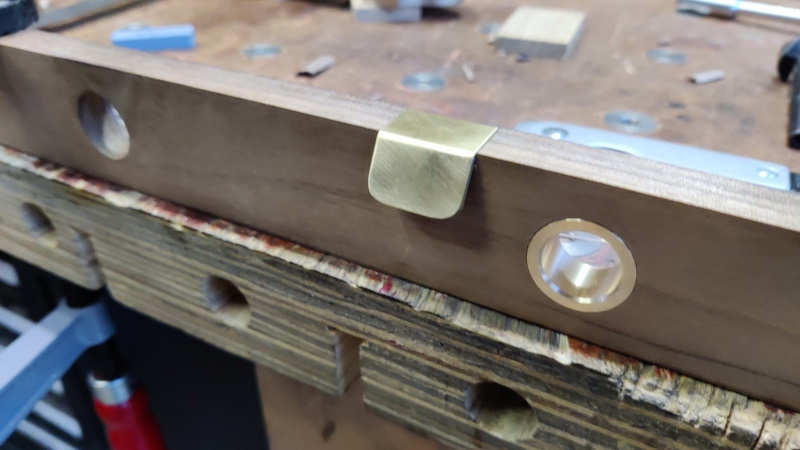
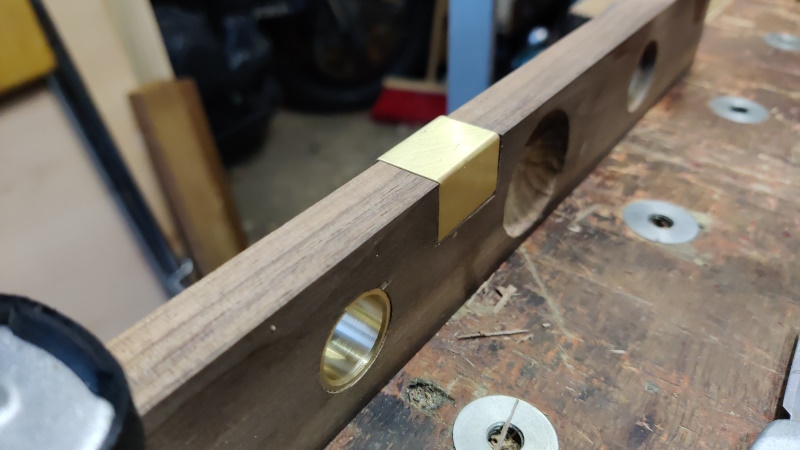
By this time, the brass bit had cooled down, so I filed the excess solder down and then gave the outside a quick polish with the angry grinder. I could then do a trial fit:
Rear view:
In place:
In the photos, it looks like there isn't enough of a gap to get your fingers behind, but in reality there's plenty. That's not to say that it wouldn't be better with less of a bend at the front, but it definitely works as-is.
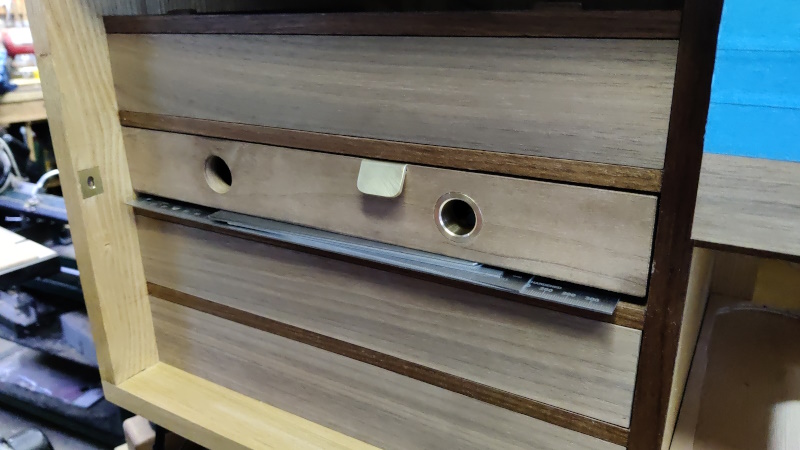
A quick test of what it would look like lower down (using a pile of rulers to make up for the fact that the offcut was sized for the top drawer, not the middle one):
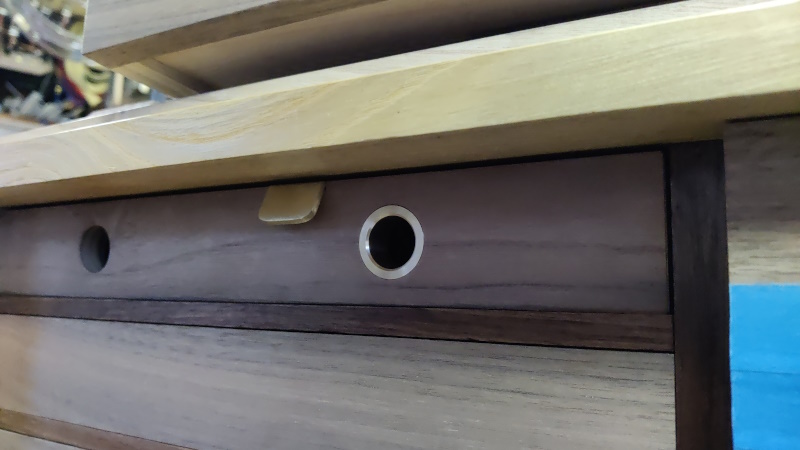
While there was a bit of daylight, I also turned the offcut round and fitted it into the chest, so Cabinetman/Ian can get a look at a slimmer brass bit.
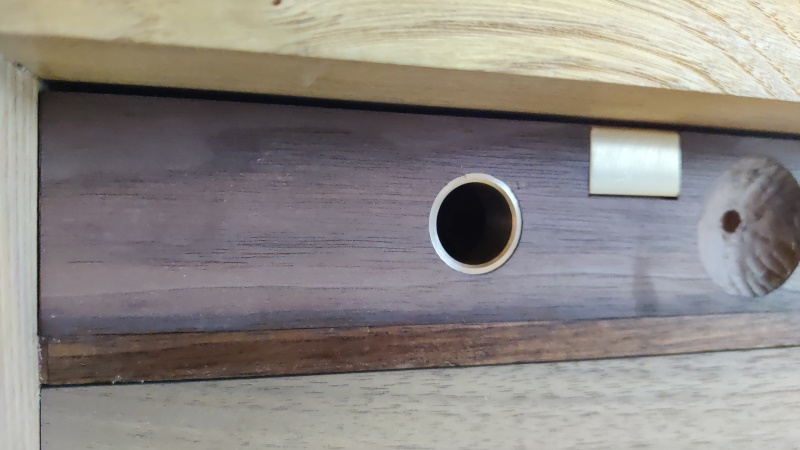
I've shown Carolyn all the various options and we agree that the current front-runners are the wider brass lined hole and the brass hooky tab thing, i.e. the two that are visible towards the right of this picture:
Page 111 of 144
This website is free and ad-free, but costs me money to run. If you'd like to support this site, please consider making a small donation or sending me a message to let me know what you liked or found useful.

 Return to main project page