Travel Tool Chest & Workbench Build Process
Page 110 of 144
Posted 4th November 2024
Given it was a relatively late start today, I thought I'd try something quite simple, so I went with the option of holes. I used the same walnut offcut as trialled yesterday, but turned it round and made two non-central holes, one brass lined and one not. If I picked this option for real, I'd go with a central (at least left-to-right central, anyway) hole, but I obviously couldn't do that in the test piece as it already had the carving in the middle.
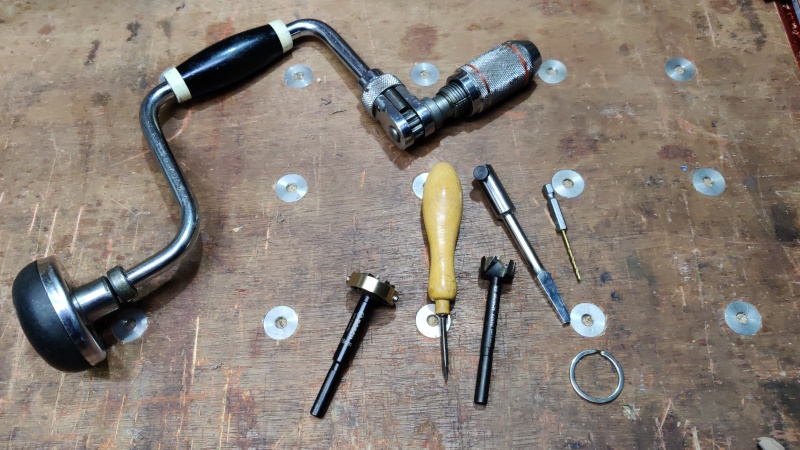
This was the armoury I assembled before starting the job:
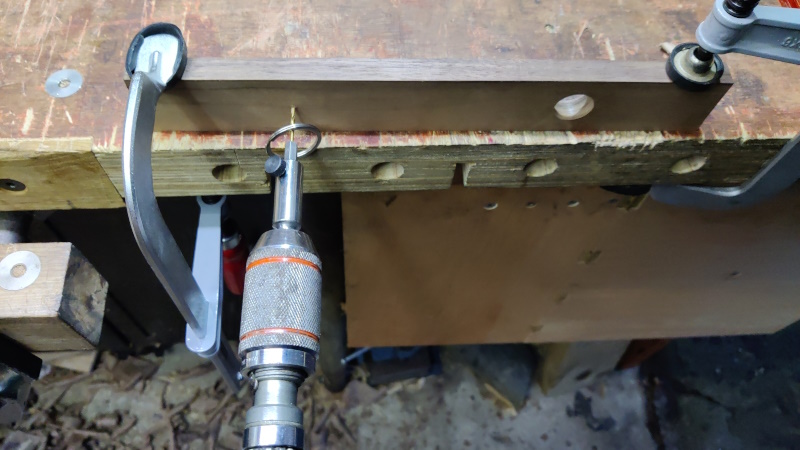
After marking the (very approximate as I wasn't trying very hard) centre (vertically) of the board, the first job was to drill all the way through with a 2 mm drill bit:
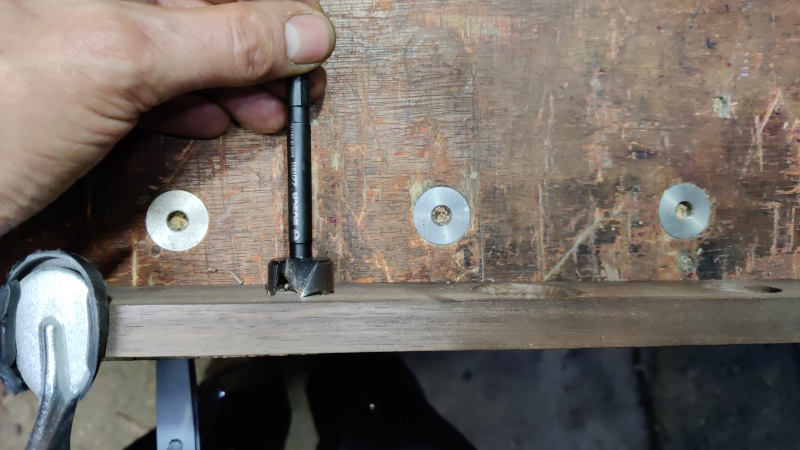
I then followed AndyP's advice and held a 22 mm Forstner bit in my hand and turned it a few times to cut into the surface by a tiny amount (a fraction of a millimetre; I probably should have gone deeper):
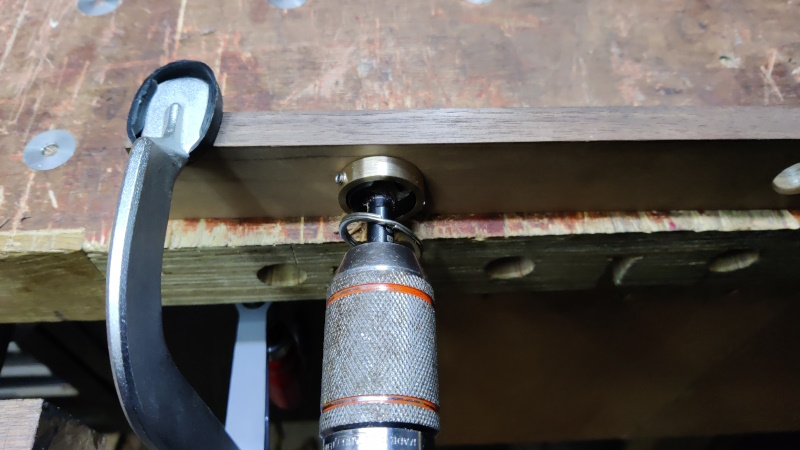
With that done, I could get the 25 mm Forstner bit and drill 3 mm into the outside face (using a hastily produced brass depth stop – how do people cope without a metalworking lathe in their workshop?)
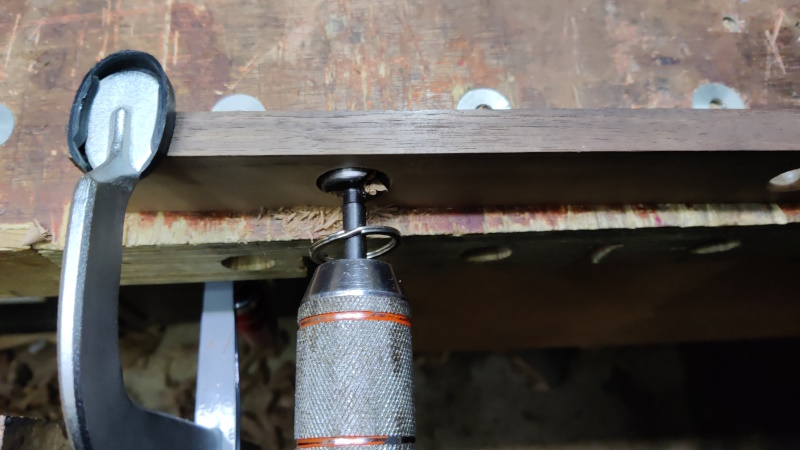
Finally, the 22 mm Forstner bit went in the drill brace and I drilled through, going very very slowly once I saw the point of the bit appear through the 2 mm pilot hole:
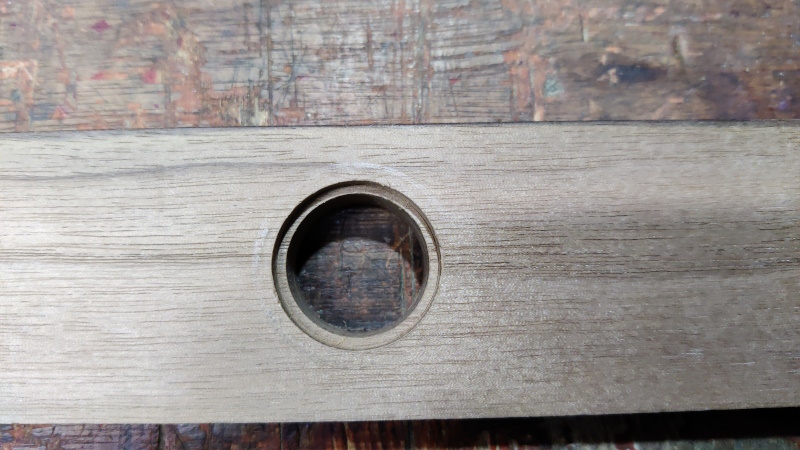
The end result was the outside of the board looking like this...
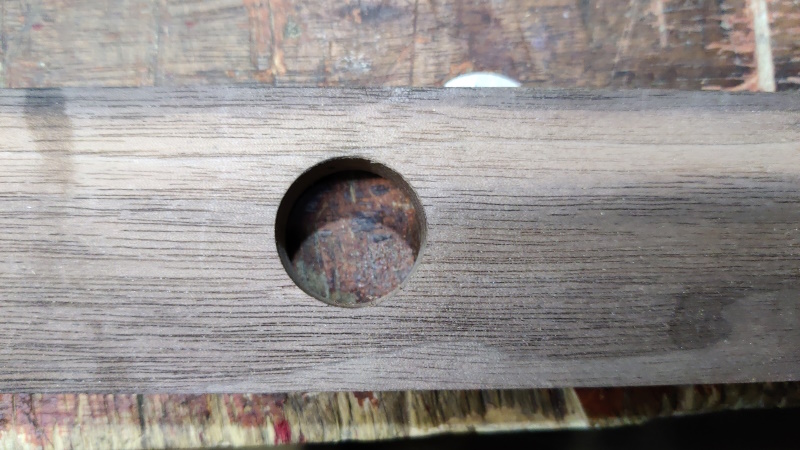
... and the inside looking like this:
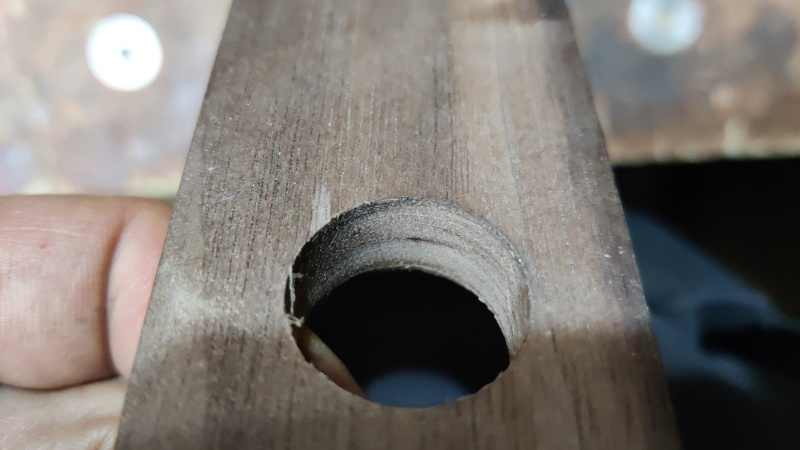
There was a small bit of what I think was probably the wood breaking away on the inside face:
That might have been there before I started (I didn't take any photos), or it might have been from the hand-turned 22 mm cut or the drill brace turned 22 mm cut; I've no idea. It's probably not the end of the world and could possibly be protected against by cutting a bit deeper on the from-the-back stage. Alternatively I could clamp some scrap rigidly to the back of the drawer front, which should protect it even better I think.
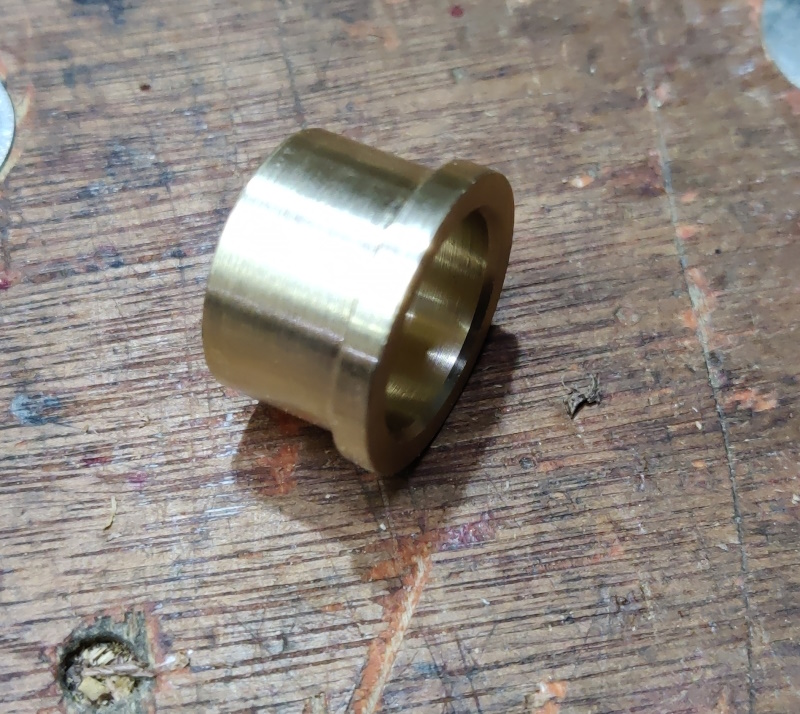
Another quick bit of lathe work produced a brass thingy with an 18 mm through-hole (sized to fit my finger) which could be pushed into the hole. It ended up a tight enough fit that I could probably fit it without glue and not worry about it coming out.
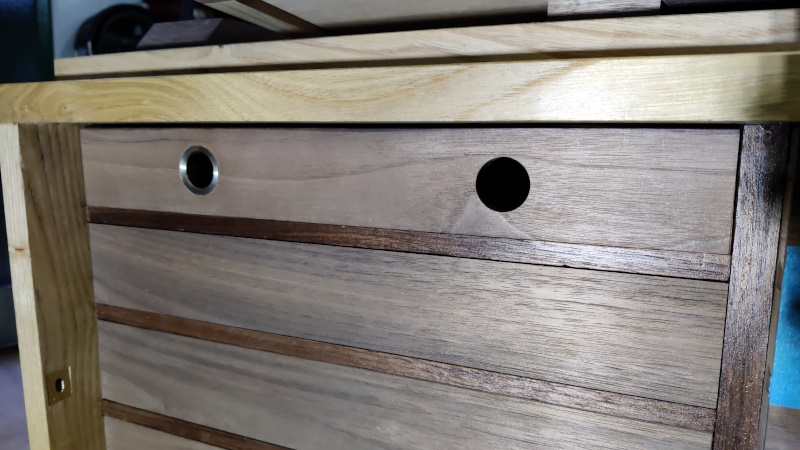
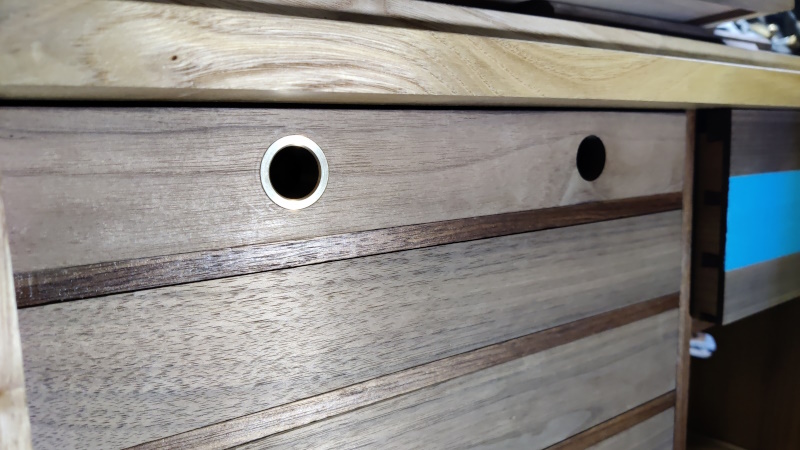
A second hole was also drilled, but that one was just 22 mm all the way through. The board could then be inserted into the drawer-slot in the chest for some photos (it was dark by this point, so the lighting isn't great in the photos):
As I said at the start, I wouldn't do this as two holes (there's no need), just one in the centre. Having holes to the side was just a handy way of using the same bit of wood again.
Page 110 of 144
This website is free and ad-free, but costs me money to run. If you'd like to support this site, please consider making a small donation or sending me a message to let me know what you liked or found useful.

 Return to main project page