Travel Tool Chest & Workbench Build Process
Page 116 of 144
Posted 12th November 2023
I feel like I've ground to a halt a bit with drawer pull thoughts and carving pattern thoughts (especially the latter: I've got no idea where to start with that). However, there are plenty of other jobs that still need doing.
Sorry if you're all bored to tears with pictures of bits of brass being turned...
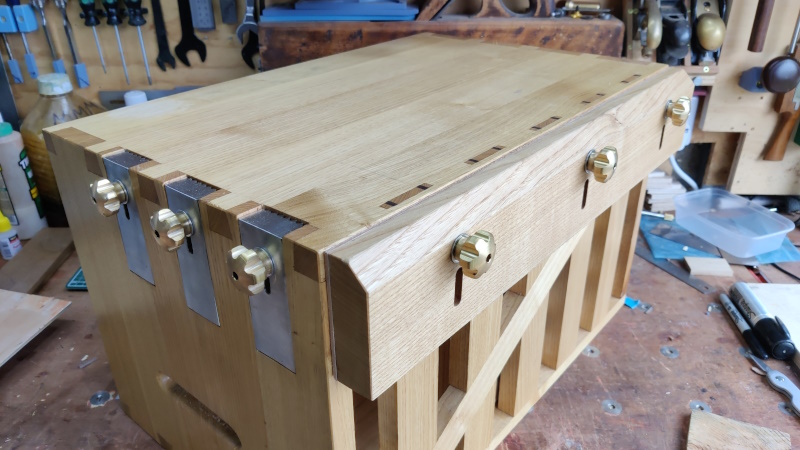
Remember these knobs I made a while ago?
The ones on the planing stops work really well. The ones on the vice jaw are fine, but they're quite slow to use. The planing stop knobs only really need turning about a quarter of a turn and then the planing stop can be slid up or down. The ones on the vice have a much longer screw and there will be many times when the screw needs to be completely removed. At the moment, the quickest way to do that is to stick an Allen key in the hex hole and spin the Allen key with a finger. I'd rather it were possible to spin them without reaching for a tool.
With that in mind and carving ideas getting nowhere fast, I thought I'd make some new knobs for the vice (I'll keep the ones on the planing stops as I quite like the look of them and, as I said, they work fine).
Thanks to a bit of (with-permission) skip diving many years ago, I have a rather large stock of 31.75 mm (1¼") brass bar, so that seemed like a good place to start.
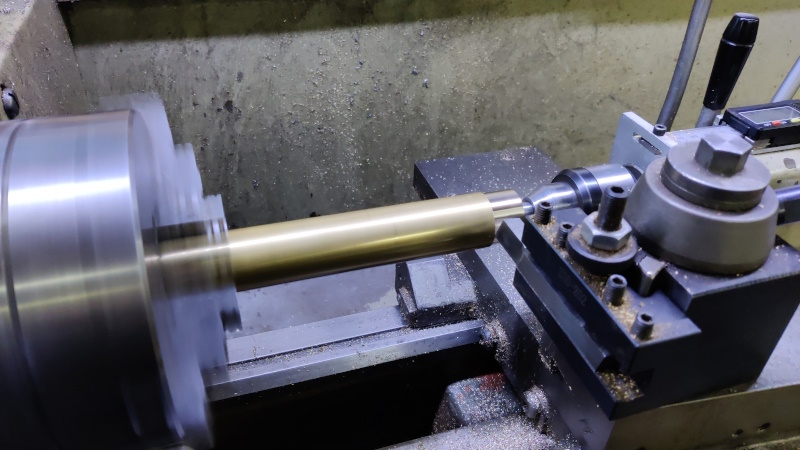
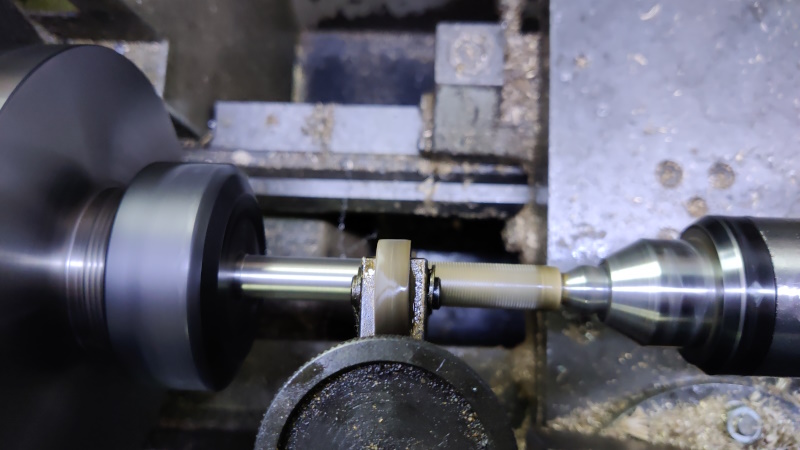
First of all, I stuck a length of it in the chuck and skimmed the outside face to bring it down to 30 mm. I did this with a tool mounted upside down in the tool holder and the lathe running backwards. Brass goes everywhere when you turn it and making the cuts with the lathe running backwards means it's fired down into the bed of the lathe rather than up into the air and over everything.
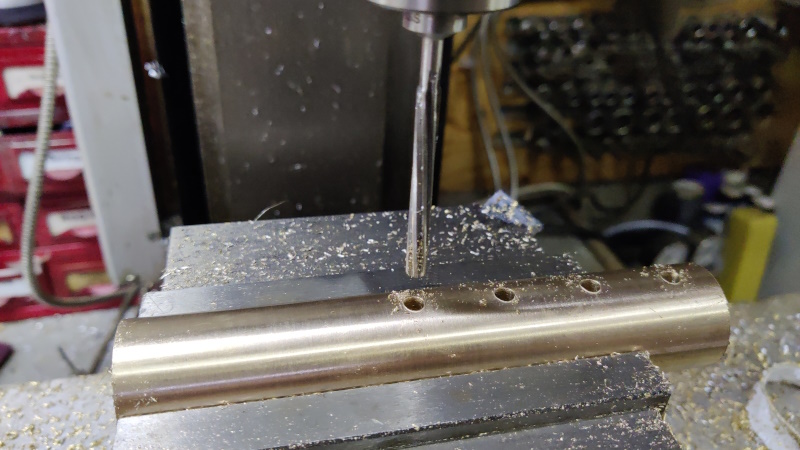
After cutting off the 30 mm section, I put it in the vice of the milling machine and spot drilled, drilled and reamed four holes, equally spaced along the length of the bar:
The bar was then put in my largest (30 mm) collet in the lathe and I put a piece of 5 mm bar in a tool holder so I could line it up with the hole and then zero the lathe's trav-a-dial.
I could then use consistent positions for all the later operations and be confident that all the knobs would be the same.
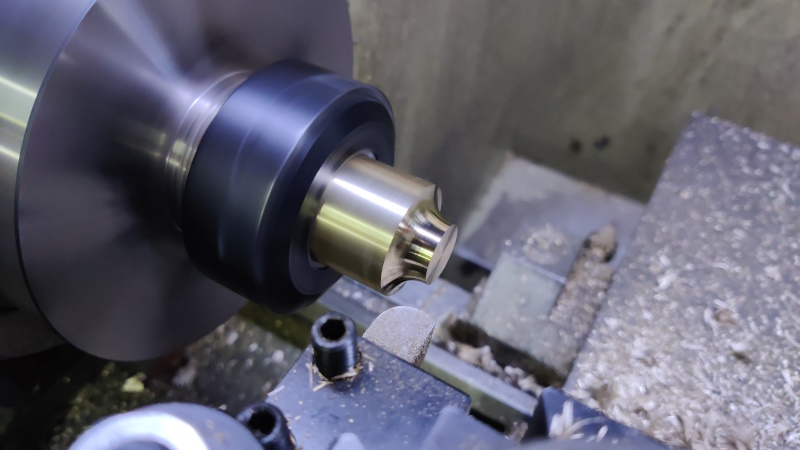
The first job was to face the end of the bar, then use a cutter with a large diameter tip to form the rear of the knob:
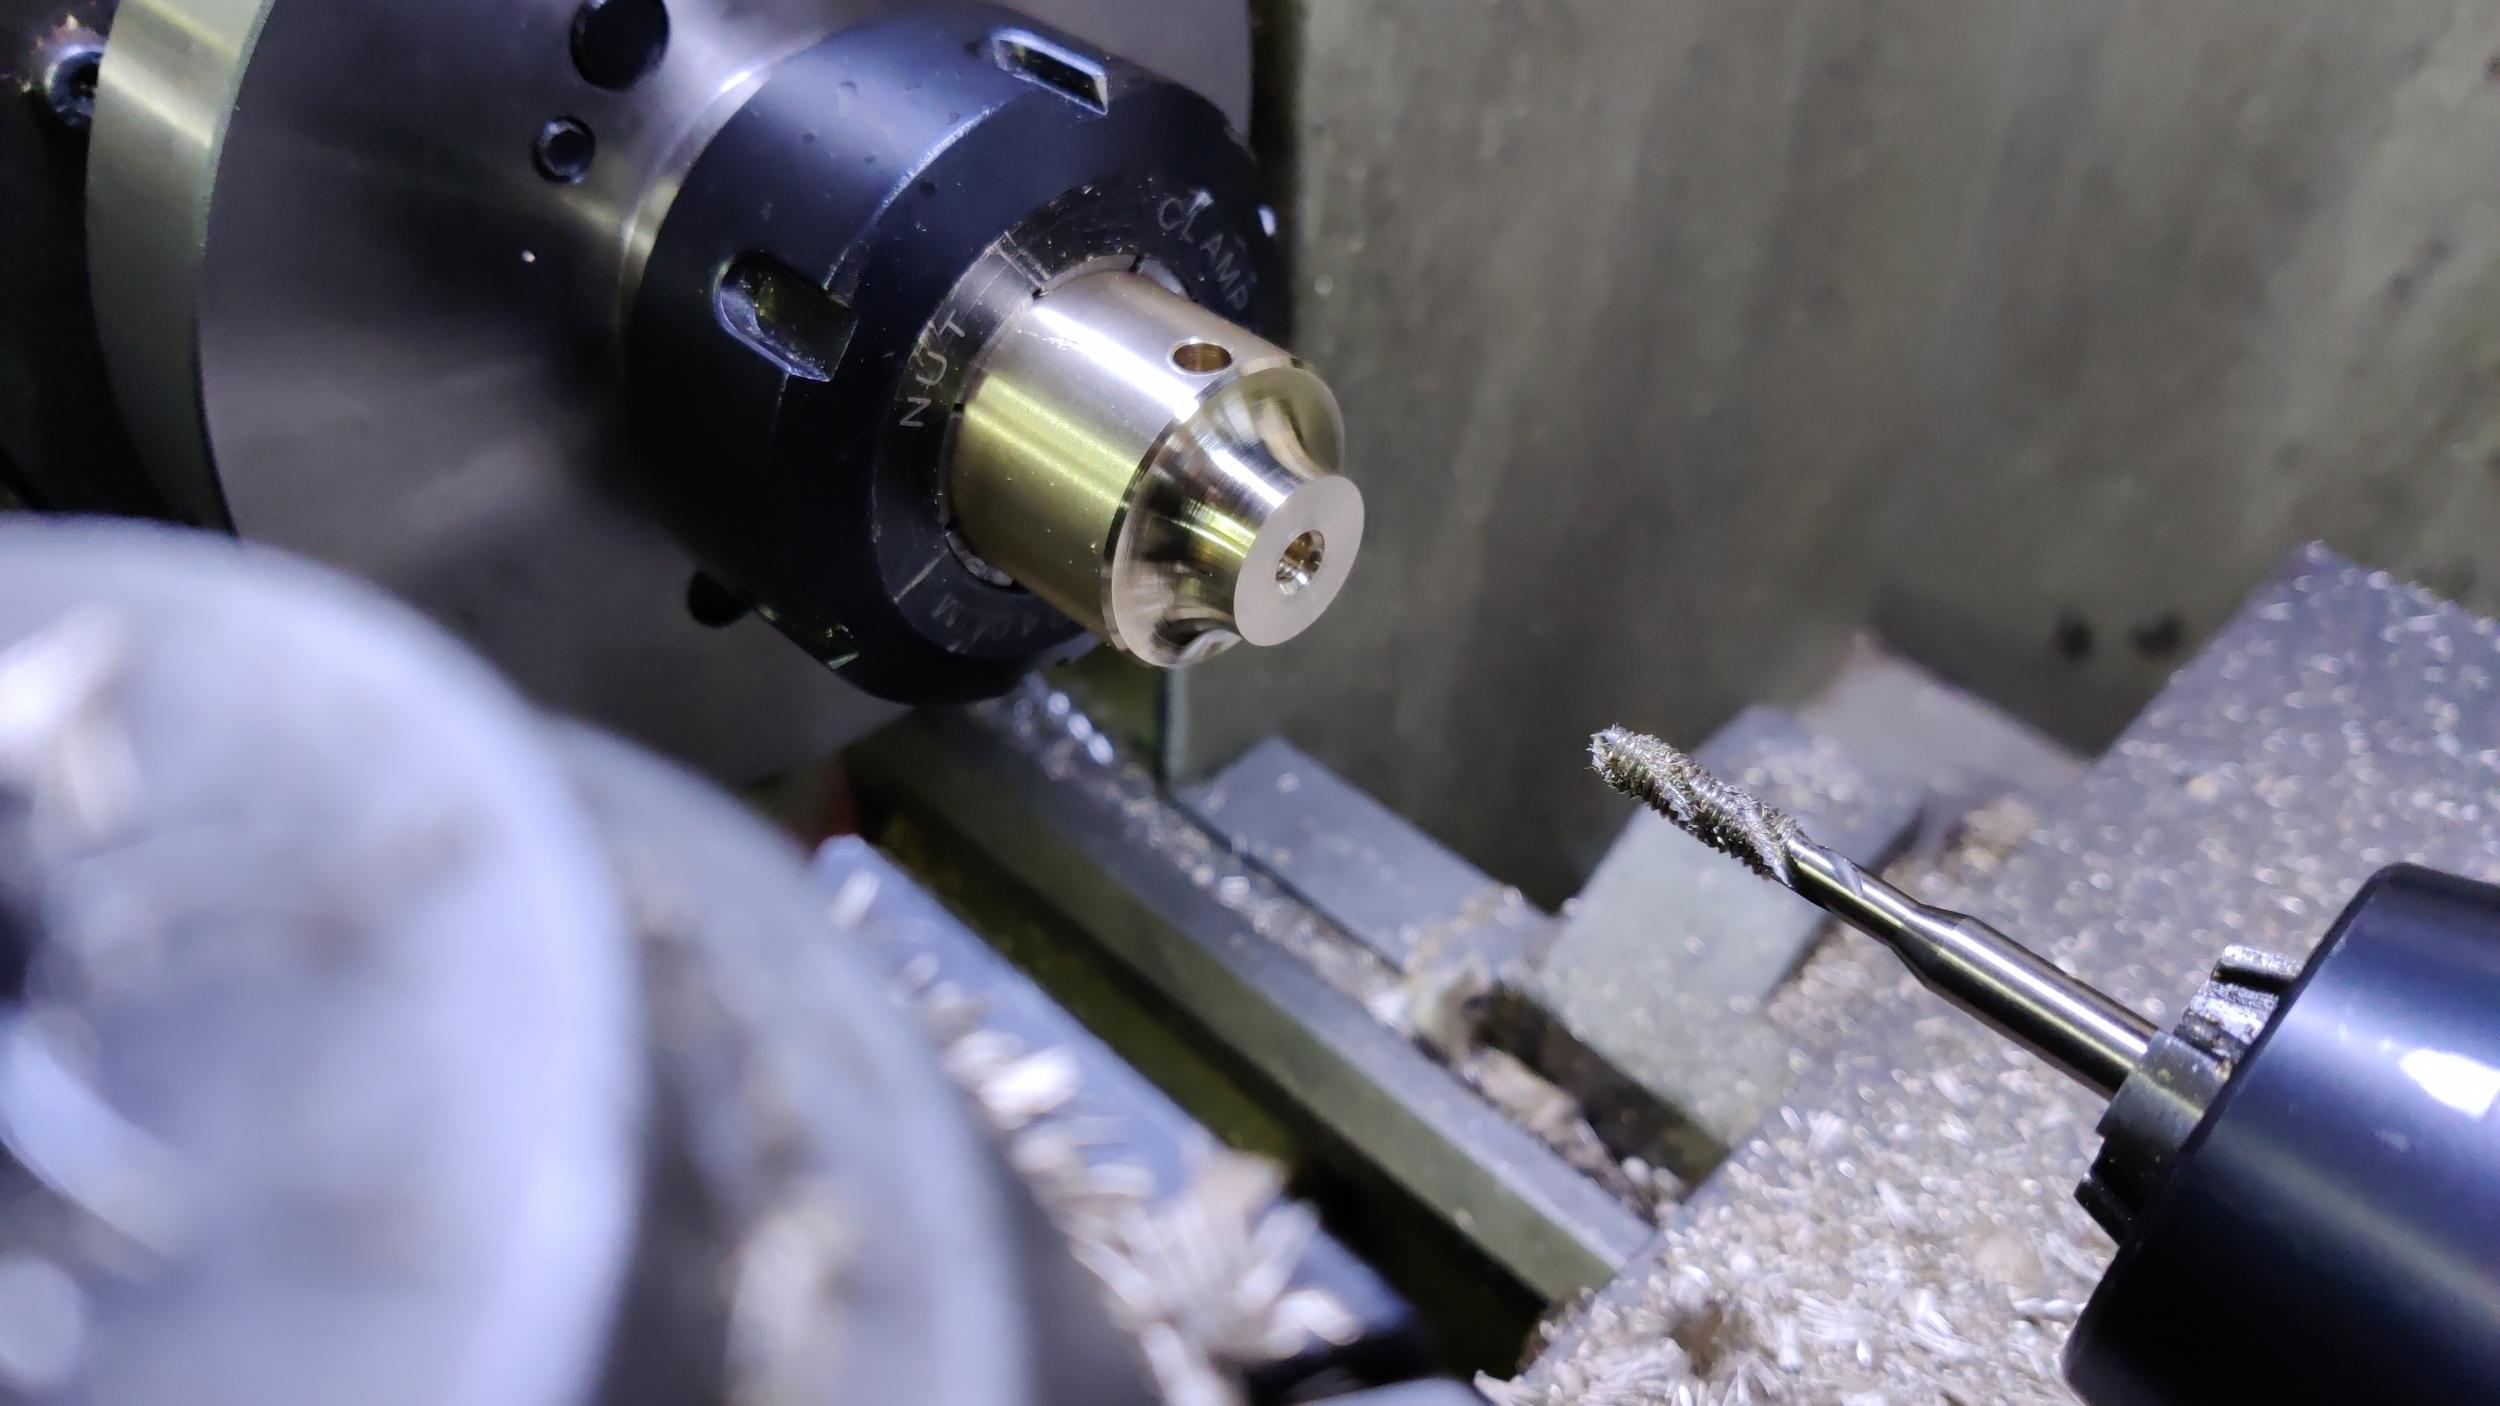
After a quick chamfer, I then spot drilled 6 mm, drilled 5 mm & then tapped the hole.
That should have been an M6 tap, but I stupidly put an M5 tap in the chuck. It still pulled it's way into the 5 mm hole so I didn't notice until I'd made all the knobs. Thankfully it hadn't really cut much material away, so I could just run an M6 hand-tap into the hole and the resulting thread was perfectly serviceable.
A bit of scrap steel was put in the chuck, drilled & tapped M6 (I got it right this time) and, with a small undercut to bear against the OD of the tool and a bit of threaded rod inserted in the tapped hole, I had a simple mandrel to hold the knobs-to-be for cleaning up of the outside face.
Again, they were faced to length and I then used a hastily ground form tool to make a curve on the rim:
With that, the knob bodies were complete. I made four of them even though I only need three: I felt like there was a high chance I'd mess something up on one of them so it seemed a safe bet to make a spare!
More brass turning next, but this time a very simple job: turning some tiny little brass "wear pads". These are 4 mm diameter for 1 mm and then 2 mm diameter for a further 2 mm and are easily the smallest things I've ever turned on the lathe.
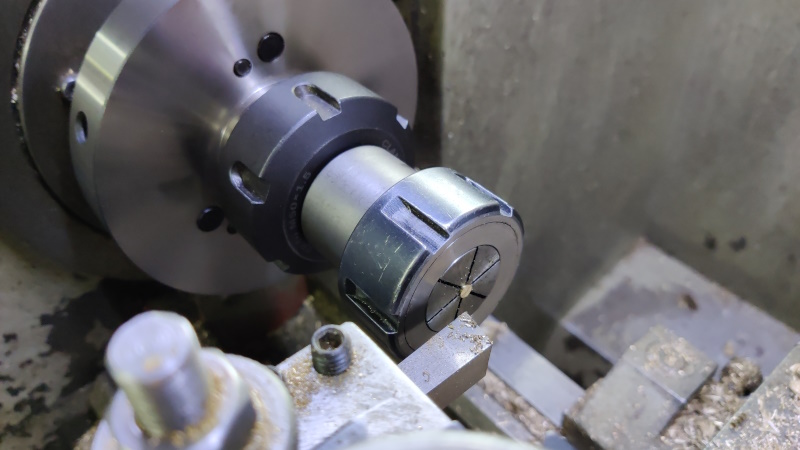
I started with a bit of 4 mm brass bar, faced the end and then reduced the end diameter to 2 mm for a 2 mm length. My smallest ER40 collet is a 3 mm one. It'll collapse down to 2 mm, but for holding really short things, it's best to put another short length of the same diameter at the rear of the collet. If I tried to put a short 2 mm diameter bar in the rear of a 3 mm collet, it'd fall out long before I got the collet tightened, so it's much better to use a 2 mm collet directly.
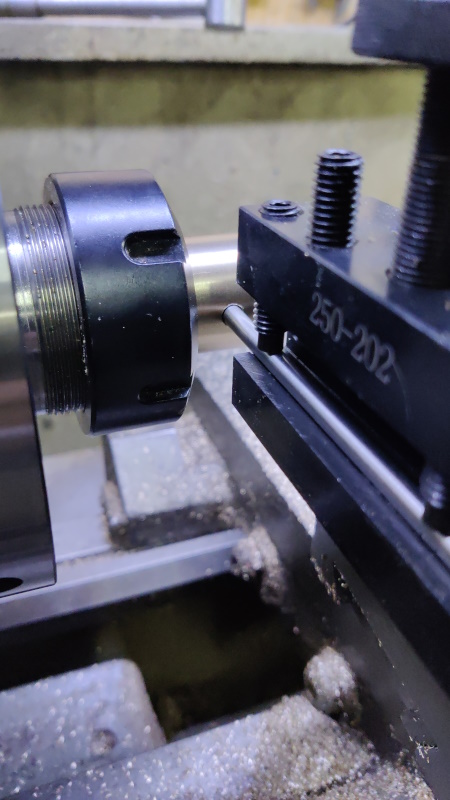
Fortunately, I have a straight-shanked ER32 collet chuck, which I could hold in an ER40 collet. I could then use a 2 mm ER32 collet to hold the tiny brass bit (with another one of the tiny brass bits in the back of the collet):
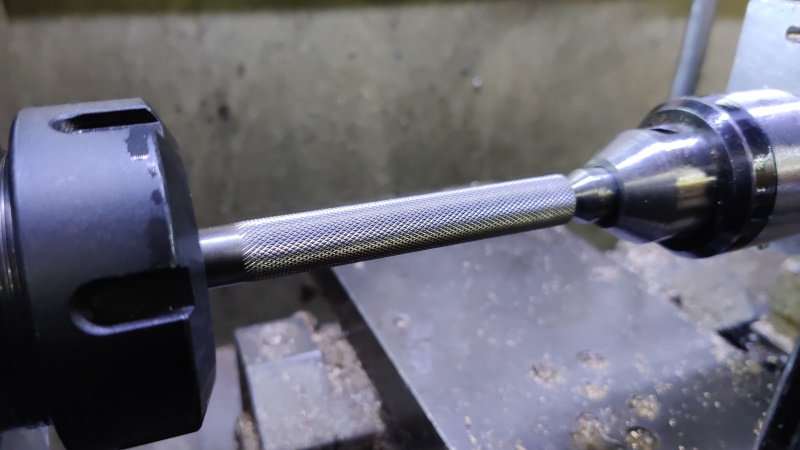
That was all the brass turning done for now; next up, some stainless steel. I started with a bit of 12.7 mm 303 stainless and skimmed the outside diameter down to about 12 mm. I then ran a knurling tool along the length of the bar:
The result:
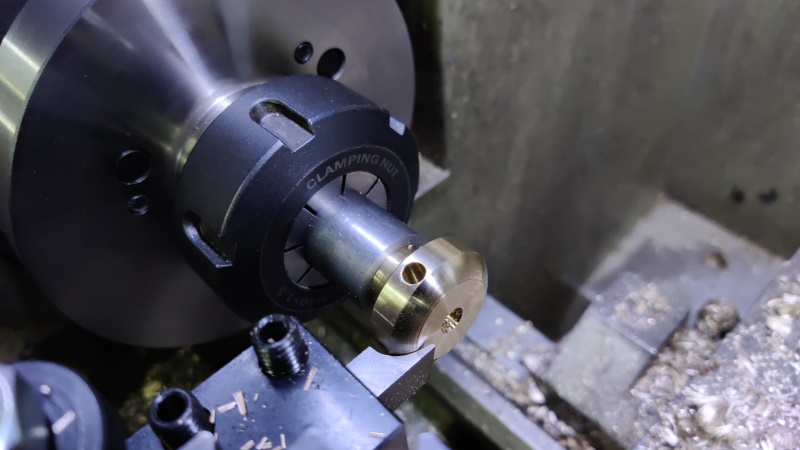
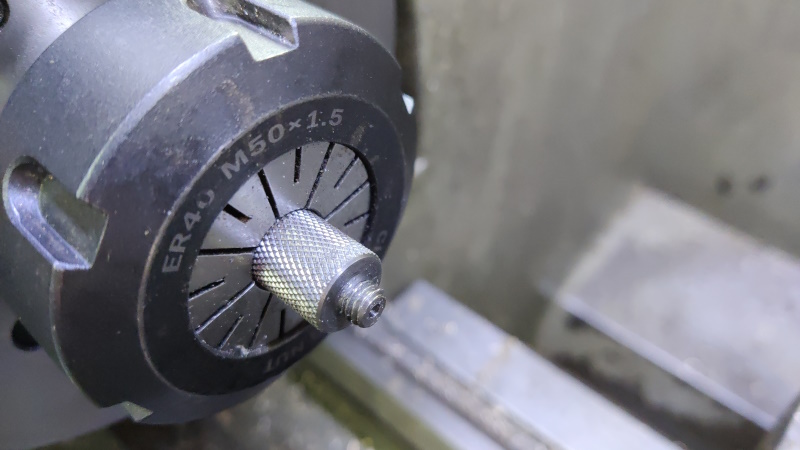
The end was reduced in diameter to 6 mm and threaded M6 (with a threading die). The reduced diameter section isn't really long enough for a good die-cut thread, but it'll serve the purpose perfectly well. While it was in the chuck, I also drilled a 2 mm hole in the end:
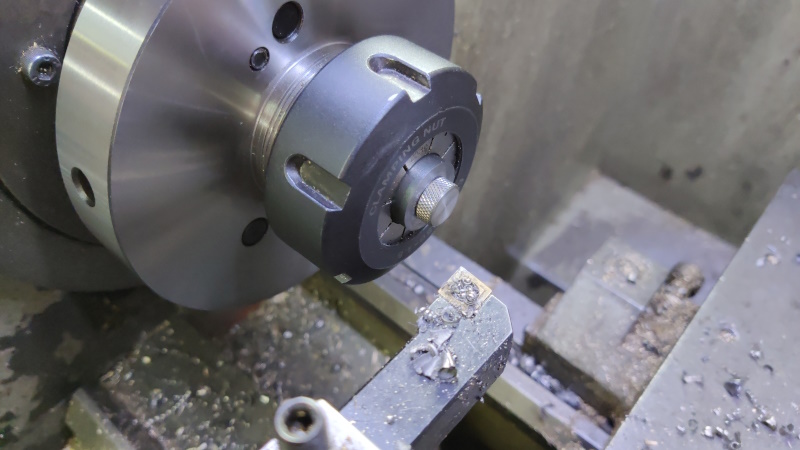
After making three of those, I drilled and tapped an M6 hole in a bit of scrap and used that to hold the thumbscrews in place so I could tidy up the outside face:
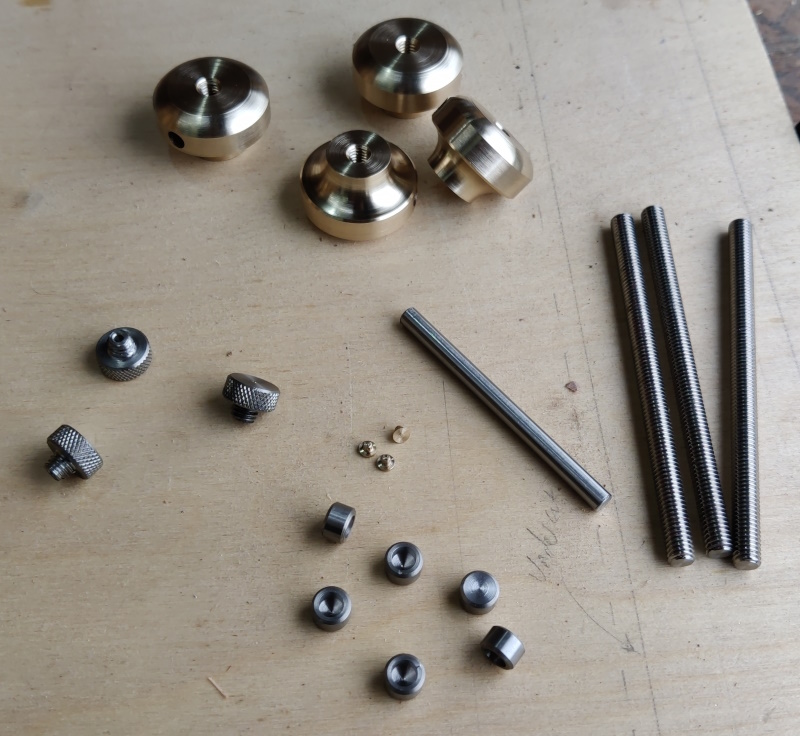
The only other jobs were cutting some lengths of stainless M6 threaded bar and 5 mm stainless round bar to length and tidying up the sawn ends in the lathe. Also making some very short pieces of 8 mm stainless bar with a 5 mm blind hole drilled in one end. I didn't take any photos of those processes.
All of that gave me this pile of bits:
You'll notice that there's only one of the lengths of 5 mm stainless round bar: that's because that's all the 5 mm stainless round bar I've got. I've ordered some more, so I'll be able to finish the parts later in the week.
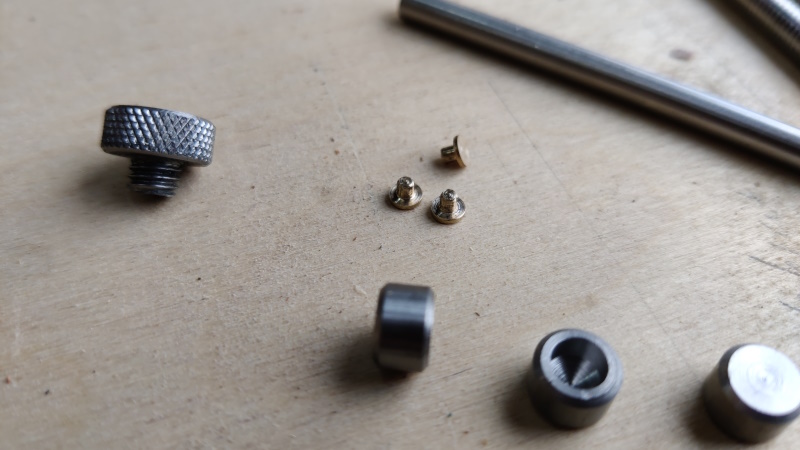
This is a close-up of those tiny "wear pads" – the smallest things I've ever made I think:
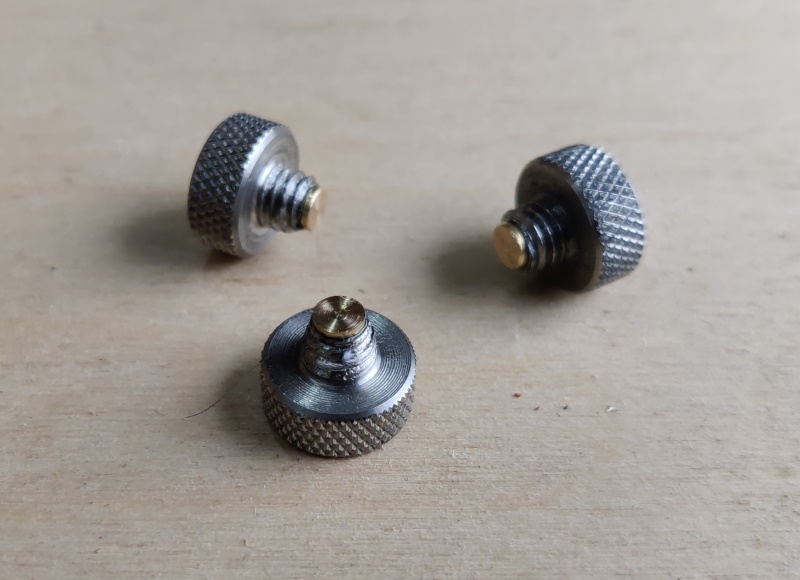
They get glued (with Loctite 603) into the end of the knurled stainless thumbscrews:
The brass pad presses against the 5 mm stainless round bar, stopping it moving but hopefully not damaging the surface of the stainless bar (because brass is softer).
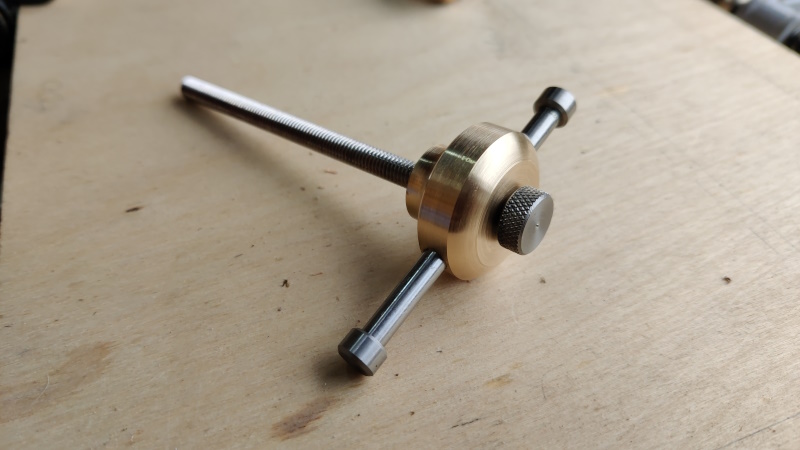
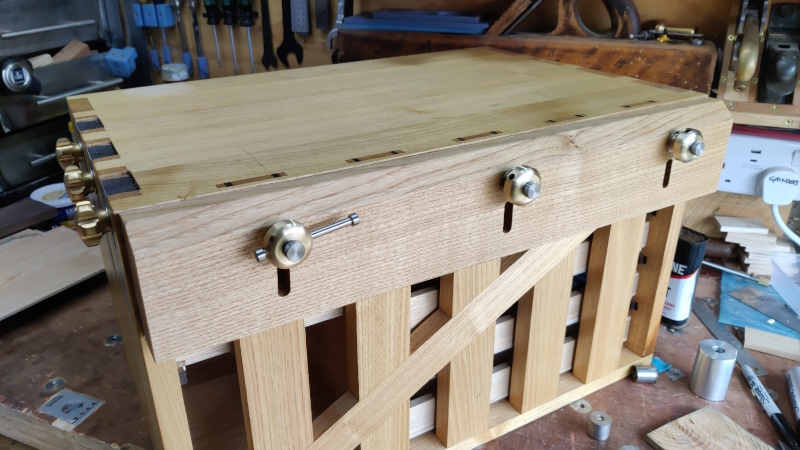
Due to the lack of 5 mm round bar, I could only fully assemble one of the knobs, but here it is:
I've glued the threaded bar into all the knobs, so I could fit them in place in the vice jaws:
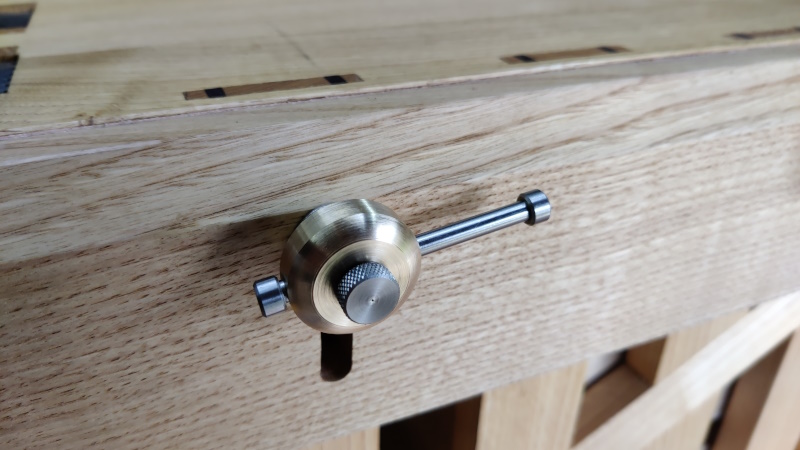
Close-up of the finished one:
The little knurled thumbscrew can be used to lock the bar in a roughly central position and then it's really quick to shove a finger up against the bar and spin it round and round. With the knurled thumbscrew loose, the bar can go to either end for a bit more torque if needed (or to keep the bar from sticking up above the surface of the chest).
I'm not sure what I'll do next. There's still a long list of jobs to do, but I think I want to sort out drawer pulls and a carving pattern quite soon and I'm feeling thoroughly stuck on both of them.
Page 116 of 144
This website is free and ad-free, but costs me money to run. If you'd like to support this site, please consider making a small donation or sending me a message to let me know what you liked or found useful.

 Return to main project page