Travel Tool Chest & Workbench Build Process
Page 120 of 144
Posted 18th November 2023
Right, you might want to sit down before reading on...
... I've made a decision about the drawer pulls!
When I did the test piece, I didn't document the process of making the brass bits. Since I needed to make a load more of them, I thought I'd write it up here.
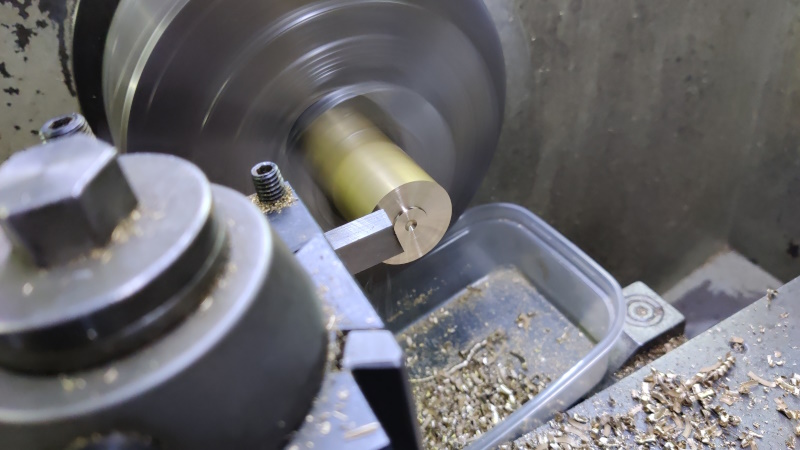
I started with a bit of 32-ish mm brass bar (which, as I've mentioned before, I got rather a lot of for free a few years ago). The first job was to face the end of the bar, with the tool inverted and the lathe running backwards so it would fire the brass bits downwards instead of up into my face:
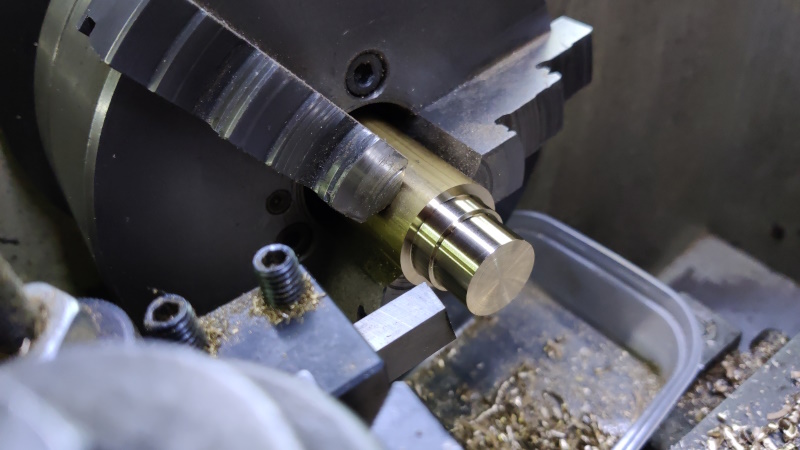
I then turned the two outer diameters (25 mm for about 20 mm length, then 22 mm for 13 mm length), making note of the cross-feed dial settings on the first one so I could just work to the cross-slide settings on the later ones.
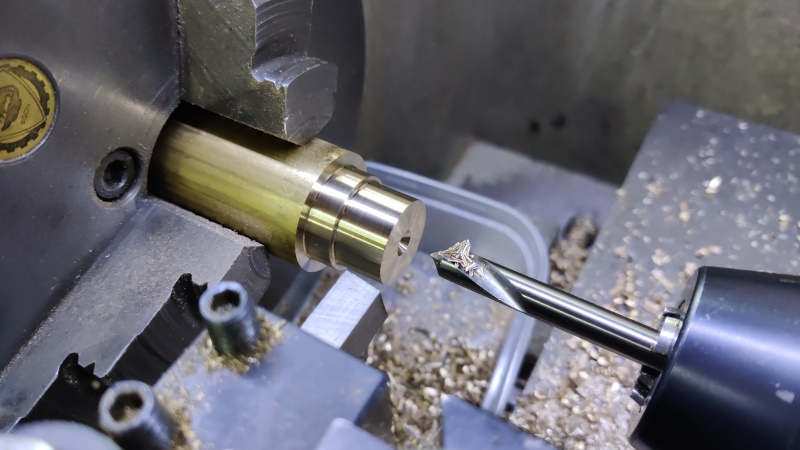
I gave the outside corners a quick touch with a smooth file, then used an 8 mm spot drill to start a central hole:
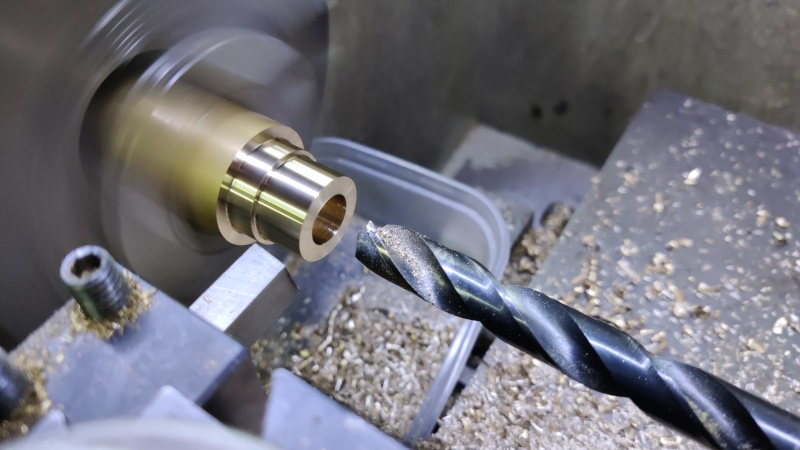
I then drilled 10 mm and then 13 mm:
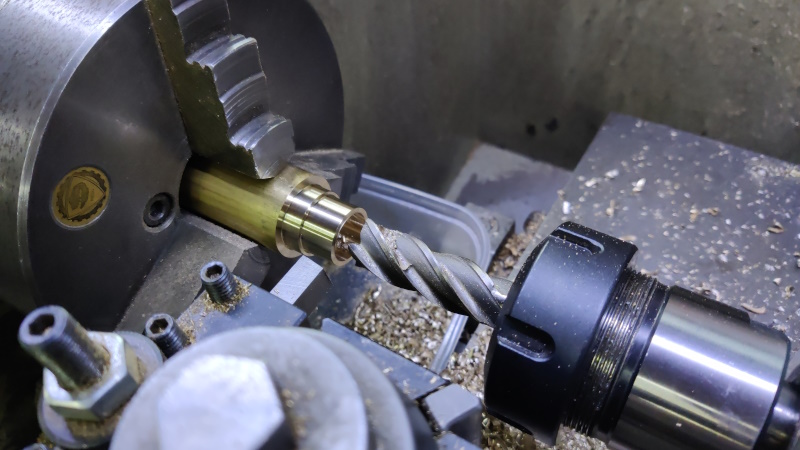
Then went in with an 18 mm end mill to a depth of 16 mm or so:
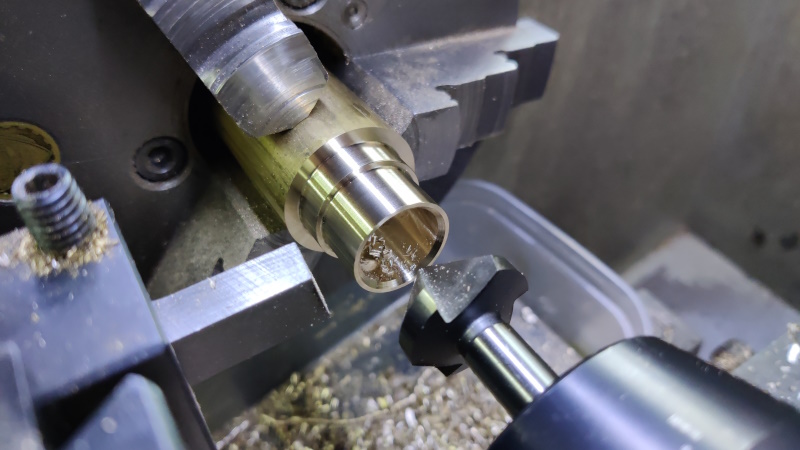
A large countersink was used to turn a circa 1 mm chamfer on the inside rim:
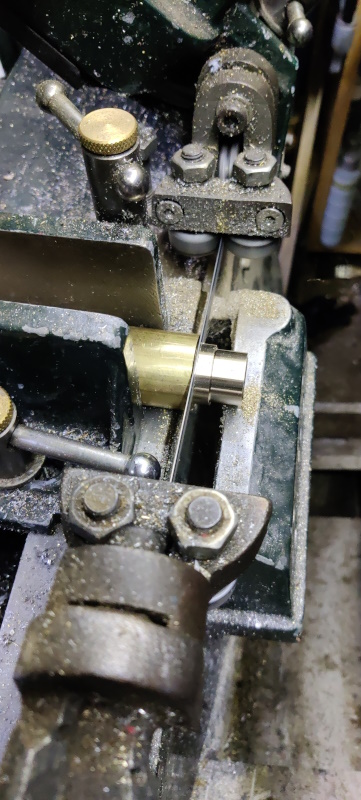
I could have parted it off there, but given that it needed to go back in the lathe to have the other end worked on, I just chopped it off with the bandsaw:
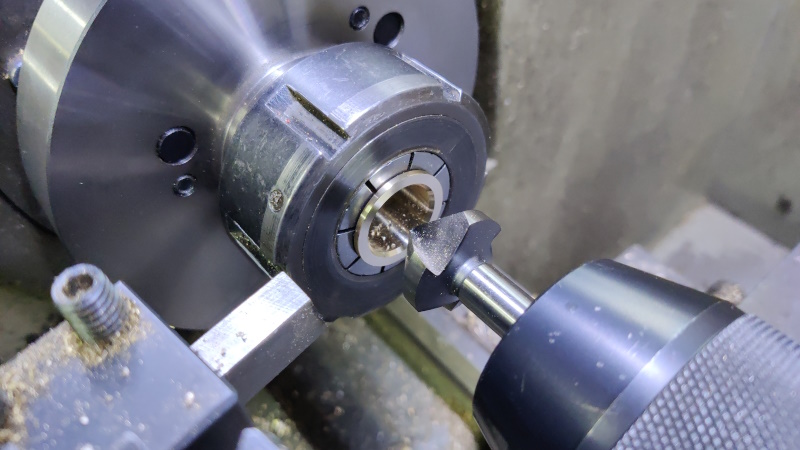
I did the same operations to all the other ones, then swapped the three-jaw chuck for a collet chuck. That was used to finish the other end: facing to length and chamfering with the countersink bit again:
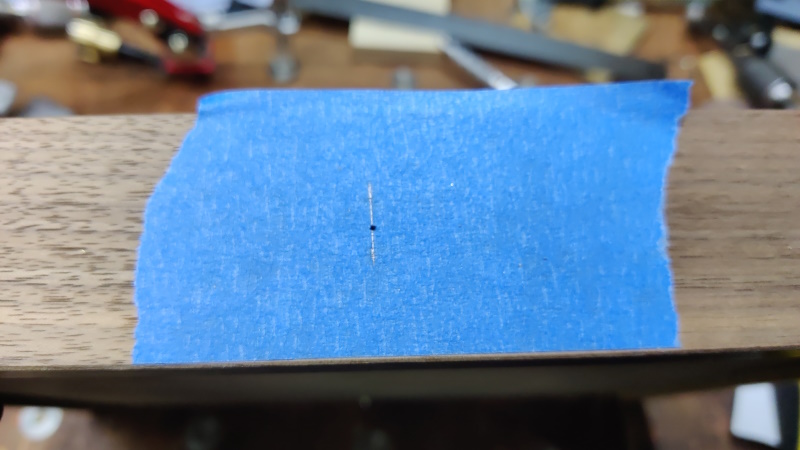
The first stage in fitting the inserts to the drawers was to put some masking tape on the face of the drawer and mark the centre:
The masking tape is partly there to make the marks easier to see, but mainly there to protect the face from being marked by the depth stop.
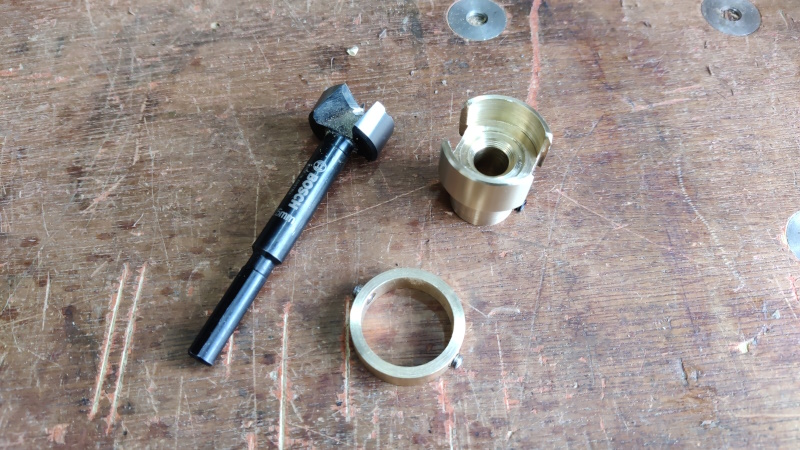
Speaking of the depth stop, I made a new one, seen next to the old one here:
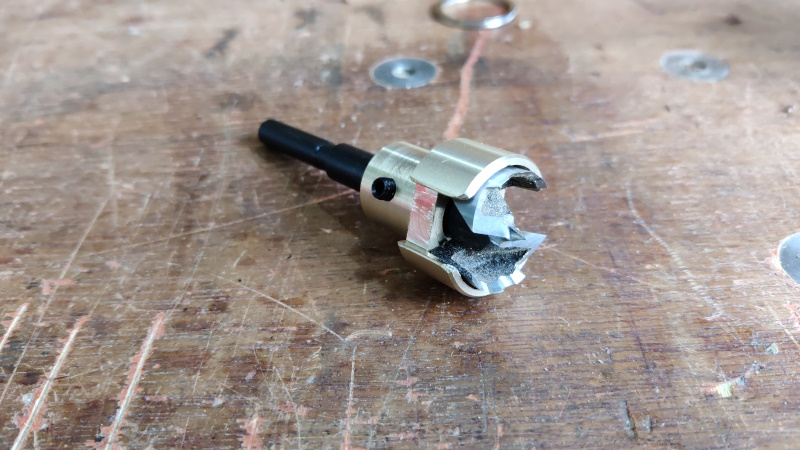
The new one has two advantages: firstly it's a lot more robust and less likely to move. The second advantage is the cut-outs in the sides, more clearly visible here:
They give the waste wood an escape route: With the previous depth stop I found I was frequently having to remove the Forstner bit and clear the waste away manually. The red colour in the image above is just a reflection of something or other that was lying on my bench.
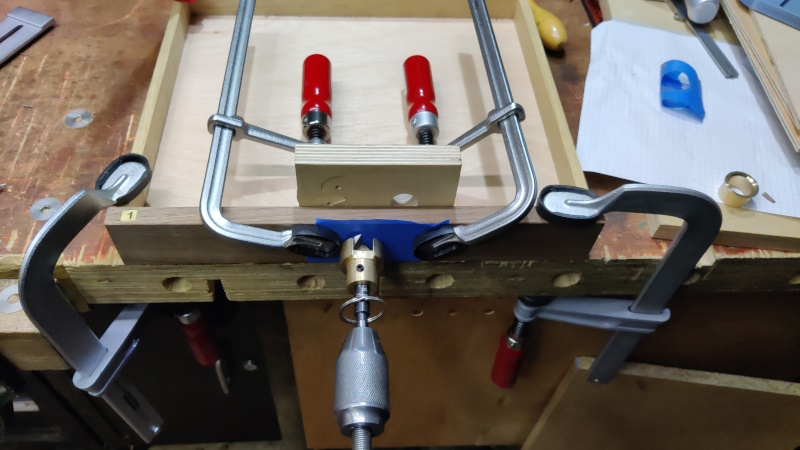
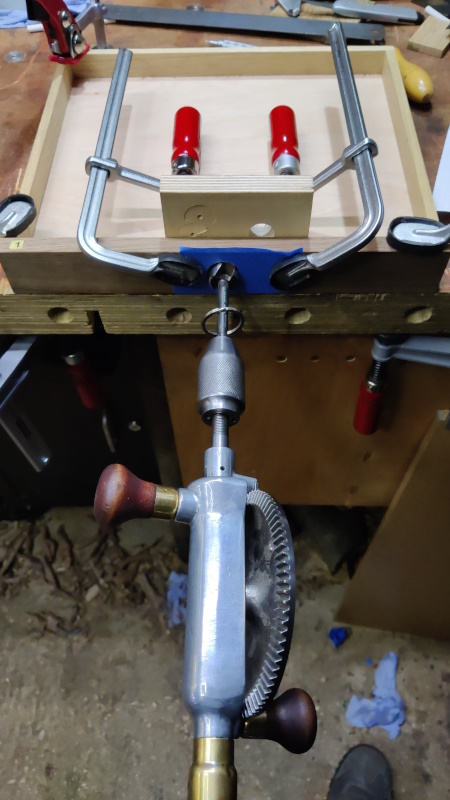
The 25 mm Forstner bit was used with an egg-whisk drill and the depth stop to drill the first bit of the hole:
Then a 22 mm Forstner bit went the rest of the way through (with a small offcut of plywood to prevent break-out on exit):
Then it was just a case of fitting them. They're a tight enough fit that they needed a bit of persuasion (with an F-clamp) to slide in, so I didn't bother gluing them in place. I don't think they'll go anywhere.
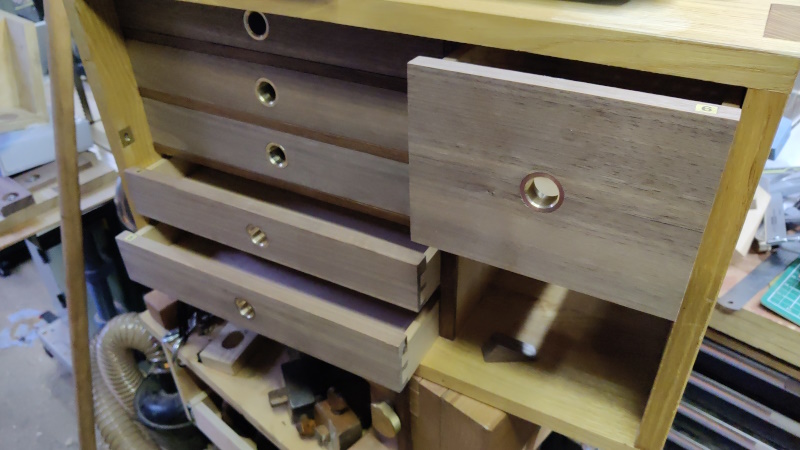
That's all the drawer pulls done, phew!
I'll take a better photo in daylight tomorrow. I've no idea why the right-hand drawer insert looks a purple colour in the photo: it looks like all the others in reality.
If I did this exercise again, I'd definitely drill the holes before assembling the drawers. I'd put it off partly because I was expecting to just stick something simple on the outside and partly because I was rushing to have the drawers ready for the June holiday in France. Drilling the holes would have been much easier if I could have used the pillar drill. To be honest, if I did the exercise again, I'd used the powered pillar drill – drilling isn't noisy or dusty so doesn't fit into quite the same category of power tools as sanders and table saws etc, so I don't have quite the same aversion to it (even Paul Sellers uses a cordless power drill!). However, I'd told myself I'd use hand tools for woodwork wherever possible, so I wanted to prove to myself that I could do it.
That's the drawers basically done (ignoring inserts for holding tools in place, which I've pretty much decided I'll just 3D print). They still need oiling. What's the opinion of those on here regarding drawer oiling. I've seen lots of arguments discussions on-line about whether to:
- Just oil the outside and top face of the front
- Oil the above, plus the outside face of the sides
- Oil everything except the base, inside & out
- Oil everything, inside & out
- Variations on the above
I can see the argument for not oiling the inside if you're going to keep clothes in the drawer, but that doesn't apply here. I'd be interested to know any opinions here, although I'm probably leaning towards the oil everything option (or possibly oil everything except the base).
Page 120 of 144
This website is free and ad-free, but costs me money to run. If you'd like to support this site, please consider making a small donation or sending me a message to let me know what you liked or found useful.

 Return to main project page