Travel Tool Chest & Workbench Build Process
Page 119 of 144
Posted 18th November 2023
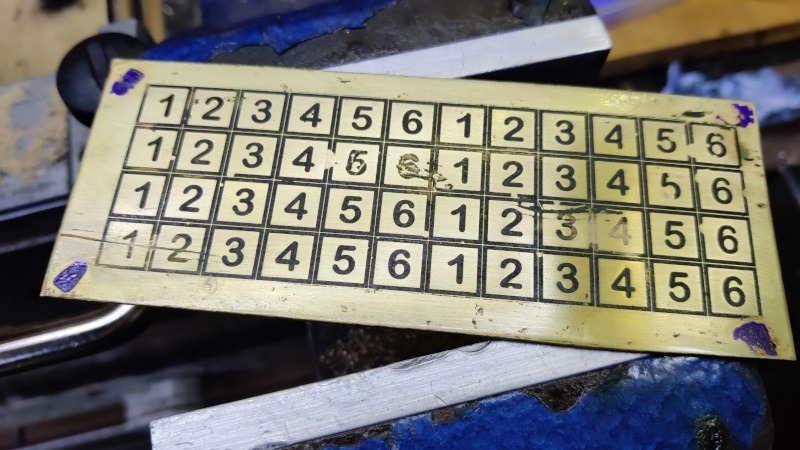
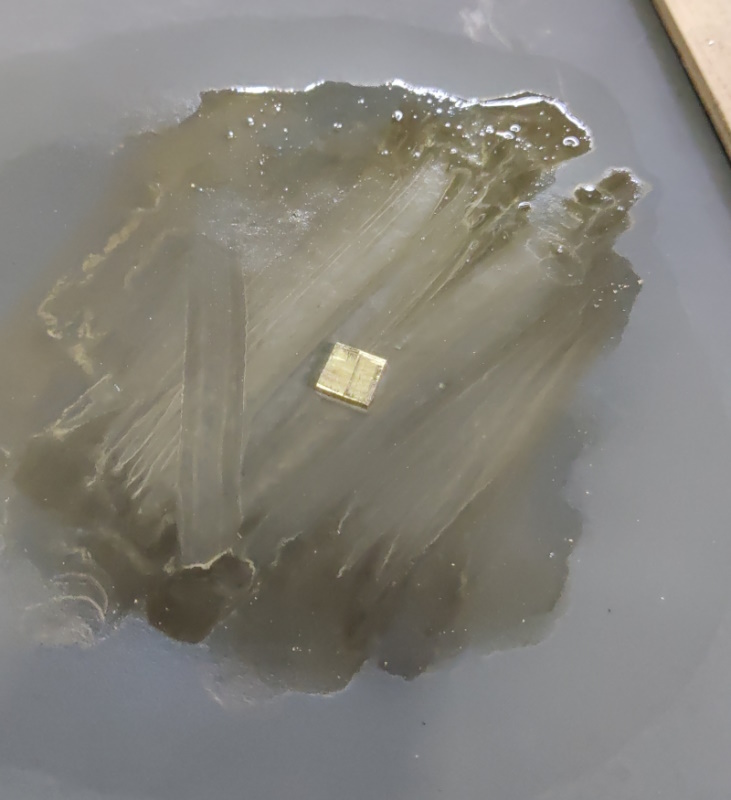
First job for the morning was a tidy up of all the photolithography stuff. Then I heated the brass plate up with a blow torch and melted some shellac wax into all over it as before. 600 grit wet & dry paper (lubricated with WD40) was used to clean up the face:
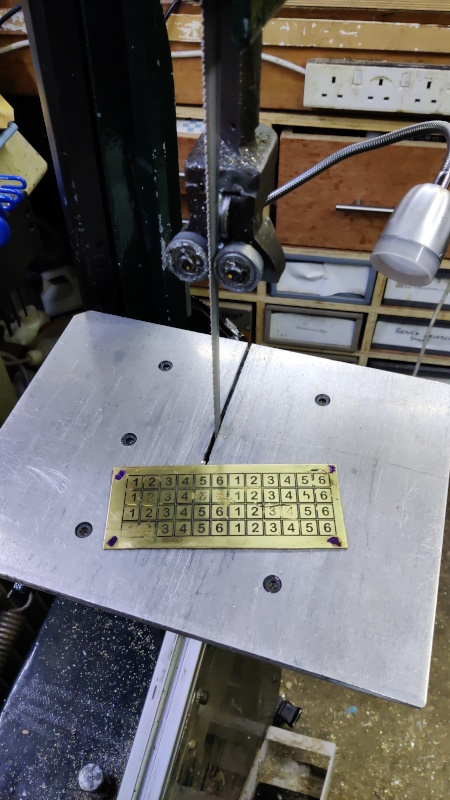
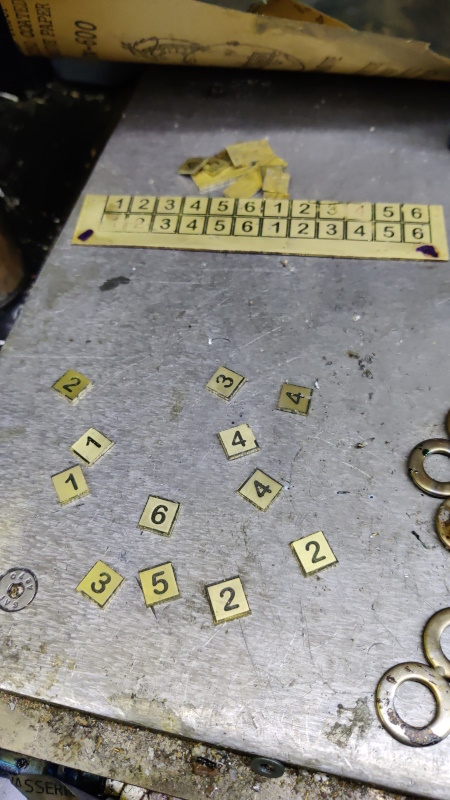
I put my home-made vertical table in the horizontal bandsaw and chopped a few of the bits up.
I kept going until I had a couple of promising examples of each number, then left the rest as spares.
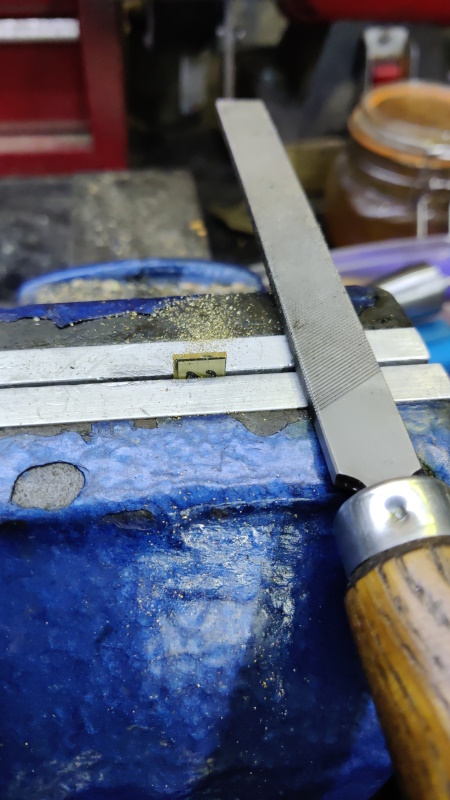
Each piece was then held in the bench vice (which has home-made aluminium soft jaws) and filed at a slight angle (narrowing towards the back) until the border line just disappeared.
Each piece then got a few strokes face down on some 1200 grit wet & dry paper to finish them off.
Finally, they went in the kitchen oven at 180°C for a bit to smooth out the wax. It didn't go as glossy this time, but I'm still happy with how it looks.
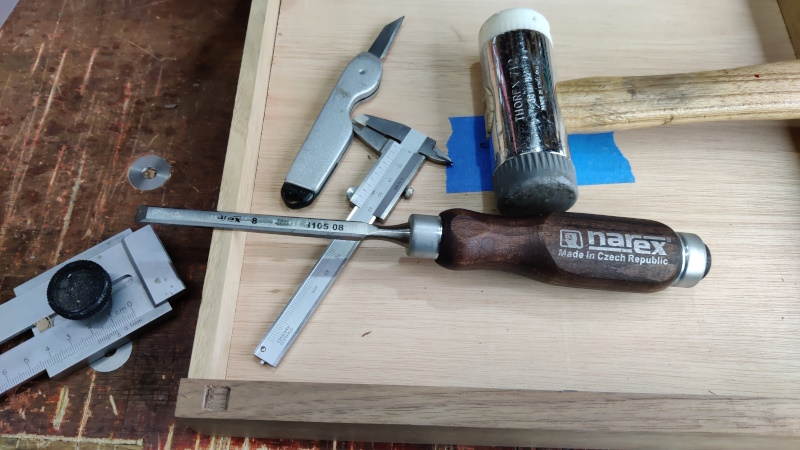
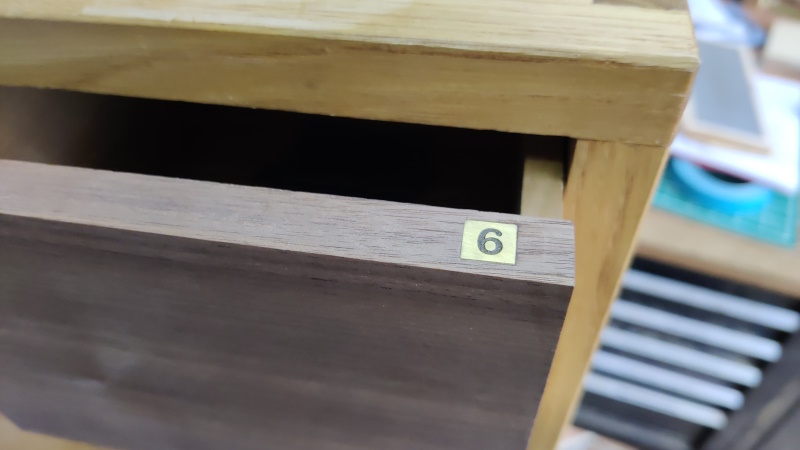
Finally, I chopped out some mortices in the top of each drawer with an 8 mm chisel...
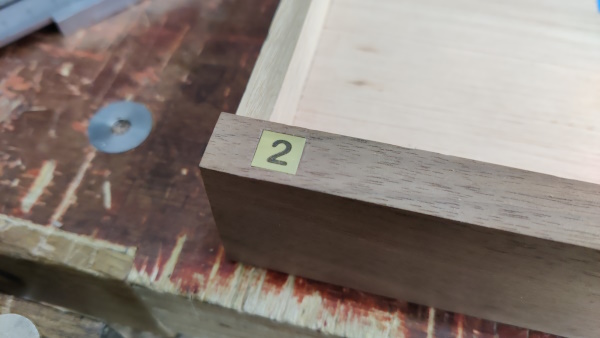
... and glued the brass number plates in with some superglue.
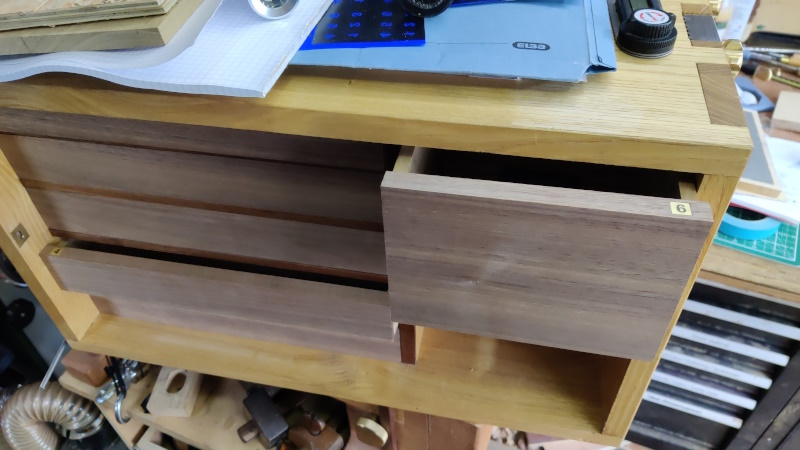
With that done, I could finally take off the masking tape (with drawer numbers written on) that has been on the drawers for the last 6 months!
Page 119 of 144
This website is free and ad-free, but costs me money to run. If you'd like to support this site, please consider making a small donation or sending me a message to let me know what you liked or found useful.

 Return to main project page