Travel Tool Chest & Workbench Build Process
Page 13 of 144
Posted 5th February 2023
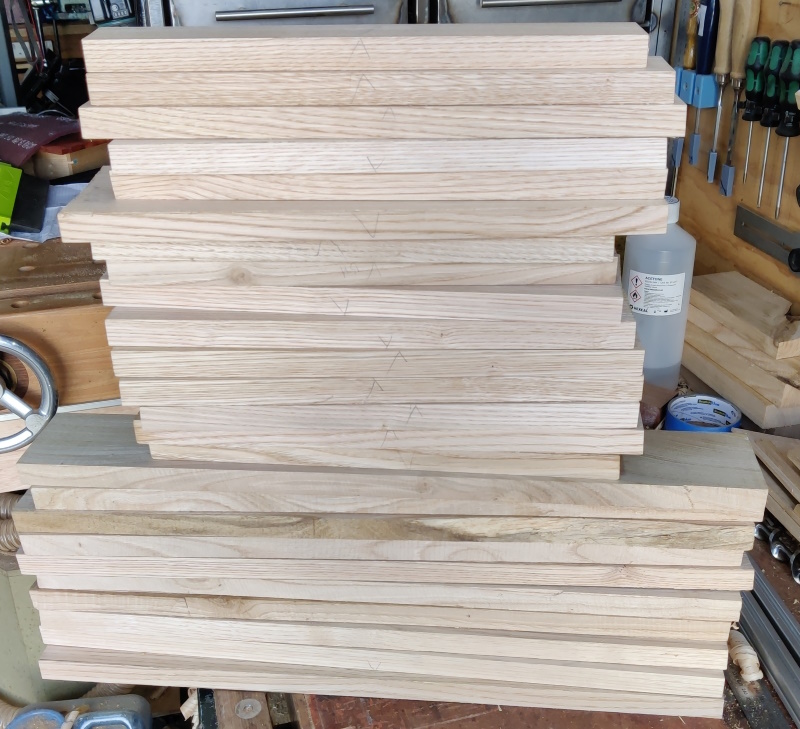
A few more sessions with the #5 have passed now and I've got myself a healthy stack of wood, all of which is (I think) square and flat on three sides and some of which is also square and flat on the fourth.
The bottom 10 pieces will become the top and bottom of the box; the middle 10 will be the sides and the top 5 narrower ones at the top of the pile will be the slats for the back.
They haven't been trimmed to length yet and obviously various bits will be cut out for joinery, but I thought it would be a good idea to weigh the stack. It came out as 8.6 kg. Once they're finished and ready to become the chest base, they will probably weigh quite a bit less than that, but there will be additional weight with the middle support piece, the thin lining pieces in the back and of course the drawers. Nevertheless, intuitively it feels like the 15 kg reported by the CAD model shouldn't be too much of an overestimate, which is nice. Out of interest I modified the model to use 16 mm thick sides rather than 20 mm ones and the overall weight reduced by 1.5 kg. Given the relatively small saving I think I'll stick with 20 mm.
While I had the scales out, I got a small sheet of plywood and piled up most of the tools that I think will end up in the tool chest. Subtracting the weight of the plywood that came out as 11 kg. I'm pretty sure there will be additions to that (for a start I only included two clamps), but hopefully 11–15 kg is a reasonable estimate for the tools so the whole package will hopefully stay under 30 kg. I might borrow some weights off my next door neighbour and mock up something with similar ergonomics and about the right weight to see what it feels like moving it around.
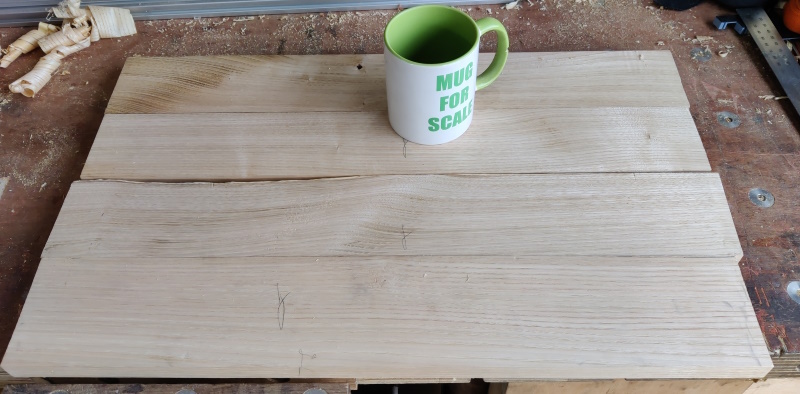
With the initial preparation done, I thought it would be interesting to lie out a few pieces to roughly the size of the top surface:
In the end it'll be made up out of 5 pieces, but the 4 untrimmed ones worked out as about the right depth.
The next couple of jobs involve some decisions.
The first decision is how tall to make the box. The length of the pieces for the sides and back were dictated by the material and they've all ended up about 360 mm long. The CAD model at the moment is designed around 300 mm height. I can either cut them down or make the chest a bit taller. I'm still undecided on that, so I might leave it until I've glued the pieces into panels.
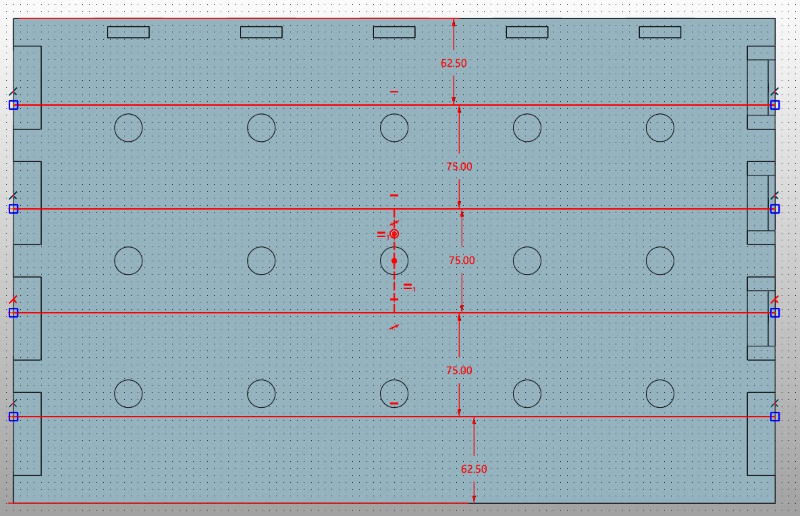
The second decision is how to layout the pieces. Each of the side, top and bottom pieces is a minimum of 80 mm wide (some are quite a bit wider). The target depth from the model as designed is 350 mm. For the top surface, I think I'd like the joints to be away from the dog holes, so I had a play with the model and I'm currently leaning towards three pieces that are 75 mm wide and two pieces that are about 62 mm wide.
The actual depth of the chest doesn't have to be 350 mm of course, so those dimensions aren't critical.
Is there any good reason to offset the joints (i.e. to make the pieces that make up the sides a different thickness to the pieces that make up the top so that the glue joints are offset from one another)?
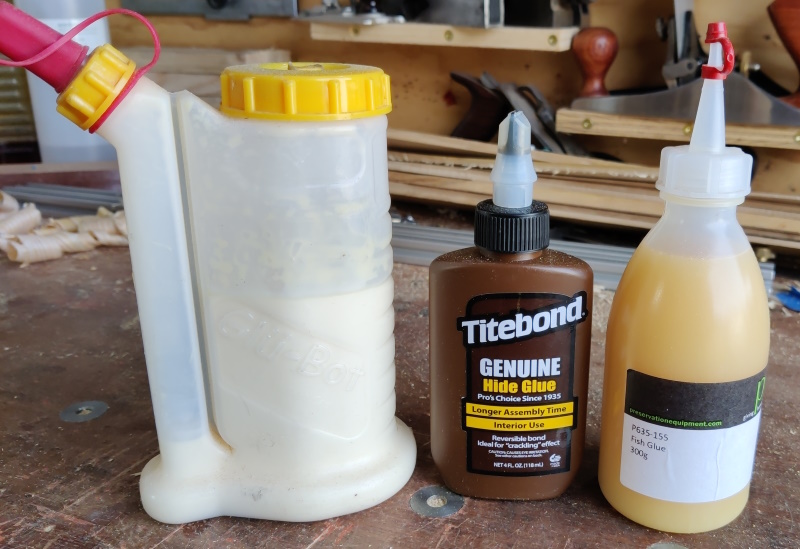
The final decision is what glue to use. For my limited woodworking experience, I've only ever used what I would probably call modern wood glue. I've never tried a protein based glue but I'm quite keen to do so on one upcoming project or another so I bought myself a couple of options (shown along side the modern stuff in the glubot thing:
I think the protein glues would probably benefit from a higher ambient temperature (the titebond stuff recommends 10°C or greater), but I doubt I'll be getting much gluing done (with the possible exception of the edge jointing) much before April (and even there I'm possibly being optimistic), so the ambient temperature should sort itself out.
Perhaps the best thing to do is to have a pause and make a couple of boxes (or just some practice joints) with the protein glues to see how I get on with them.
Hmmm....
Page 13 of 144
This website is free and ad-free, but costs me money to run. If you'd like to support this site, please consider making a small donation or sending me a message to let me know what you liked or found useful.

 Return to main project page


