Travel Tool Chest & Workbench Build Process
Page 14 of 144
Posted 10th February 2023
... and so it begins.
I thought I'd start the edge jointing by making one of the sides. If I comprehensively c*ck it up, it's less work to remake a side than it is to remake the top or bottom!
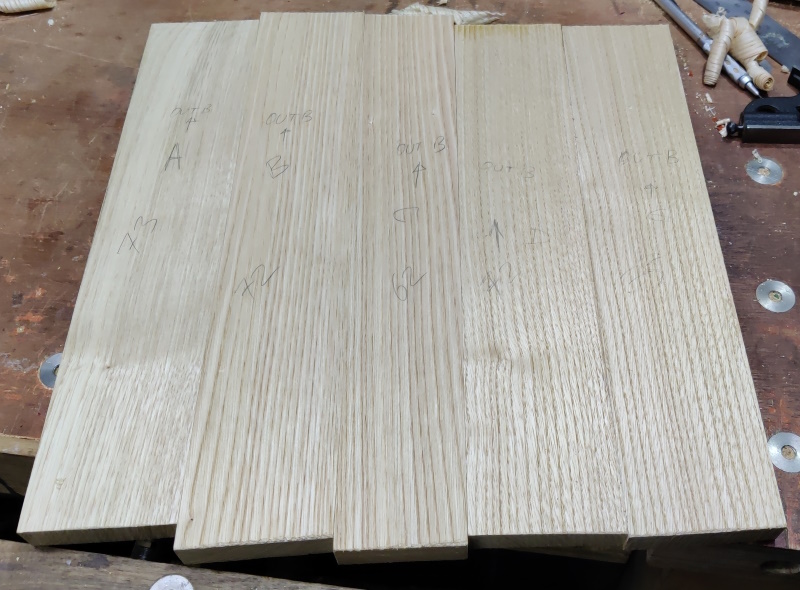
I worked out some sensible widths that would offset the joints from the joints in the top and then I cut the pieces slightly over width. I planed them roughly to the right size and then paired them up (with matching faces together) and planed the edges with my #7. For the first one, I tried just planing them individually, but I struggled to get a perfect match, whereas planing them together worked first time, so I stuck with that method for the rest of them.
With that done, I could lie them all next to one another and take a boring photo.
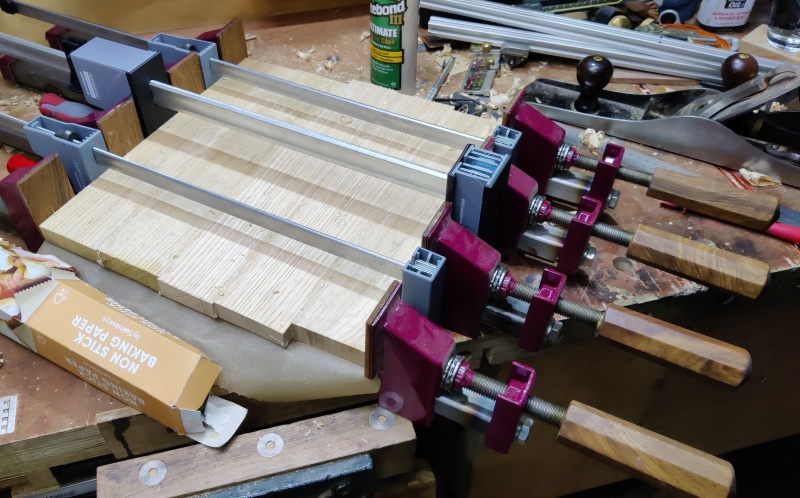
Since it's still quite chilly, I thought I'd stick with known methods and use titebond 3, which has a fairly long cure time to allow me to work at my preferred glacial pace.
I got out my home-made clamps and some greaseproof paper out and, after a trial run, applied glue to both sides of each joint and did up the clamps. I gave the top-face a rub down with some plane shavings to get rid of the excess glue and then got some extra clamps and put them upside down in the gaps, although the clamp rails aren't pushing down on the board so I don't know how much the extra clamps will help keep it flat. The squeeze-out on the underside will have to be dealt with after the glue has dried.
I'll leave that overnight now and then see what it looks like tomorrow.
Page 14 of 144
This website is free and ad-free, but costs me money to run. If you'd like to support this site, please consider making a small donation or sending me a message to let me know what you liked or found useful.

 Return to main project page
