Travel Tool Chest & Workbench Build Process
Page 132 of 144
Posted 10th September 2024
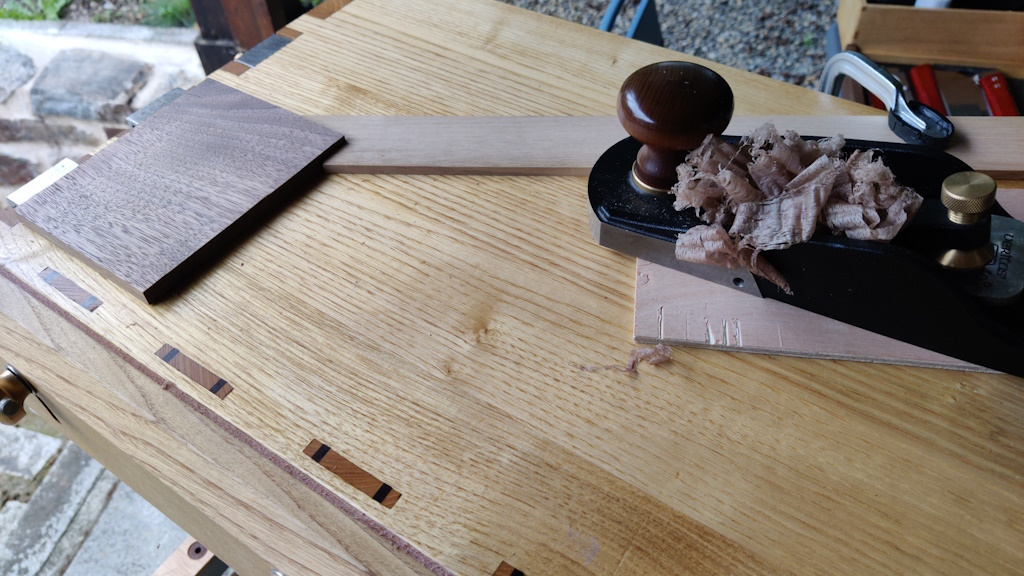
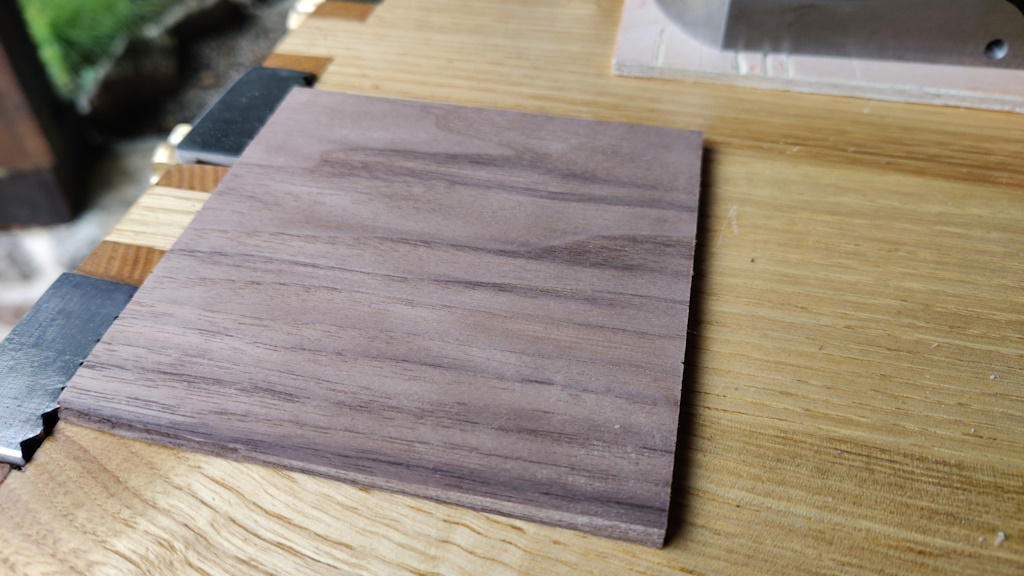
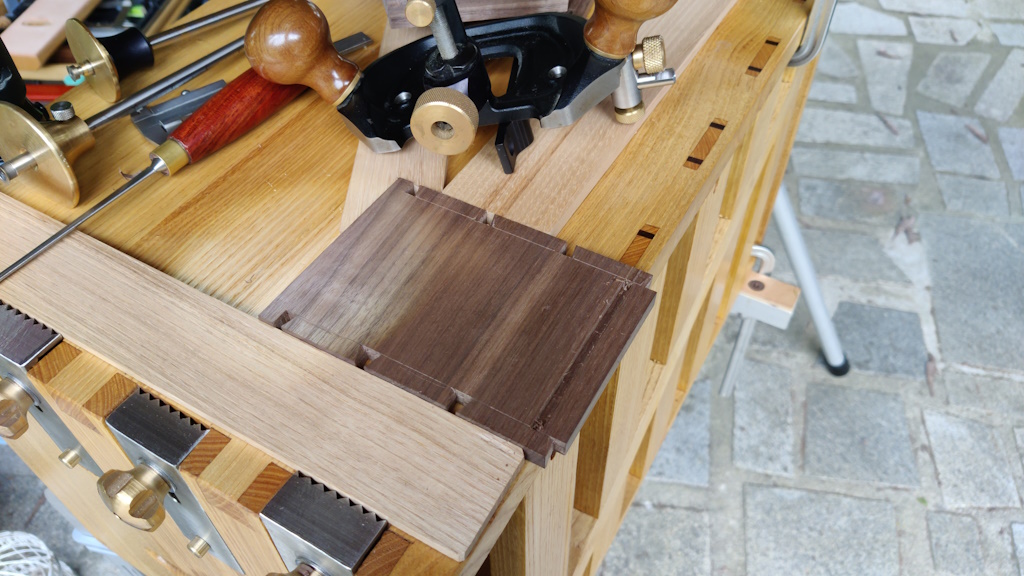
We spent the morning out and about, but Carolyn needed to rest after lunch so I got on with the box. I started by planing one off the off-cuts from the plank that I used to make the sides of the box:
I then spent a little time sawing and shooting that piece to size...
...until it was a nice fit in the gap in the dry-fitted box:
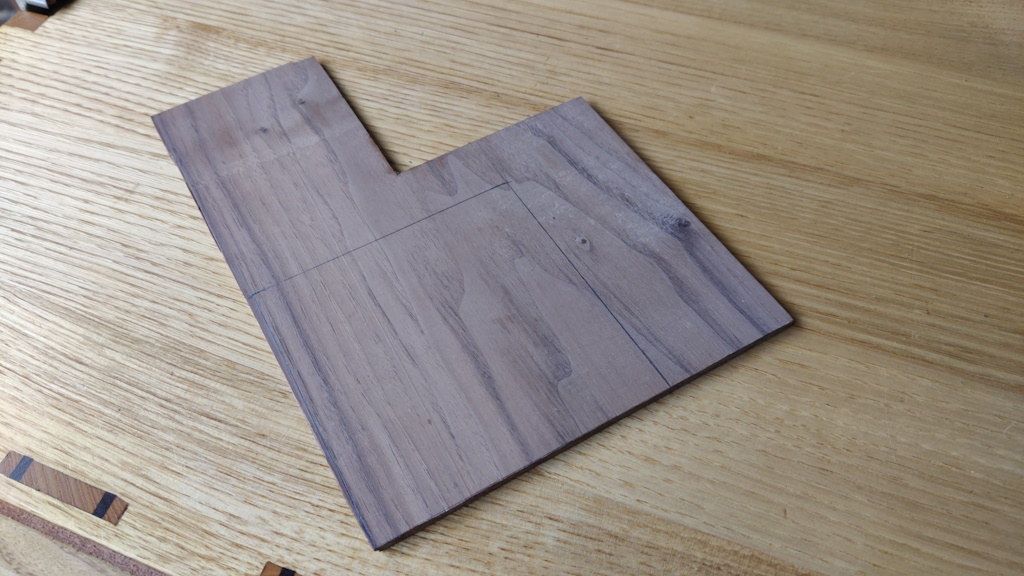
To make the box base, I started with this offcut of walnut that I'd brought with me:
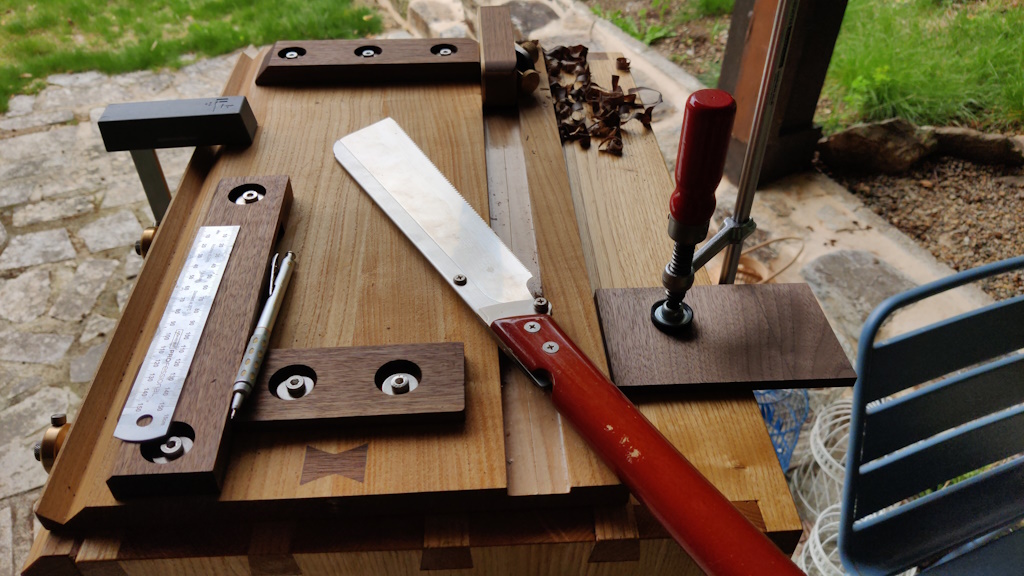
It was about 4.5 mm thick. After cutting it to about the same size as the box (to leave plenty of excess for trimming later), I had a chance to try out the modified planing stops (now with a flat top) for planing thin material; they worked perfectly:
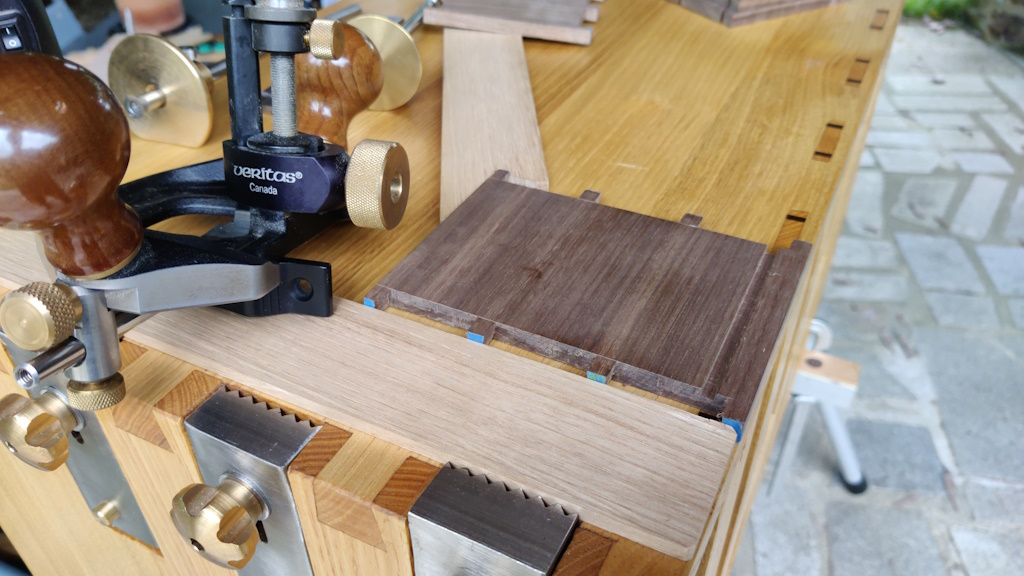
I've got space for two marking gauges in the tool chest, so I set them up for each side of the groove. The router plane isn't quite as refined for cutting grooves as a plough plane, so I figured it would help if the sides of the groove were cut already to get things started nicely.
On the pin boards, I could plough the grooves all the way through, so they proceeded very quickly:
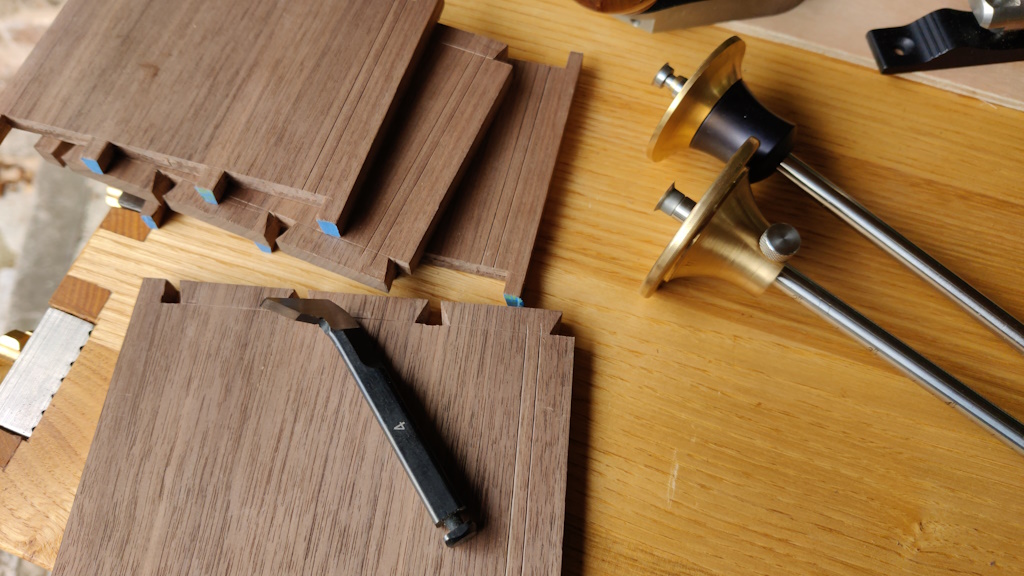
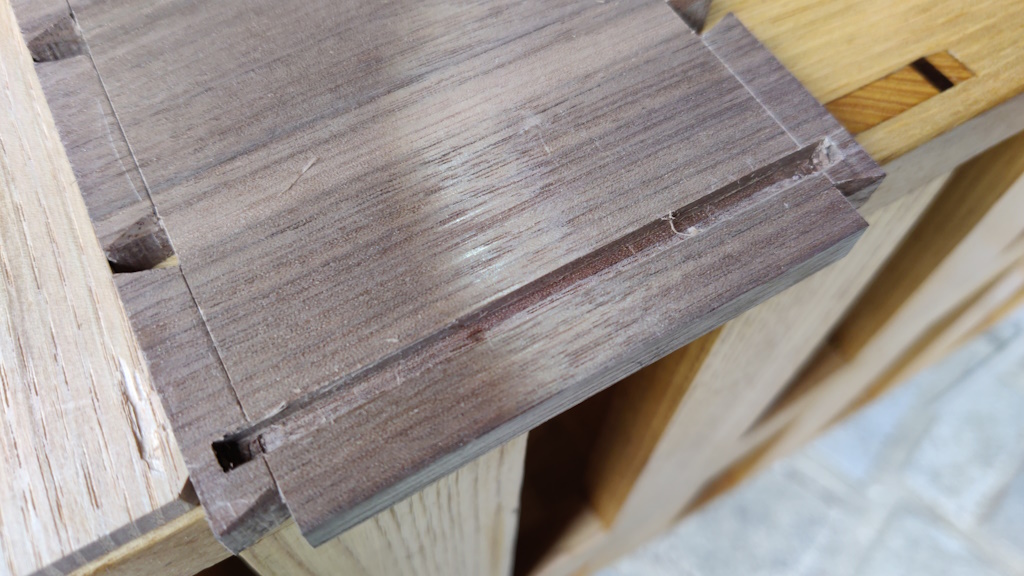
Since I hadn't bothered with mitred dovetails, the tail boards needed a blind groove. I didn't have a 4 mm chisel in the selection that I'd brought, so I started by chiselling out the ends of the groove with a 3 mm chisel, keeping the ends in line with the bottom of the tails so that there's minimal chance of blowing out the end.
I could then plough the groove (in both directions) up to the chiselled ends:
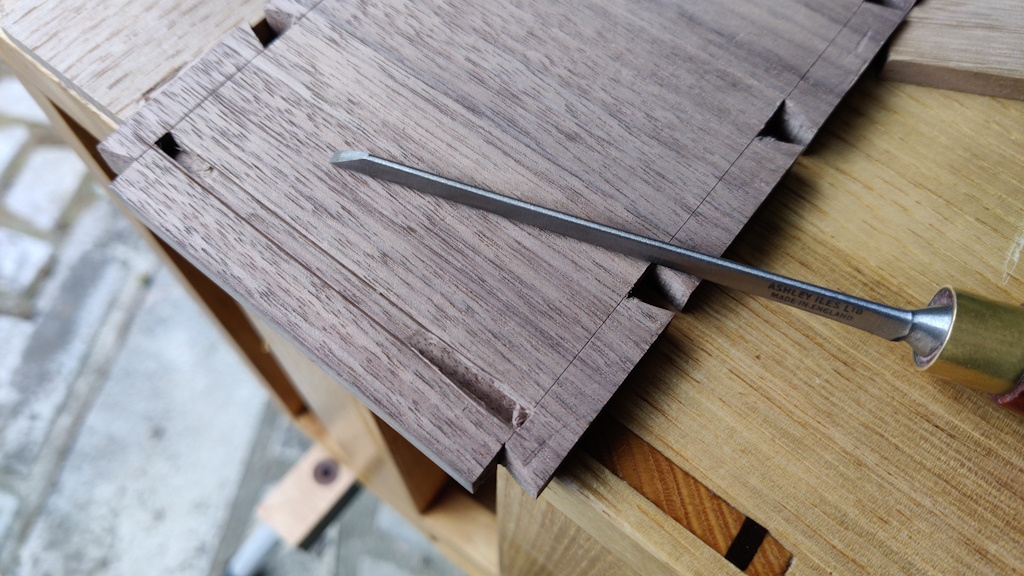
Finally, I used a chisel to extend the groove out into the tail, taking very light cuts so as not to break out.
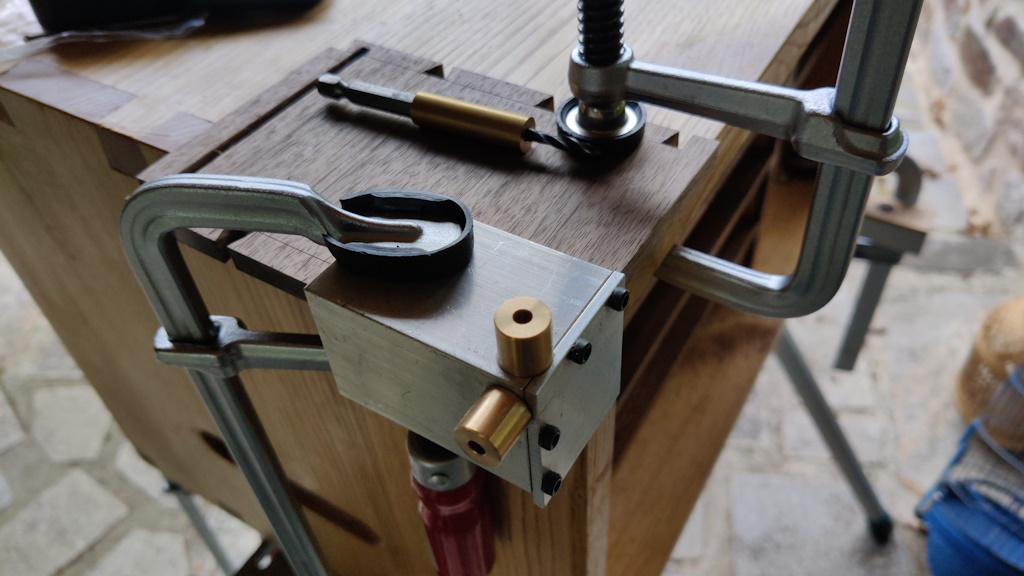
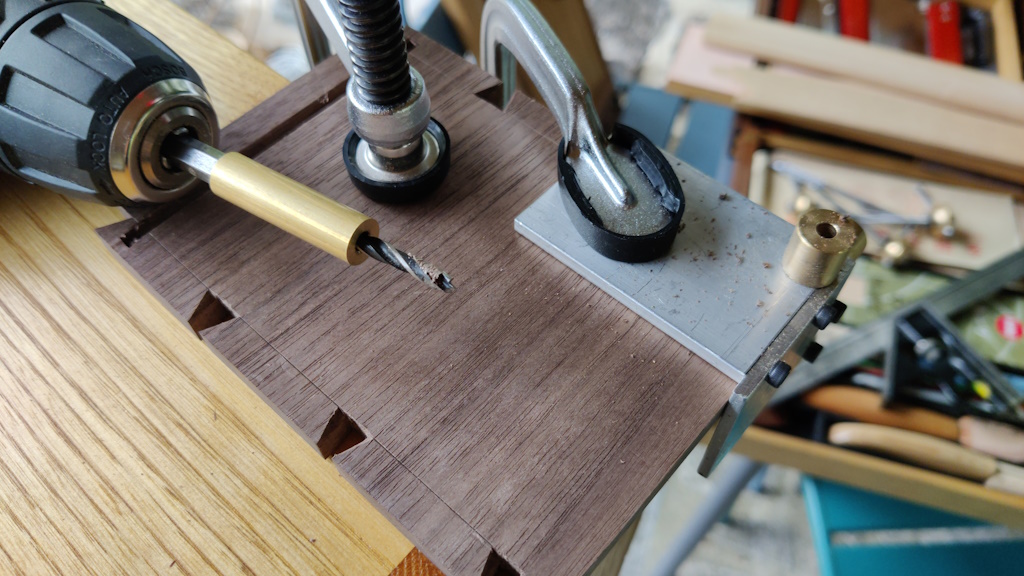
The next job was to prepare the hinge for the lid. A few weeks ago, I made a simple jig to make this process easier. Today was the first time I've tried it out.
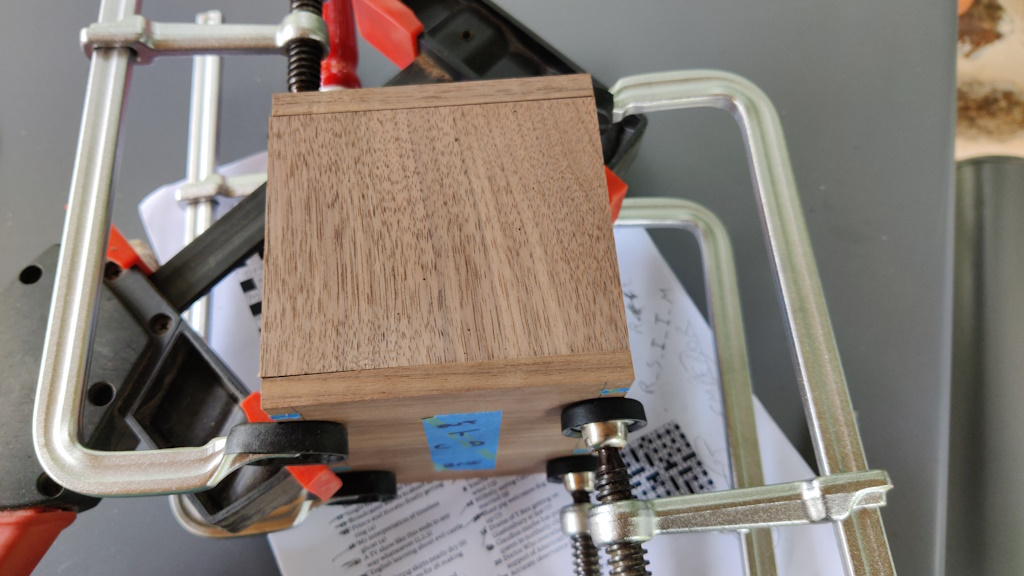
The jig gets clamped to the sides of the box, referencing off the inside face, the top and the back:
The brass tube on the drill bit acts as a depth stop to ensure that the drill bit doesn't go too deep and break out onto the outside of the box.
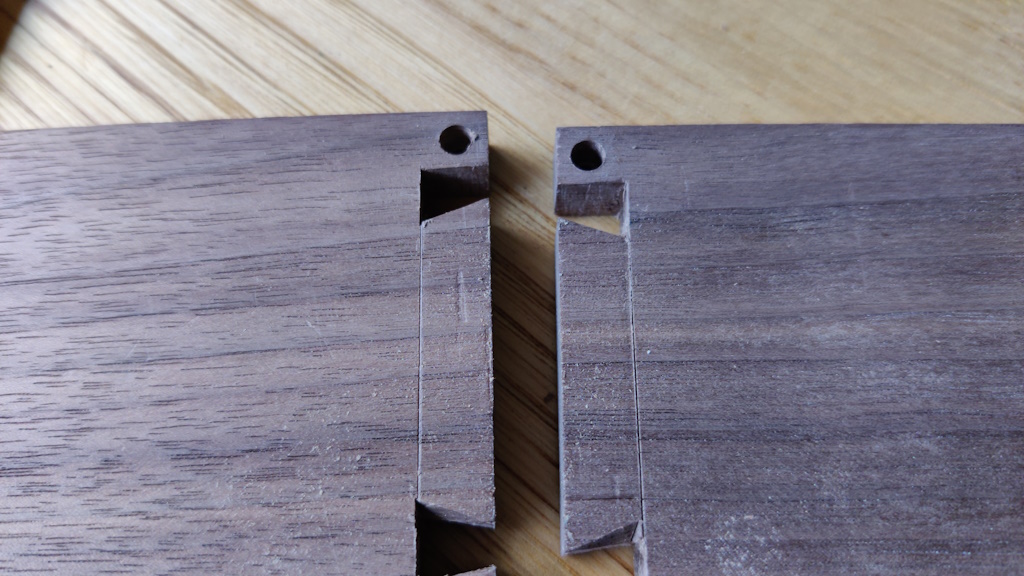
Another view, after drilling the hole:
It makes neat holes in just the right place and to just the right depth:
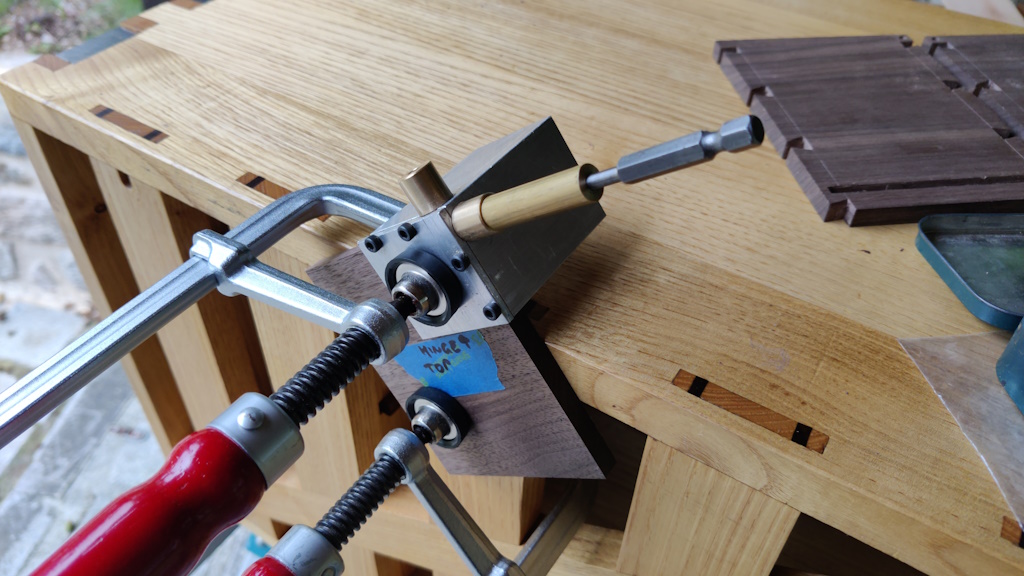
A similar arrangement is used for drilling the holes in the end grain in the lid. This time it references off the top face of the lid and also onto the side and the back:
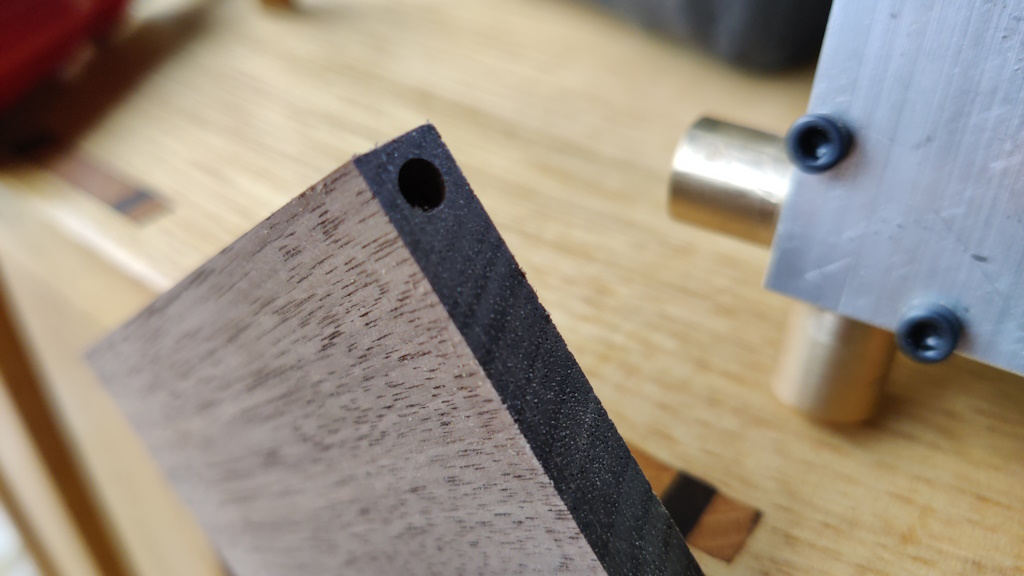
The resulting hole:
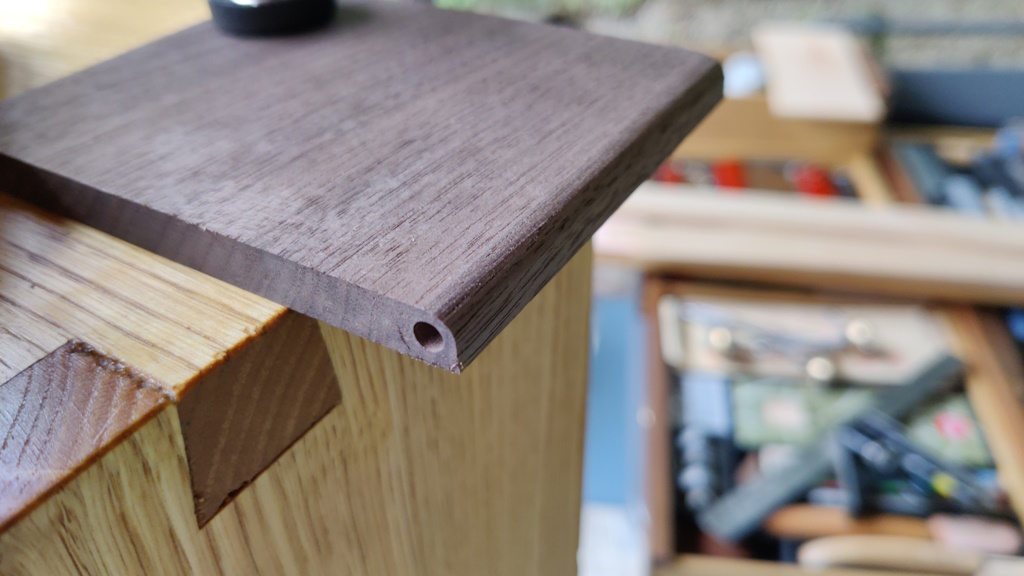
For the lid to rotate about the hinge, the bottom edge needs to be rounded over, which I just did by eye with a block plane:
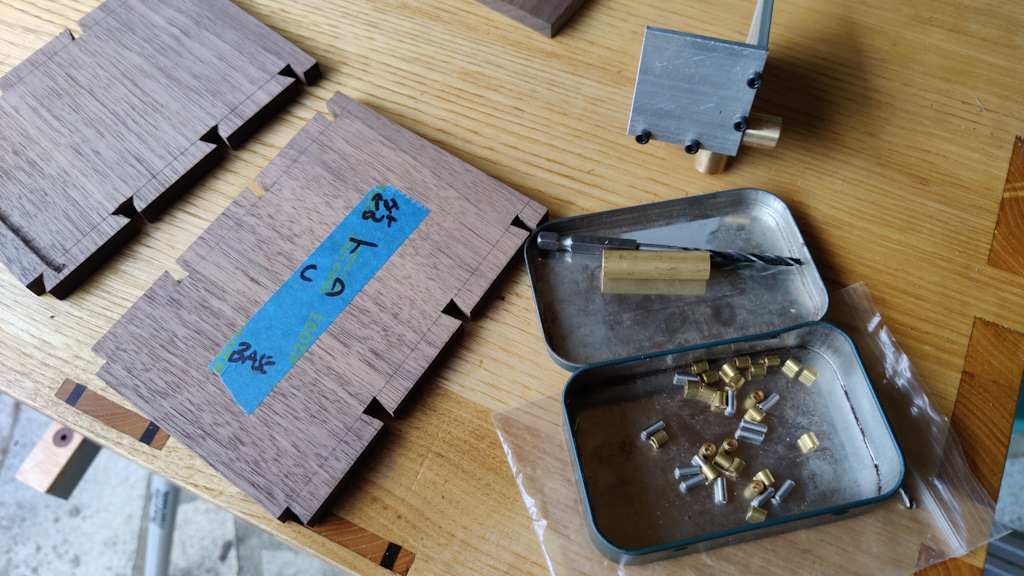
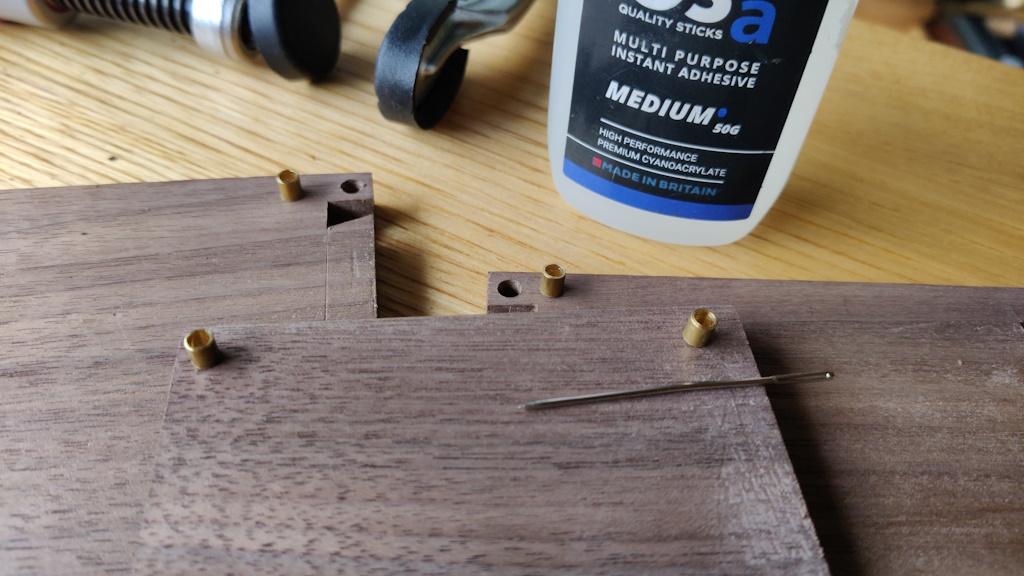
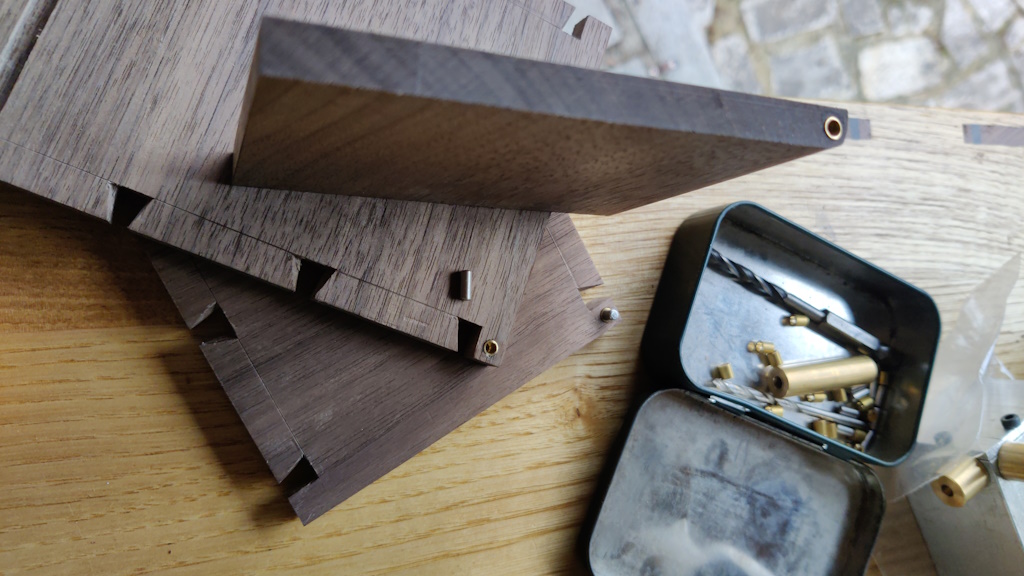
I hadn't brought anything particularly suited to applying superglue to the hinge holes (cocktail sticks would be ideal), but fortunately my other half had some needles, so I borrowed one of those and used it to help glue the chopped up bits of 4 mm OD, 3 mm ID brass tube into the pockets:
All pieces glued in:
Page 132 of 144
This website is free and ad-free, but costs me money to run. If you'd like to support this site, please consider making a small donation or sending me a message to let me know what you liked or found useful.

 Return to main project page