Travel Tool Chest & Workbench Build Process
Page 131 of 144
Posted 9th September 2024
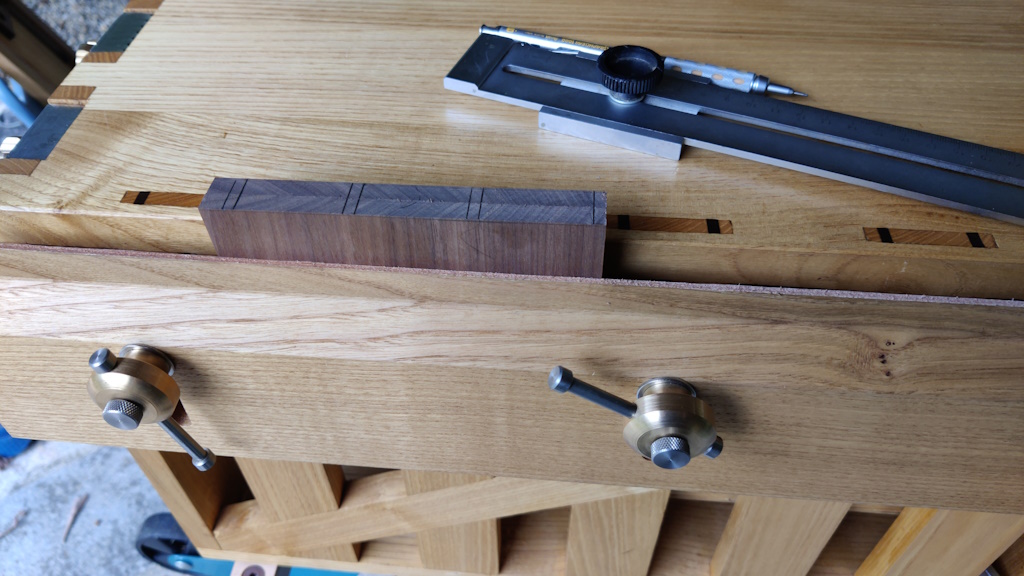
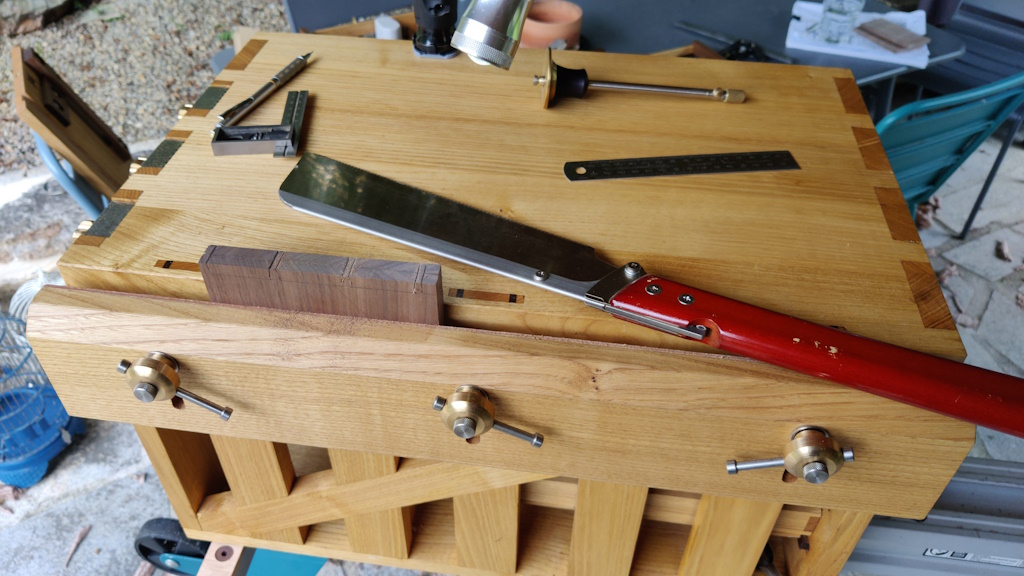
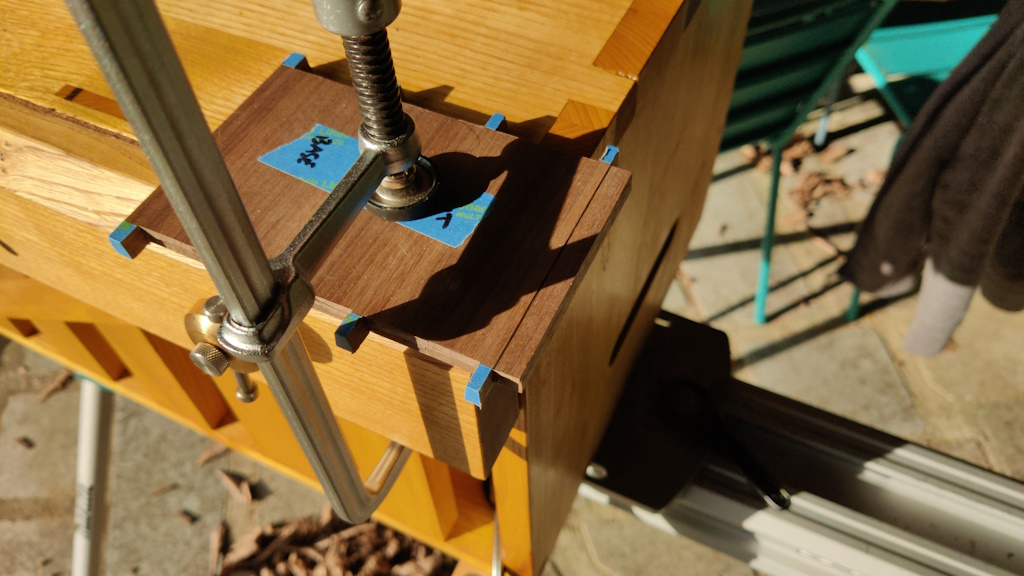
The vice worked really well for holding the tail boards (together) for marking ...
... and sawing:
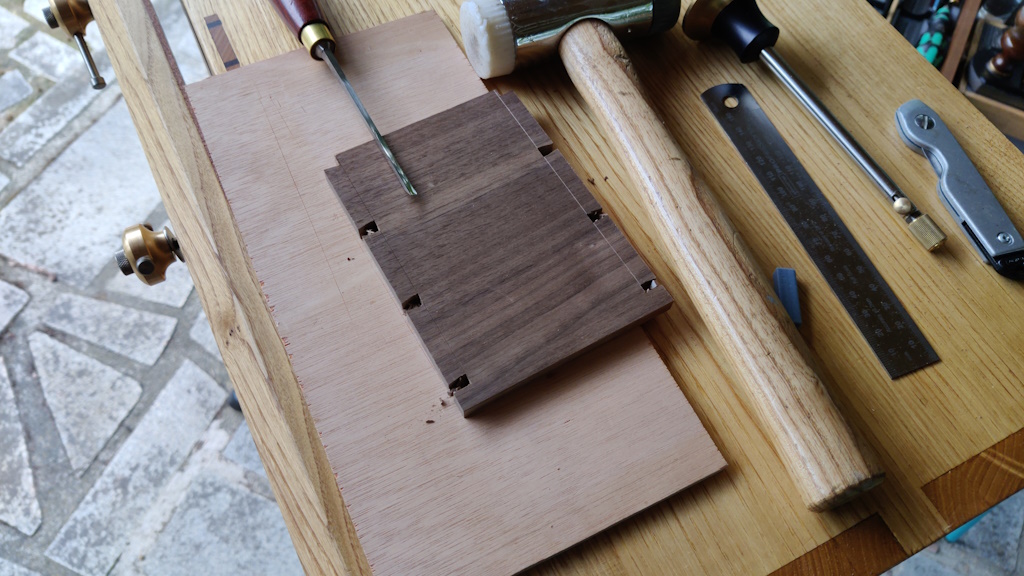
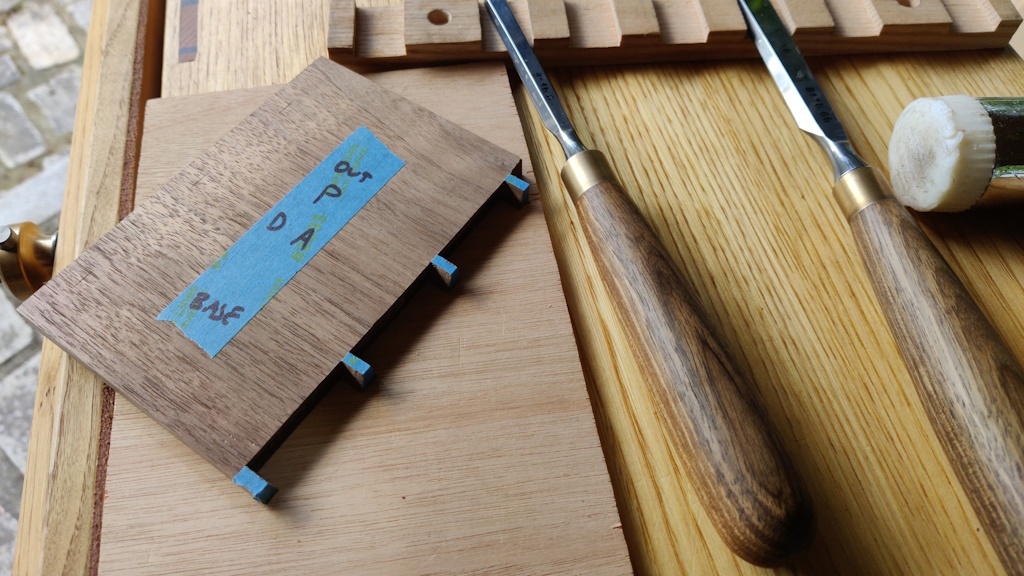
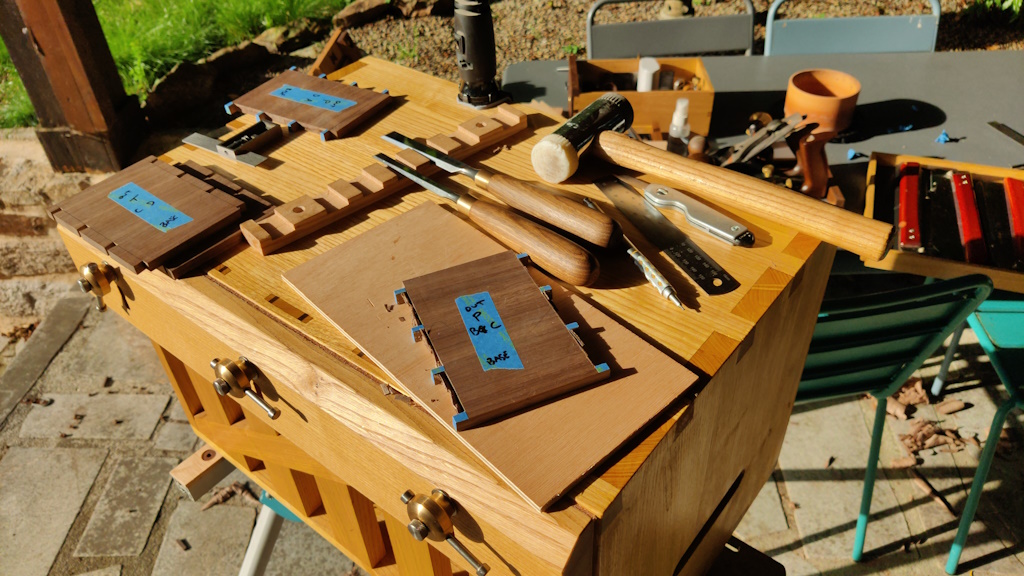
To remove the excess from the pin sockets, I used a 3 mm chisel, with an offcut of plywood on top of the chest to protect the top surface in case I slipped:
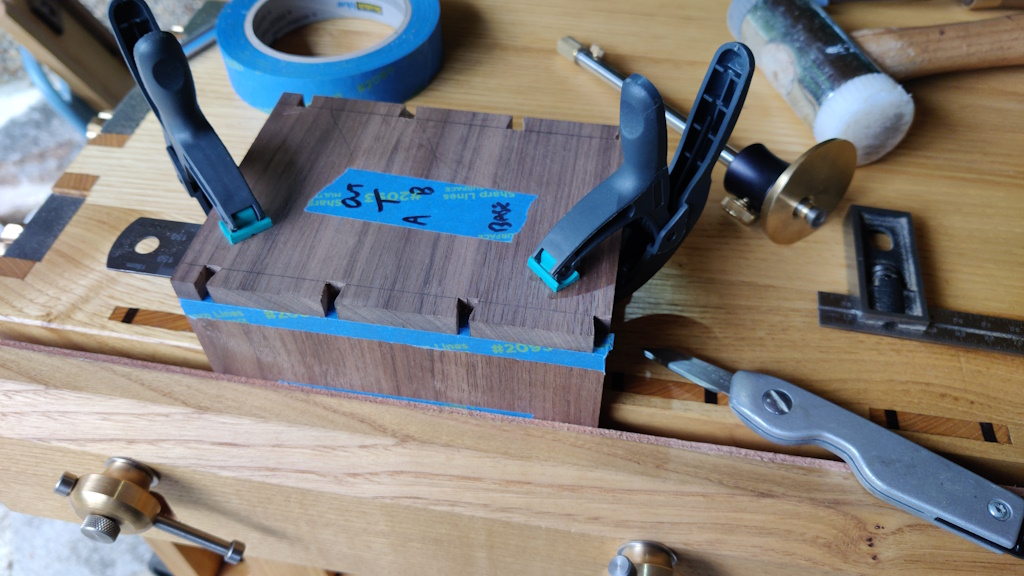
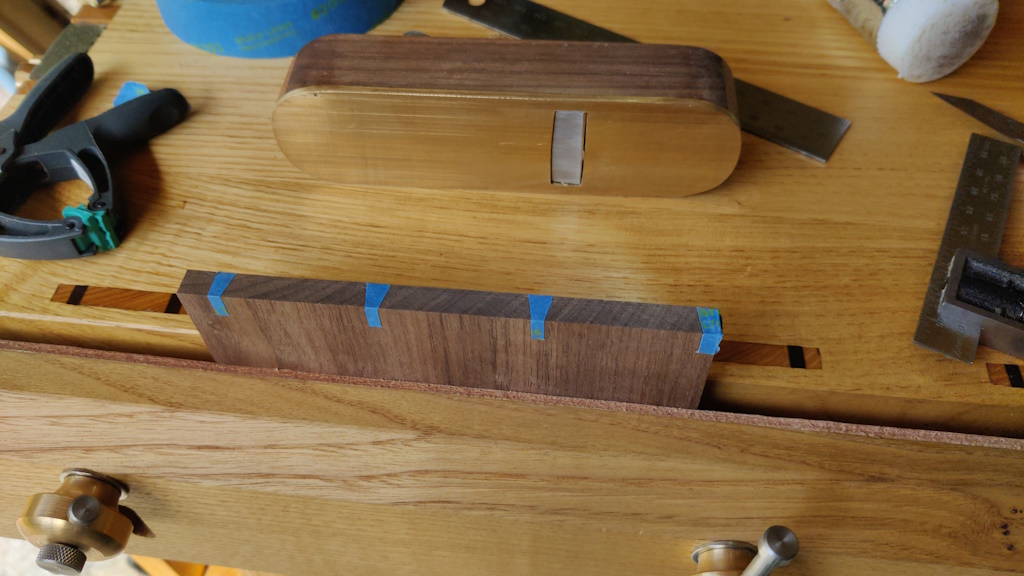
The pins were marked in the usual way, with a 1 mm thick steel rule clamped to the tail board, lined up with the bottom of the pin sockets. I used the home-made shooting plane to support the back of the board.
The masking tape in the waste areas was then removed...
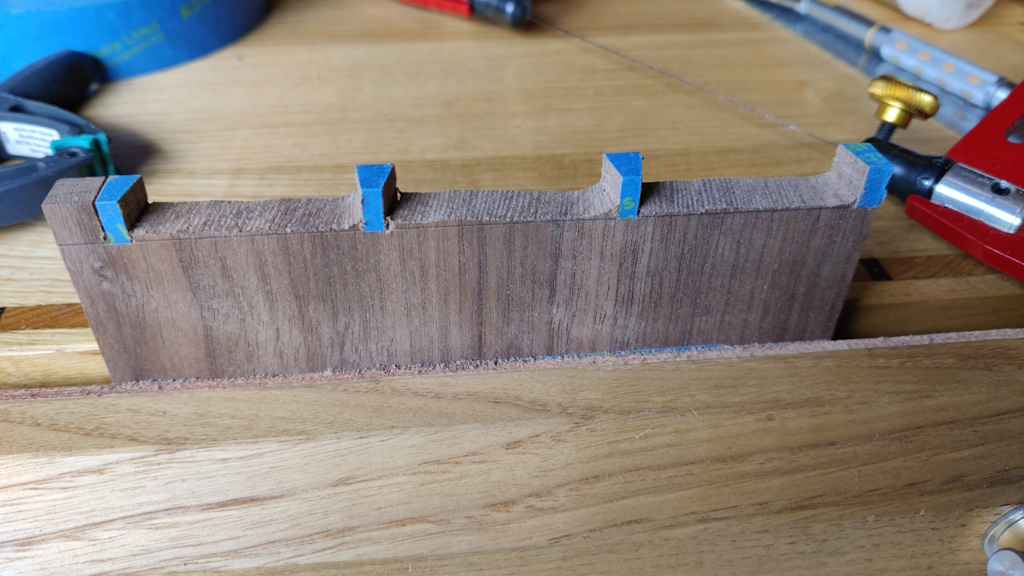
... and the tail sockets sawn out, first with the folding Dozuki and then with a fret saw:
I chiselled out the first set of pins (with 10 mm chisel for roughing and 16 mm chisel for final cuts - just to reduce the amount of sharpening to do):
I then felt it was an appropriate time for a tea break and I took the opportunity for another photo while I was supping away.
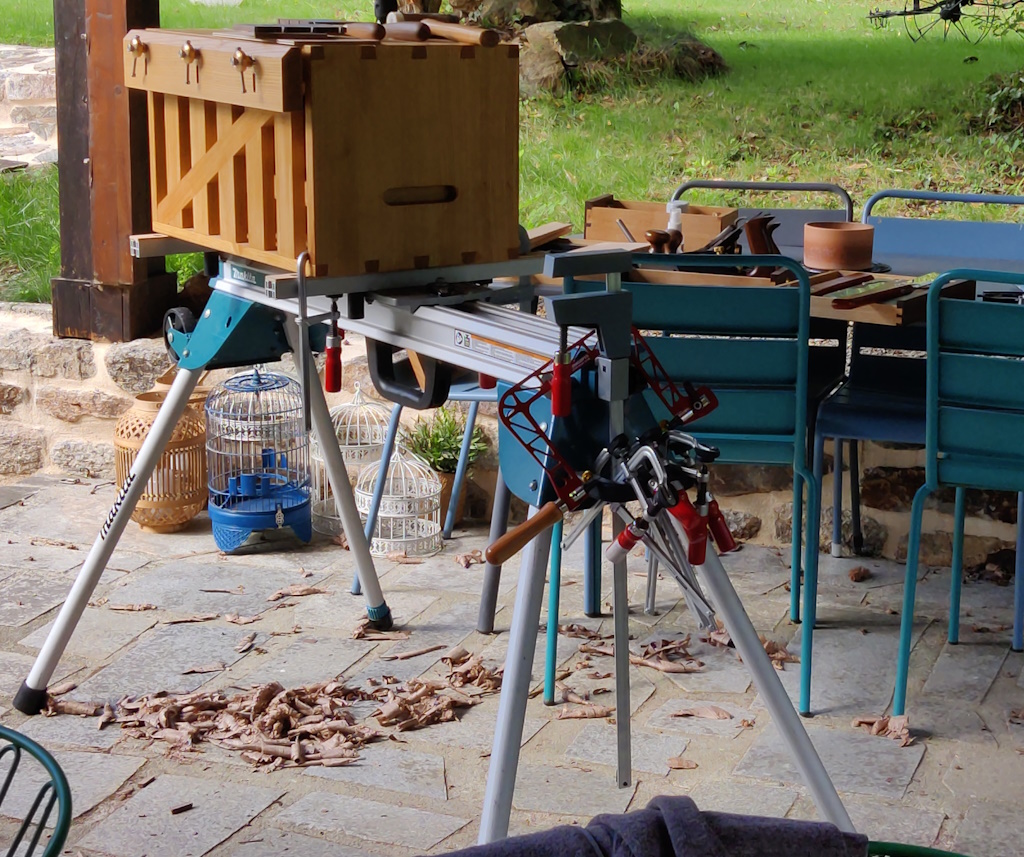
I marked out and sawed all the other pins before working through them one by one with the chisels to tidy them up. While I was doing this, the sun came out and gave everything a lovely hue:
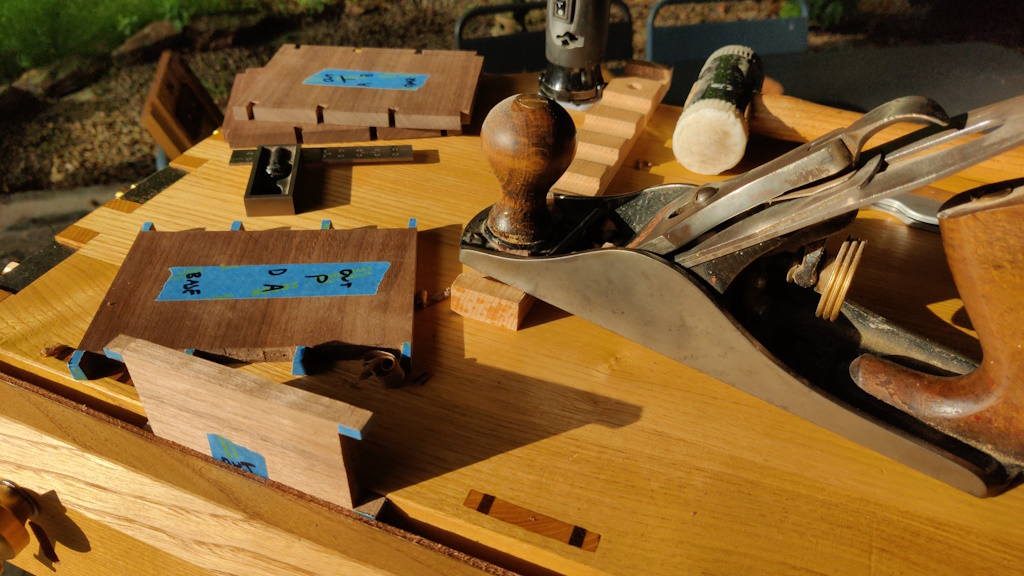
The last job for today was to remove the top portion of the pin boards, which I did first by sawing the bulk of the excess away with a Dozuki...
... and then planing the sawn edge with the #4 smoothing plane:
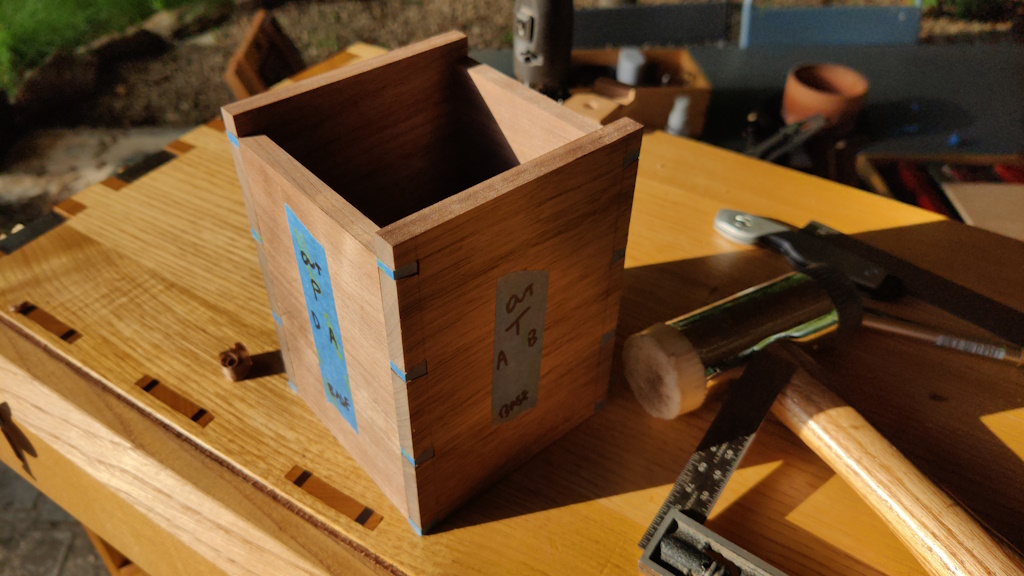
I could then do a dry fit:
At that point I decided it was time for a glass of cider!
The box frame isn't perfect and I'm sure there will be gaps when I glue it together, but it was a nice start to the process of holiday woodworking and I have no complaints so far about how the chest works as a workbench.
Page 131 of 144
This website is free and ad-free, but costs me money to run. If you'd like to support this site, please consider making a small donation or sending me a message to let me know what you liked or found useful.

 Return to main project page