Travel Tool Chest & Workbench Build Process
Page 139 of 144
Posted 17th September 2024
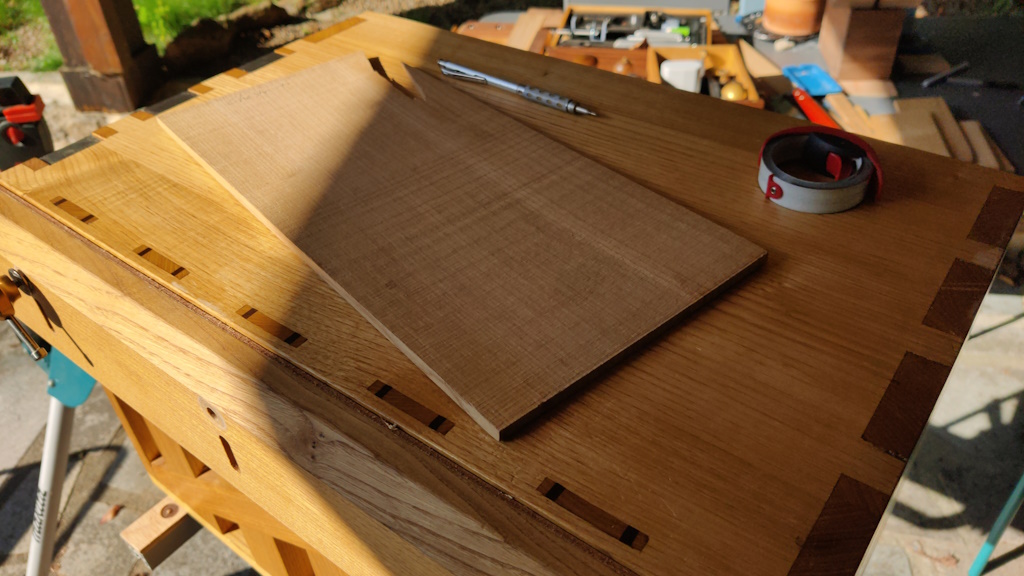
To figure out the details of the slips, I really need to know how thick the base is going to be. For that, I need to prepare the base. I started with this big but rather rough slice of chestnut:
You may recognise that piece of wood from episode 123 of this epic: it was the piece from which the Dutchman / graving piece for the side of the chest was cut.
Anyway, at 7.5 mm thick, that piece of wood was a bit hefty to use for the base of two small drawers:
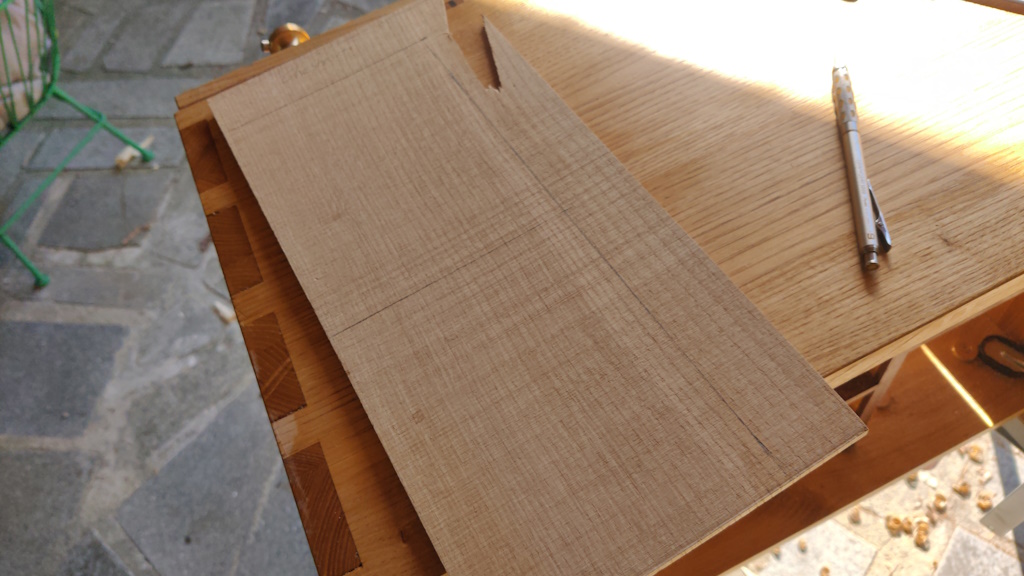
To make it easier to plane down, I marked out two (oversize) rectangles onto the plank:
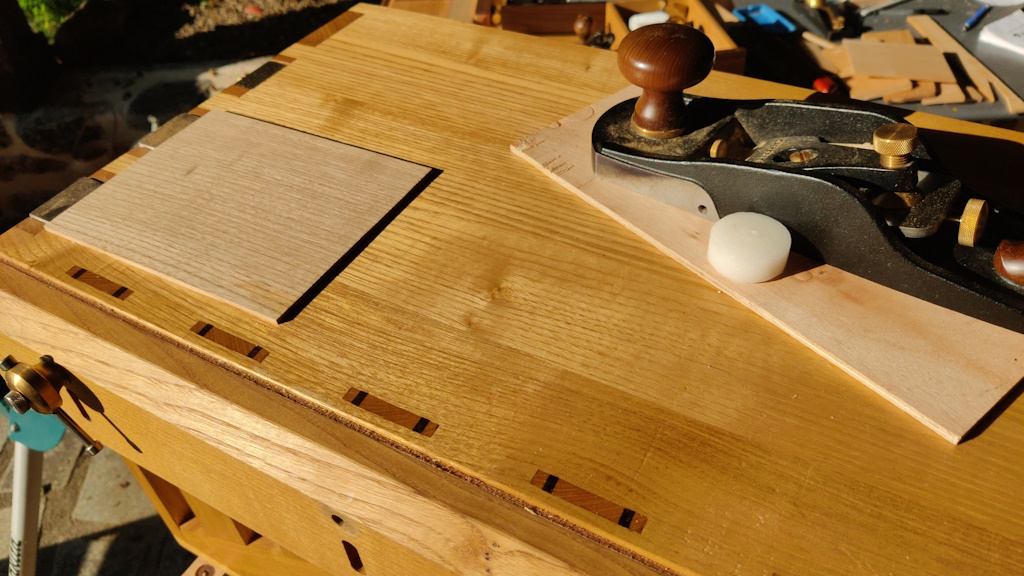
After cutting the two pieces out, I attacked it with the plane. There was a bit of tear-out in places due to some reversing grain, so once I'd got the pieces down to an even 5 mm thickness (I was aiming for 4 mm), I switched to a 50° blade (62° cutting angle), closed up the mouth and finished the pieces off with some fairly light cuts:
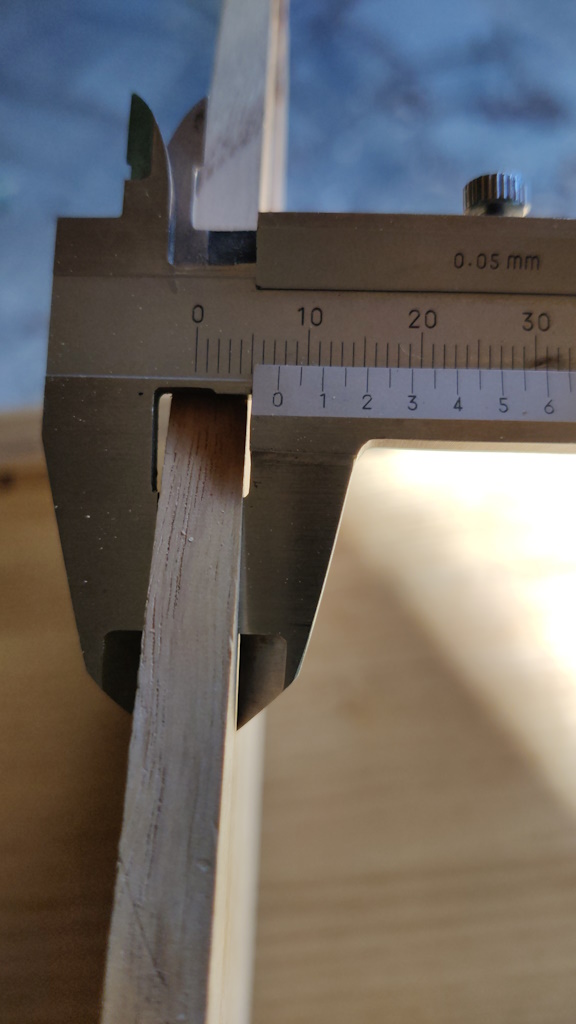
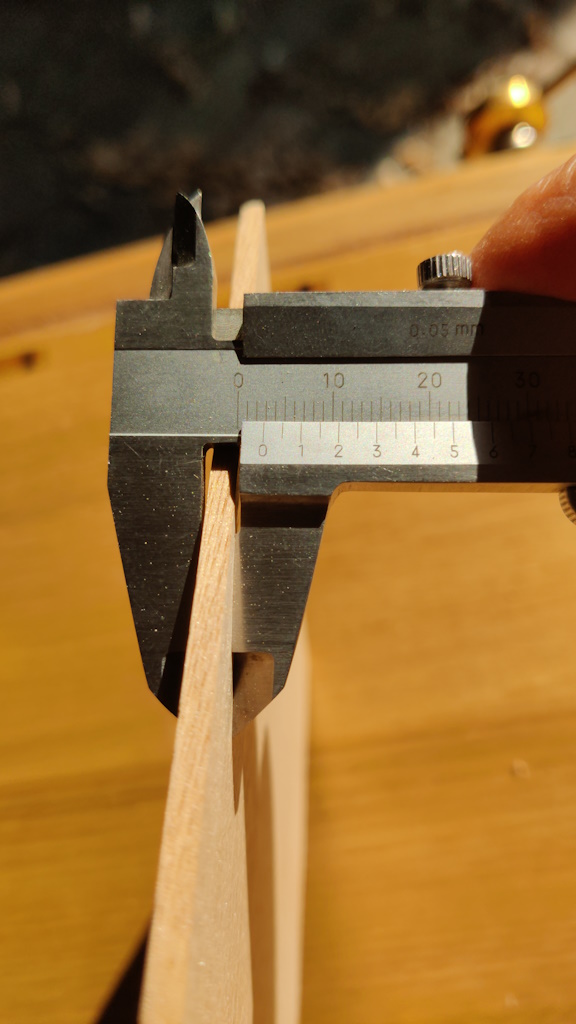
After seeing what the pieces looked like at 4 mm thickness, they still felt a bit too much for such small drawers, so I carried on down to 3 mm:
That left a big pile of chestnut shavings on the floor, so it was time for a tidy up. By that time, I was feeling far too hot to do anything else today, so I decided it was time for a glass of this stuff (such a shame we can't get it in the UK, but I'm making the most of being here in Brittany and will max out the rather meagre import allowance on the way home, albeit buying from the supermarket in Plancoët where it's about half the price listed on the website).
Page 139 of 144
This website is free and ad-free, but costs me money to run. If you'd like to support this site, please consider making a small donation or sending me a message to let me know what you liked or found useful.

 Return to main project page