Travel Tool Chest & Workbench Build Process
Page 140 of 144
Posted 20th September 2024
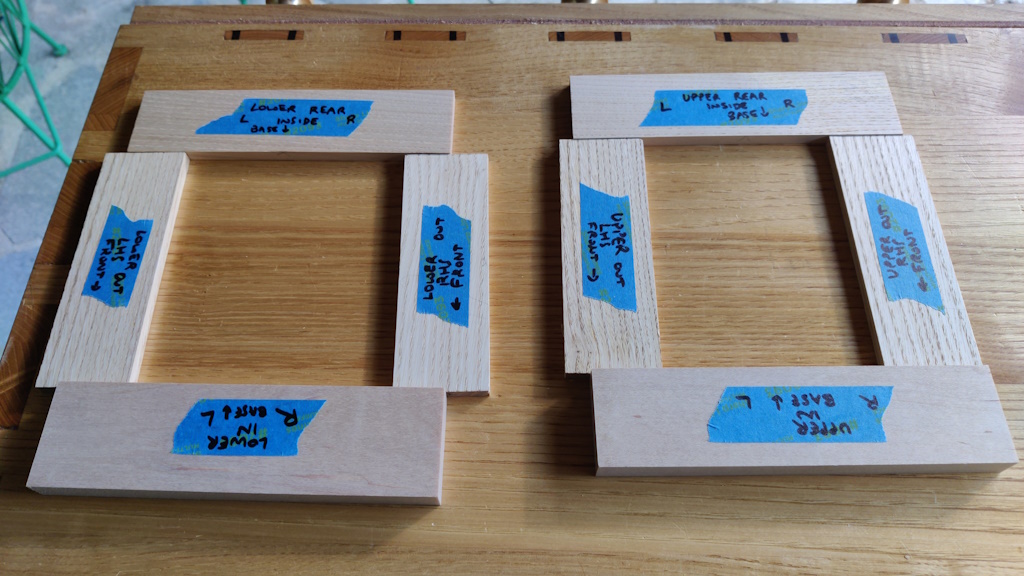
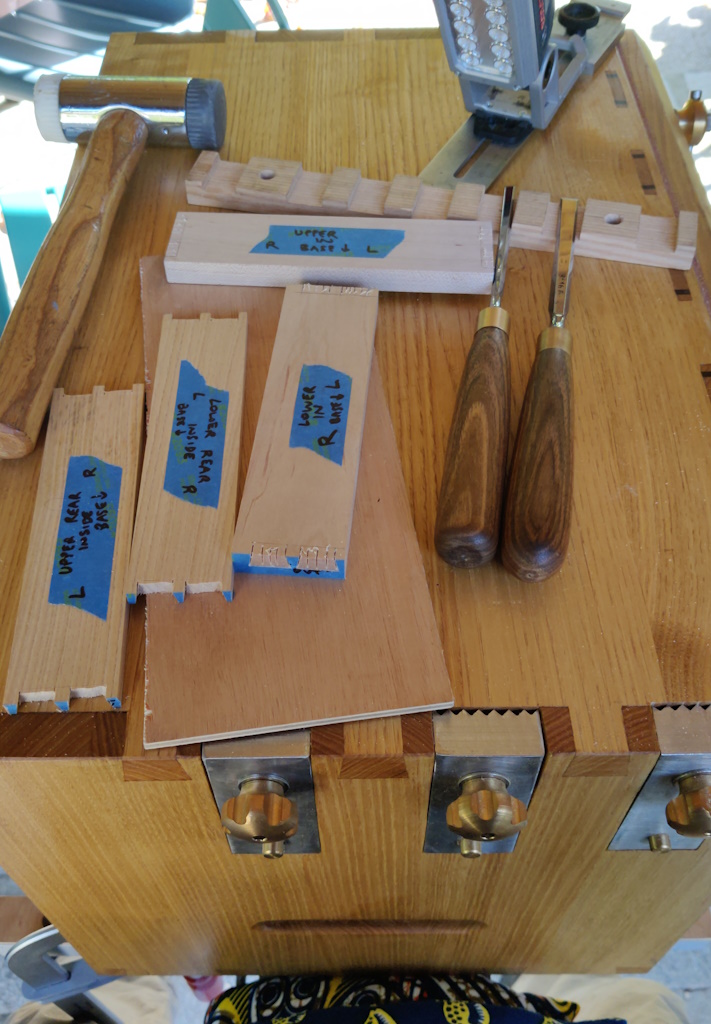
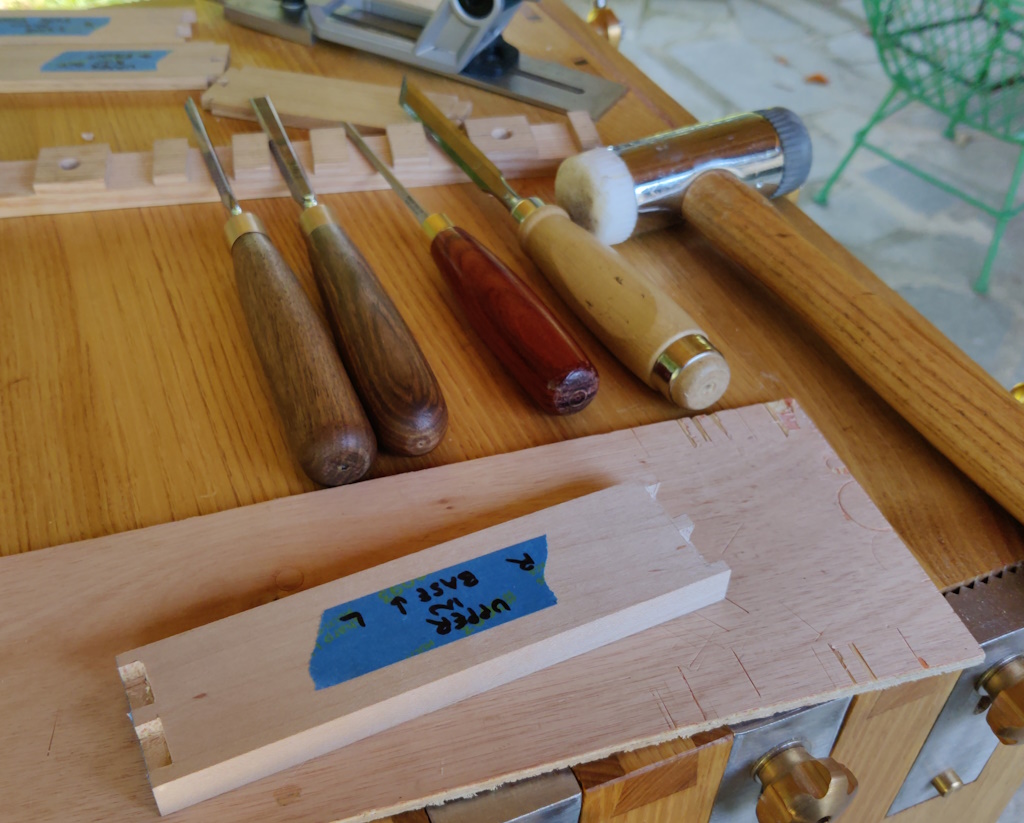
We've been out and about a bit more over the last few days, so the photos I'll be posting here (and in the next post) are from stuff I've been doing in odd bits of time over the last three days. In the last "episode", I'd got all the drawer pieces thicknessed, so the first job was to label them to minimise the chance of any silly mistakes later:
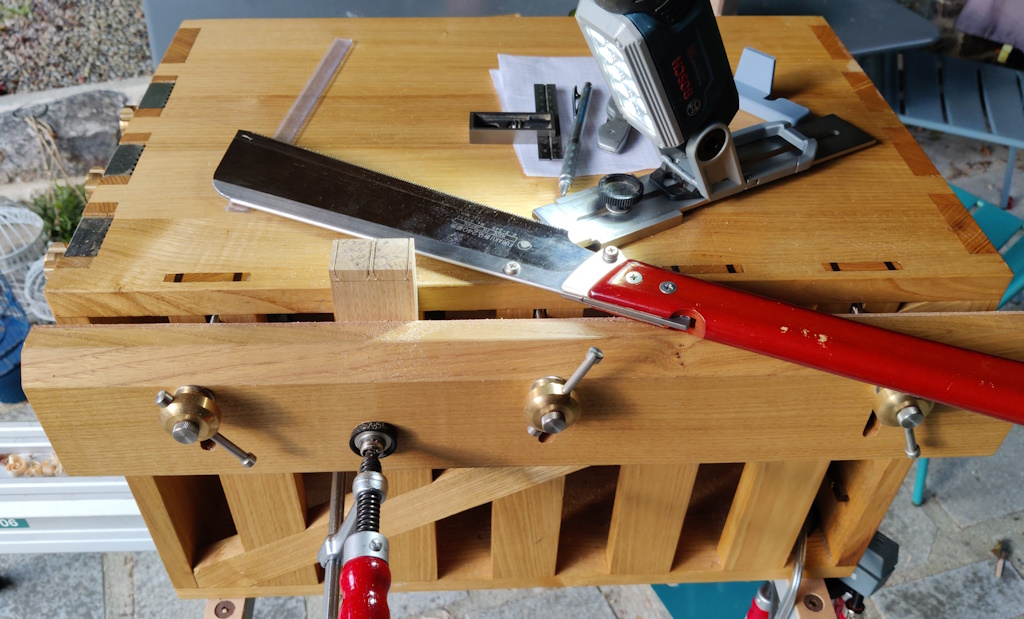
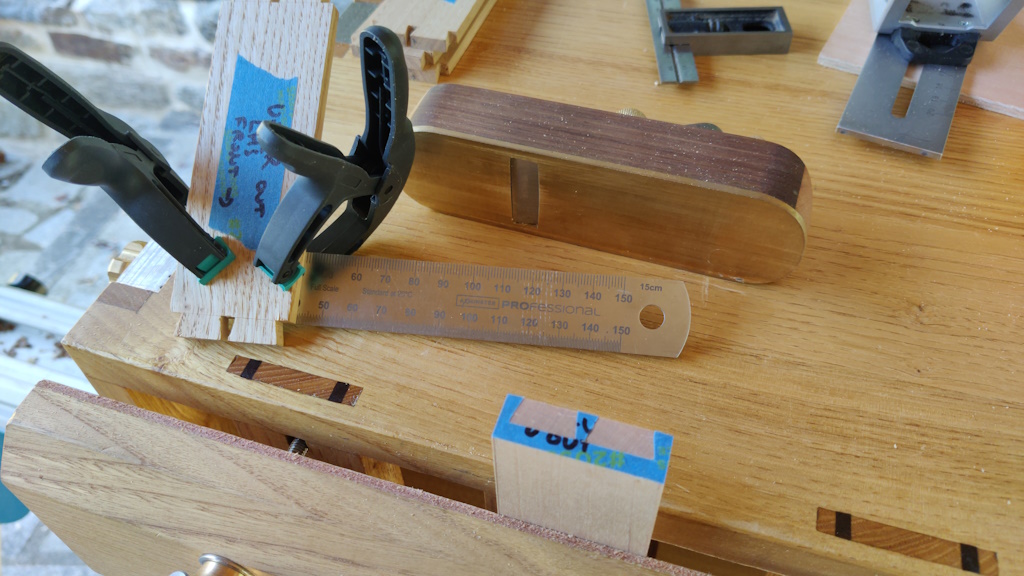
I sawed all four tail boards at the same time as I couldn't see a reason not to do so. The vice was right at the very limit of its capacity (so the screws were probably only in the "nuts" by a turn or so), so I only tightened them enough to hold the boards loosely in place and then I used a clamp to hold them securely:
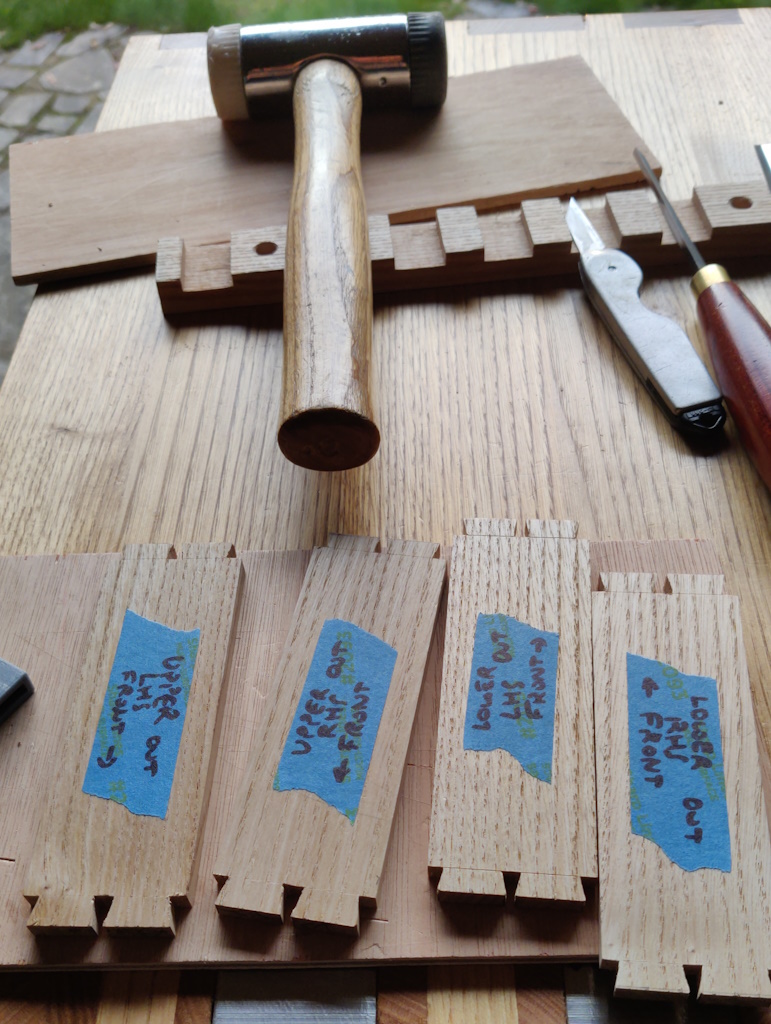
The tails were then chopped in the usual way, using a 3 mm (actually 1/8" in this case: most of my chisels are metric sizes but I have a couple in dark-ages units!) chisel.
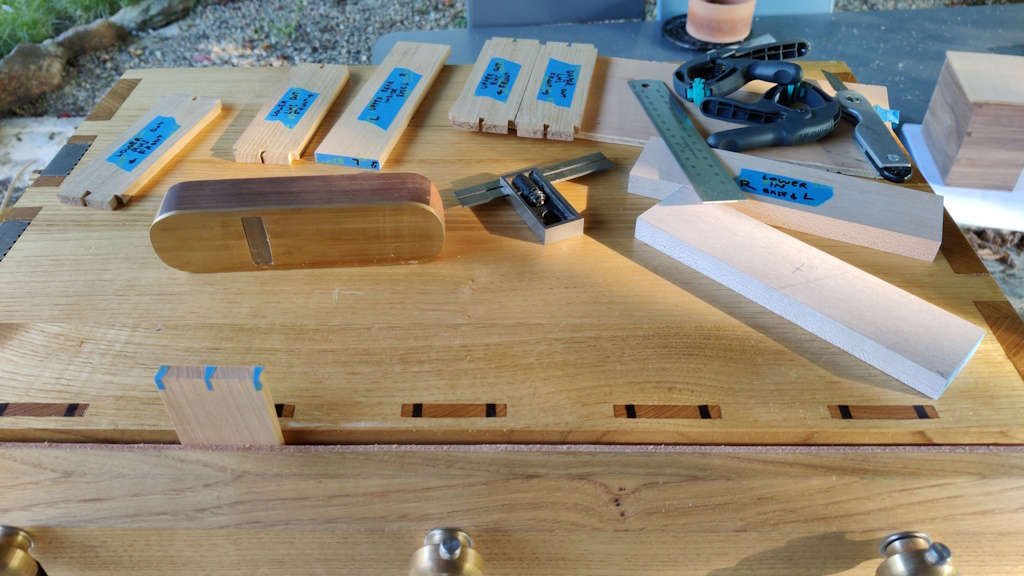
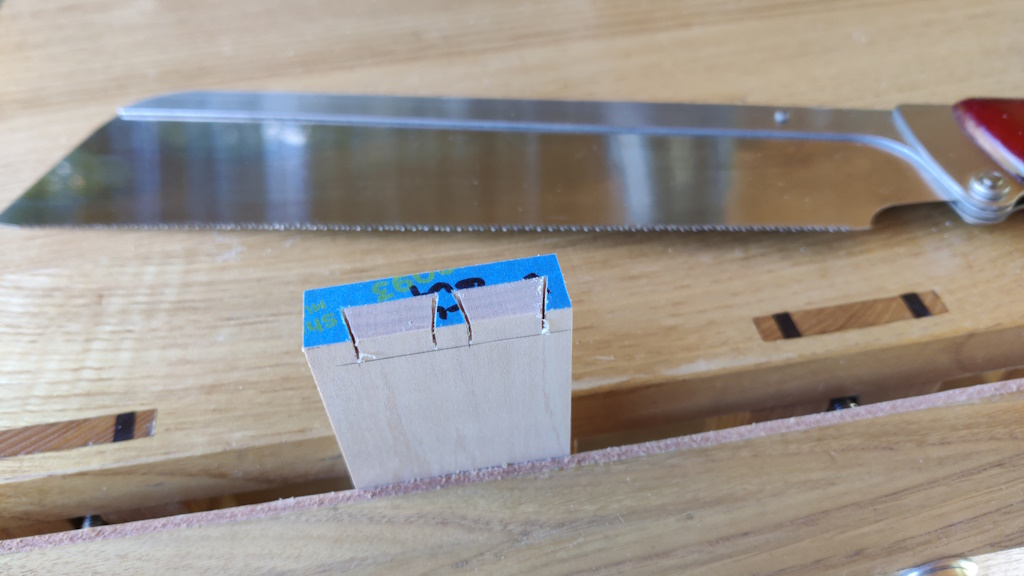
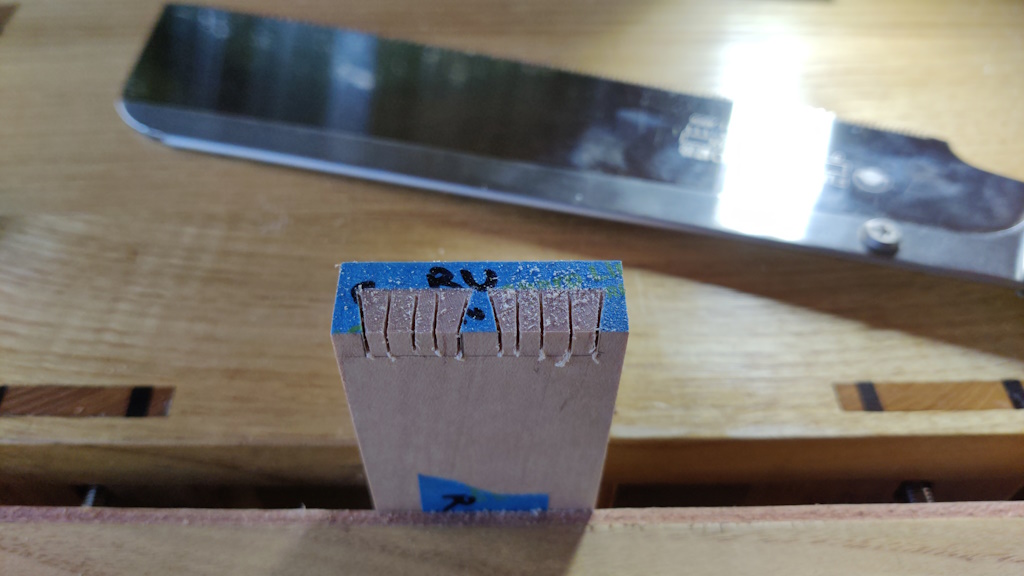
The pins for the drawer backs were marked in the usual way and then sawn while they were still in the vice:
The pins for the drawer fronts got marked in the usual way...
... but turned round to saw at 45° as deep as I felt confident going ...
... and then I added a few extra saw cuts to help with chopping the waste out.
To chisel out the waste, I put a cushion on the end of the mitre saw stand so I could sit straddling the stand and work through the boards, using a 6 mm and a 10 mm chisel for the rear pieces...
... and adding the 3-ish mm one and a skewed chisel for the blind sockets:
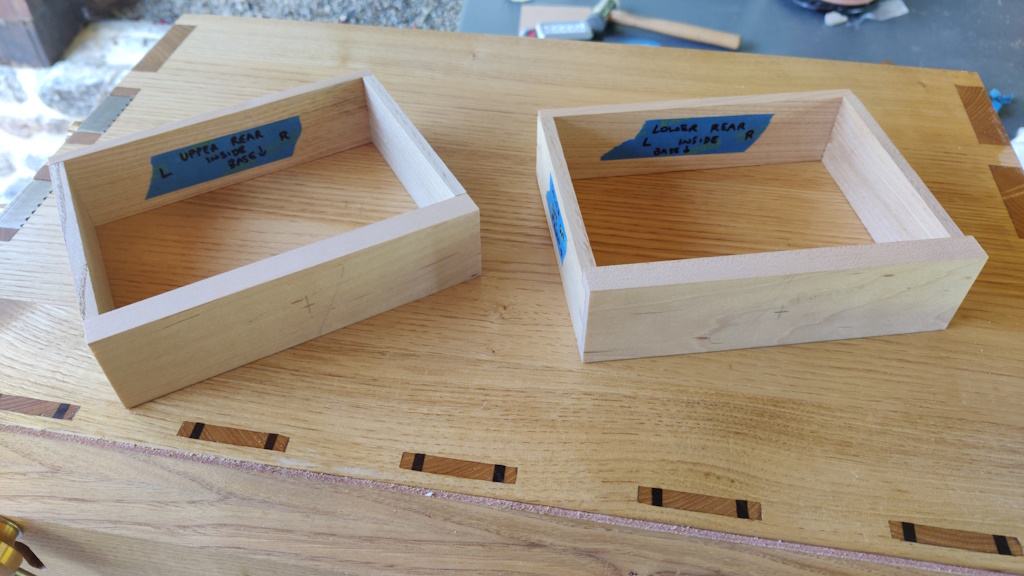
I could then do a dry fit:
After getting back from a trip to see the "Museum of the Junkyard Poet" (Univers du Poète Ferrailleur), which I'd wholeheartedly recommend to anyone visiting the area, I wanted to get the drawer boxes glued together so the glue could dry overnight. It was getting quite late, so I just got on with it without taking photos.
I'd been reading "The Complete Woodworker" by Bernard E. Jones (my copy published in 1920) and had decided that for these little drawers, I'd just set the base into the sides with a simple groove. To make sure there was definitely room for expansion despite the thin pieces that make up the sides and the backs, I ploughed 2 mm deep grooves in the sides and the backs and a much deeper (5 or 6 mm) groove in the fronts. I then (after making the bases 4 mm bigger than the inside dimension of the boxes) glued them into the back pieces. They shouldn't need any allowance for expansion side-to-side (as that's along the grain) and any expansion front to back should just cause them to push deeper into the deep groove in the front piece.
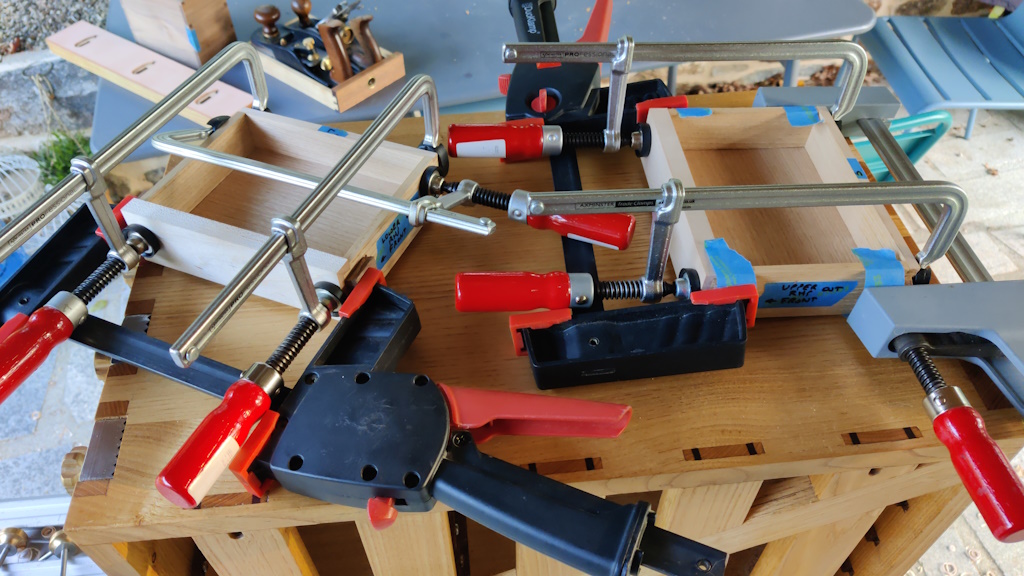
Anyway, when they were all glued together and covered in clamps, they looked like this:
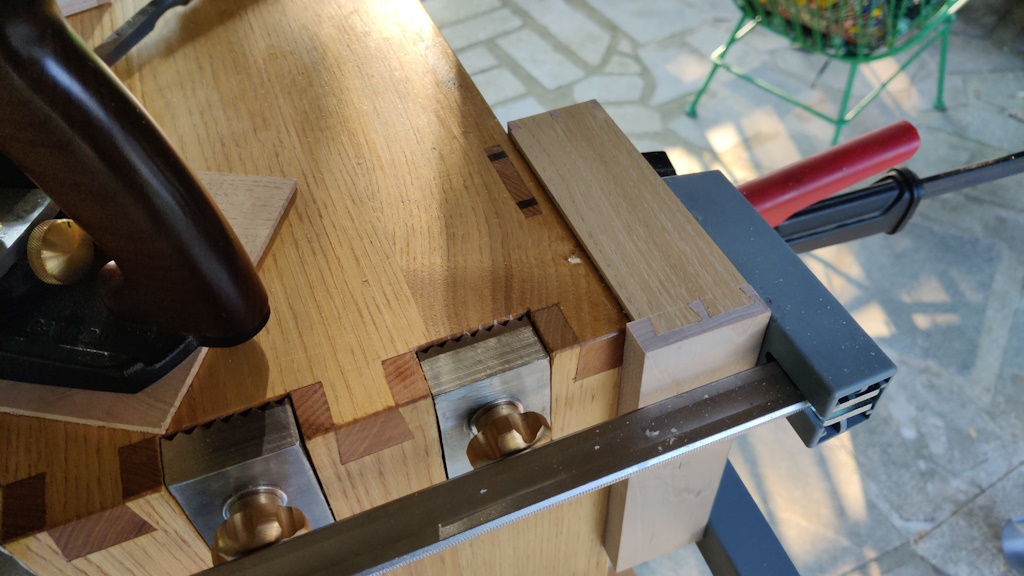
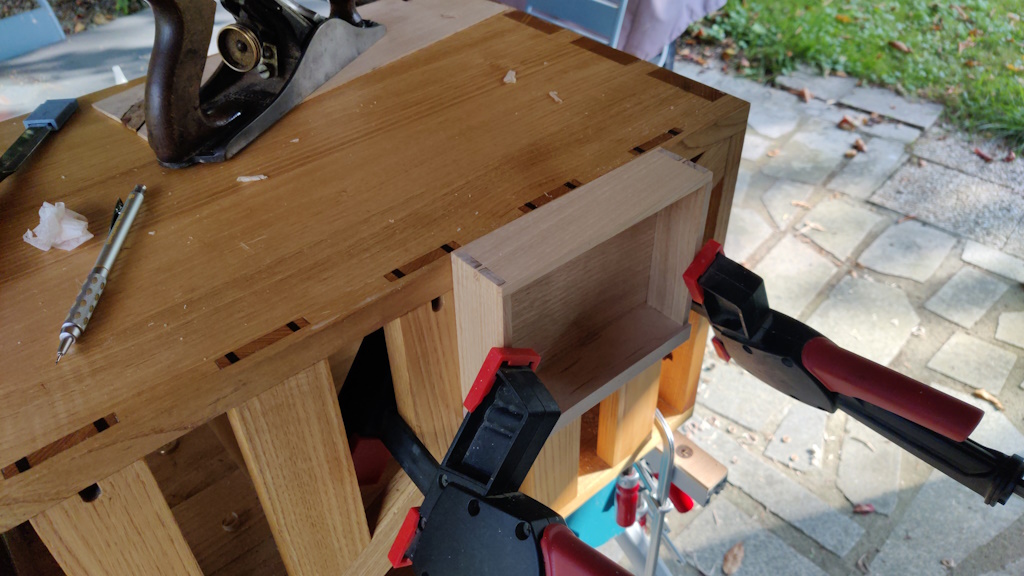
Planing the sides down to meet the front and back (which were initially made to be the right size; the sides were made to sit slightly proud of the front and back) involved a bit of thought about how to clamp the drawers (especially on the bottom drawer, which has a protruding lip on the front):
The backs (and the sides of the top drawer) were much simpler:
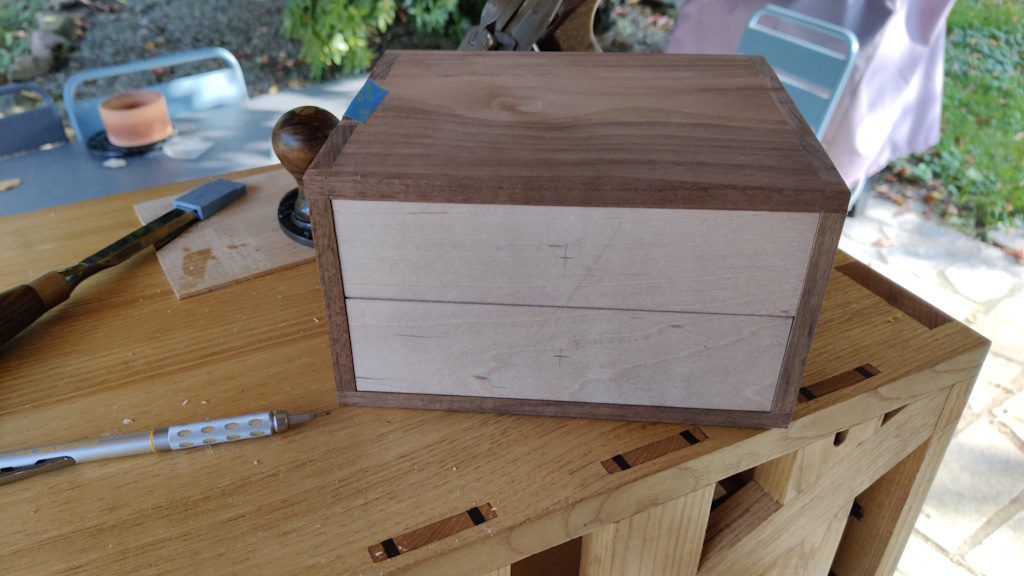
Test fit:
Page 140 of 144
This website is free and ad-free, but costs me money to run. If you'd like to support this site, please consider making a small donation or sending me a message to let me know what you liked or found useful.

 Return to main project page