Travel Tool Chest & Workbench Build Process
Page 141 of 144
Posted 20th September 2024
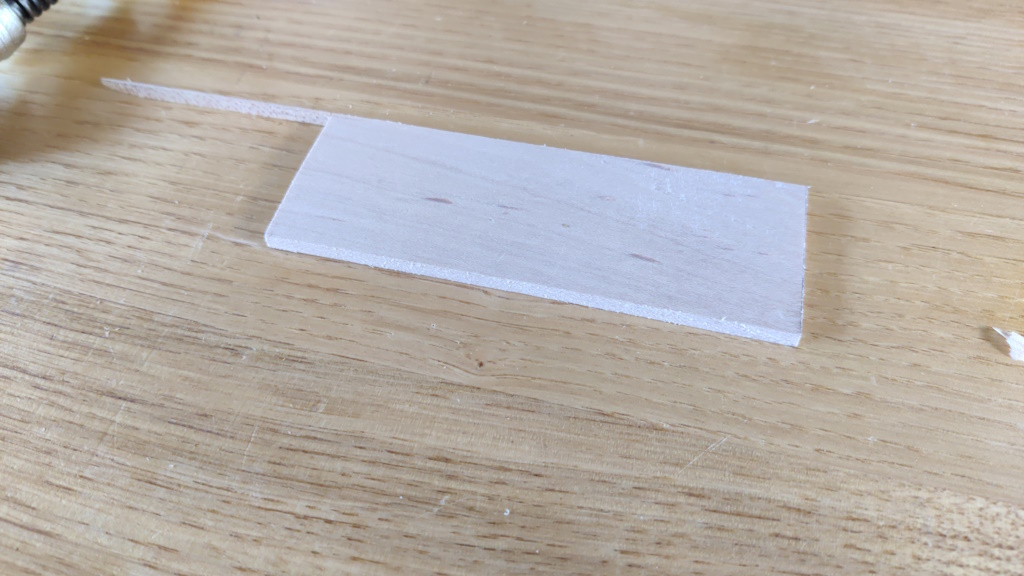
Remember this offcut of maple?
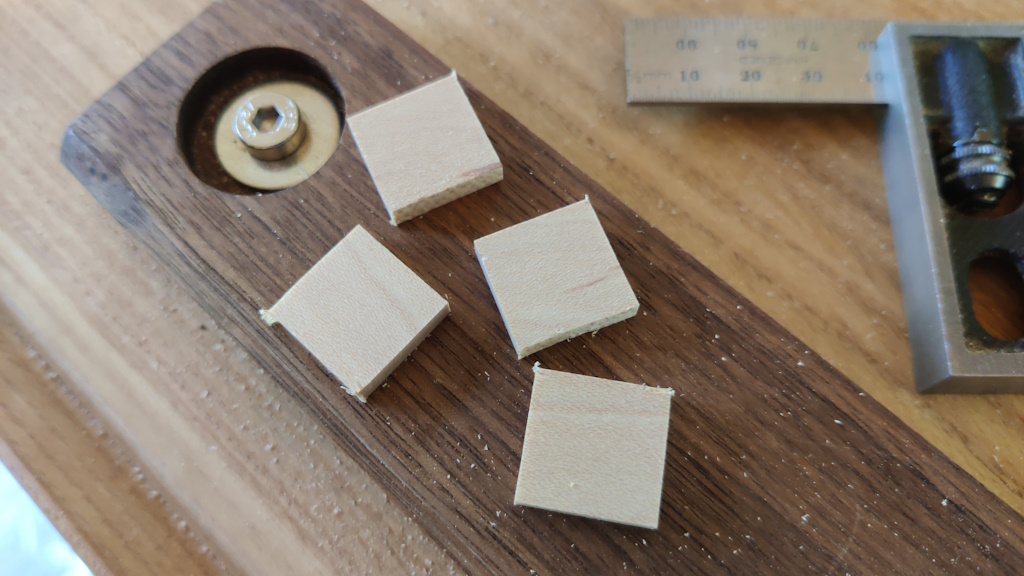
It got chopped into four small pieces (plus a lot of left-over, obviously):
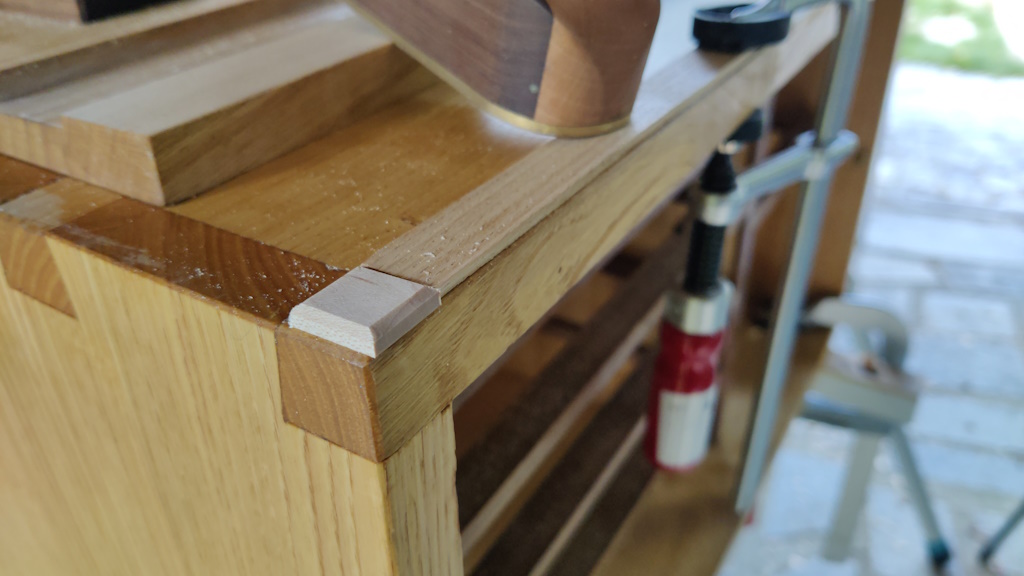
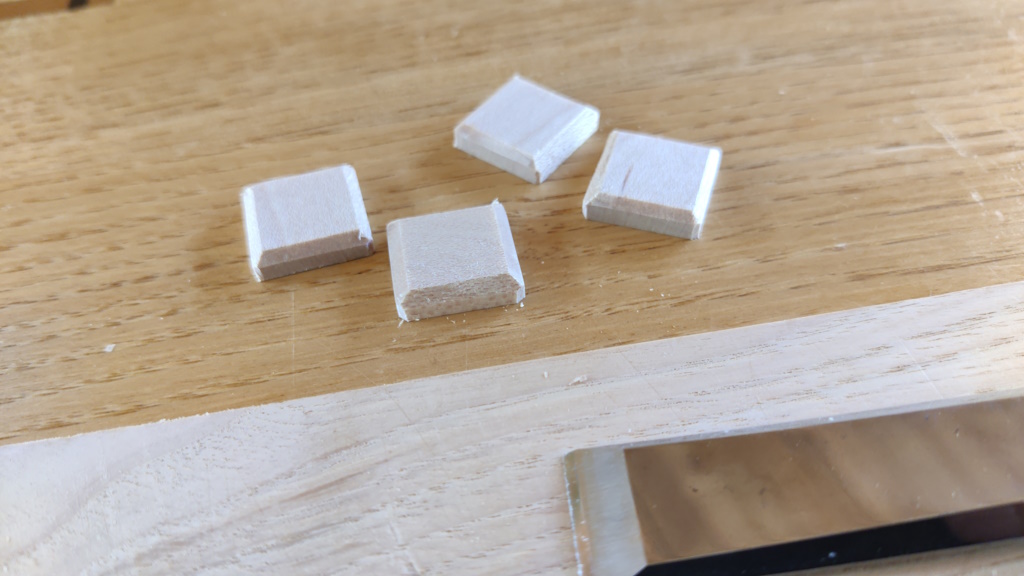
With a bit of wood clamped to the front of the chest acting as a planing stop, I chamfered all the corners by eye:
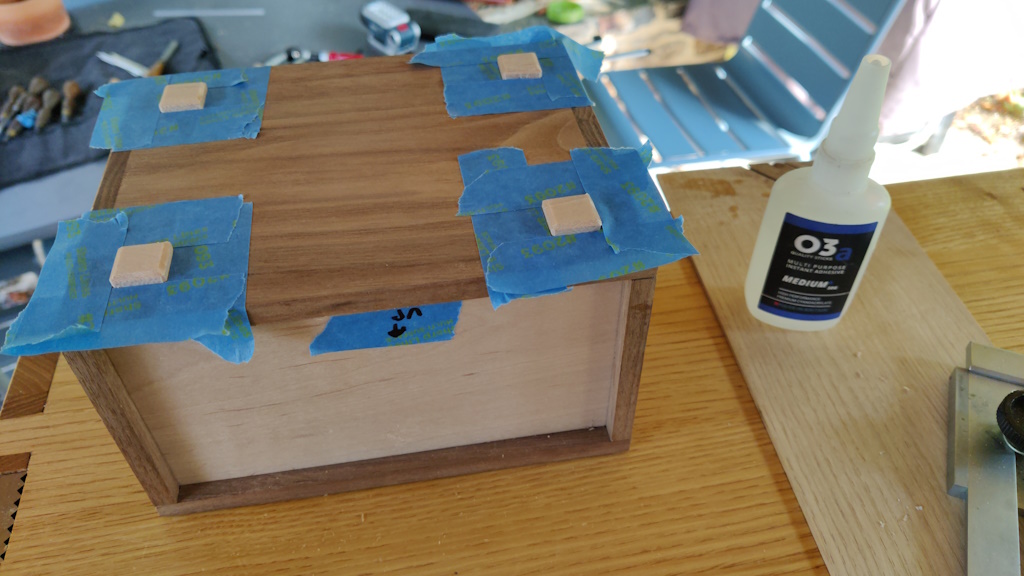
That gave me four feet to put on the bottom of the box ...
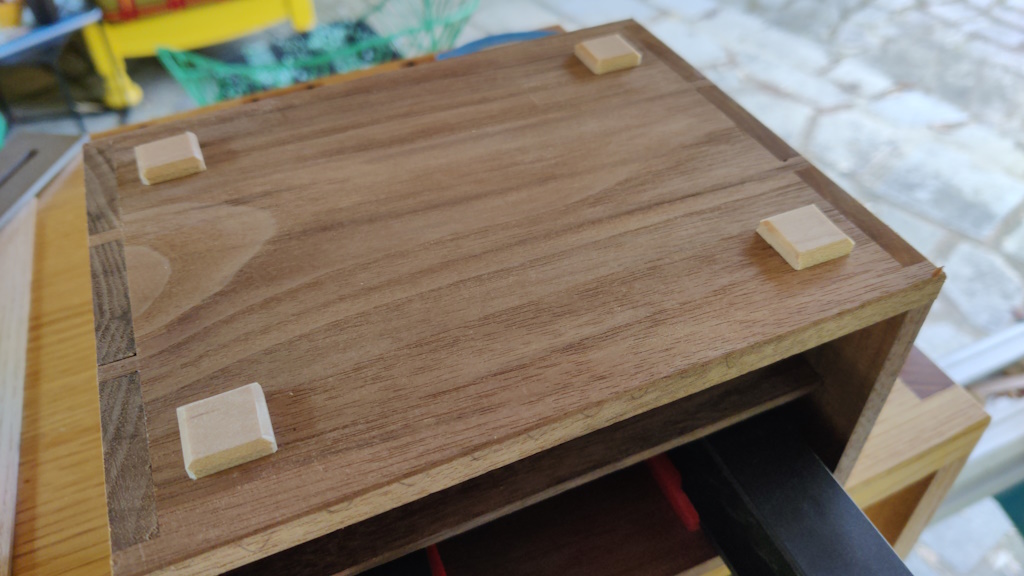
... which I did using masking tape to help with alignment and superglue for a quick cure:
Voila:
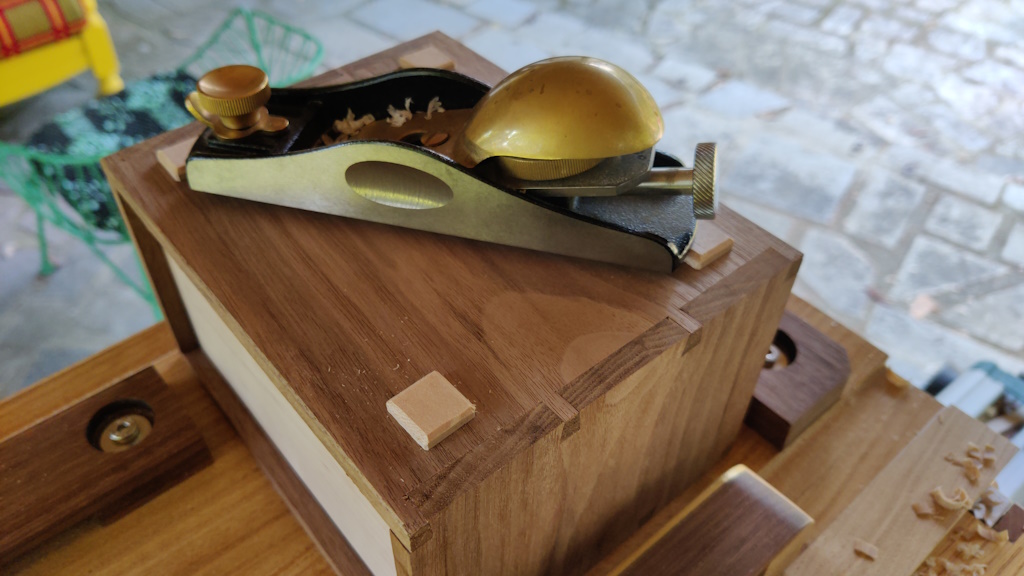
The box rocked slightly on its feet, so I used the shooting board as a flat reference (i.e. checked whether the box was flat by placing it on the shooting board and seeing if it rocked) and planed the two high corners down with a block plane until it sat level:
That was the body of the box complete (give or take some final skim cuts and chamfers for which I didn't bother taking any photos). The next thing to get on with was the drawer fronts.
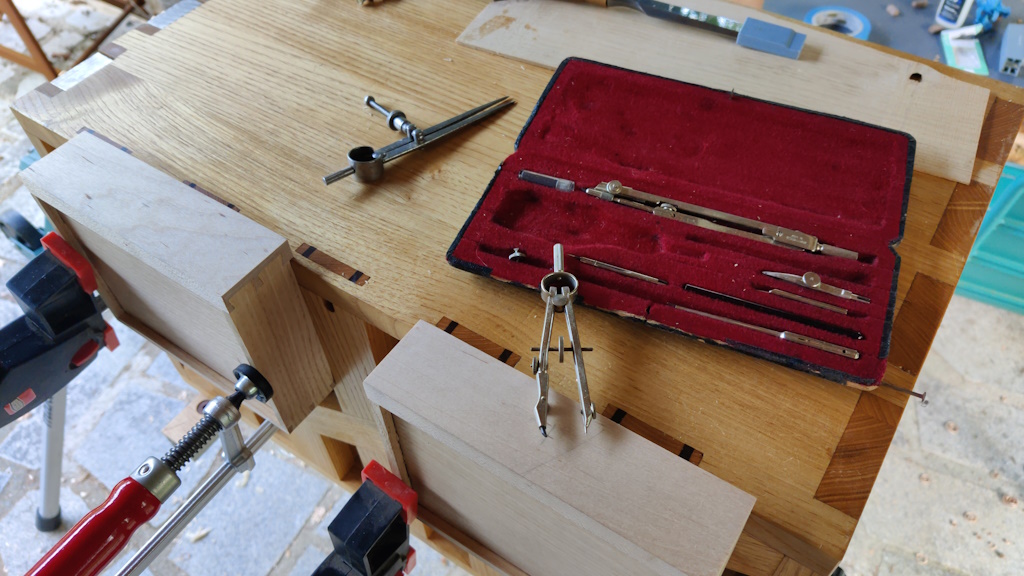
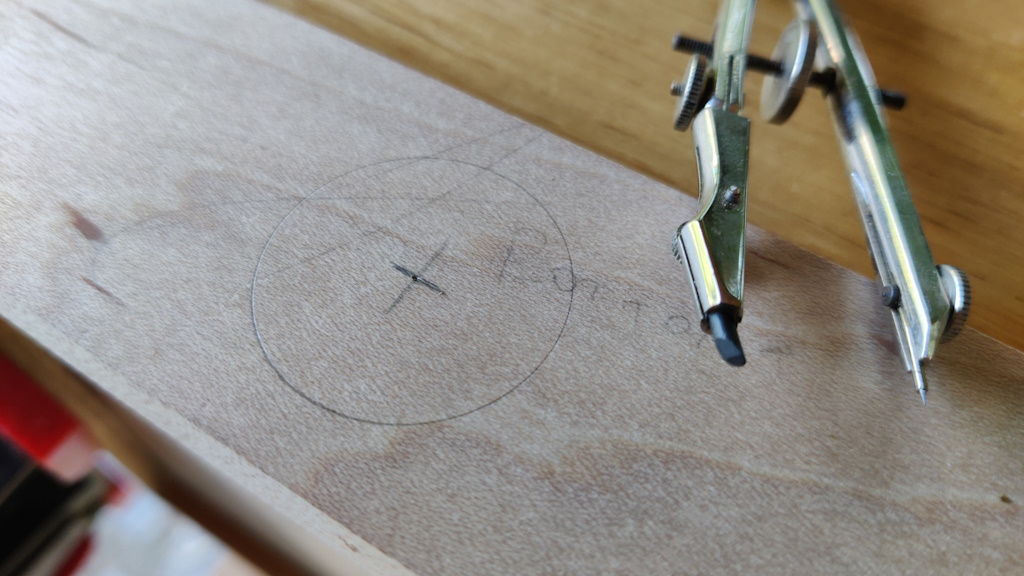
I'd brought my old drawing set with me...
... which I used to draw a 30 mm diameter circle on the front of each drawer:
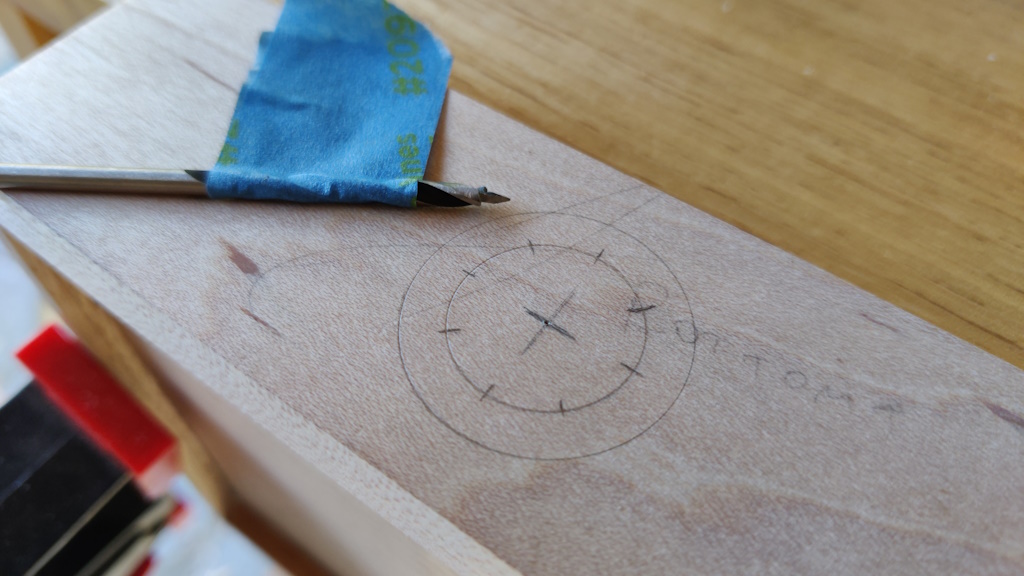
I then drew another slightly smaller circle and divided it into eight:
Those divisions weren't really necessary, but I had thought they might help me get started carving in a logical way.
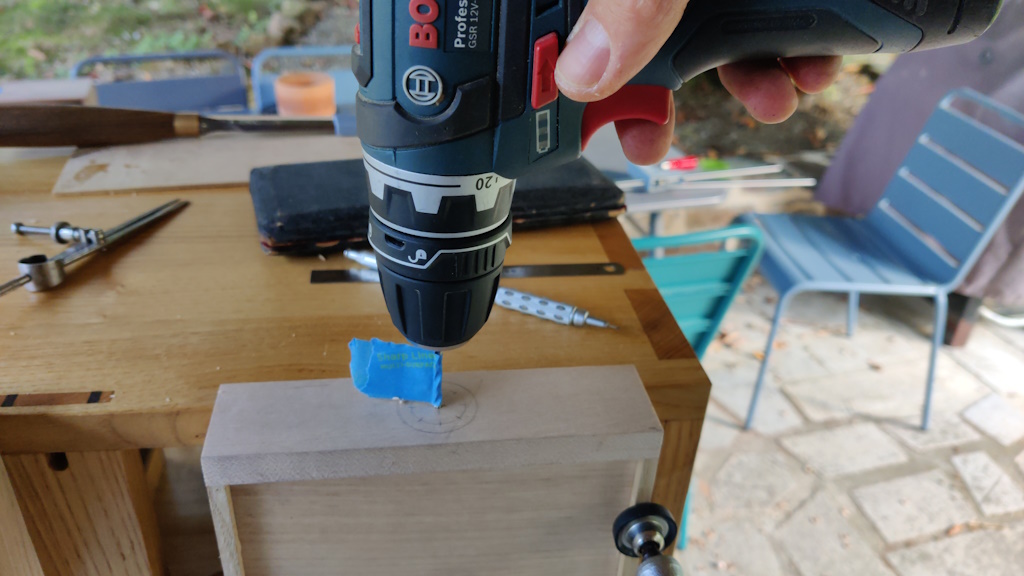
To drill the centre hole, I put some tape on a 3 mm drill bit and then, with Carolyn sighting down one axis and me sighting the other, drilled down until the tape hit the drawer front:
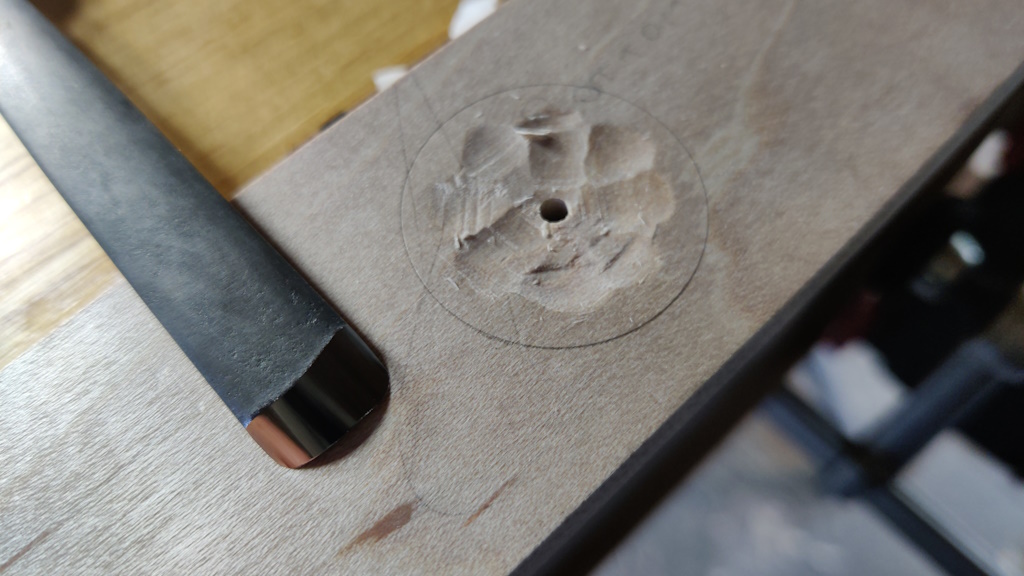
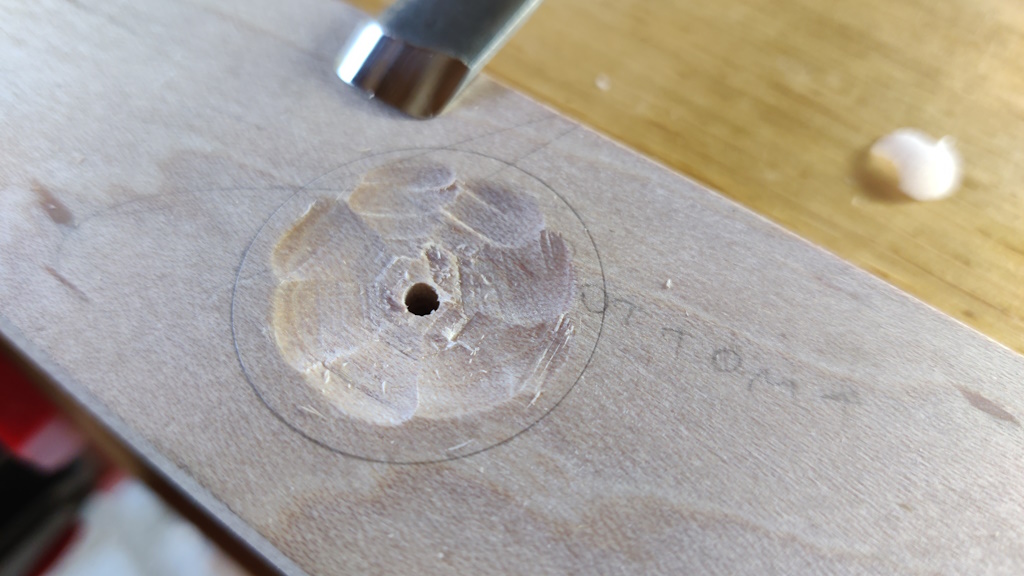
Those blind holes will be made bigger later, but the small hole gives me something to aim for. I then started to carve, initially following the division marks on the inner circle...
... then following those lines out a bit further ....
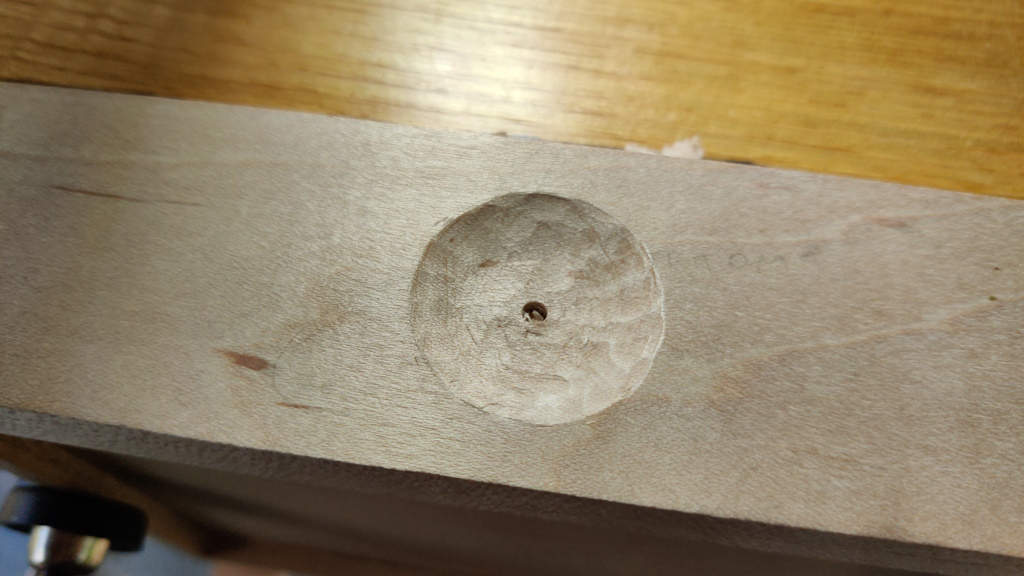
... and then doing it a bit more randomly to get a "rustic" indent:
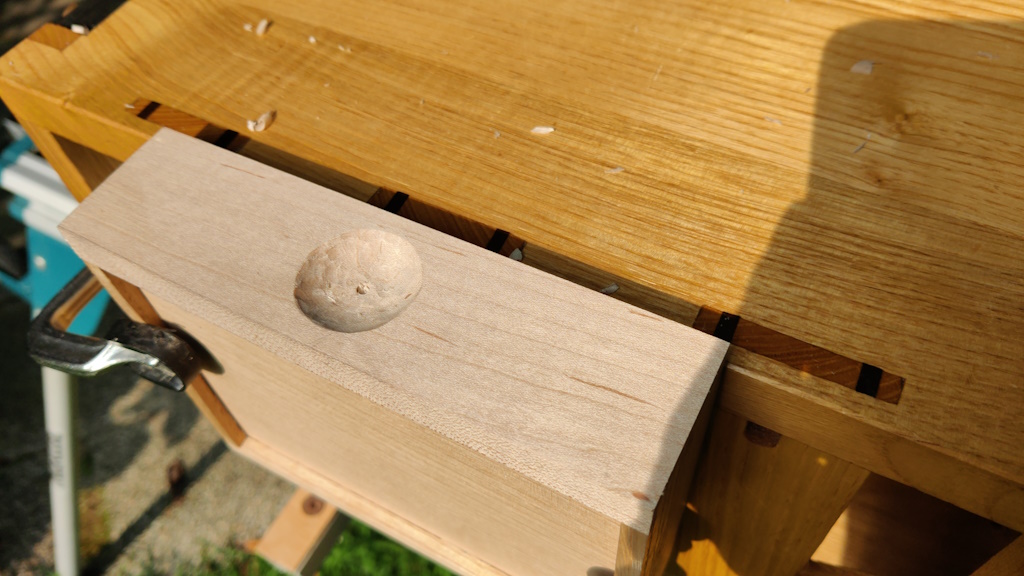
For the first one, I'd had a light set up on the bench but it was a bit awkward as I kept having to move it out the way as I worked around the circle. For the second one I decided to break the habit of a lifetime and move into the sun. With better lighting (and having practised on the first one), the second one proceeded very quickly:
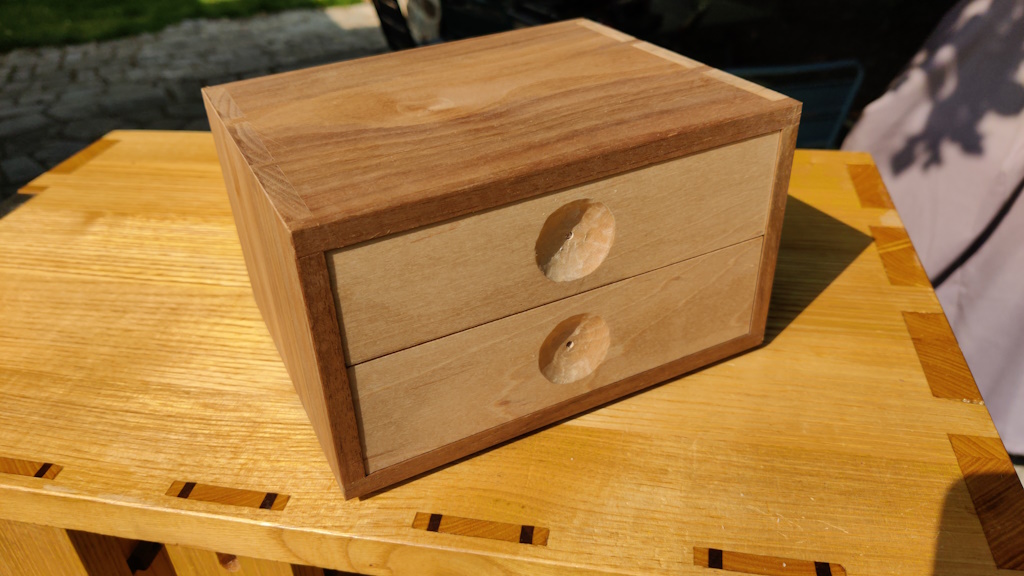
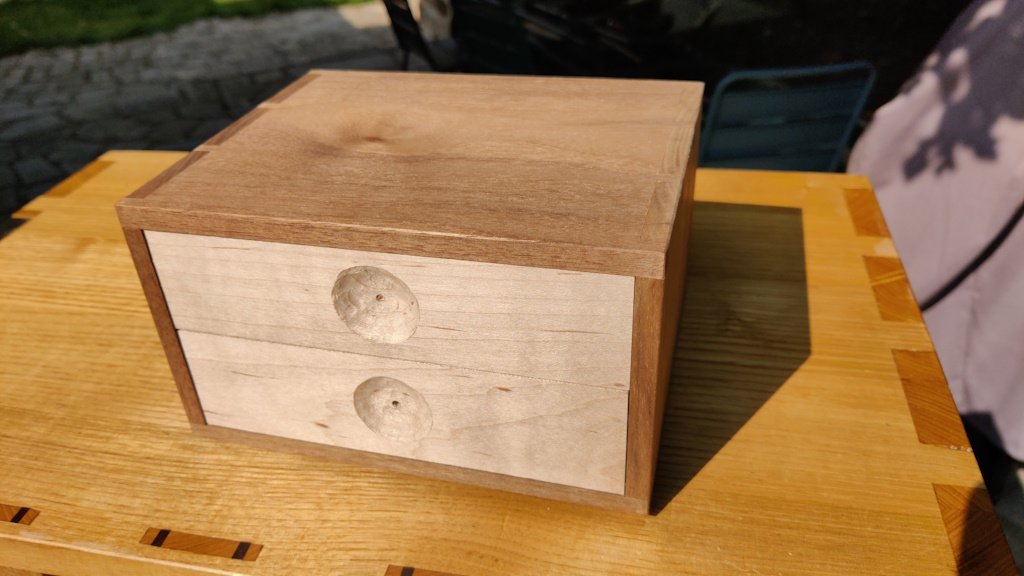
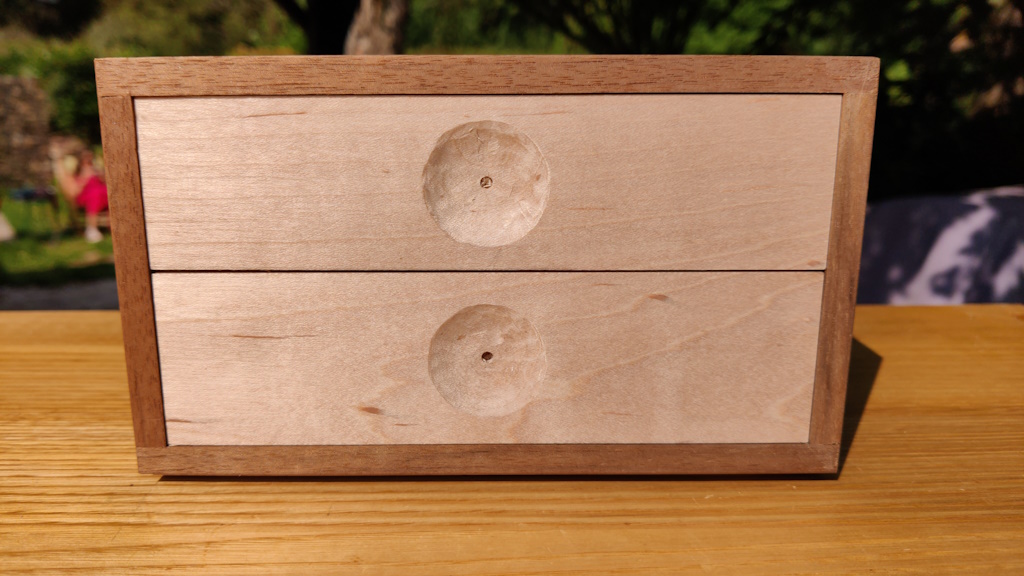
That's the box done for now. The drilled holes in the middle of the drawer fronts will be made bigger and then there will be some turned walnut knobs glued into the holes, but turning knobs needs a lathe, so that'll have to wait until I'm back home.
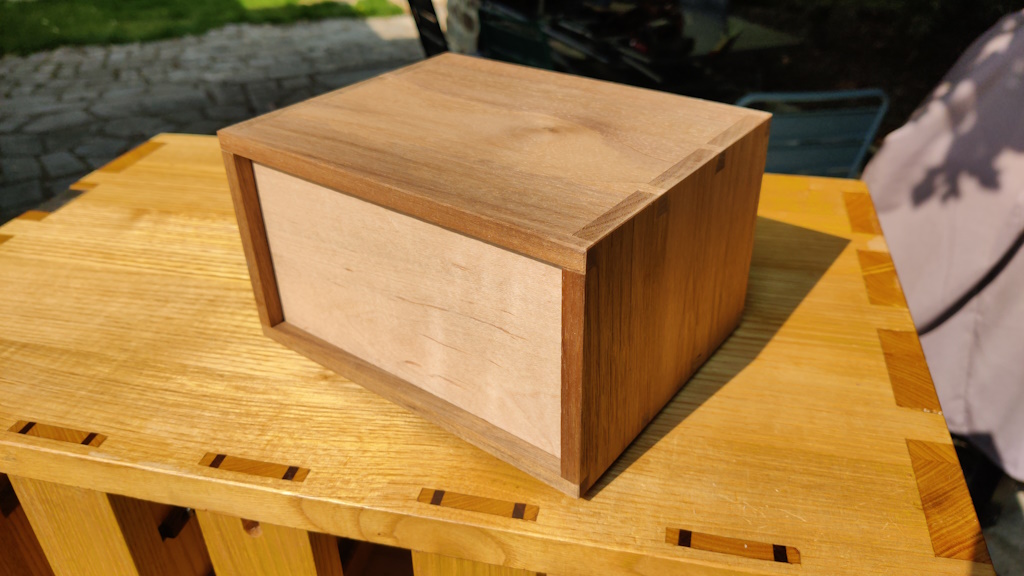
A few photos showing what it looks like pre-knobs and pre-finish:
We've only got a couple of full days remaining here in Brittany (and I'm not sure how much of that will be at the cottage vs out-and-about), so I won't start anything as complicated as this drawer box now. On my list of boxes to make are a couple more tea caddies (one for Keemun tea for home and one to take into work) so I might get started on one of those. Or I might just sit in the shade and drink cider, who knows?!
Page 141 of 144
This website is free and ad-free, but costs me money to run. If you'd like to support this site, please consider making a small donation or sending me a message to let me know what you liked or found useful.

 Return to main project page