Travel Tool Chest & Workbench Build Process
Page 18 of 144
Posted 11th February 2023
After lunch, the second side piece came out of the clamps. The intention of the greaseproof paper described earlier is two-fold:
- To keep the wood away from the bare steel of the clamps and stop the wood from blackening (sweet chestnut has tannin like oak).
- To stop the glue from falling on the bench or sticking the planks to something I don't want them to stick to.
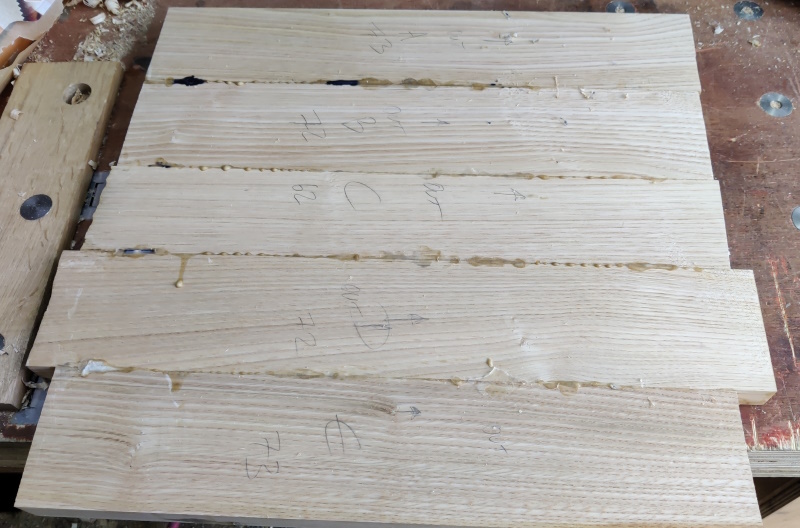
It worked very well for the second job, but obviously allowed some soak through which resulted in a bit of blackening:
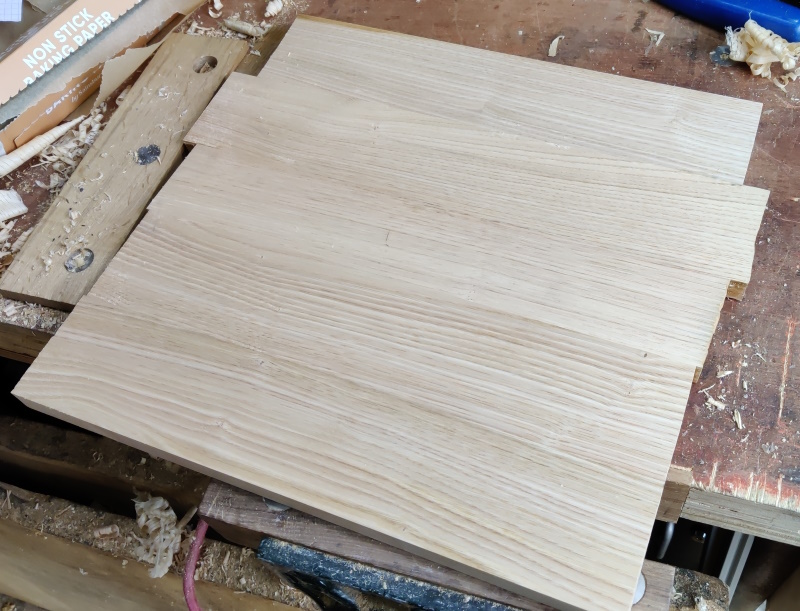
Thankfully, after scraping off the worst of the glue squeeze-out, the black marks came off with just a couple of light passes with a smoothing plane:
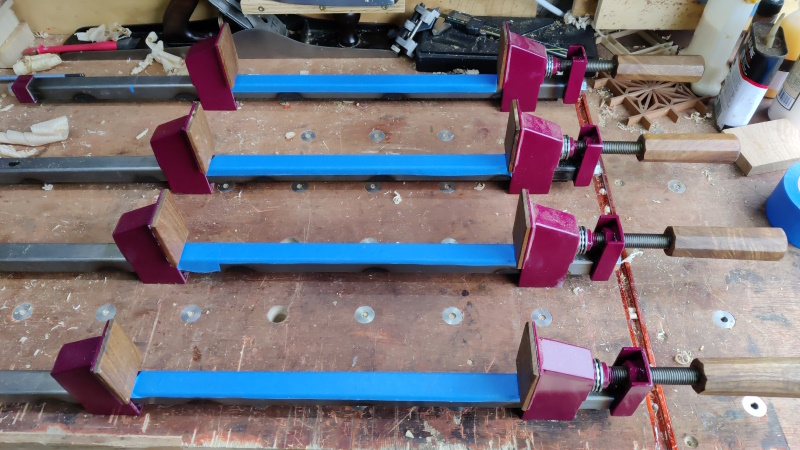
To try to stop that happening on the next glue-up, I employed some masking tape...
... but still used the greaseproof to catch any drips.
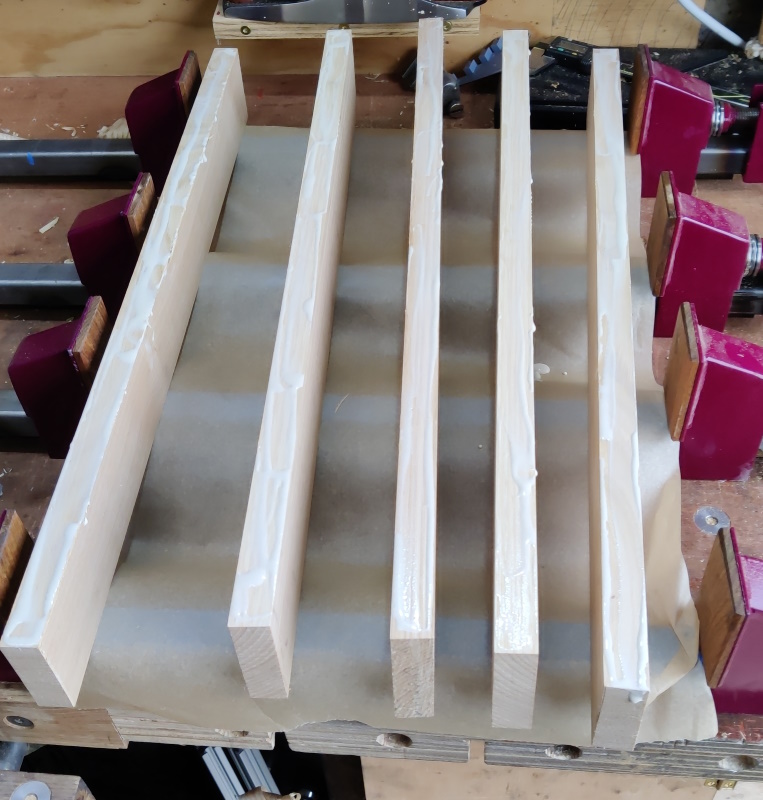
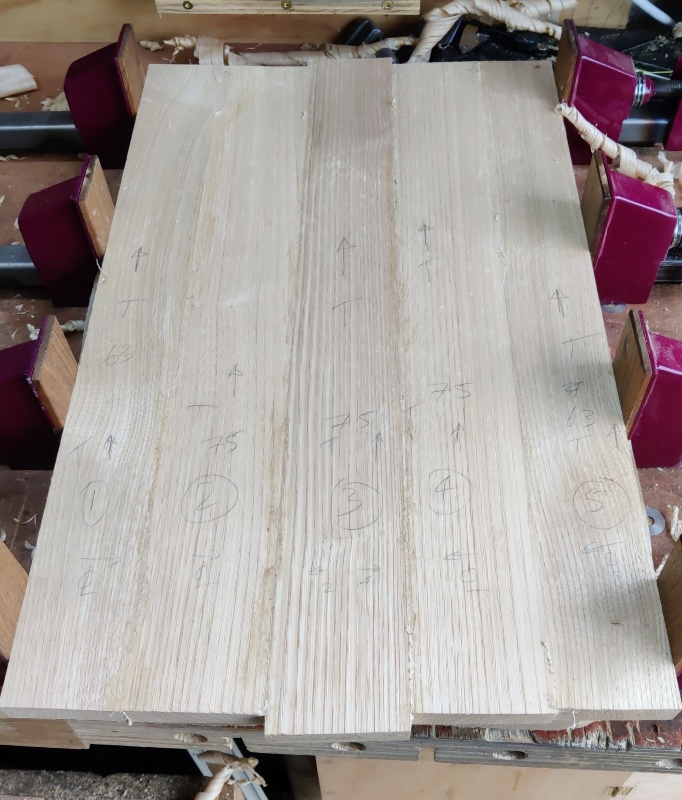
I'm obviously getting more confident in this as I even had time to take a photo part-way through the application of glue (before applying glue to the bottom edge of the middle boards):
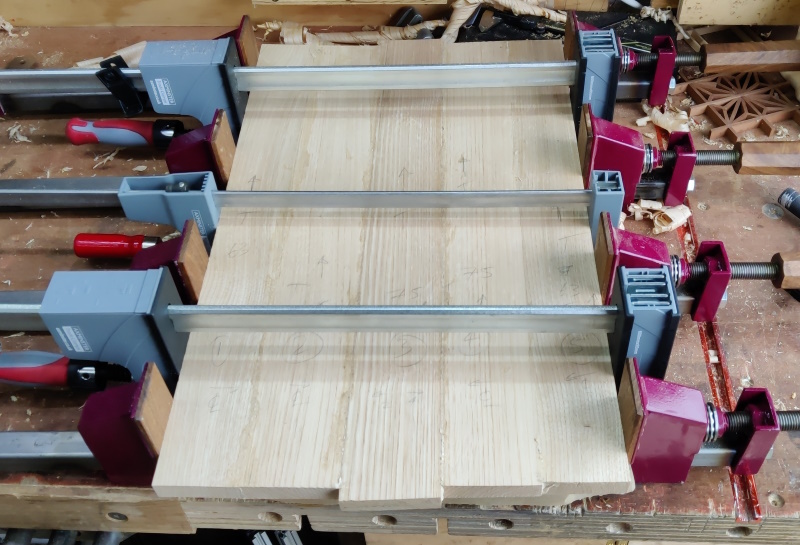
After applying clamping pressure (adjusting the heights to get the top surface level as the clamps were applied) and then scrubbing with some plane shavings:
Some additional clamps for good measure and that one has now been left to dry:
Page 18 of 144
This website is free and ad-free, but costs me money to run. If you'd like to support this site, please consider making a small donation or sending me a message to let me know what you liked or found useful.

 Return to main project page