Travel Tool Chest & Workbench Build Process
Page 19 of 144
Posted 11th February 2023
Well, what the heck. I decided to bite the bullet and try the scarf joint. As predicted, it was really hard!
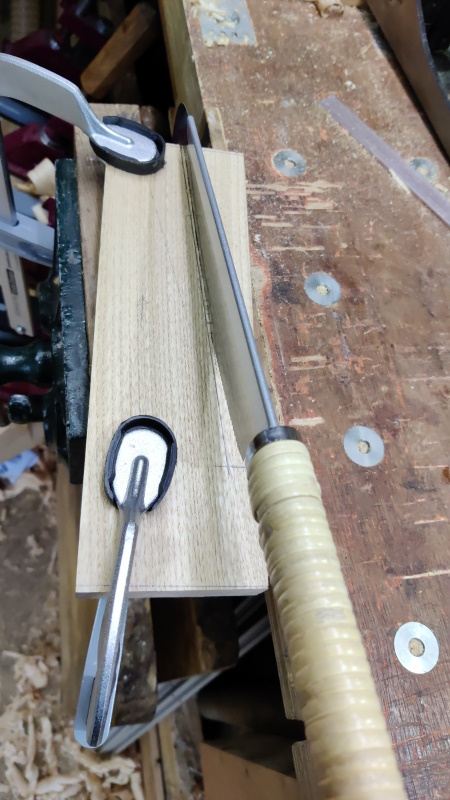
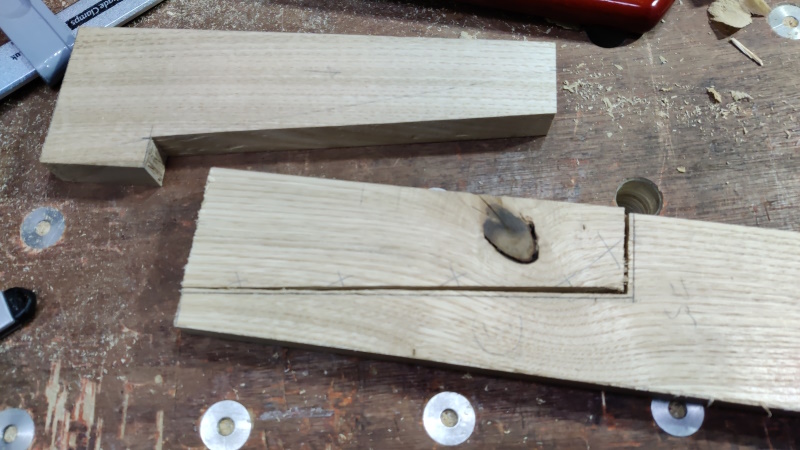
I started by marking up something that looked moderately sensible to me:
I then attacked it with my dozuki, which I find is quite easy to use to cut straight lines along the grain.
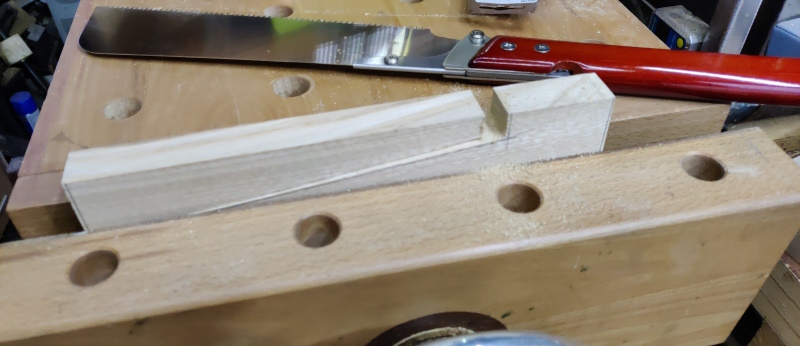
Getting into the corner isn't possible with the dozuki due to the back, so I then moved it into the vice and finished off the cut with a kataba...
... and used the same saw to cross-cut:
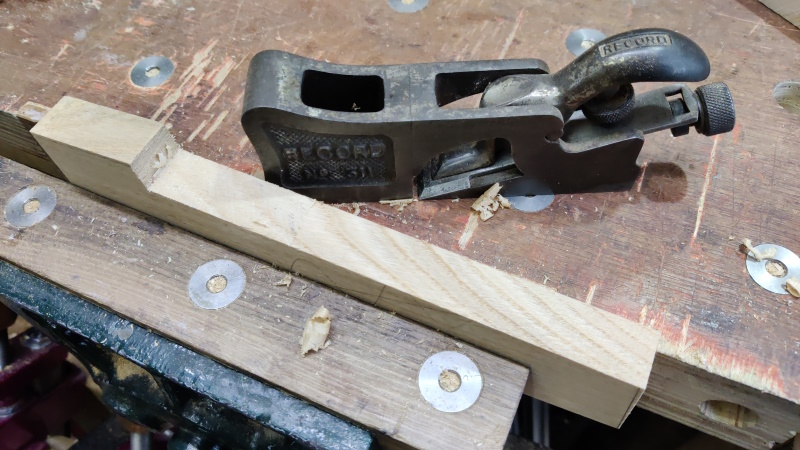
The next job was to try to get the cut-off face straight and square all the way along to the corner. This was really difficult as there's no way to get a plane to go all the way and if I took the nose off one of my 311s, it just dug in to the rising grain and made a mess of the face.
I went through quite a few different tools, including a Record 311,
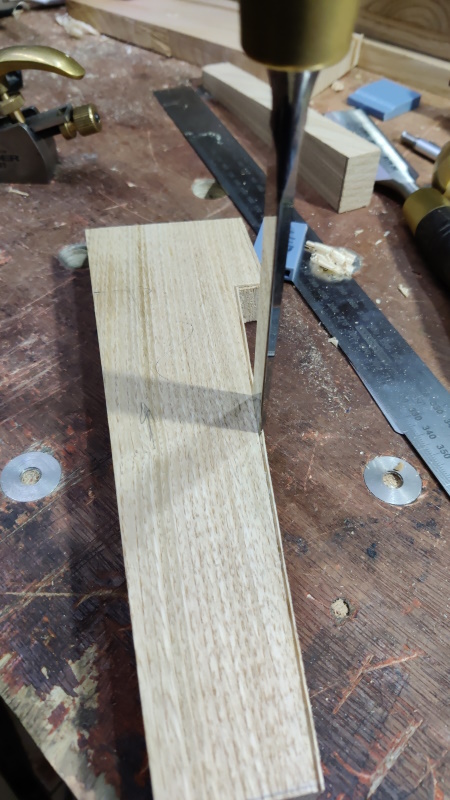
a selection of different size chisels, which worked well, but there's no easy way I could figure out to get a perfectly aligned knife line on both sides when you can't transfer lines round the edges. I've since thought of a way this might work, at least for the scarfed piece, but I'd have to try it to be sure.
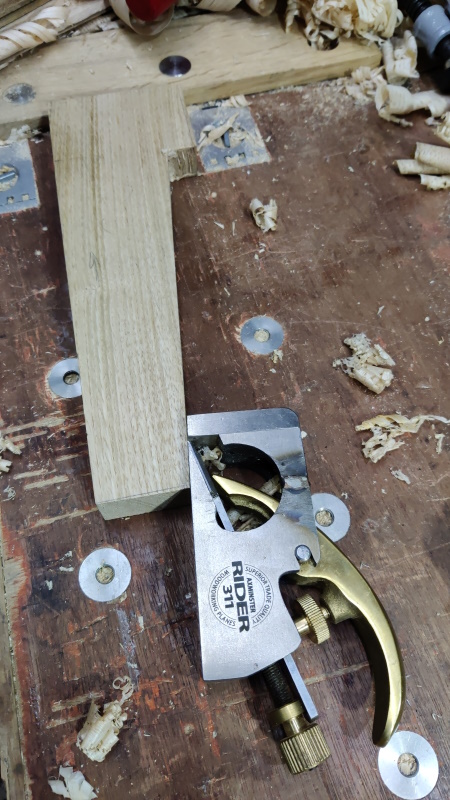
I also tried shooting with my repaired Axminster 311:
That felt like it should work well, but it's a pig to adjust to get the blade at 90° to the side.
In the end I managed to get it square and looking okay, so I shot the end square...
... and then used the new piece and a knife to mark where I needed to cut out the waste on the longer piece. I could then rough it out in the same way as before:
I tried a few more methods of trying to get the long edge square, including another little plane (which I later realised doesn't have sides that are perpendicular to its base!)
After all the tweaking and adjusting, I realised I'd taken too much off the long edges of the two pieces and the resulting scarfed piece would be too narrow, so I chucked the shorter piece in the bin and started again (this time marking the scarfed piece from the longer piece for obvious reasons).
This time I started with a wider piece for the insert so there would be a lot more room for tweaking stuff.
Much more embuggerance ensued, but without much in the way of photos as I was getting frustrated. In the end I found the block plane was the best for getting the joint square and smooth and I just had to fiddle and faff with a chisel to deal with the bit at the end that the block plane couldn't get to.
Lots more shooting of ends and tweaking of edges followed, but eventually it all got glued and clamped together and we'll find out tomorrow what it looks like.
Conclusion so far: I need to learn some better ways of doing this!
The scarfed in piece is thicker and wider than the longer piece; hopefully I'll be able to plane it flush and parallel without the final glued together board being too narrow. It's not the end of the world: I'll measure it before gluing the board together and if its narrower than the already glued boards, I can just remake the entirety of that one plank and write the scarf joint down to experience: I've got lots and lots more sweet chestnut to play with.
Page 19 of 144
This website is free and ad-free, but costs me money to run. If you'd like to support this site, please consider making a small donation or sending me a message to let me know what you liked or found useful.

 Return to main project page
