Travel Tool Chest & Workbench Build Process
Page 20 of 144
Posted 12th February 2023
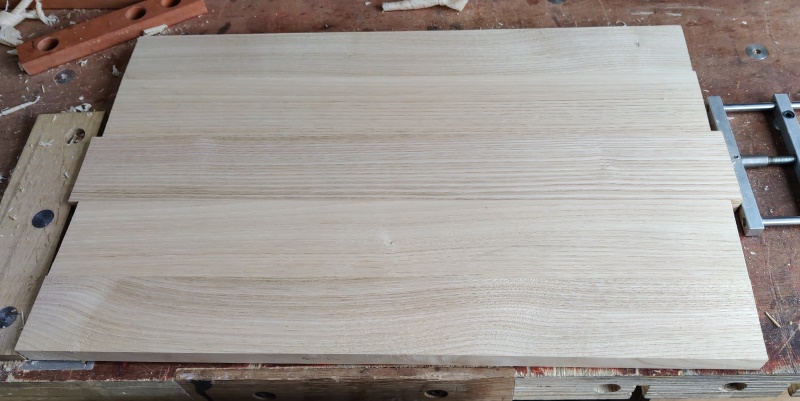
The top panel came out of its clamps this morning. I'd been too lazy to take it out of the clamps after 3 hours (as I had with the previous ones), so the underside squeeze-out needed a bit more effort to shift, but it didn't take long and the board cleaned up nicely:
The scarfed piece also came out of its clamps:
It looks okay from that angle, but unfortunately there's a bit of a bow in it:
I thought it's be interesting to bring the extra bit down to the same dimensions as the original bit to see what it looked like. It cleaned up quite nicely:
The joint is obvious (but then, this piece was going to be part of the underside of a tool chest, so I don't think that matters). However, it's obviously warped as well as a little bowed as it doesn't sit flat on the bench. Getting rid of that warp would result in a bit of wood that was much thinner than the other pieces, so I decided to write it down to experience and start again. I think if I was doing this again, I'd do the scarf joint before dimensioning the timber so I had some room for manoeuvre after scarfing.
I'll probably do some more scarfs on some scrap wood for practice as I clearly haven't got the knack yet!
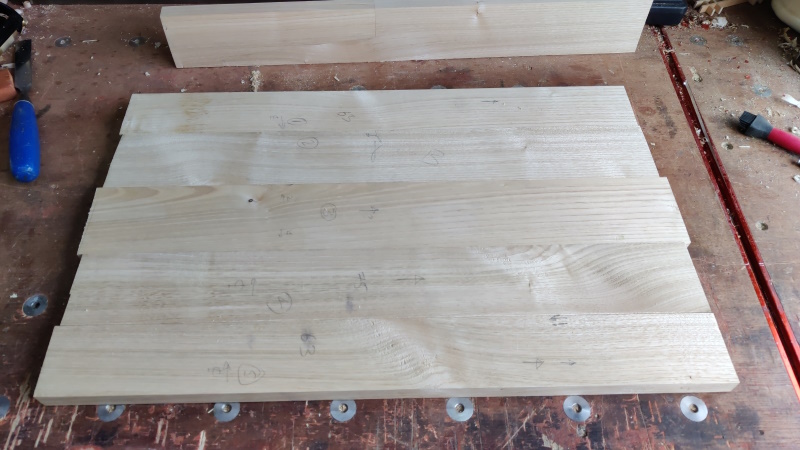
It didn't take me long to make up a new middle piece out of the stock I had lying around – the middle plank in this photo is the new one:
That's now glued and clamped together. I used a silicon brush to apply the glue this time and it worked much better than the spatula.
Page 20 of 144
This website is free and ad-free, but costs me money to run. If you'd like to support this site, please consider making a small donation or sending me a message to let me know what you liked or found useful.

 Return to main project page


