Travel Tool Chest & Workbench Build Process
Page 24 of 144
Posted 19th February 2023
After trimming & planing the middle board (no photos, but some of you will be pleased to hear I sawed both ends with the hand saw!), I decided there were no further excuses available and it was time to start cutting dovetails.
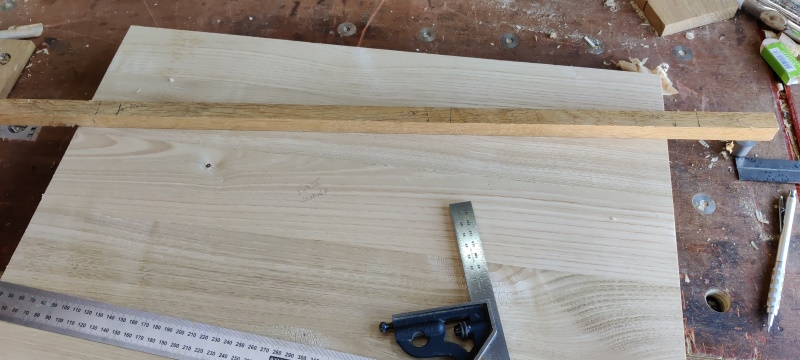
I started by digging out an offcut of oak and marking it up as a "story stick":
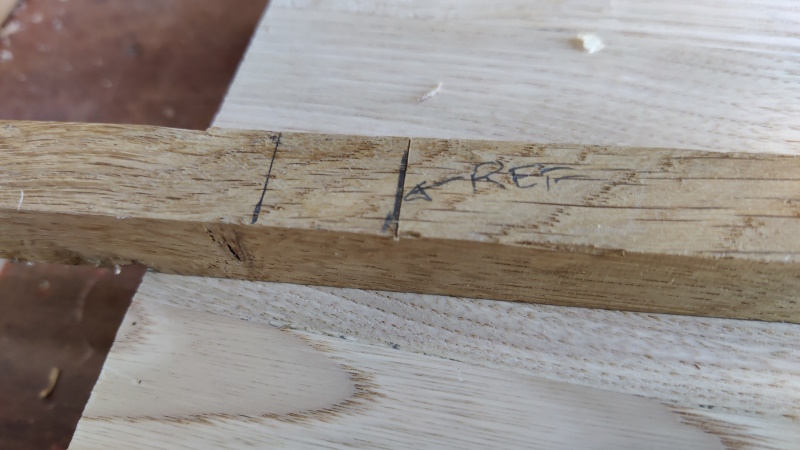
There are three (labelled) knife marks: one for a reference position and one for each of the inside dimensions of the box. There are also some pencil marks to give a vague idea of where the ends of the boards should be:
I was feeling paranoid (for which read: untrusting of how square my sawing had been), so I decided to make the tails stick out quite a long way. It'll probably be too much to plane off, but I can always use a flush cut saw to get them somewhere close before planing. Hopefully I won't regret that later on!
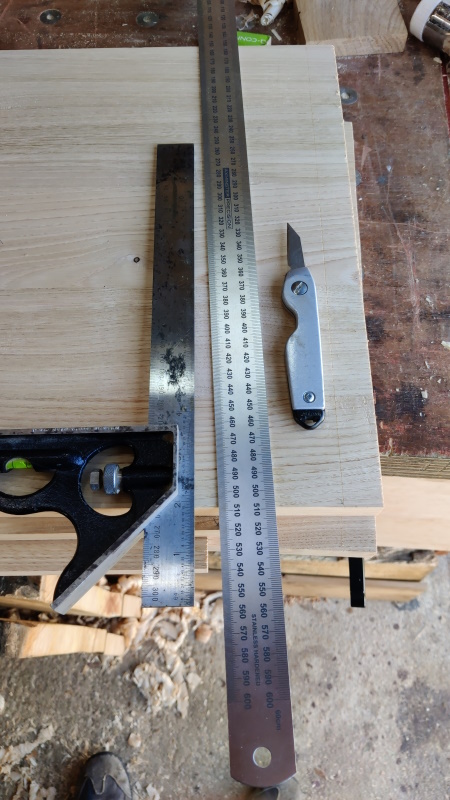
I used the story stick to transfer knife marks onto the rear end of the inside faces of each piece. I then used a square and a 600 mm ruler to transfer the marks along the inside faces.
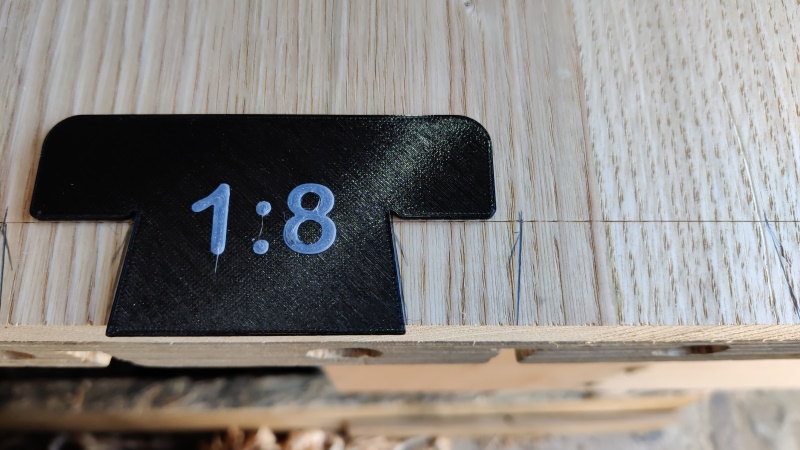
As I was working on the assumption that the ends weren't square, I needed to mark the dovetails from the base line rather than the end. I realise that the angle isn't that critical so I could have just eyeballed it, but I'm very new to cutting dovetails without a crutch saw guide, so every little helps.
To give me a way to mark them from the baseline, the 3D printer kindly spent 36 minutes making this:
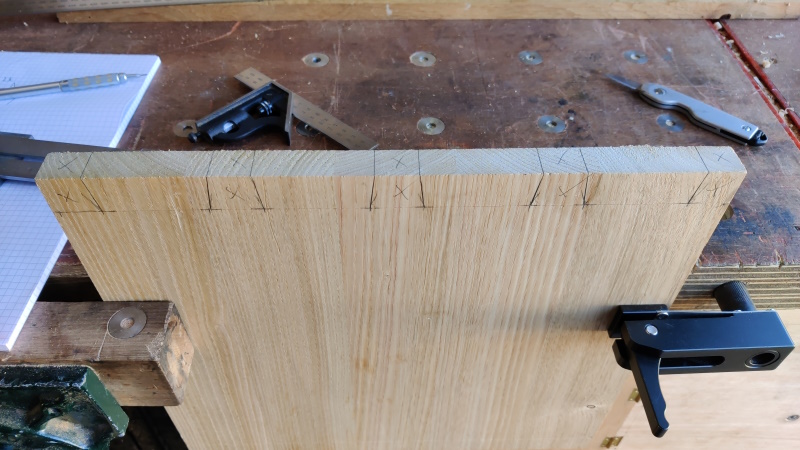
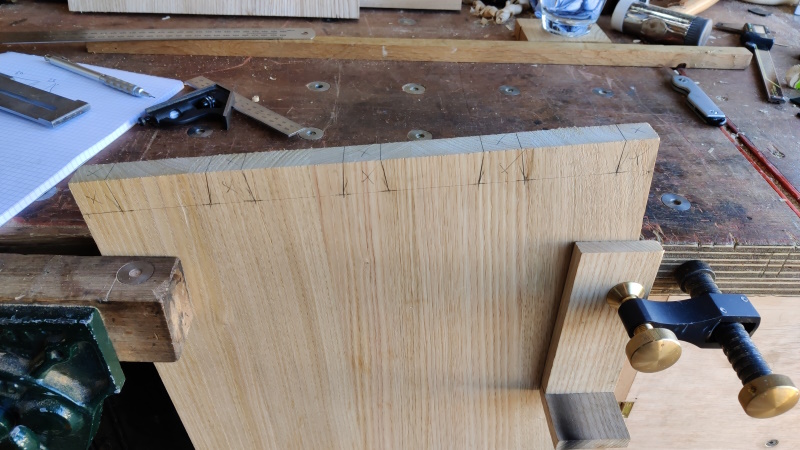
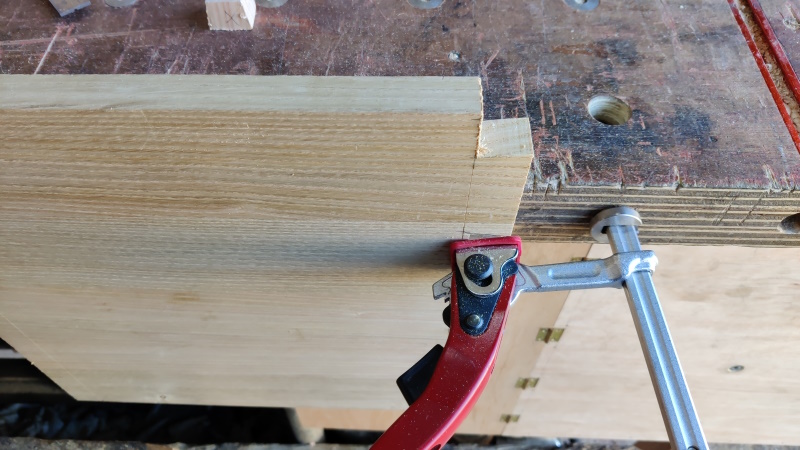
The boards are two wide for the "Moxon" end of my portable workbench, so I clamped them to the normal bench with the vice and a dog hole clamp thing. That made it easy to transfer the marks across the end with a square and cross-out the waste:
To give myself the best chance of something nearing accurate sawing, I tilted the board over such that the lines were vertical.
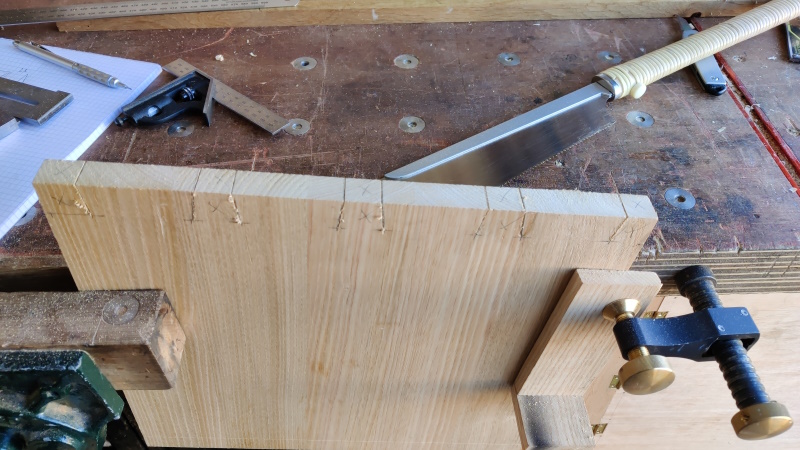
It was then just a case of taking a deep breath and attacking it with the Dozuki...
... and the fret saw:
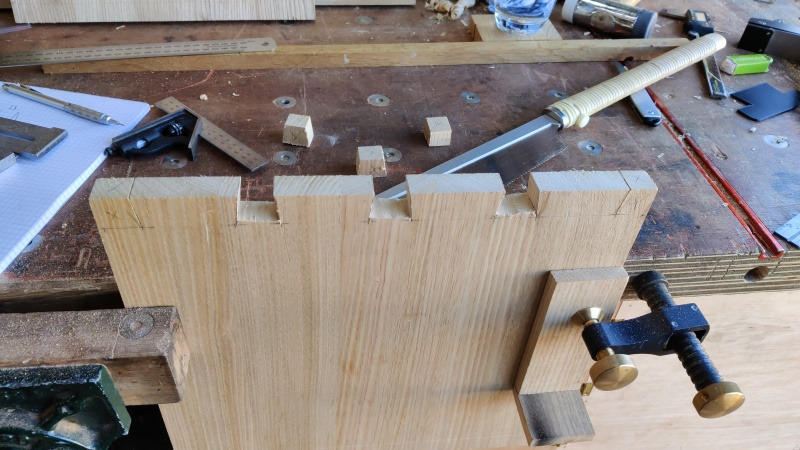
It then got rotated by 90° and (with a slightly longer clamp holding it in place), the ends could be sawn:
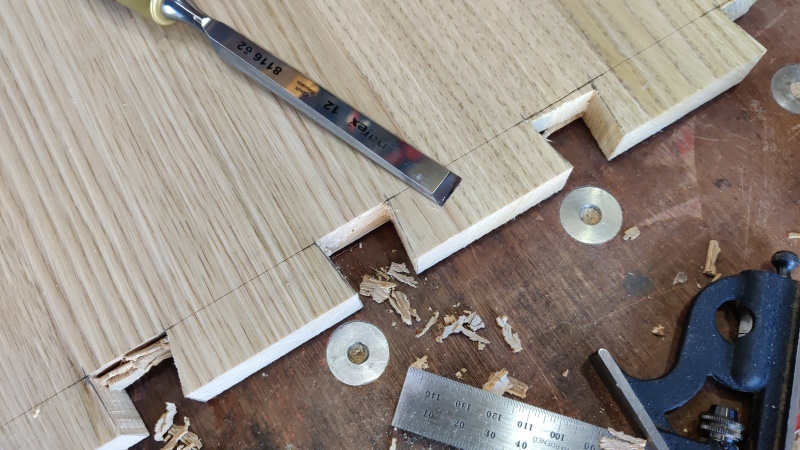
My 12 mm chisel did most of the work of chopping out the waste, with the 16 mm one coming out for the final cuts.
Page 24 of 144
This website is free and ad-free, but costs me money to run. If you'd like to support this site, please consider making a small donation or sending me a message to let me know what you liked or found useful.

 Return to main project page