Travel Tool Chest & Workbench Build Process
Page 26 of 144
Posted 5th March 2023
The next few joints proceeded much like the first one so I didn't take many photos. The only differences were:
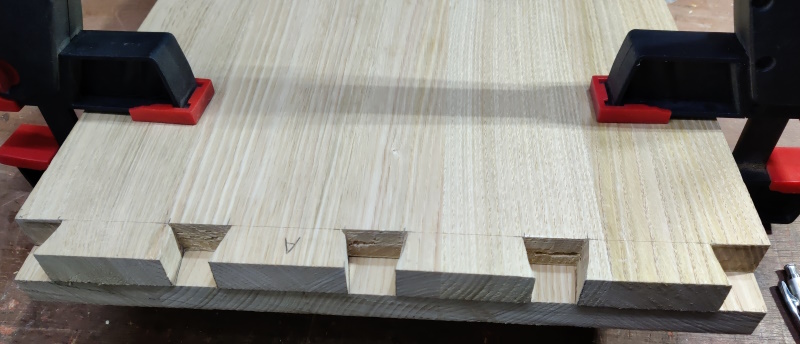
Rather than marking the tails using the 3D printed gauge thing, I just used the previously cut pieces as a reference:
I then cut all of the three tail boards out in one go before using them to mark each of the pin boards. Another small difference is that, after breaking 4 fret saw blades, I switched to the coping saw, which is perhaps more suitable for wood this thick. The coping saw has the disadvantage that it won't go down the kerf of the dozuki, but it's not too big a deal to cut in two passes: middle to left and then middle to right.
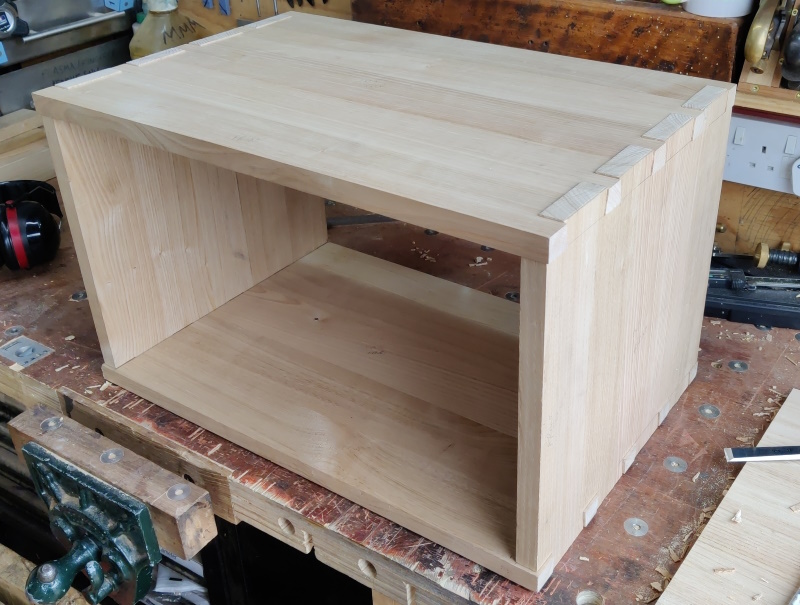
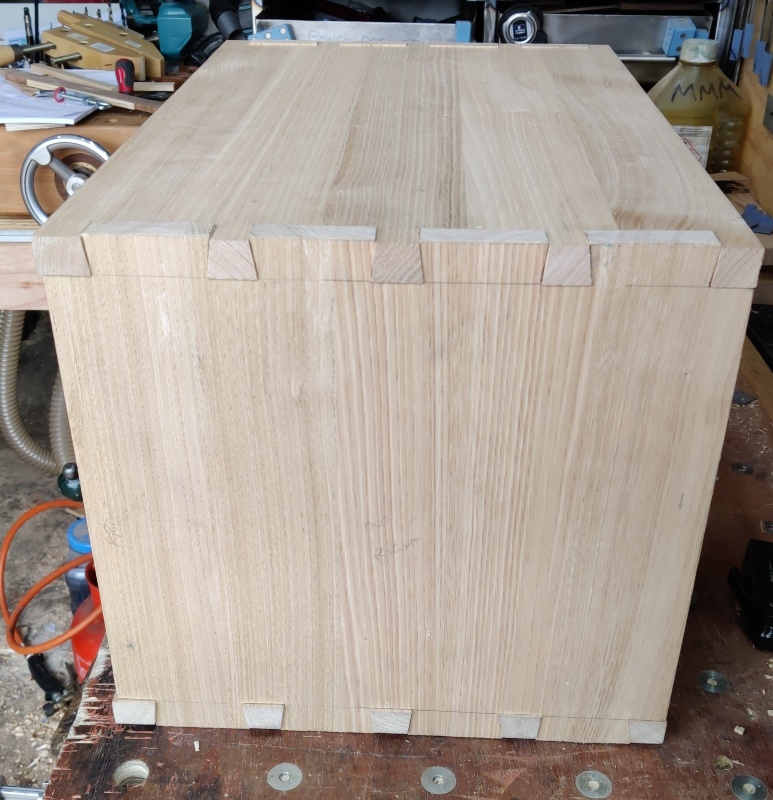
After much sawing & chiselling, all the joints were complete and I could do a full test fit (yes, I know some people prefer not to put dovetails together until they're ready to be glued, but I still like having this crutch!)
The front edge doesn't line up for the simple reason that I haven't got round to cutting the boards to depth yet; everything was referenced off the back edge, which I decided was more important to be square and flush (as there will be plenty of other things that reference off the back later).
I'm really pleased with how that went: hardly any fettling was required to get a tight fit and all that without even using my 3D printed magnetic saw guides! Perhaps I'm getting a little better at sawing?
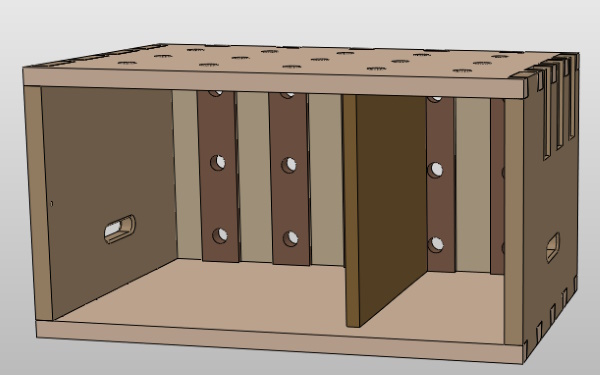
I haven't quite decided what the next job is. One option is to fit the middle support thingy...
... but I haven't figured out how that's going to be mounted yet. The ends will need to be parallel with one another for obvious reasons, which could be made by shooting it square (in which case I could mount it with dowels or a big loose tenon thing). Alternatively, I could make it into a humungous blind tenon, in which case I'd be making the ends square by chopping with a chisel.
Another option for the next task is to cut all the (somewhat daunting) through tenons for the back pieces:
These need to be fairly accurate as the back is intended as a reference face (for clamping stuff vertically on the back), although I could possibly just plane down the entire back face after fitting them. Also, I'd obviously prefer that the M&T joints don't look shabby and (apart from a few test cuts in some scrap), I've never made anything with through tenons before. I'll probably wedge the tenons, but I think I can consider that by expanding the mortices after an initial trial fit.
It's all getting gradually more daunting as more hours are sunk into each piece of timber!
Page 26 of 144
This website is free and ad-free, but costs me money to run. If you'd like to support this site, please consider making a small donation or sending me a message to let me know what you liked or found useful.

 Return to main project page