Travel Tool Chest & Workbench Build Process
Page 27 of 144
Posted 5th March 2023
Right, onto the housing joints.
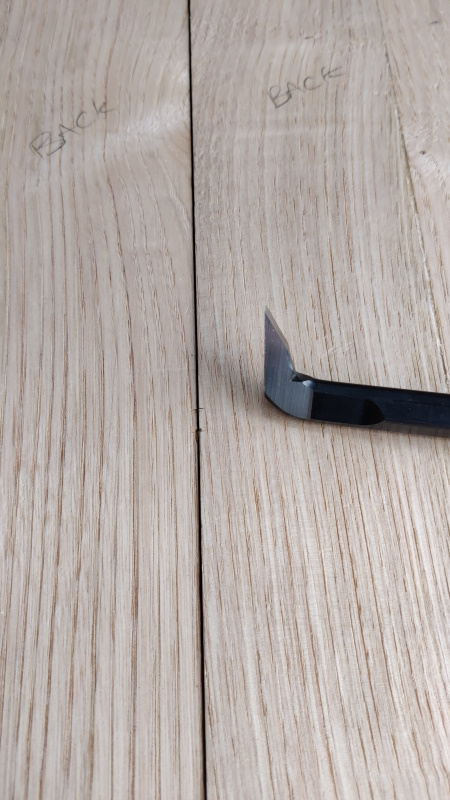
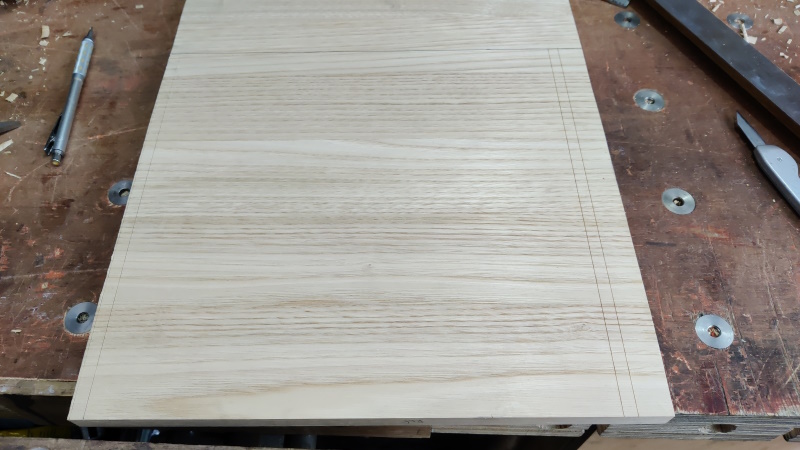
First step was to decide where the central piece would go and mark out the sides of the cut-out. The upright is 15 mm thick, so I'd planned to go with a third of the width, but when I marked a couple of notches, it looked a bit thin, so I upped it a little and went with 6 mm. I've got a 6 mm chisel and a 6 mm router cutter, both of which should help here.
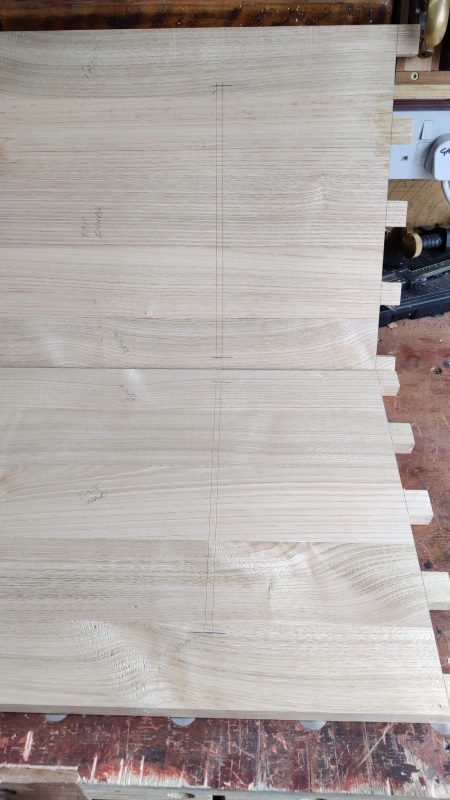
With the notches marked in the base, I transferred them directly across to the top so they should line up nicely:
I then used a square and a long ruler to knife some marks along the sides and I also knifed across the end, although without so much concern for accuracy.
I've never cut a housing joint before (gulp), so I'm not sure if this is the conventional way, but it seemed to work for me...
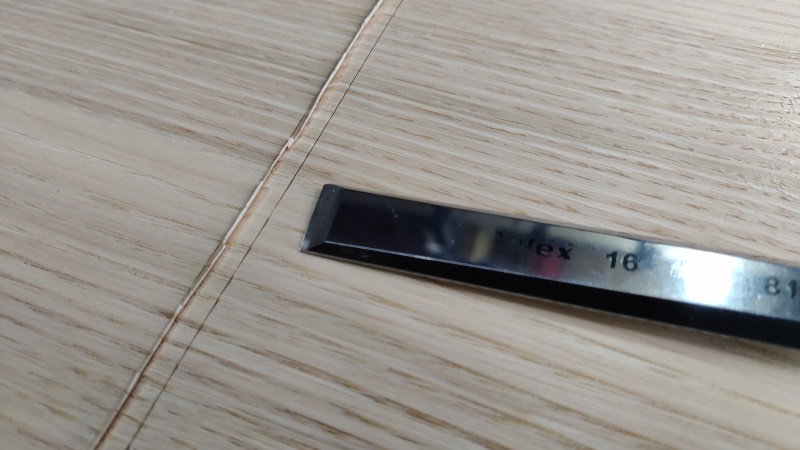
I started by using a 16 mm chisel to make a wall along the knife line:
and then along the other knife line:
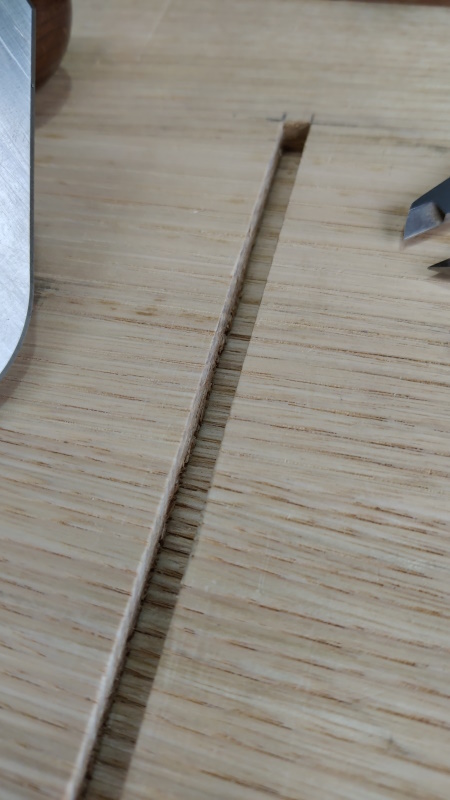
I then went along the knife line with the chisel hitting down fairly hard with the mallet all the way along:
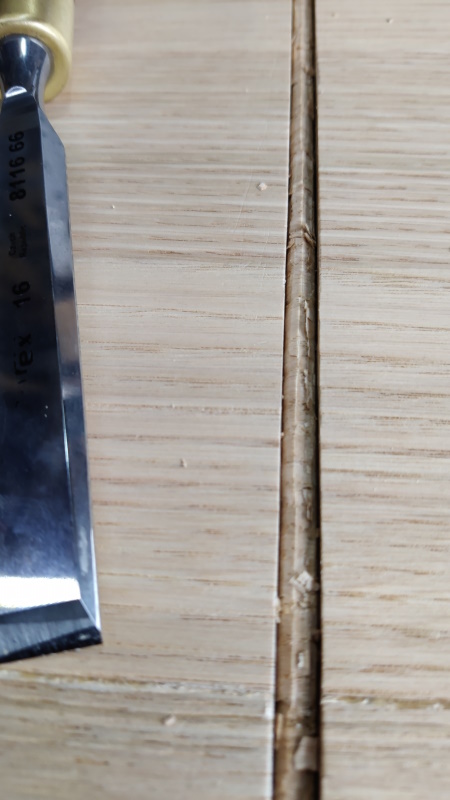
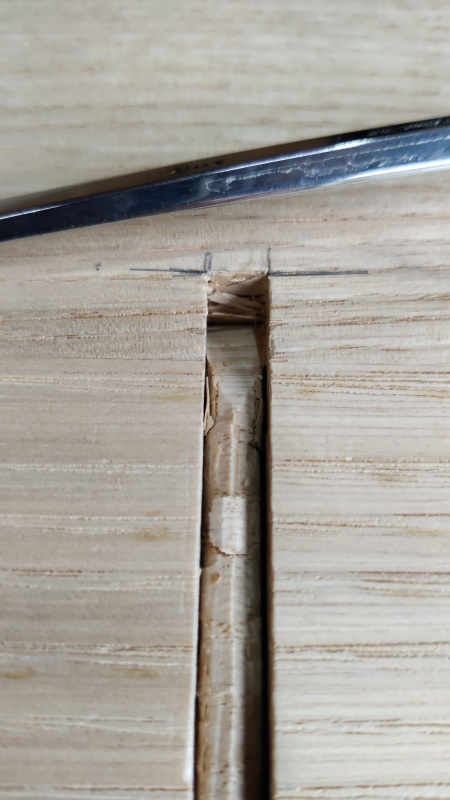
and then I used the 6 mm chisel to cut into the ends:
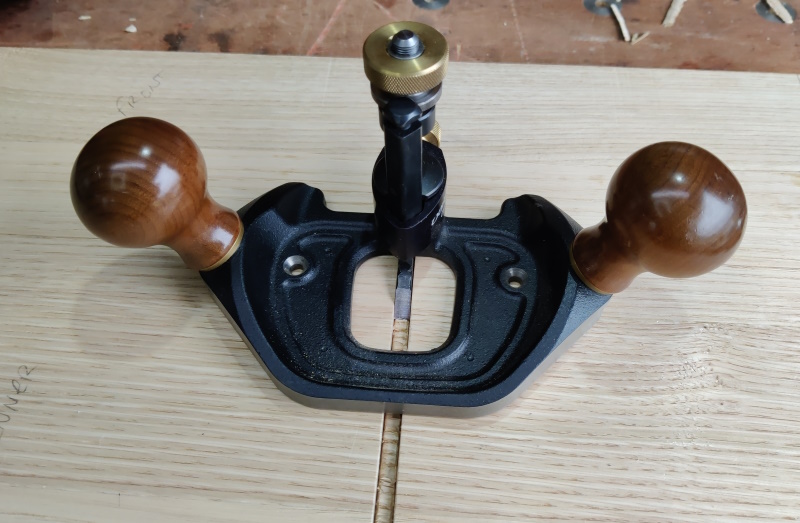
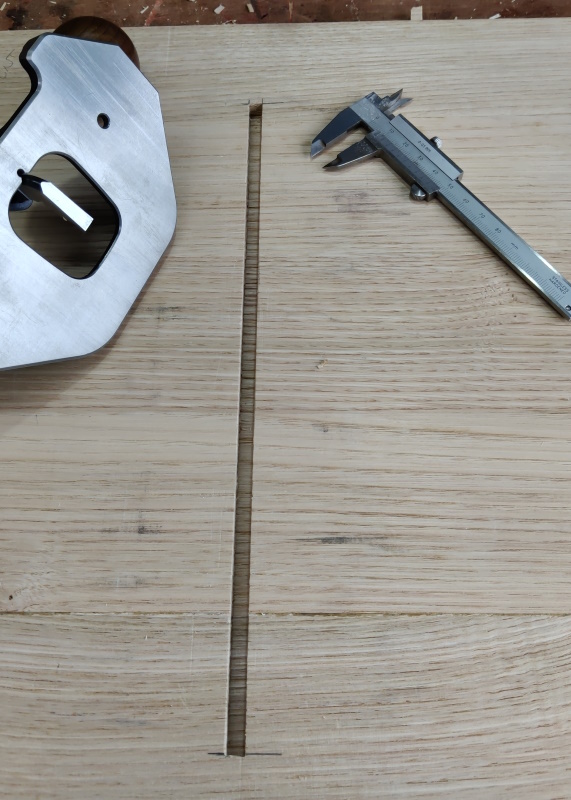
The router plane then worked gradually down to an arbitrarily chosen depth of 8 mm:
After cutting the first housing, I set the depth stop on the router plane and then used that as the reference for the depth of the second housing.
The next job was, fairly obviously, to cut the mating piece, so I started by marking that out:
To be continued....
Page 27 of 144
This website is free and ad-free, but costs me money to run. If you'd like to support this site, please consider making a small donation or sending me a message to let me know what you liked or found useful.

 Return to main project page