Travel Tool Chest & Workbench Build Process
Page 32 of 144
Posted 10th March 2023
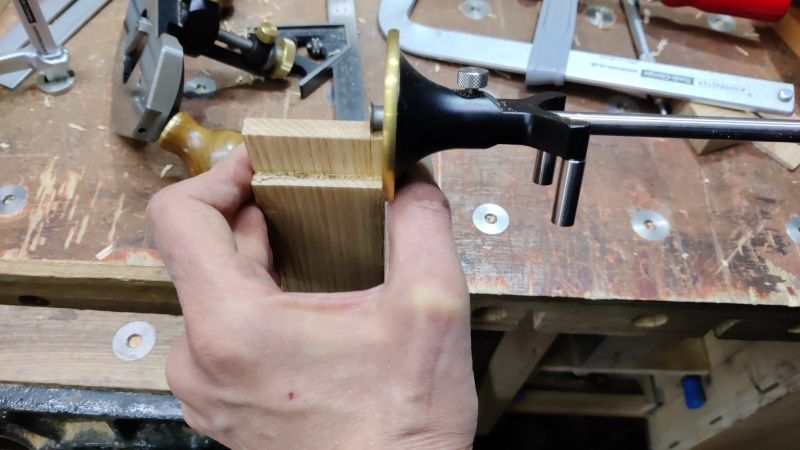
To set the width of the tenon, I started by setting another marking gauge up for a 5 mm mark and used that to mark one side of the tenon:
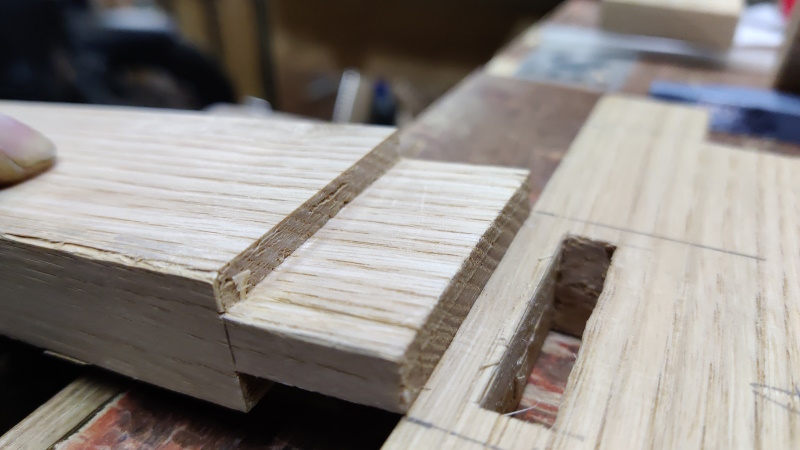
I then used the notches in the base board (the ones I'd used to transfer the marks round to the other side and also to transfer the marks to the top board) to create a small mark on the end of the tenon for the other side:
As I'd shot the ends of the upright piece square, I could then use a combination square and knife to transfer that notch down the cheek.
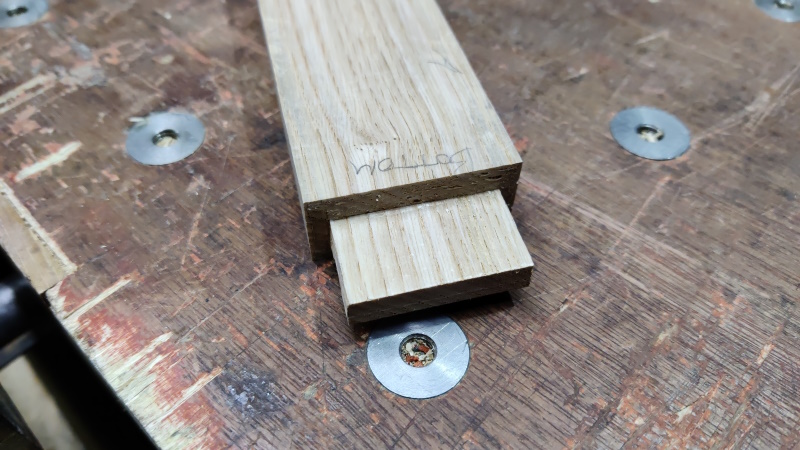
A bit of sawing and chiselling later and the tenon was finished. I under-cut the shoulder slightly with a chisel to make sure it would sit flush.
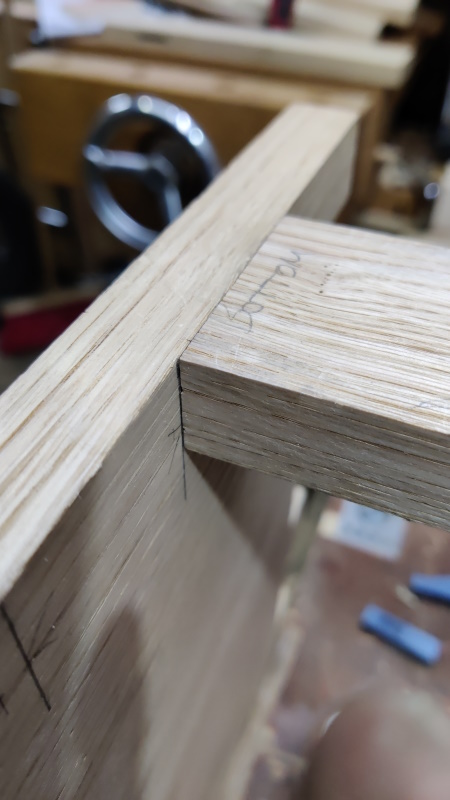
All that was left was a test fit and I was very happy that it slid in with a very firm push and the back faces are perfectly flush (a result of using the Stanley router plane as a reference for everything including the paring guide):
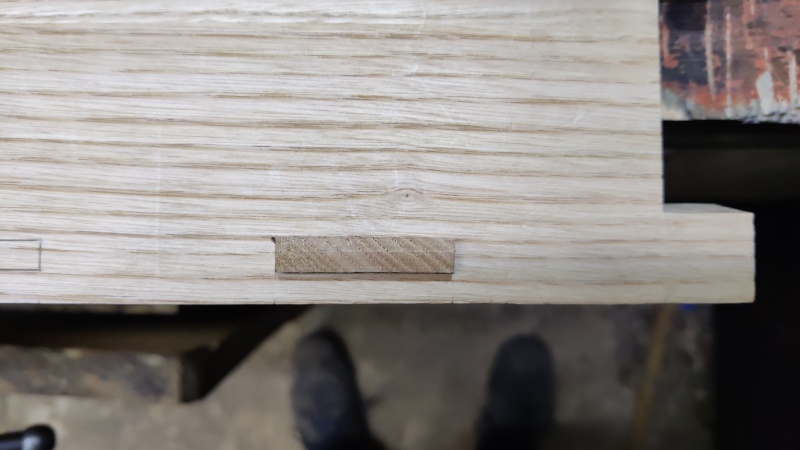
The tenon pops out of its hole looking pretty good too:
and so completes the dry-fit of my first ever through mortice and tenon on a real project. There's plenty more to do to sort out the wedging and I won't know for sure what it looks like until it's glued up, trimmed to length and planed flush, but so far, so good. Only 9 more to go!
For the remainder, I'll probably cut all 9 mortices in one go (or maybe do all the remaining base board ones and then later all the top board ones) and then rough out all the tenons and finally bring them to size one-by-one, but we shall see. If they all go as well as the first one, I'll be a happy bunny.
Page 32 of 144
This website is free and ad-free, but costs me money to run. If you'd like to support this site, please consider making a small donation or sending me a message to let me know what you liked or found useful.

 Return to main project page