Travel Tool Chest & Workbench Build Process
Page 31 of 144
Posted 10th March 2023
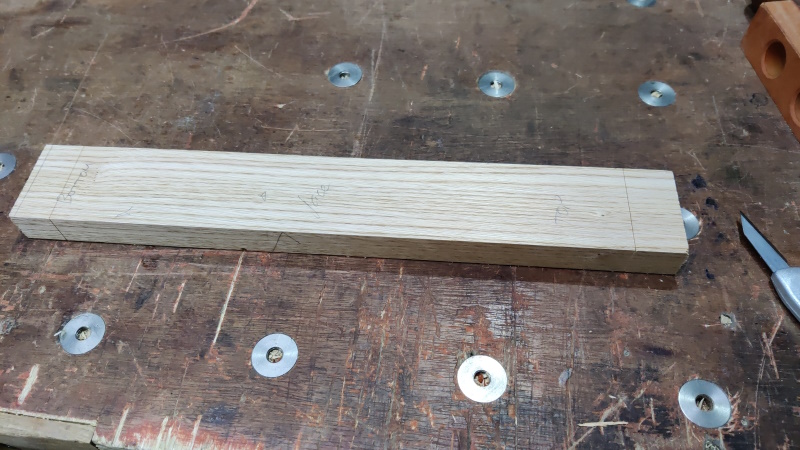
Next up was the tenon on the upright. First of all, I used my story stick to mark the length between the shoulders (which should match the length between the bottoms of the dovetails on the sides, which were marked from the same story stick):
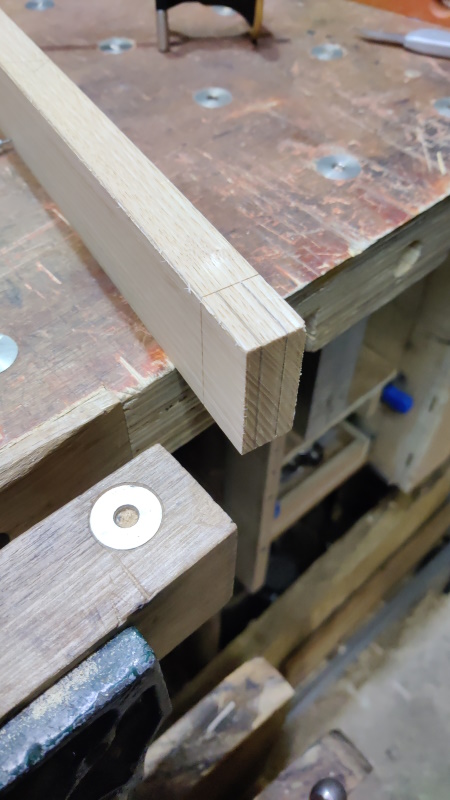
I then used a square and a knife to mark all the way around the shoulders;
The cheeks could then be marked all the way round with the "router gauge" and marking gauge. I didn't bother marking the width of the tenon yet, that comes later:
I decided to use my junk-shop-find Pax tenon saw to cut the cheeks, staying a millimetre or so away from the lines:
I'll probably do some of the other tenons with Japanese saws, but it's nice to try different approaches sometimes.
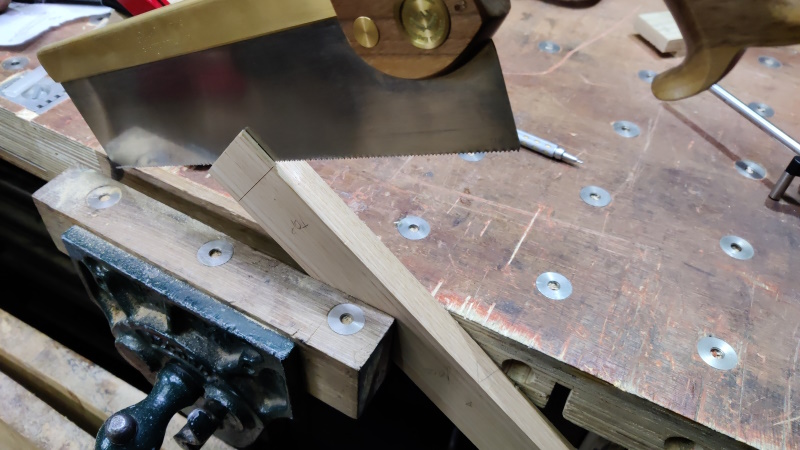
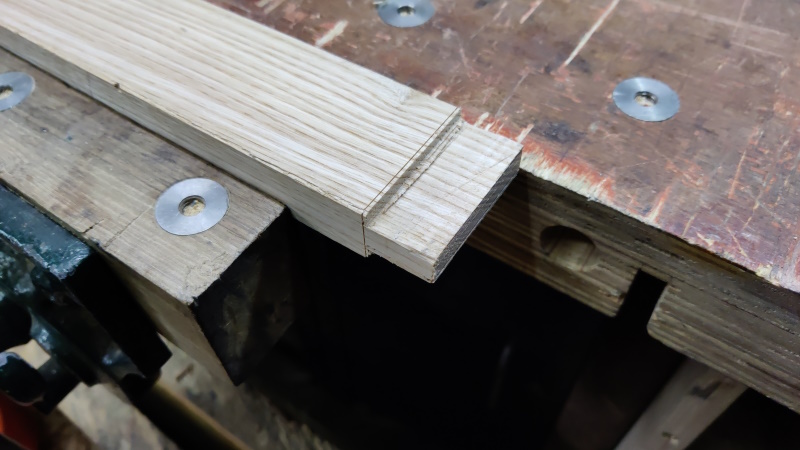
The cheeks were then cross-cut in the vice using the same saw (which is sharpened for cross-cutting, so I guess this is a more appropriate use, but it worked well for both cuts). Again, I stayed a millimetre-ish away from the line:
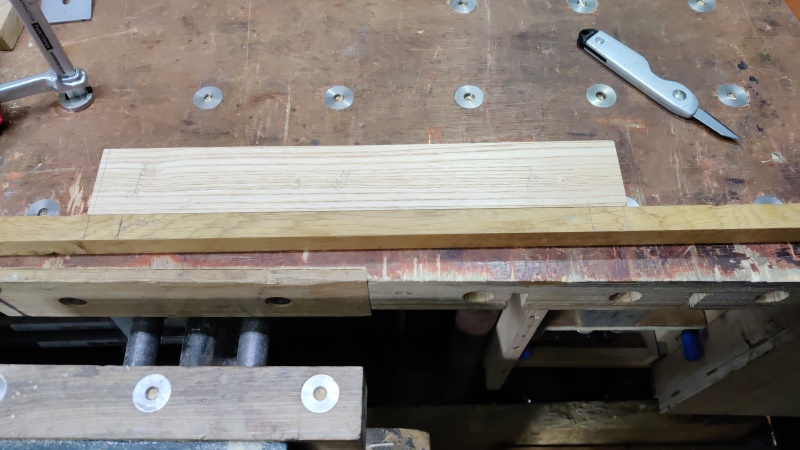
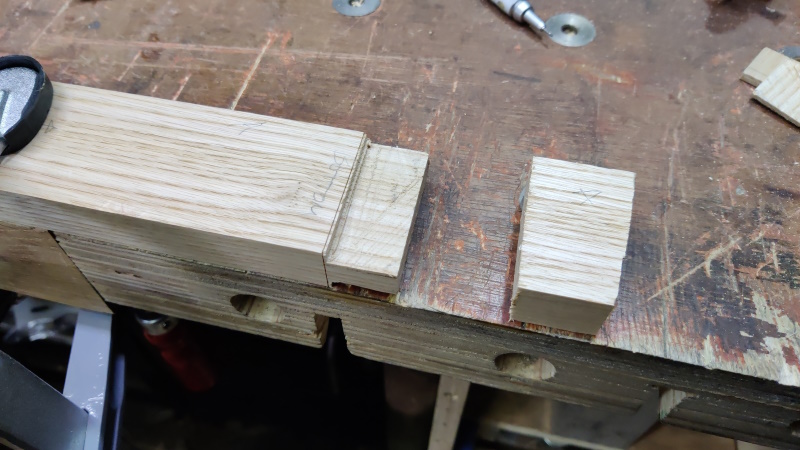
Next up was trimming the outer side of the tenon down to size. I'd kept hold of the offcut of each piece when I sawed them to length, so I plonked that on the bench by the tenon-to-be:
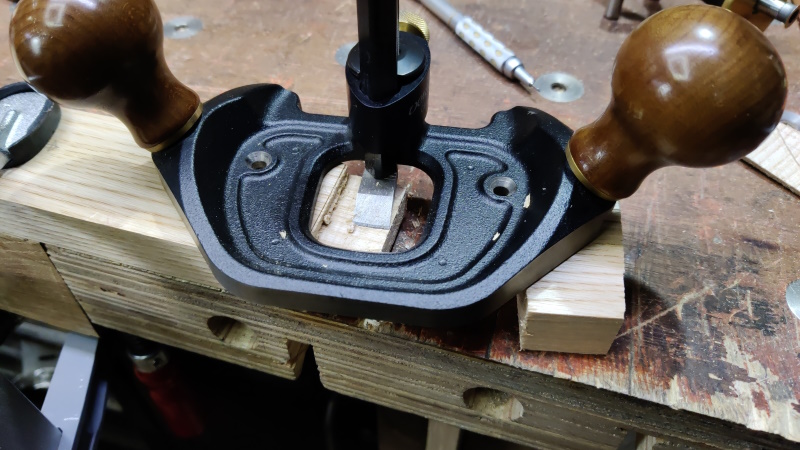
I then used the Veritas router plane to do the heavy lifting, gradually lowering the cutter until I hit the depth stop:
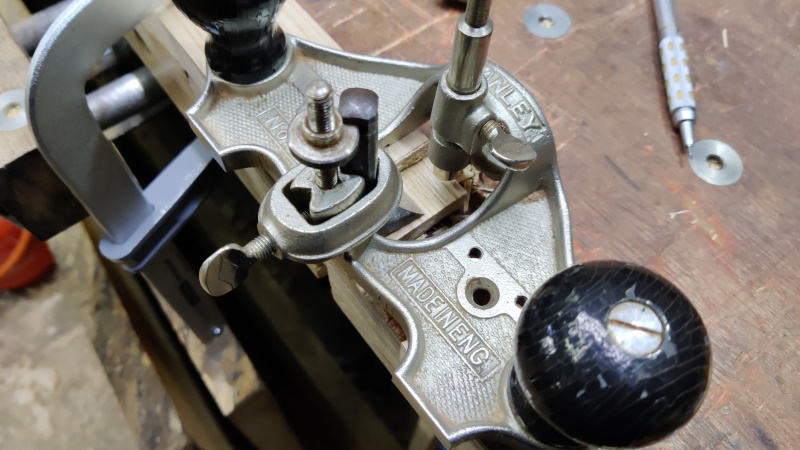
Then the Stanley one took the final pass:
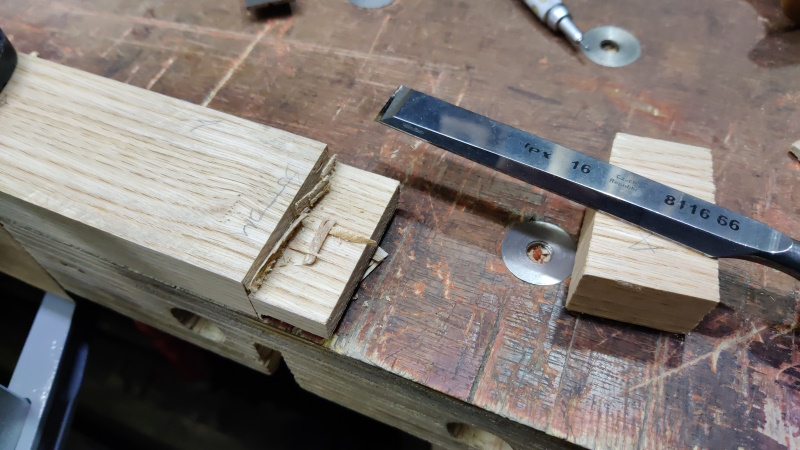
Finally, the 16 mm chisel came out again to cut the shoulder line:
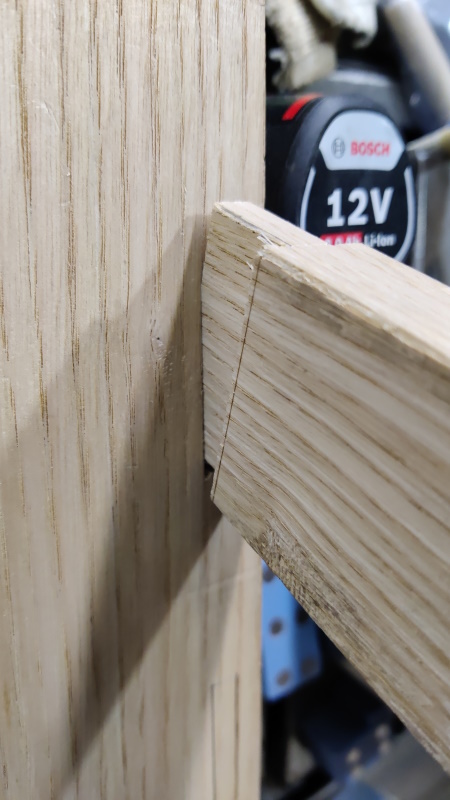
For the other side, I just used the Veritas router plane (although I had my Paul Sellers one to hand in case it wouldn't cut deep enough as I didn't really want to move the depth stop, although it wouldn't have mattered that much if I had to). I gradually lowered the cutter and took light passes until it was a snug fit in the mortice:
Page 31 of 144
This website is free and ad-free, but costs me money to run. If you'd like to support this site, please consider making a small donation or sending me a message to let me know what you liked or found useful.

 Return to main project page