Travel Tool Chest & Workbench Build Process
Page 49 of 144
Posted 19th March 2023
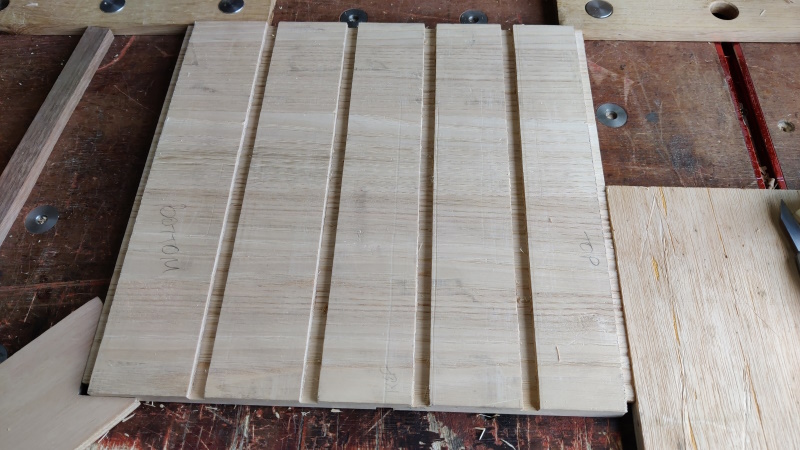
The housings on the other side of the middle support went the same way. I checked the line positions before starting to cut and they looked to be slightly on the tight side so I thought that was a safer bet than the alternative and got on with the chiselling and router planing:
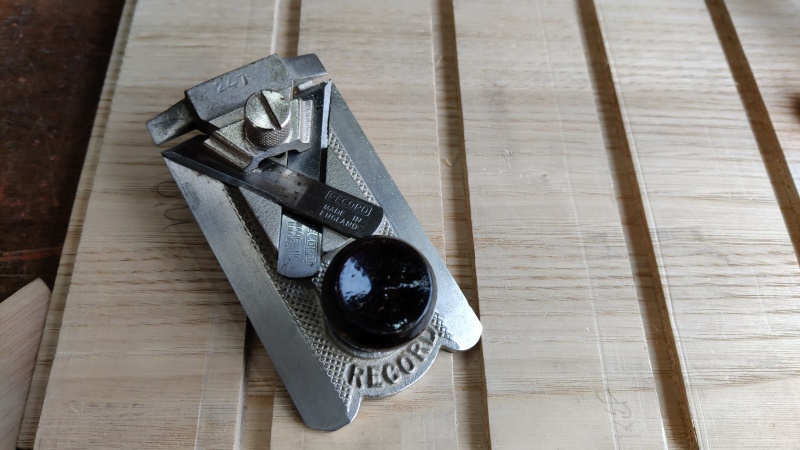
They were indeed a bit too tight to fit the runners in, but that gave me an excuse to get this side rebate plane out, which I've played with in the past but never used in anger. I only took material away from the side of the joint that would be against the bottom of the runner as I'd used the side that forms the top as the reference when transferring marks between pieces.
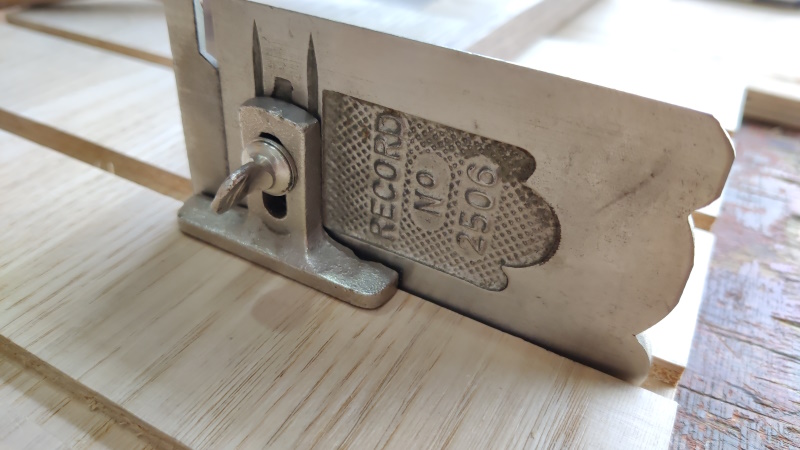
The fence was handy for making sure I didn't tunnel into the corner, although I didn't bother with it when doing the far end of the joint (which I did in the reverse direction using the other blade to avoid breaking out the end):
This is fairly typical of the fit. It's a very snug fit that needs a little bit of persuasion with a mallet, but really not much at all: a couple of light taps and it goes in:
Page 49 of 144
This website is free and ad-free, but costs me money to run. If you'd like to support this site, please consider making a small donation or sending me a message to let me know what you liked or found useful.

 Return to main project page


