Travel Tool Chest & Workbench Build Process
Page 50 of 144
Posted 16th April 2023
Another small bit of progress this weekend in between sociable stuff.
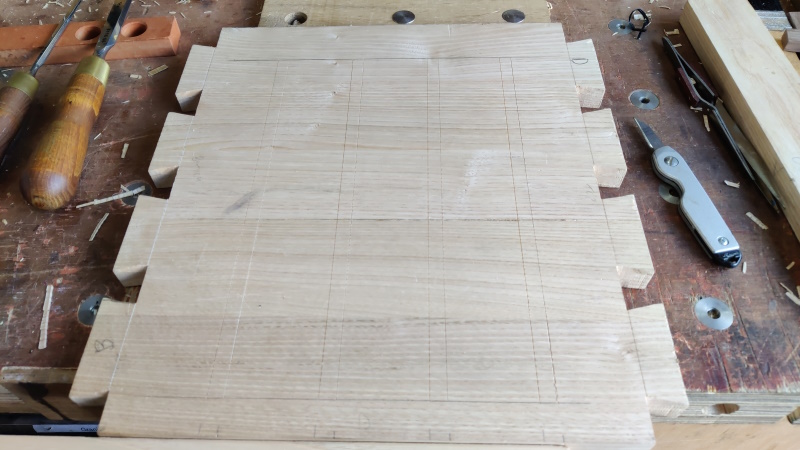
First of all, I double checked the thicknesses of the knife marks for the remaining housing joints: I wanted to get them right first time this time rather than needing to clean them up with the side rebate plane.
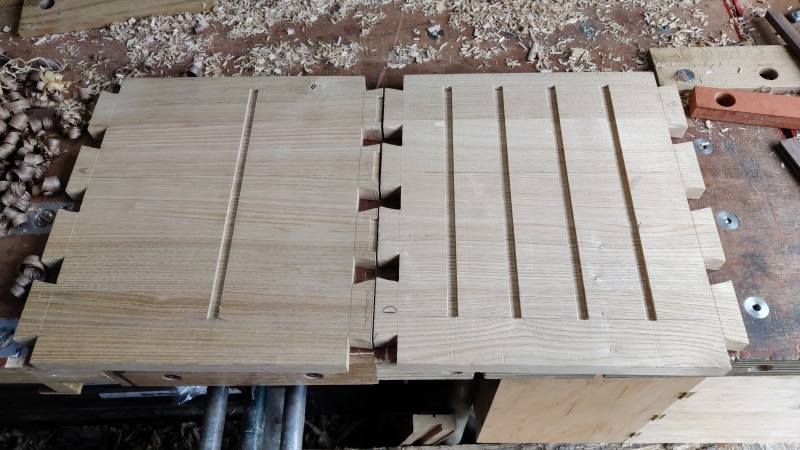
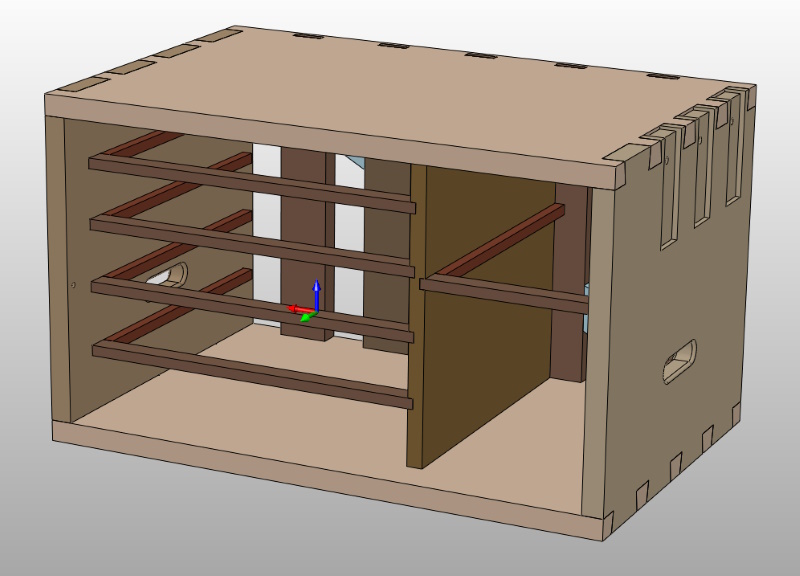
Everything looked right, so I got on with the housings using the same method as before: knife and chisel to get started, then two router planes (one with the depth stop just above bottom depth and one fixed at bottom depth) to remove the rest of the waste. The new screw for the Veritas plane worked really well: it didn't come loose once during the whole process (previously it was coming loose about a third of the time, so that's a big improvement).
All the housings are now cut ready for their walnut drawer runner inserts.
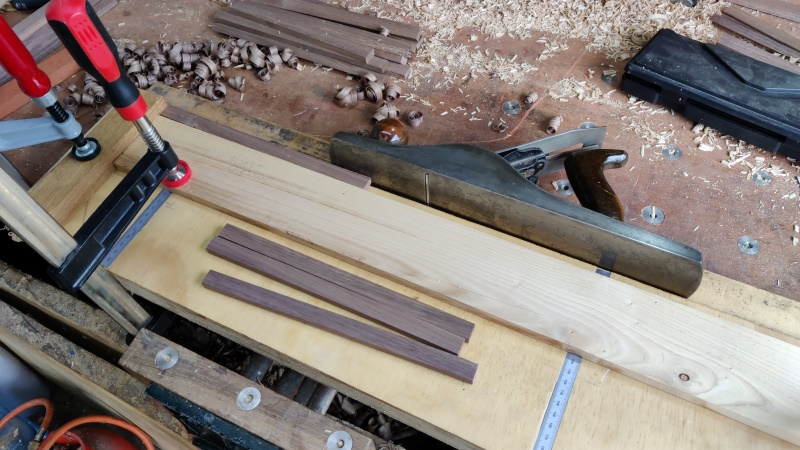
I'd already thicknessed (by hand but with a jig) all the walnut pieces, but they were still rough cut on one edge. I could have carefully planed them down to the scribed line, but it seemed easier to use my along-the-bench shooting board. Generally I don't get on with this shooting board: I prefer my fancy one, but to be honest I prefer every other type I've tried so far as well. However, one thing this board is really good for is clamping a bit of scrap wood to it and using that as a back stop and planing lots of pieces down to the same width:
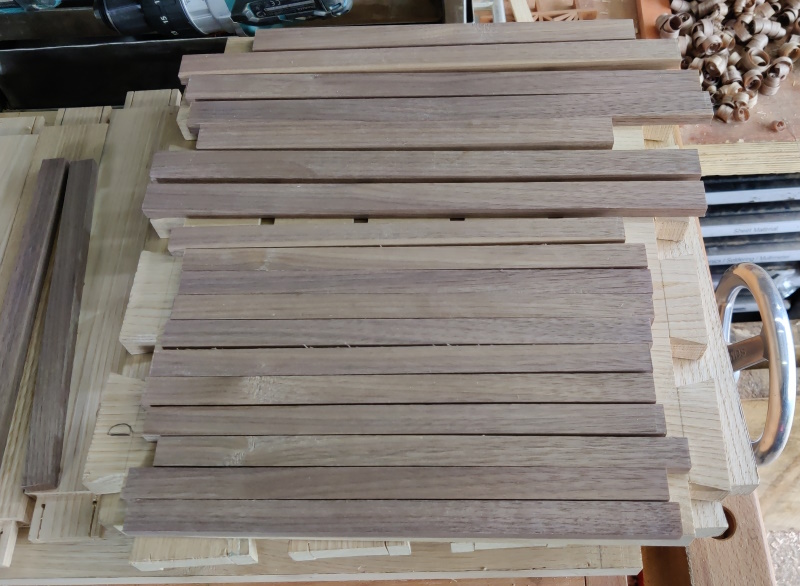
With that, I have a pile of bits of American black walnut in two different widths: 16 mm for the (front-to-back) drawer runners and 20 mm for the ones that go across the front between the drawers.
I think the next job is probably to cut the grooves in the back of the 20 mm front pieces (as per AndyT's suggestion) and the matching tenons in the 16 mm front-to-back pieces. I think I'll then be able to fix the front-to-back pieces in place (with a screw in a slot at the back and a bit of glue at the front) ahead of assembling the rest of the chest frame.
I also need to cut the hand-hold slots in the two side pieces.
It's starting to feel like I'm probably getting close to the scary bit where I glue all these bits together...
Page 50 of 144
This website is free and ad-free, but costs me money to run. If you'd like to support this site, please consider making a small donation or sending me a message to let me know what you liked or found useful.

 Return to main project page