Travel Tool Chest & Workbench Build Process
Page 62 of 144
Posted 5th May 2023
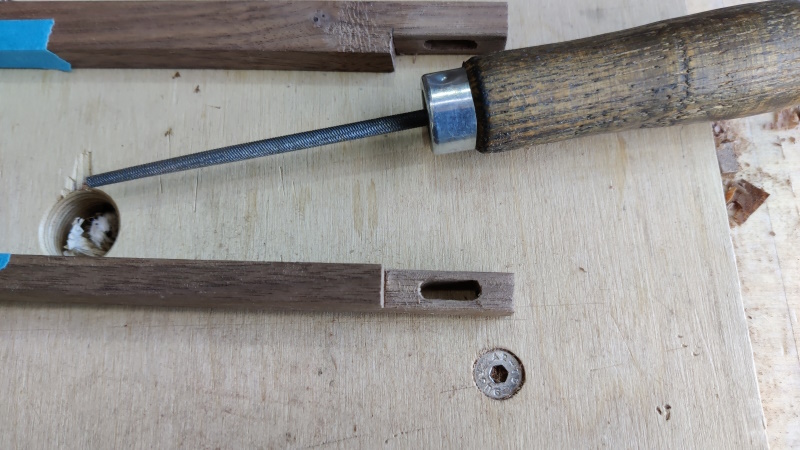
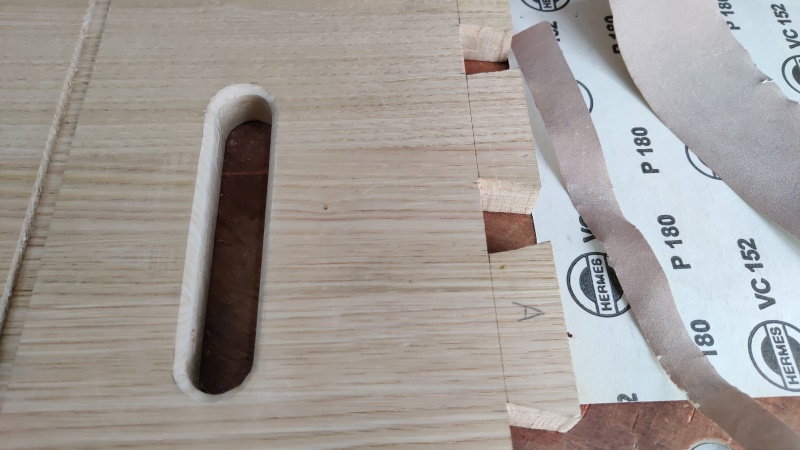
Firstly, a quick job. My needle files are all buried in a drawer behind a big slab of sweet chestnut, so not especially accessible. However, I wanted to tidy up the screw slots a little and I had an engineers file that just fit if I didn't shove it in too far, so I chamfered the edges a bit and generally gave the insides a bit of a tidy up. While I had the drawer supports in my hand, I lightly chamfered (with a block plane) the long edges to help them enter the housing joints.
I haven't decided whether to shape the notch a bit more on those drawer runners (e.g. chamfer the sawn edge where the thickness reduces).
I then moved onto the round-overs for the handles. In the past I would have done this with an electric router, but I'm determined to do more hand toolery, so I thought I'd have a go at an alternative method (I'd be interested to know if there are suggestions for better ways, even though it's too late for this project!)
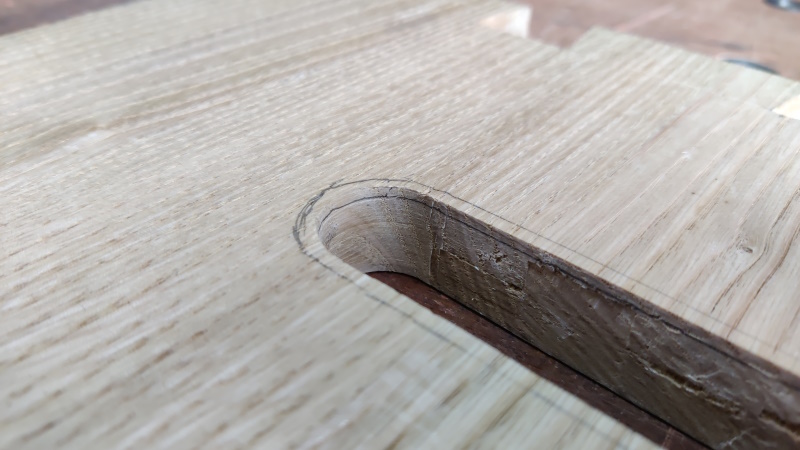
Firstly, I drew pencil lines inside and out, a few millimetres from the arris. I did this by eye. I'd like to repeat that: I did this by eye. Are you proud of me, an engineer who works for a metrology company and spends quite a lot of time working in nanometres, marking up by eye?! Well, I was impressed with myself.
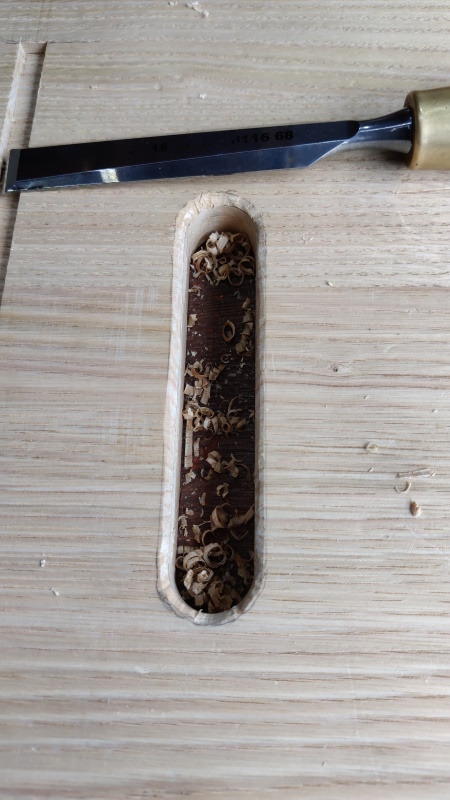
I then used an 18 mm chisel to (bevel down) to carve out most of the bit in between the pencil marks, aiming for something that would be fairly rounded to make the handles comfortable:
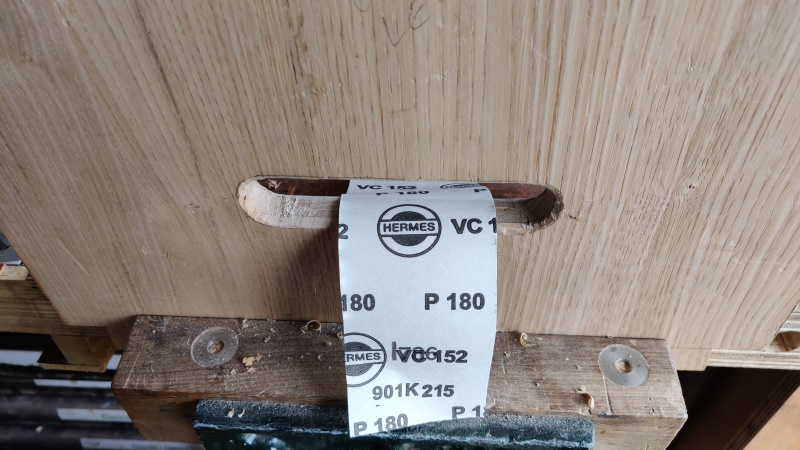
Finally, I put the side in the vice and used sandpaper to even everything out (big strips for the long edges and narrow strips for the curved ends, but otherwise working in much the same way):
Et voila:
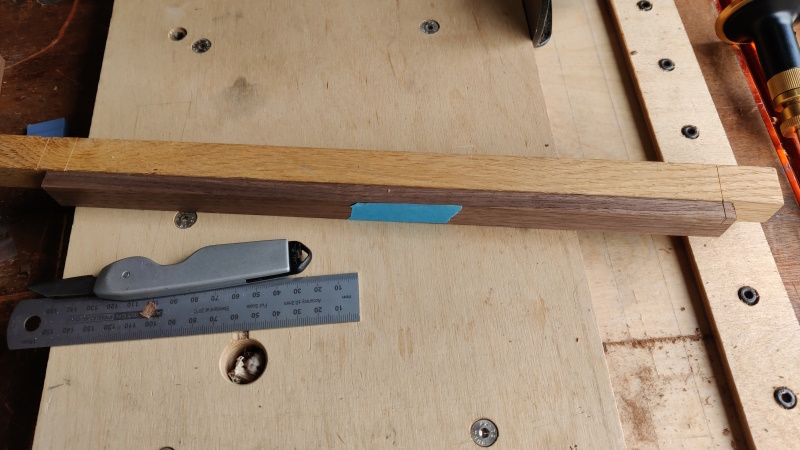
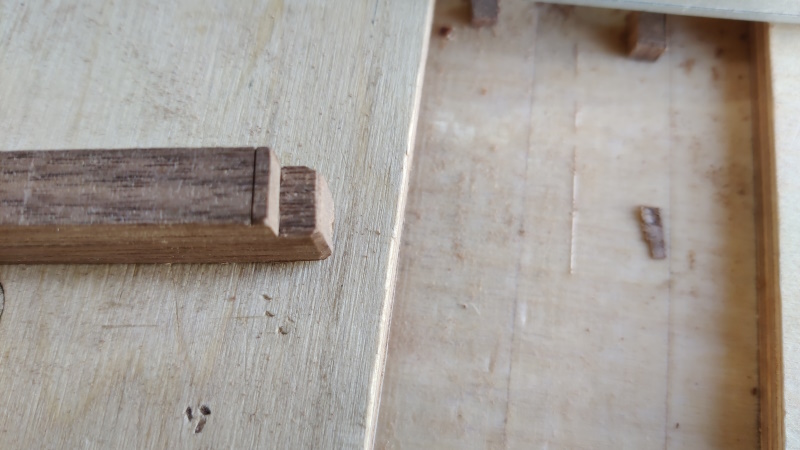
The next job was to cut the notches in the drawer dividers (if that's the right term: the horizontal things that go between the drawers and will be visible at the front). A week or two so ago I'd marked up a story stick with the right dimensions (measured off the other bits of the chest). I shot the end of a drawer divider, then marked in about 5 mm from the end (the housing joints are just over 5 mm deep). I then notched that mark against the notch in the story stick and used the other stick notch to mark where the other end should be:
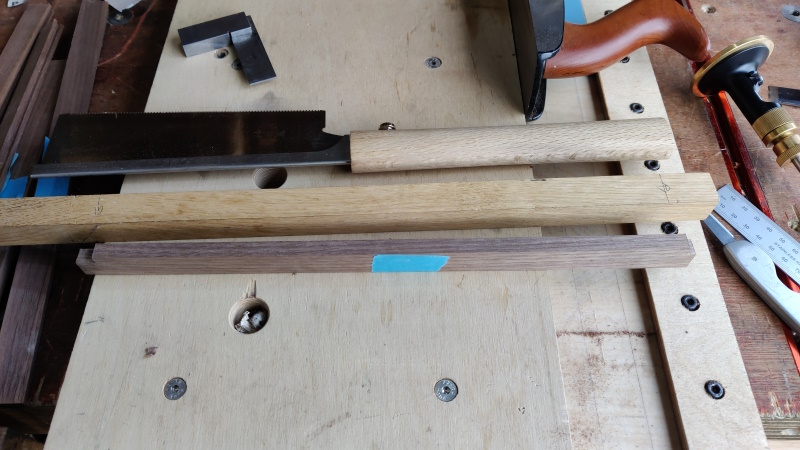
I then sawed (straight to the line – aren't I brave?) a notch in each end of the divider...
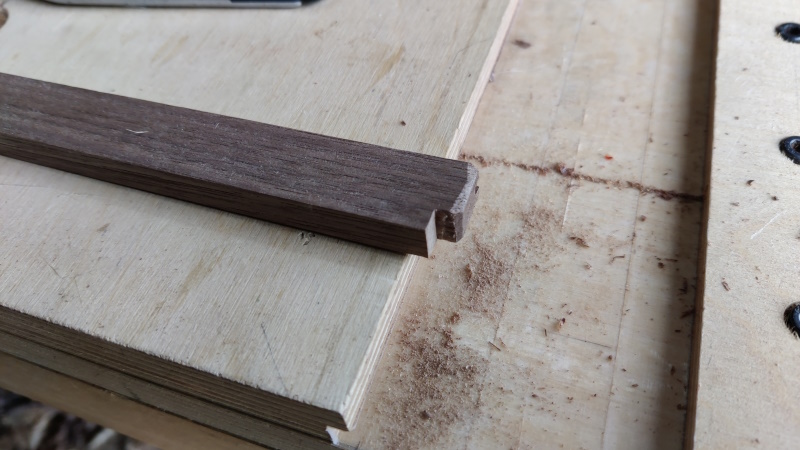
... before marking 5 mm from the other notch and shooting the piece to length. Finally, I used a block plane to chamfer the corners (which will be hidden inside the housing joints) to ease their entry:
As I lined up the last drawer divider (the shorter one for the right hand side of the chest) to mark its length with the story stick, it didn't feel quite right to me so I decided to double-check the story stick. It turns out that I did something wrong marking the stick and the lengths were all wrong!
Thankfully, the difference was fairly small and all the pieces I'd made were too long, so I could mark up the correct place:
... before recutting the notch, shooting off the chamfer and then cutting a new chamfer. Lucky escape I think.
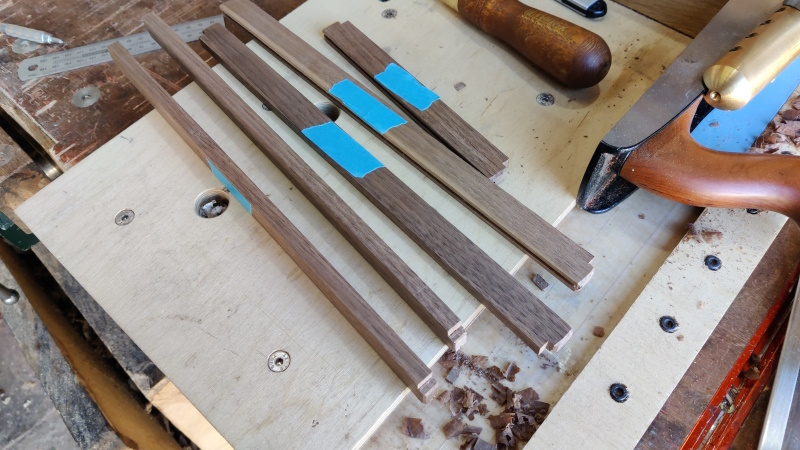
That's the dividers almost complete:
It also brings me perilously close to that big scary glue-up. In fact I think I was close enough that I could plausibly have managed to get the chest glued together this evening, but I decided to err on the side of caution and stop for the day. Tomorrow morning when I'm feeling fresher, I can do the last few jobs and then (whimper) try to glue the chest together.
The remaining jobs are (I think):
- Make some cut-outs in the drawer-dividers for drawer stops
- Decide whether to do anything about the notch shape where the screw slot is on the drawer runners
- Give all the internal surfaces of the various parts a final plane or scrape as it'll be the last time they're accessible
I could also consider applying a bit of finish to the inside surfaces, but I'm on the fence about that at the moment.
My gluing plan is currently to fit the drawer runners first (using the drawer dividers as temporarily fitted spacers to make sure the runners go in the right place). They'll be much easier to fit while the chest is in pieces. Once they're in place, I probably won't wait for the glue holding them in (at the front only) to dry: they'll be fairly rigidly in place with the housing joints and the screw at the back.
Next job will be to (dry) fit the back slats into the bottom (or top, it doesn't matter), then glue the middle support into the bottom, then fit the top (with glue in the housing joint for the middle support and a dry fit of the back slats). The drawer dividers will then get glued into one side of the middle support and the chest side will get fitted: all being well the drawer dividers will slot into place if I'm careful. Finally, the drawer dividers on the other side can get glued into the middle support and the other chest side fitted.
At that point, I'll apply any clamps I think it needs and check that it's somewhere near square!
Once the glue's dry and the clamps are off, I'll glue and tap the wedges in. Leaving the tenons dry when I fit them into the mortices should allow me to wait until everything else is dry before worrying about the wedges, which should make the process ever so slightly less stressful.
If anyone thinks anything sounds wrong with what I've said, now's the time to say.
Page 62 of 144
This website is free and ad-free, but costs me money to run. If you'd like to support this site, please consider making a small donation or sending me a message to let me know what you liked or found useful.

 Return to main project page