Travel Tool Chest & Workbench Build Process
Page 63 of 144
Posted 6th May 2023
The first job this morning was actually a very small step backwards. As I was preparing to make the cut-outs for the drawer stops, I noticed that one of the drawer dividers had become slightly bowed. It probably wasn't enough of a bow to cause any real problem, but when I had been planing the stock for the dividers to size I'd made an extra one as a spare, so I decided to cut the groove and the notches on the spare and use that instead of the bowed piece.
With that done, I could get started on the cut-outs for the drawer stops. I decided to do two drawer stops per drawer. I'm sure one would be enough, but with two there I don't have to worry about any protrusion of the screw that holds the drawer bottom in place (which will be in the centre of the drawer).
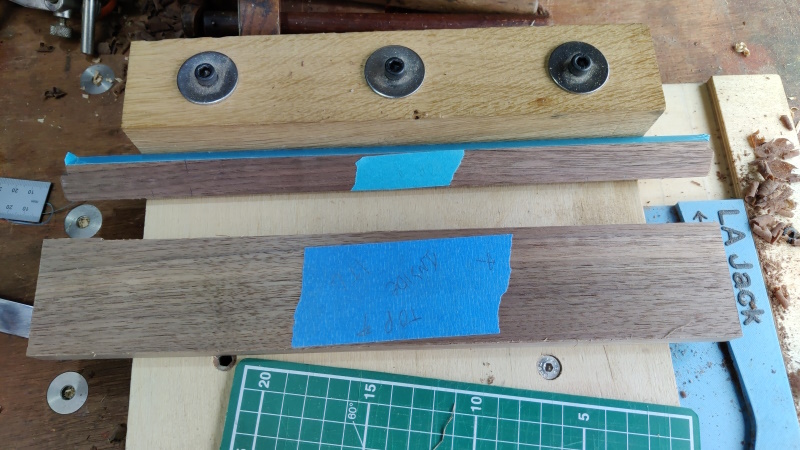
I started by marking (with a pencil) two short lines, 20 mm apart, on each end of each drawer divider. I then put two strips of masking tape along the front edge of each piece and picked a position for each drawer divider so that I can use the corresponding drawer fronts when marking the position of the drawer stop:
The two layers of masking tape should ensure that the drawer front ends up ever so slightly proud of the drawer divider; I can take a couple of light skims with a smoothing plane to bring it flush.
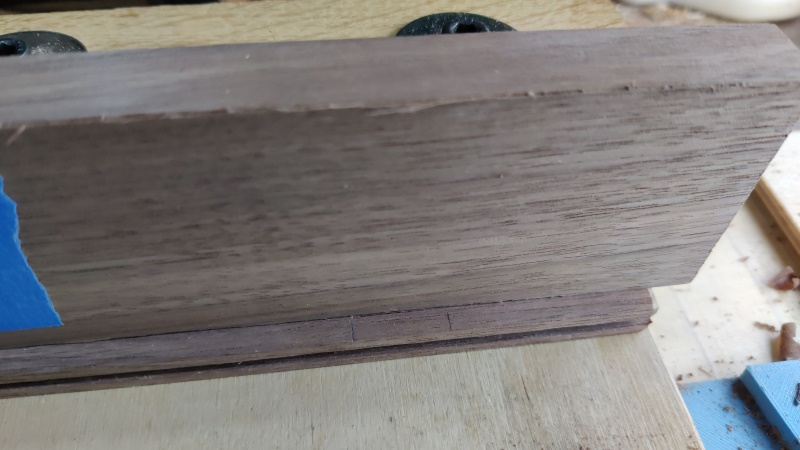
To mark the stop positions, the masking taped front edge of the drawer divider was pushed up against my shooting board fence, as was the corresponding drawer front stock and then I used a knife to cut between the two pencil marks.
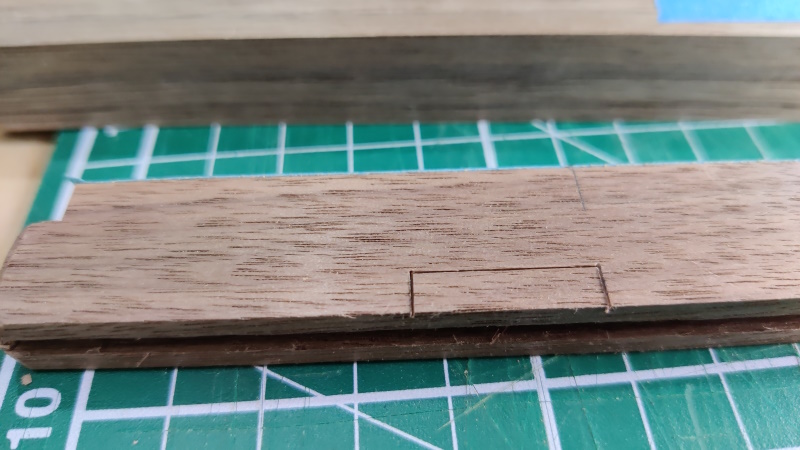
Finally, I used a square & a knife to mark the sides of the cut-outs. The lengths won't be all the same, but I can just tweak each stop to fit its corresponding hole.
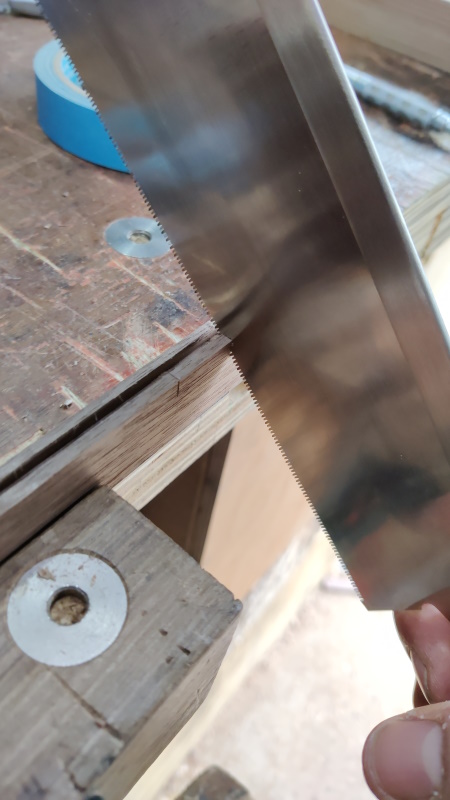
I then sawed the edges of the cut-outs diagonally. I'm really enjoying using this little 180 mm Dozuki for small scale work like this. It's a shame it won't fit in this chest as it would probably be quite good for the sort of stuff I'm expecting to do on my travels!
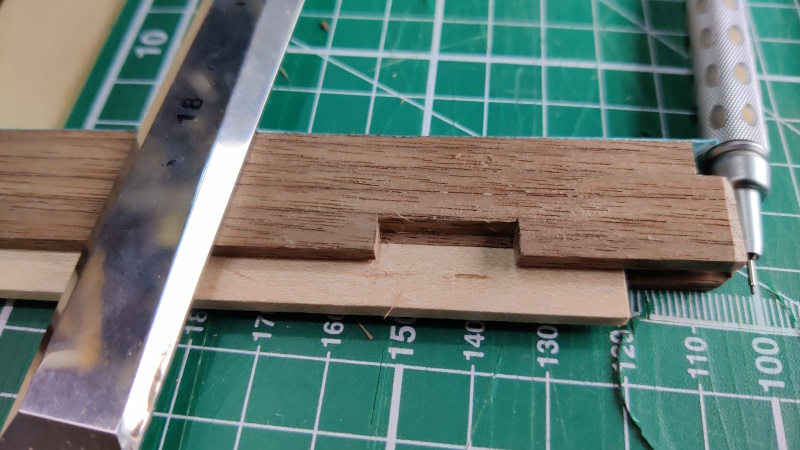
With the edges cut, the next job was to chisel out the space. To stop myself from pushing the chisel too hard and punching through the bottom of the groove, I dug around in a drawer and found some left-over pieces of maple from when I made my Kumiko lid box. These were conveniently 3 mm thick so slid nicely into the groove and I used one as a bit of protection while chiselling out the waste with an 18 mm chisel:
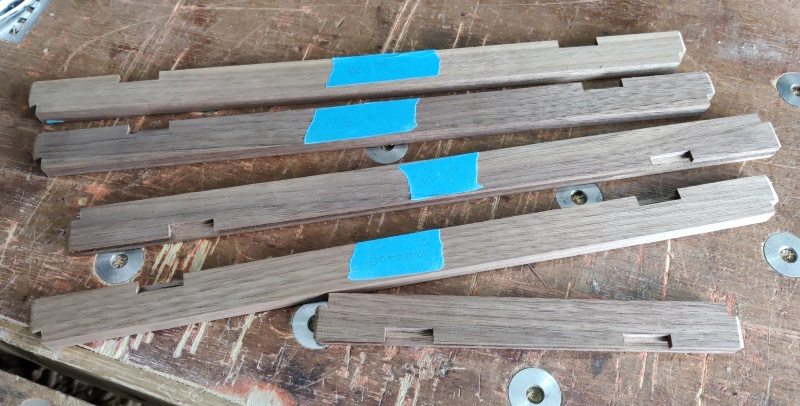
All the cut-outs complete:
There will also need to be some sort of drawer stop (or stops) for the bottom-left drawer (which will sit directly on the sweet chestnut base), but getting a drawer stop in the right place is going to be virtually impossible before assembling the chest.
I'm still deciding what to do about that. One option is to put a stop on the underside of the bottom drawer divider. The other option is to screw some small pieces (probably brass) to the base. Being screwed in place, the position will be tweakable until it's right.
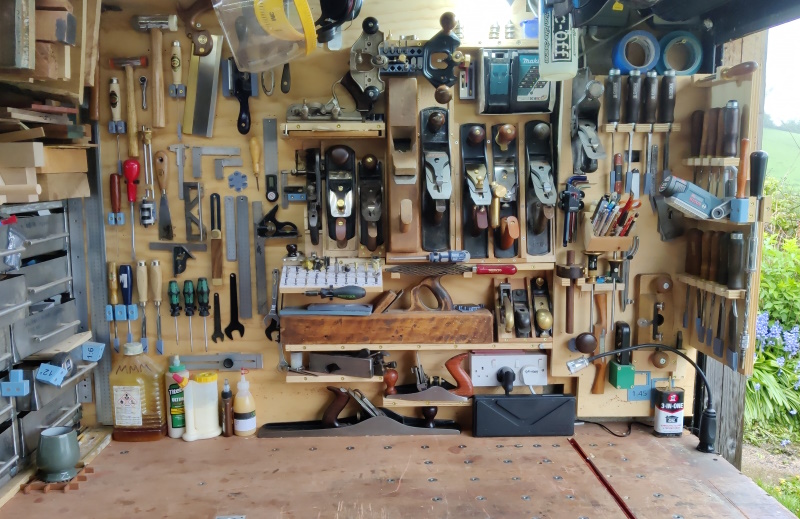
Apart from a very light plane or scrape of the remaining inside faces, I think I'm pretty much ready for the glue-up, so I took the opportunity to tidy up. I don't tidy the workspace very often, so I try to take a photo when I do!
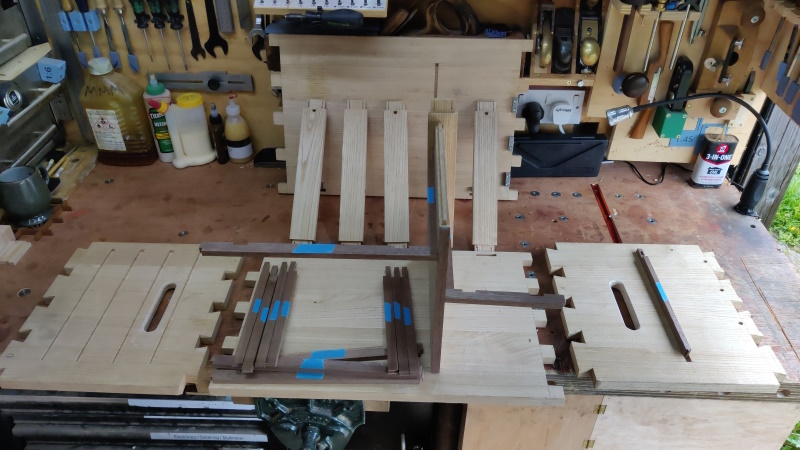
I then filtered through all the bits I've made and moved the ones (like the anti-rack piece and the drawer sides and fronts) that won't be involved in the initial glue-up out the way and laid out all the bits that will on the bench:
That's definitely the largest number of pieces I've ever had to glue together in one go.
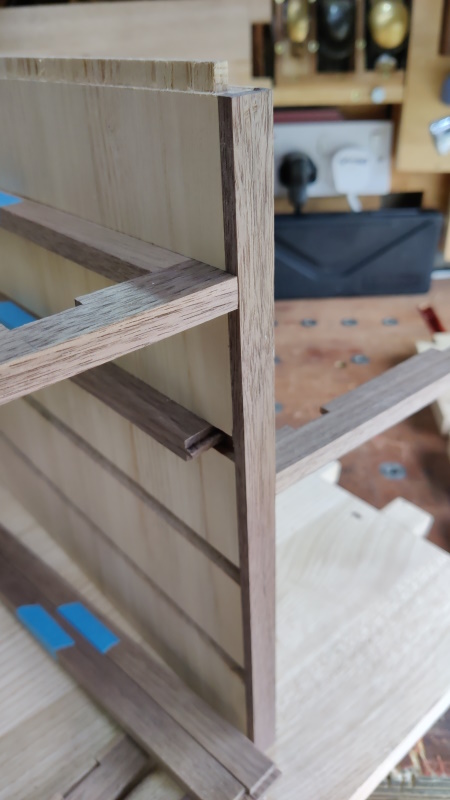
It also seemed a good opportunity to look out how the drawer dividers are going to go together. This is the look I'm aiming for:
That felt like time to stop for a cup of tea. I need to think a little more about how I'm going to be sure that the middle support is in the right place (there's a millimetre or two of front-to-back wiggle room) to ensure that the drawer dividers aren't at all wonky. I think it should be straightforward with some care and attention, I'm just reminding myself to be careful.
After the cup of tea, I'll go back out and give all the inside faces a light skim until they look sufficiently pretty and then it'll be time for the scary bit.
Page 63 of 144
This website is free and ad-free, but costs me money to run. If you'd like to support this site, please consider making a small donation or sending me a message to let me know what you liked or found useful.

 Return to main project page