Travel Tool Chest & Workbench Build Process
Page 64 of 144
Posted 6th May 2023
Well, for better or for worse, it's glued together.
After my cup of tea, I went out to the garage to get going with the glue-up.
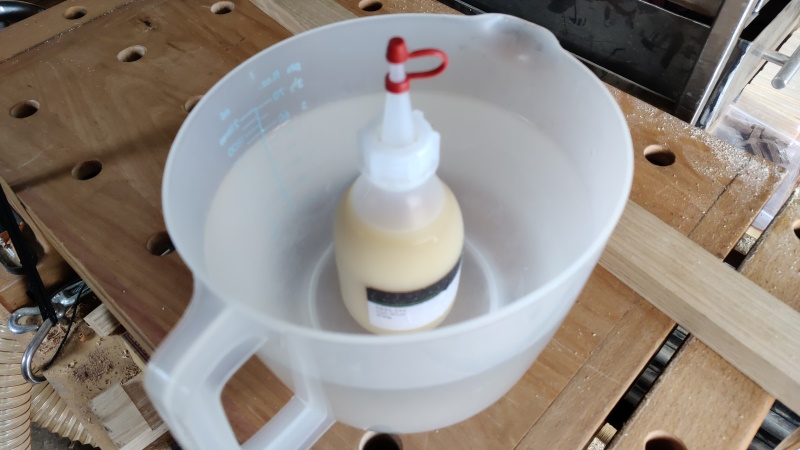
The first job was to give the inside faces all a good tidy up, but before I did that I put the bottle of fish glue in some warm water (at hot tap temperature) as I thought it might help give me more time for gluing. Here's a really interesting (and out of focus) action shot:
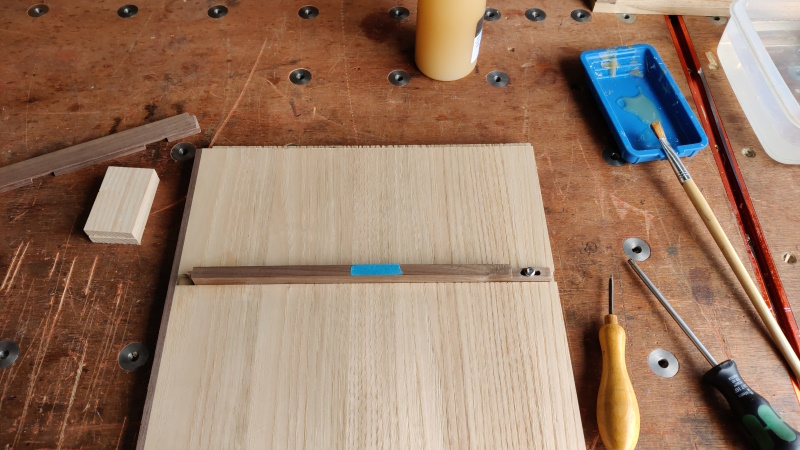
I then fitted the drawer runner onto the right-hand side of the middle support, using the drawer divider to gauge the right position. There's glue for about 20 mm at the front of the drawer divider (and on the middle support as I understand that it's best to glue both faces of a joint); the rest is glue-free.
The screw at the back is a torx-socket pan-head stainless steel screw. I guess the tradition would be to use a brass slotted screw but slotted screws aren't as nice to screw in as torx ones and in my (admittedly extremely unpopular) opinion, slotted screws generally look rubbish as well.
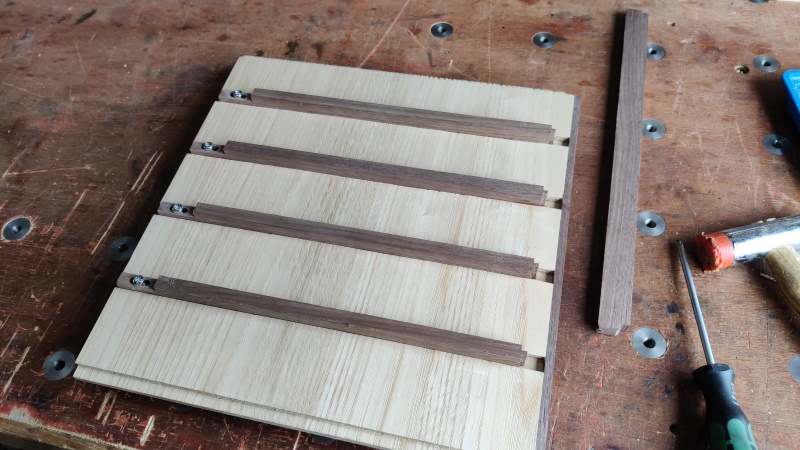
After fitting the right-hand side drawer runner, I flipped the board over (resting it on some blocks for obvious reasons) and fitted the drawer runners to the other side.
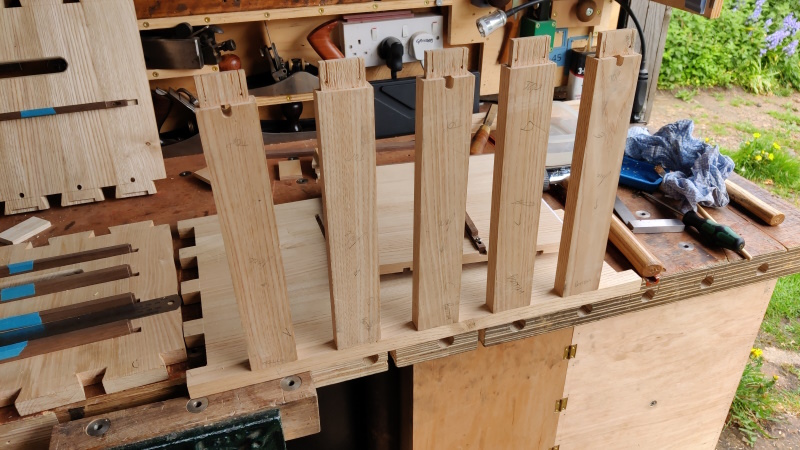
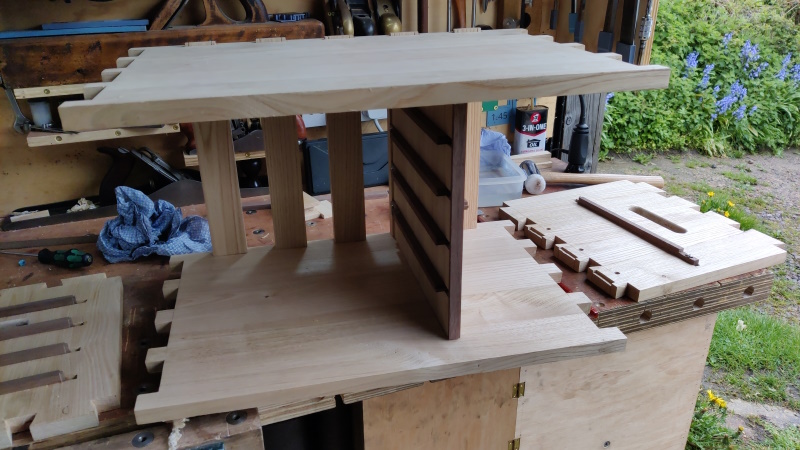
Before fitting the drawer runners to the sides of the chest, I got on with the general construction. I glued a strip of cardboard to the undersized tenon on the middle support (if you remember from long, long ago, I'd let the router plane cutter drop too far on the last cut and had one tenon undersize on one side). The slat tenons were tighter than I'd remembered, but they went in with a bit of persuasion (I didn't apply any glue to the slat tenons):
I could then fit the top:
With the top fitted, I could measure the distance from the rear of the chest to the front of the drawer runners on the middle support and use that dimension as the reference when fitting the drawer runners to the sides of the chest.
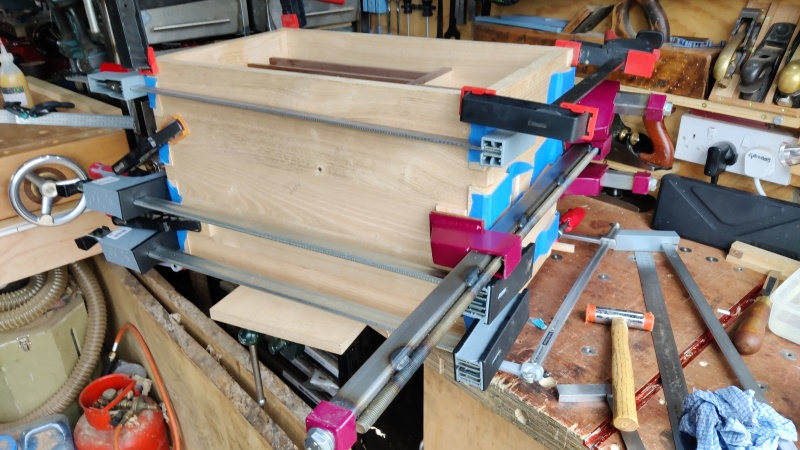
There was then a long period where taking photos wasn't at the forefront of my mind, at the end of which the chest looked like this:
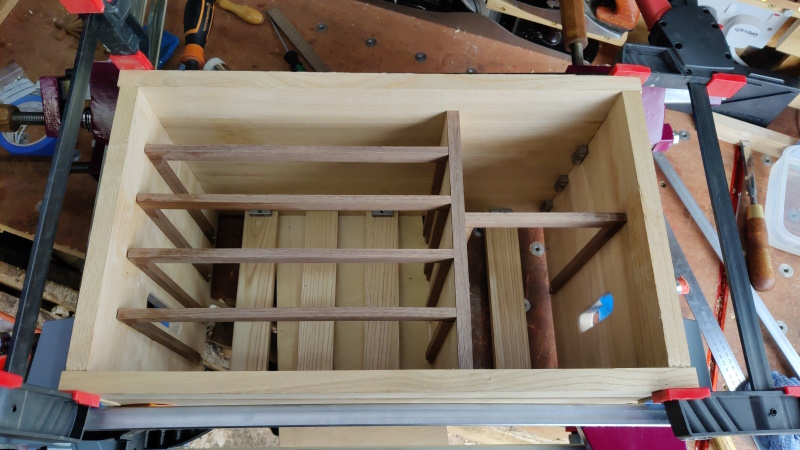
View from above (the front of the chest):
Generally it seems to have gone okay. From gluing the first drawer runners (in the middle support) in to walking away to go and have lunch took about 1 hour 40 minutes. There are definitely some gaps in the dovetails, but I think they're small enough that they might disappear with some strategic planing when I tidy everything up. The dimensions across the diagonals at the front of the chest match, which is a good sign; I haven't turned it over to check the diagonals at the back: I'm just hoping they're okay!
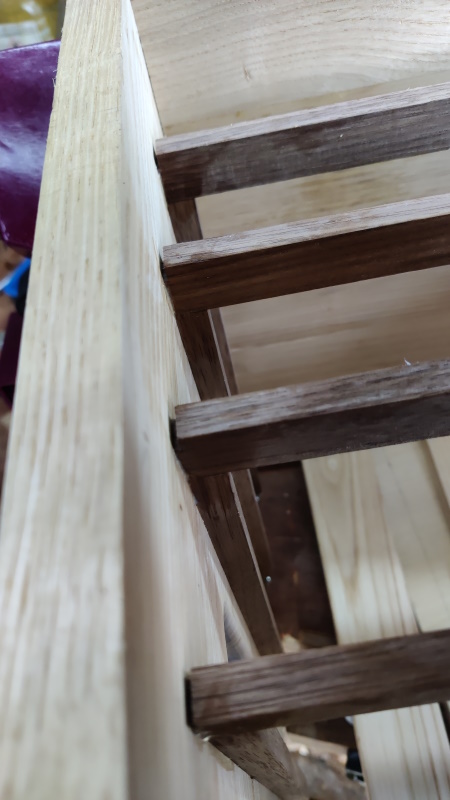
I did something wrong when I was having all those issues with the story stick and the lengths between the notches on the drawer dividers. The (single) divider on the right-hand side is spot on, but there are gaps on the left-hand side dividers:
I made sure the gaps were all at the left-hand end of the drawer dividers (so they're flush where they meet the walnut strip, which is more visible). I'll try to make some little bits of walnut that I can push into those gaps to tidy it up when it's all complete, although it's going to be entertaining making pieces the right length given that I'd like the grain to be going in the same direction as the rest of the divider.
I think I now need to leave it all overnight and then see what it looks like in the morning. I'd guess I could take the clamps off sooner than that (I don't think anything is going anywhere as most of the joints took quite a bit of squeezing to get them to close), but I'll see how impatient I get...
Then I get to fit the wedges, wait for the glue to dry on those as well and then there's quite a lot of overhanging bits and pieces (tails, pins, tenons) to bring flush with the sides and top, followed by general planing of all six faces of the chest.
Page 64 of 144
This website is free and ad-free, but costs me money to run. If you'd like to support this site, please consider making a small donation or sending me a message to let me know what you liked or found useful.

 Return to main project page