Travel Tool Chest & Workbench Build Process
Page 67 of 144
Posted 7th March 2023
After gluing the wedges, I took the motorbike out for a quick spin as I haven't ridden it in ages. Once I got back I thought I'd do a little bit more on the chest before lunch.
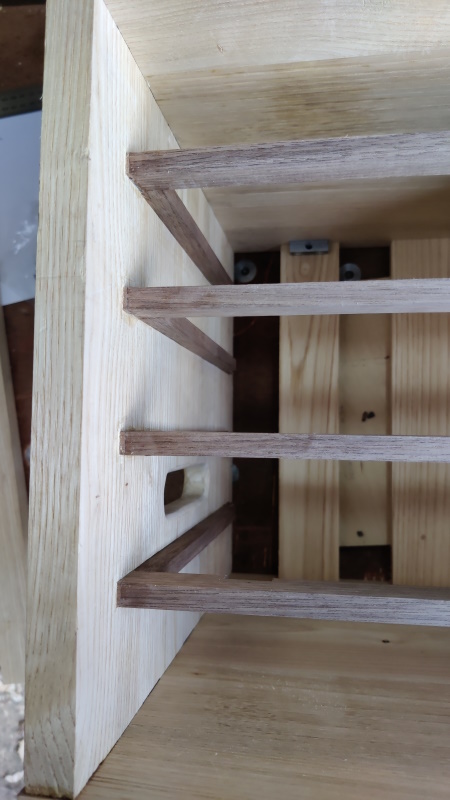
First of all, I carefully manoeuvred it onto its back and attacked the little gap filling pieces with a few different skewed and straight chisels. It'll probably need a bit more tidying up before applying any finish, but it's looking a lot better than it did:
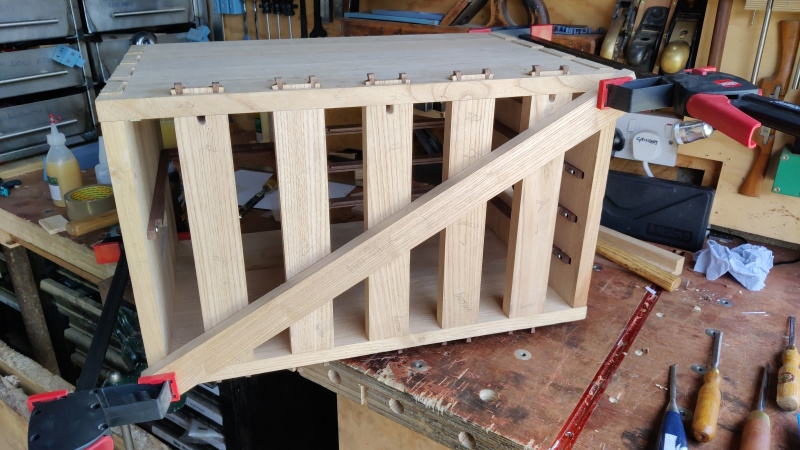
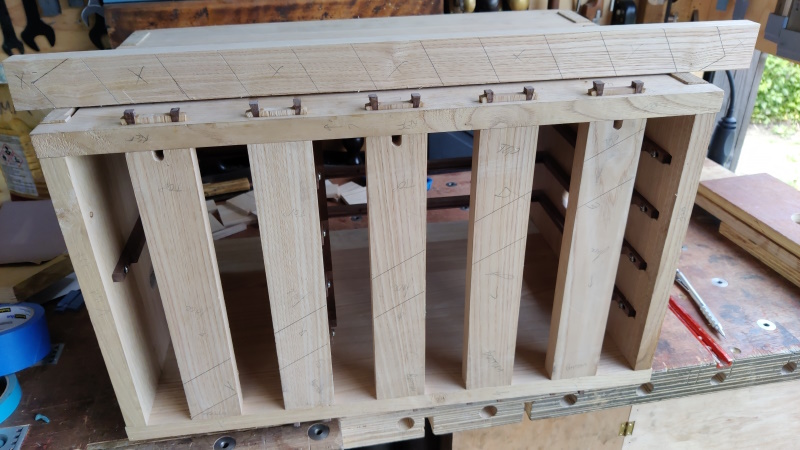
I then put the chest back upright and clamped on the piece that's hopefully going to prevent any racking when I plane on the top. With that clamped in place I could mark the sides of the half-laps on the back slats. Cutting those is going to be interesting given the lack of saw access, but that's a challenge for tomorrow I think.
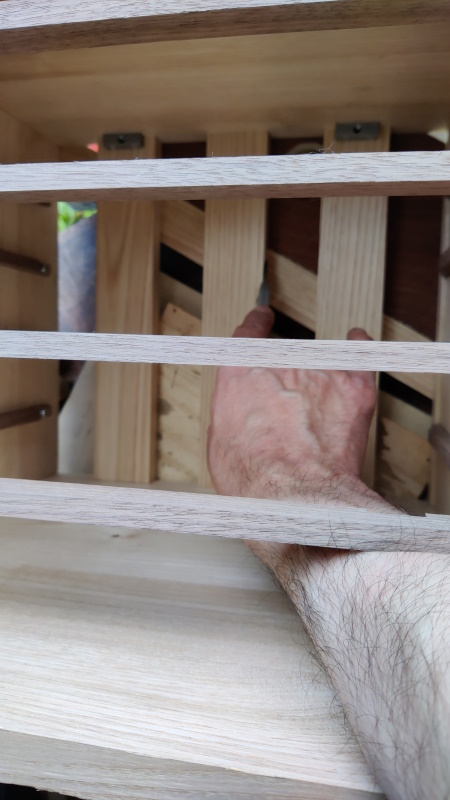
What I hadn't considered was how hard it was going to be to mark the half-laps on the anti-rack piece itself. Some were easy, but the ones in the left-hand half of the chest were far from easy as the drawer dividers don't make access easy. It's a good job I have scrawny arms: if I were muscular I don't think I would have managed!
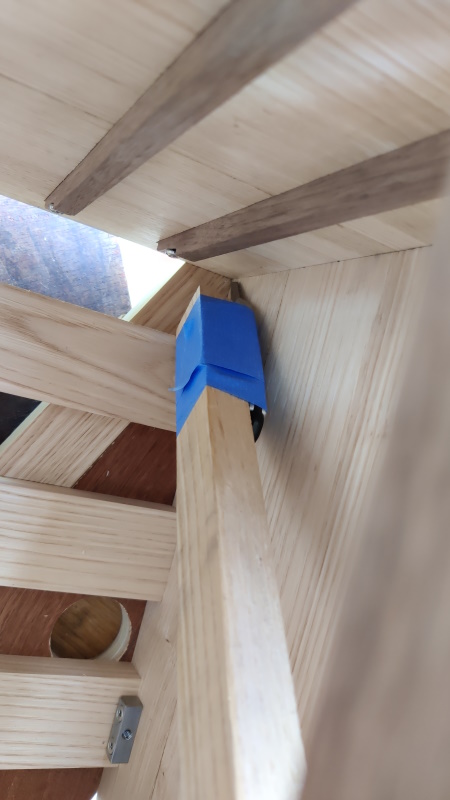
Thankfully I was able to mark all the cross-grain cuts by stretching. The short long-grain cut that will form the shape at the end of the piece was too hard to reach, but I managed to mark it by taping my knife to a bit of wood:
I was somewhat relieved that, when I took it all apart, I hadn't missed any of the lines:
The next job will be the relatively easy task of cutting the half-laps in the anti-rack piece (I say relatively easy, but I've never cut a half-lap joint before). After that I'll figure out how I'm going to cut the half-laps in the back slats.
Page 67 of 144
This website is free and ad-free, but costs me money to run. If you'd like to support this site, please consider making a small donation or sending me a message to let me know what you liked or found useful.

 Return to main project page