Travel Tool Chest & Workbench Build Process
Page 68 of 144
Posted 7th March 2023
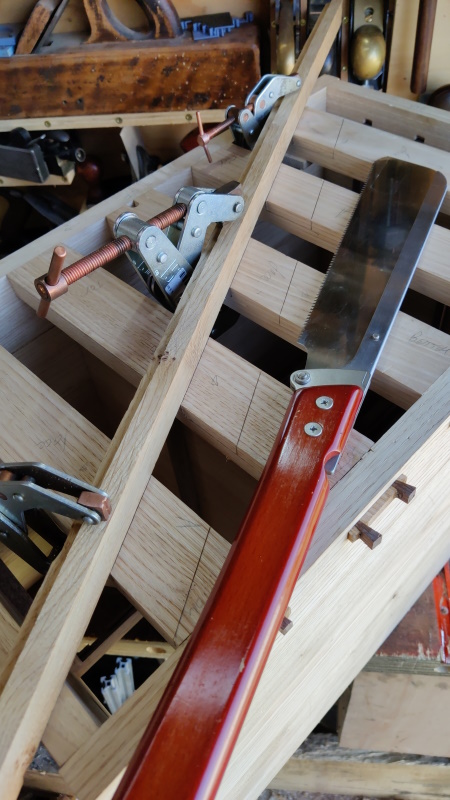
This afternoon I tackled the half-lap joints. To saw the sides of the joints in the anti-rack piece, I decided to use a western-style tenon saw, with a fence clamped in place to help me saw square and in the right place:
I then chiselled out the bulk of the waste, going half-way to the line over and over again and going about halfway through before flipping the piece over and doing the same from the other side.
Finally, I worked down to about half-depth with a router plane.
I then got the other router plane and set it slightly above the bottom of the half-lap when placed on the outside face of the board. The idea of this is that when I use the router plane on the back of the chest, the anti-rack piece will protrude very, very slightly and I can plane it flush.
I then marked up the depths of all the half-laps on the back of the chest using the router plane as a marking gauge and used a square and a knife to bring the side marks down to the router plane mark.
My placement (for marking) of the anti-rack piece wasn't perfect as I'd ended up with a very small bit of short grain near one end of one of the back slats:
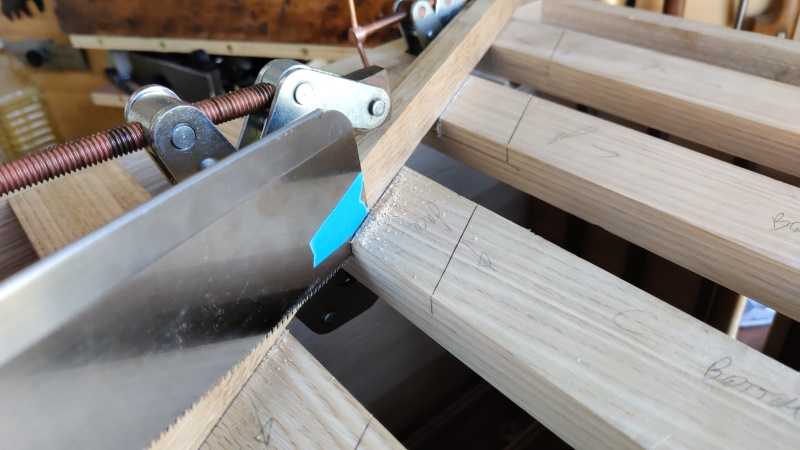
To saw the back slats, I used one of my folding dozukis, which has teeth at the very end of the blade (intended for cutting into the middle of a panel I think). Again, I set up a fence to saw against as it reduces the chance of operator error!
To saw to the right depth I just put a bit of masking tape on the side of the saw. I had to be very careful on the outer slats, but generally it was much more straightforward than I had expected.
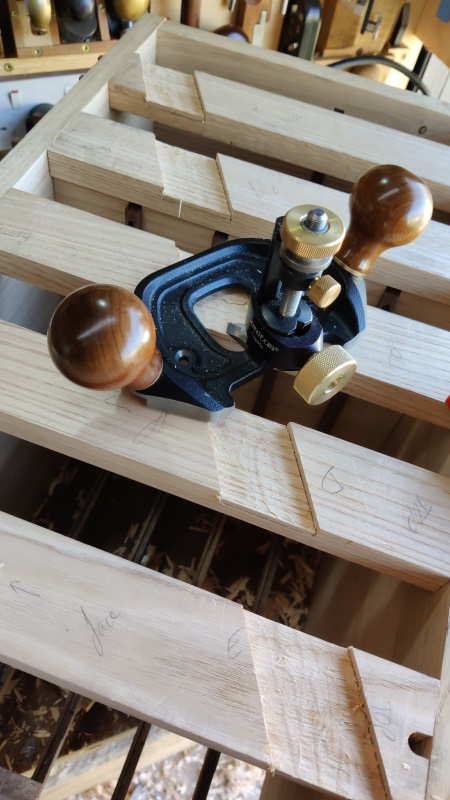
Rather than trying to chisel out the waste (which seemed to me to be fraught with risk), I just decided to plod my way down with the Veritas router plane...
... and then do the last pass with the Stanley one that I'd previously used as a marking gauge:
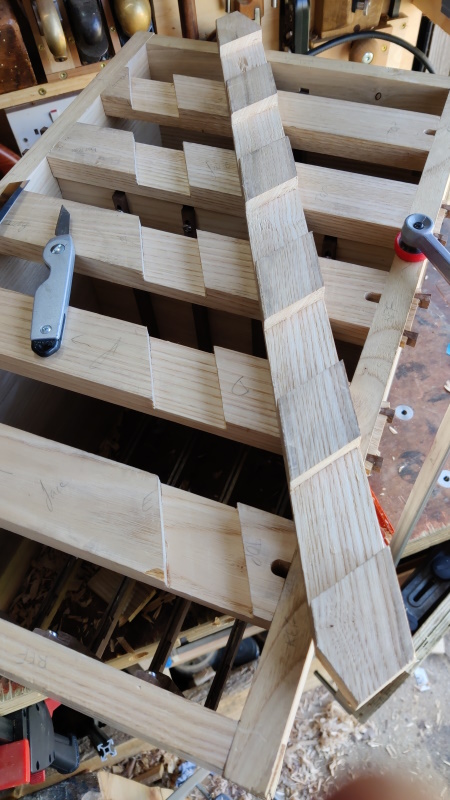
Finally, it was ready to assemble and on a quick trial (not pushing it very far), it felt like it would go in relatively easily. Unfortunately, I chipped a little bit off one corner (visible in the bottom of the following photo). Thankfully, I caught the bit, so it would be easy to glue back on again. Unfortunately, I sneezed and it flew across the workshop never to be seen again. I guess I'll have to make a new piece and make a cut-out to fit:
I brushed glue onto the routed faces of the half-laps (staying away from the corners to reduce the chance of squeeze-out) and then clamped the anti-rack piece into place:
Obviously I don't know how tight it'll look once it's all planed and cleaned up, but nevertheless I'm quite pleased with that for my first half-lap joint(s).
All being well, the fish glue will all have dried by tomorrow morning and I'll spend some time cutting all the sticky-out bits to length and giving everything a very careful plane. I also need to finish the cut-outs for the planing stops and apply finish; I don't think there's much else to do on the chest base itself.
Any thoughts on finish for a tool-chest/workbench? I guess applying finish before sizing drawers would be sensible, but I haven't really spent much time thinking about finish. My usual default would be Mike's Magic Mix, so I'll probably use that unless someone has a better idea!
Page 68 of 144
This website is free and ad-free, but costs me money to run. If you'd like to support this site, please consider making a small donation or sending me a message to let me know what you liked or found useful.

 Return to main project page


