Travel Tool Chest & Workbench Build Process
Page 69 of 144
Posted 8th May 2023
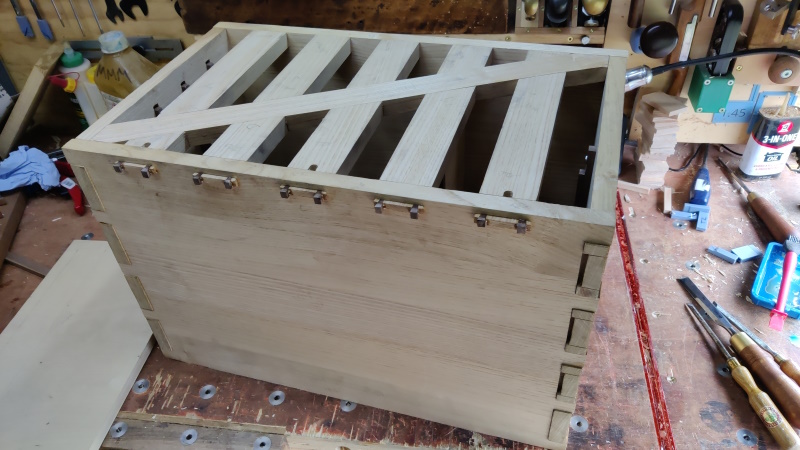
This morning the chest base came out of the clamps and it was time to start on the last few jobs.
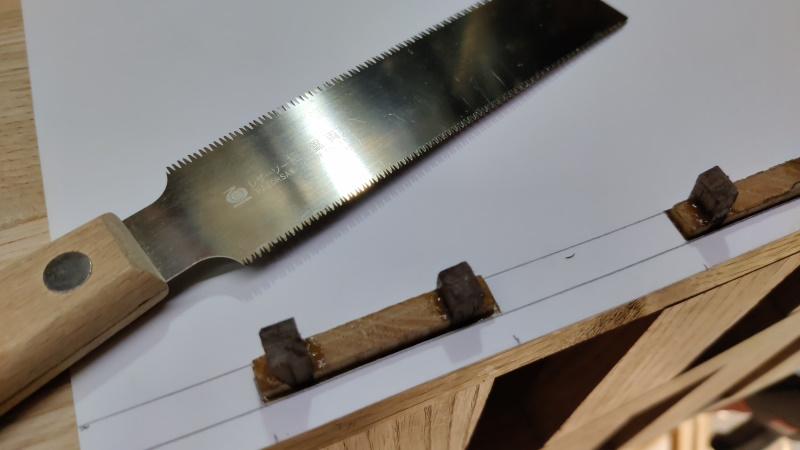
I've never really got on with my zero-set flush cut saw, but I decided to risk it and use it anyway, with a layer of thick-ish card between the saw and the surface of the chest, just in case.
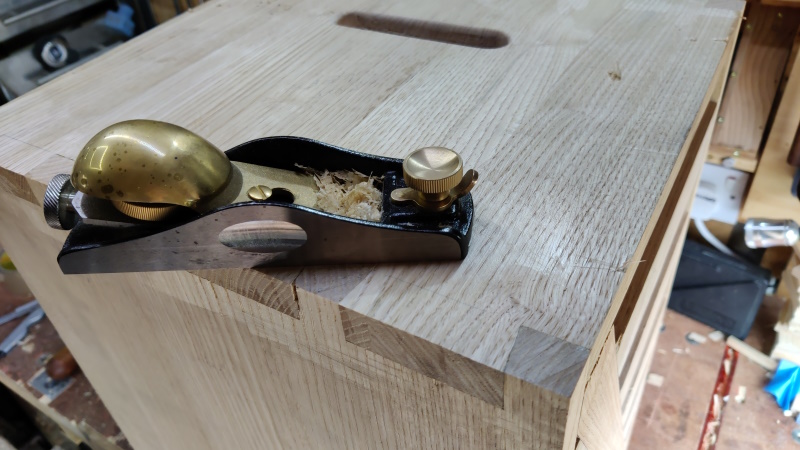
On most of the tails and pins, I just went straight in with a block plane, but one or two got the flush-cut saw treatment first.
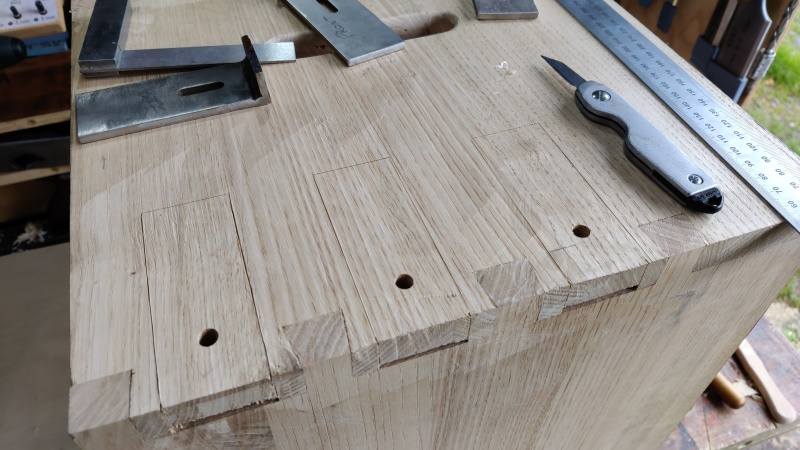
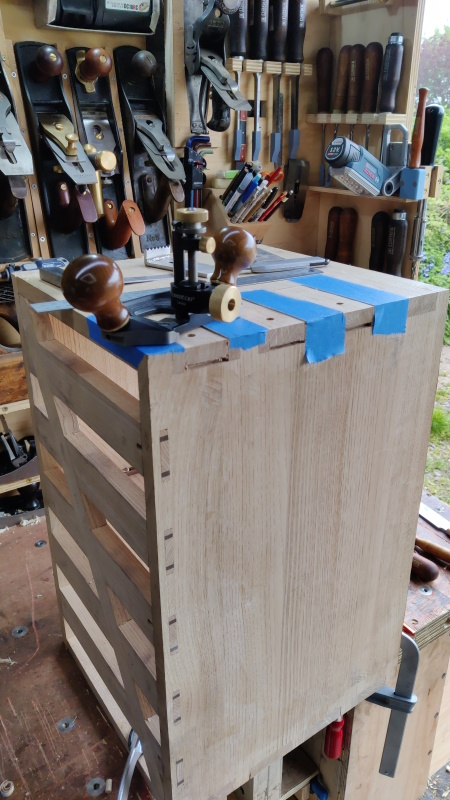
With everything planed very, very roughly, I put the chest on its side and marked out the cut-outs for the planing stops:
As it was so far up in the air, I didn't fancy chiselling (even for the sides), so I just worked my way down with the router plane, cutting the edges with a knife after every few router plane passes:
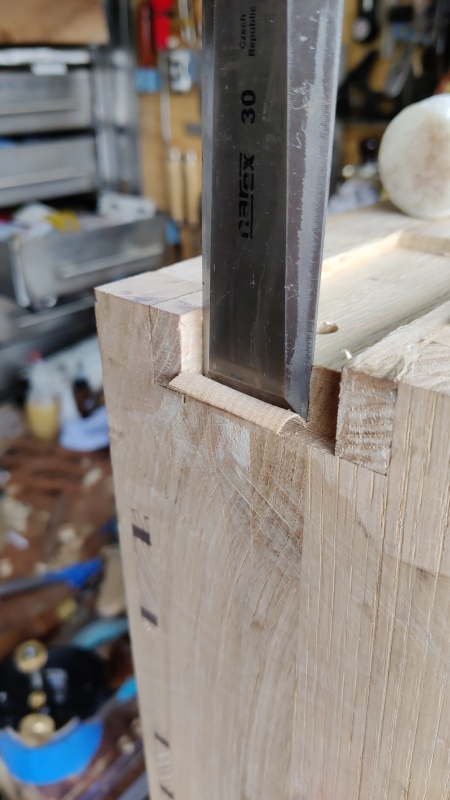
Finally, I chiselled out the pocket at the top (the chiselling was going straight down into the end of a well-supported bit of wood rather than into the middle of a panel, so I felt better about this):
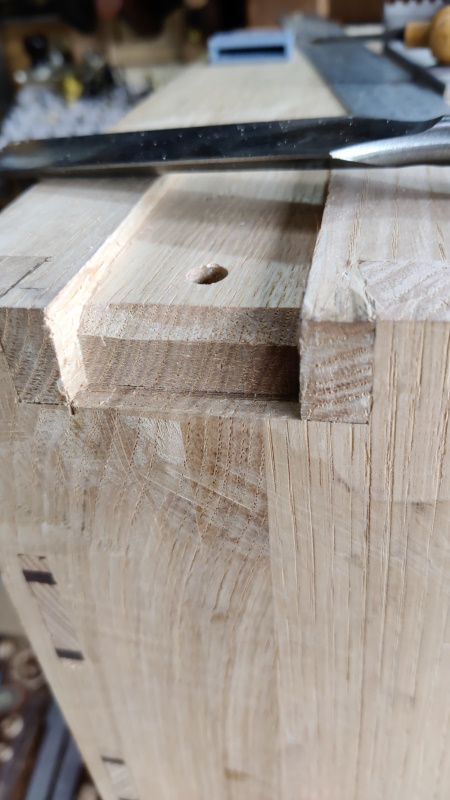
I then added a chamfer (to allow room for the weld bead) and took a carefully framed photograph showing only the best of the three pockets.
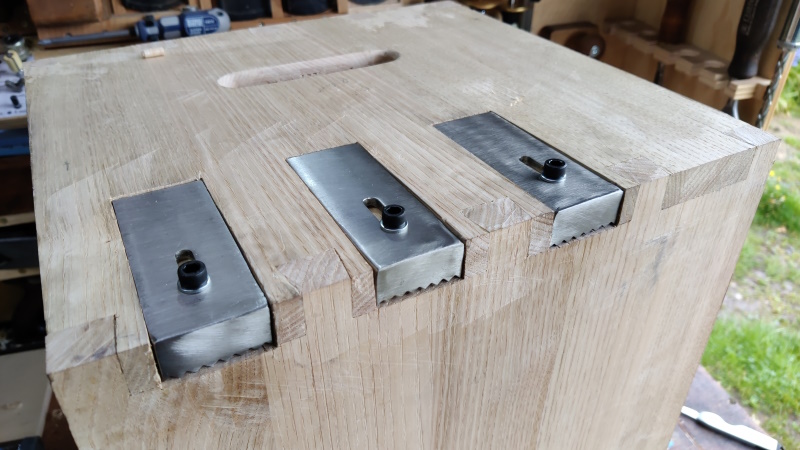
Finally it was time for a test fit:
I'll replace those cap screws with some knurled brass thumb screws at some point, but I need to make them first.
The next job is to give all six faces a very careful plane. Well, the next job is probably to do some sharpening of said planes, but after that I'll tidy everything up. I've still got to fill in that little bit that chipped out when I was cutting the half-laps, but I'll do that once everything else is pretty much finished I think. No doubt when I look over the finished chest I'll spot one or two other little details that need some attention.
Page 69 of 144
This website is free and ad-free, but costs me money to run. If you'd like to support this site, please consider making a small donation or sending me a message to let me know what you liked or found useful.

 Return to main project page