Travel Tool Chest & Workbench Build Process
Page 73 of 144
Posted 13th May 2023
This morning I decided to get started on the first drawer. I thought I'd start with the top-left one as it's the smallest, with some quite fiddly bits (especially the back piece). I decided I'd drop the sides as well as the back (the back needs to be dropped to avoid the stainless steel bracket things; the sides will be dropped for the same reason on the top-right drawer, so I thought I'd match it on the top-left one).
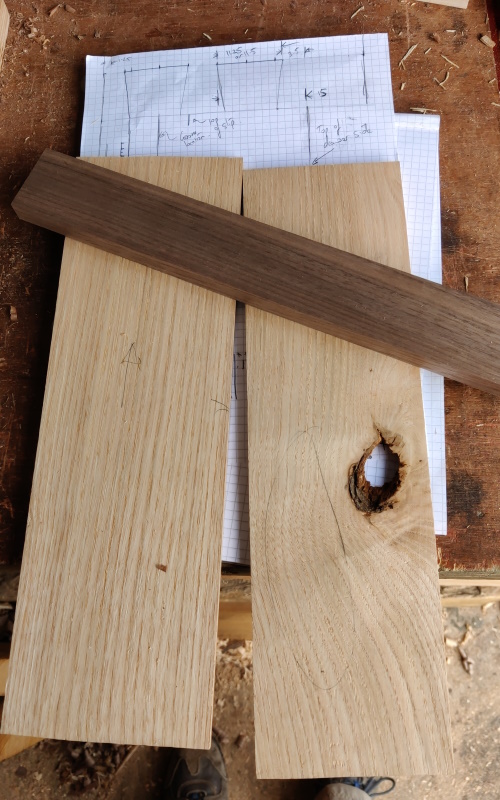
I started by pulling out a couple of pieces of the drawer side stock I prepared earlier (I only ended up using the left-hand one of these pieces for this drawer as that was enough for all three sides). I also did a 4:1 sketch to make sure everything seemed to make sense to me:
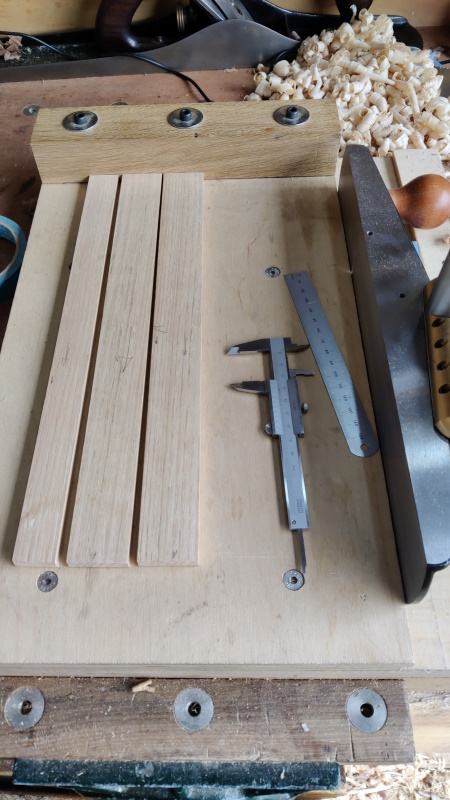
I then starting sawing slices off with my Kataba, then using the shooting board to sort out the ends and the edges. The back piece was shot to match the length of the front piece; the sides were made about 8 mm shorter than the depth allocated for the drawers (5 mm to account for the half-lap dovetails at the front, the other 3 mm to allow for a bit of movement).
I could then choose which piece goes where. I aimed to have the planing direction on the outside faces and bottom edges of the sides going from front-to-back as I thought that would be best for clean-up later.
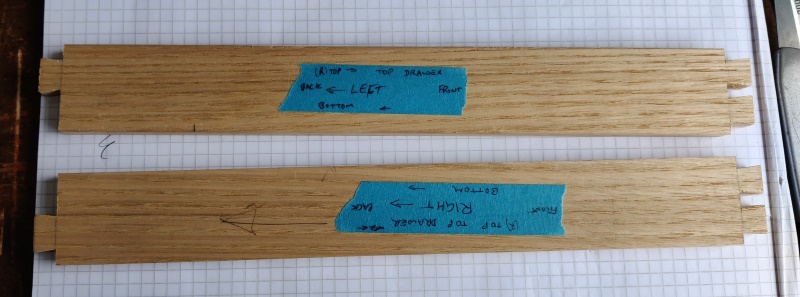
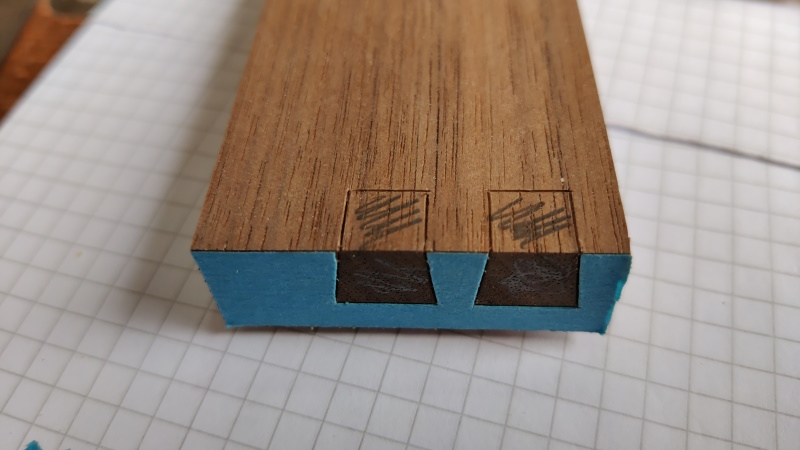
Cutting the tails was quite easy as there is only one bit (per plank) that needs chiselling away:
(I might have got a bit carried away with recording everything on the masking tape).
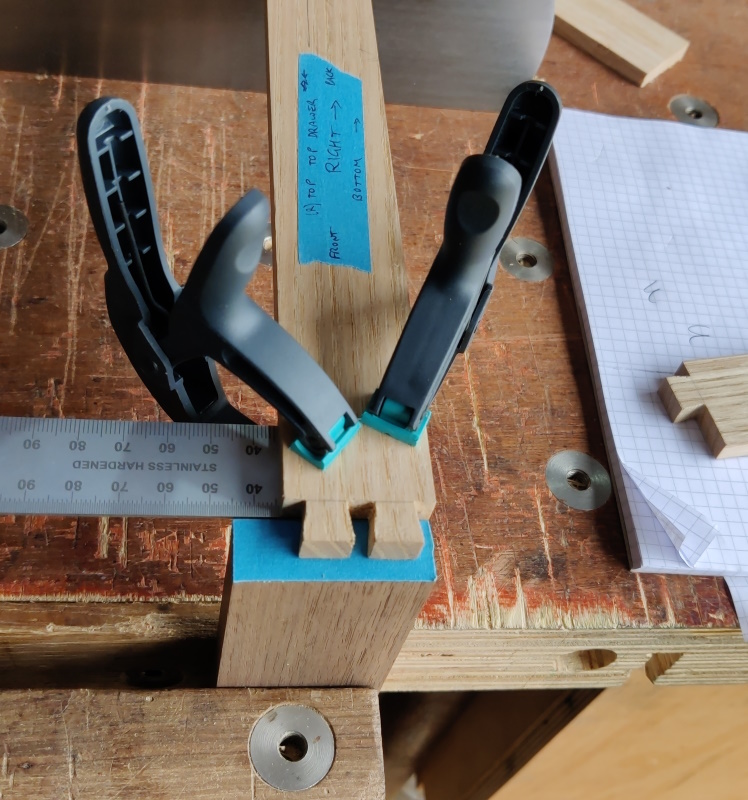
I then used the usual ruler trick to mark the sockets...
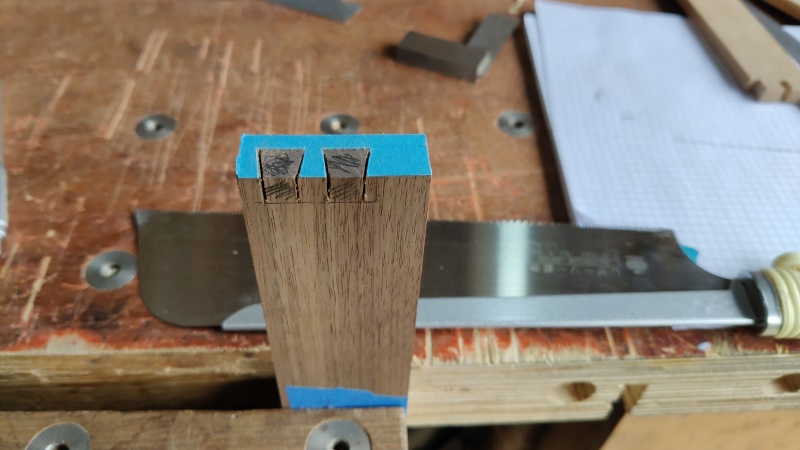
... and then extended the lines down the face with a square; marking the depth such that the sides will hopefully protrude by half a millimetre or thereabouts so that I can plane them to fit after assembly:
The Dozuki sawed at 45° to get the edges started...
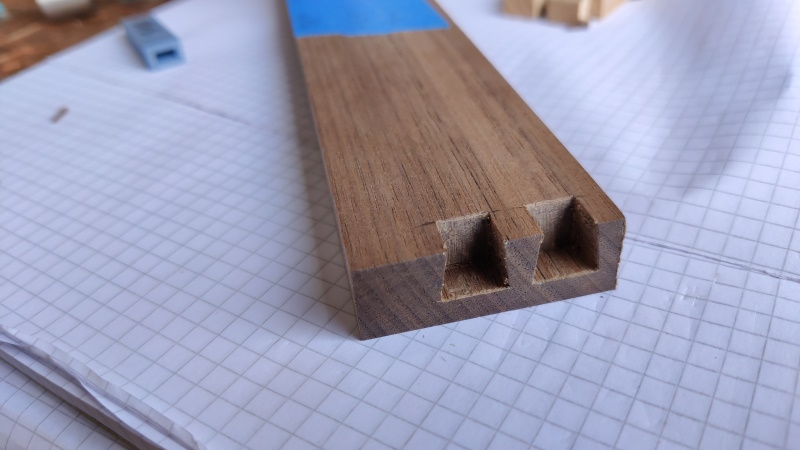
... and then a 6 mm and 8 mm chisel removed the rest:
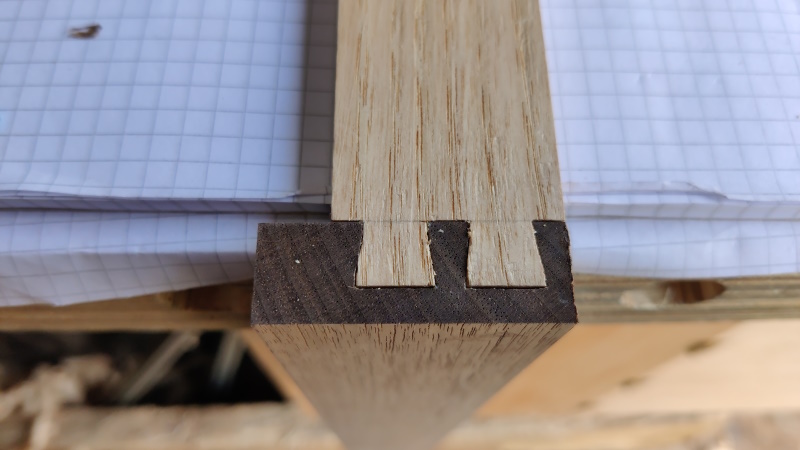
I couldn't resist an immediate test fit after cutting the first sockets:
Before this project, I'd cut exactly one half-lap dovetail joint before: in a test piece while I was in France on holiday last year. I used my magnetic saw guide for the practice one, so as well as being my second ever half-lap dovetail, this is my first ever half-lap dovetail cut without a guide. It's not perfect, but I'm still pleased with it.
With that done, it was just a case of rinse and repeat. I was obviously a bit over-relaxed with the through dovetails at the back as one is a little gappy, but I think it'll be okay.
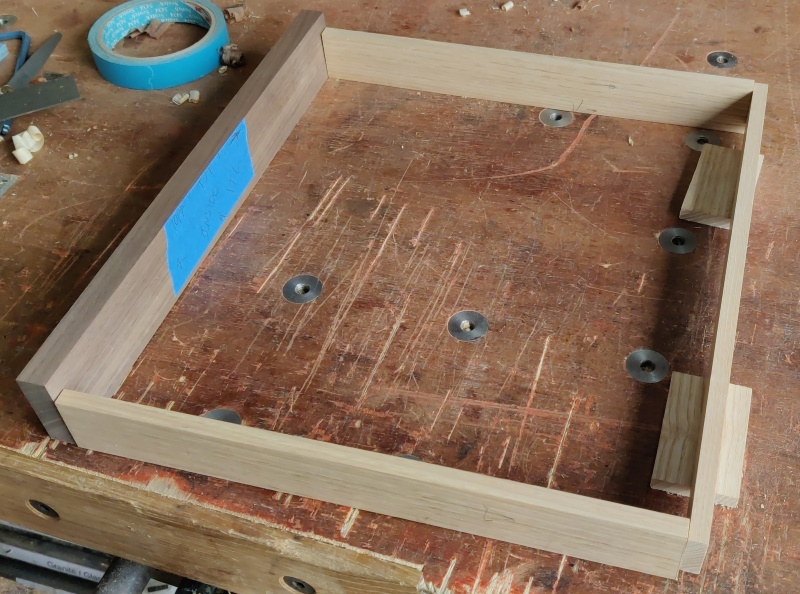
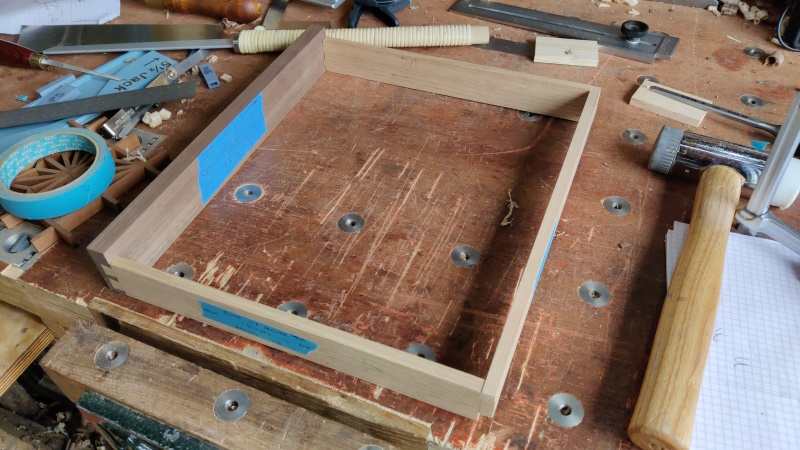
Test fit of everything made so far:
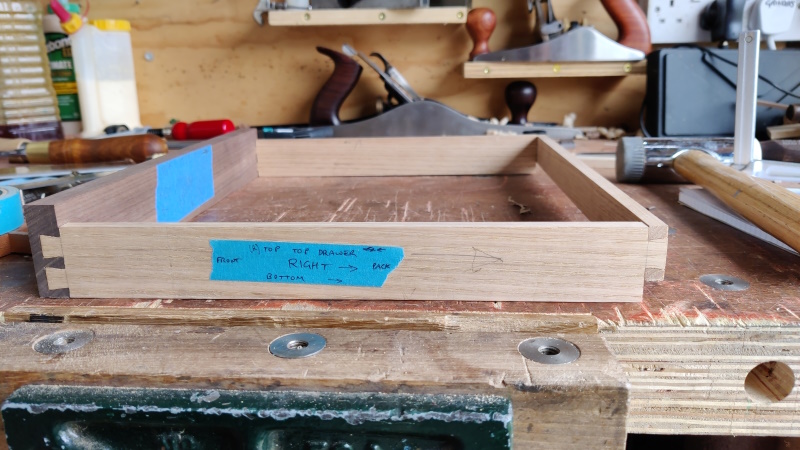
Close-up:
Page 73 of 144
This website is free and ad-free, but costs me money to run. If you'd like to support this site, please consider making a small donation or sending me a message to let me know what you liked or found useful.

 Return to main project page