Travel Tool Chest & Workbench Build Process
Page 74 of 144
Posted 14th May 2023
The next thing to do was to get on with preparing the slips. My original plan was to cut them from the same piece as the sides, but I got slightly carried away and just chopped it into three pieces with enough for the back. On a positive note, I could use one of the pieces of sweet chestnut that isn't long enough to use for side pieces.
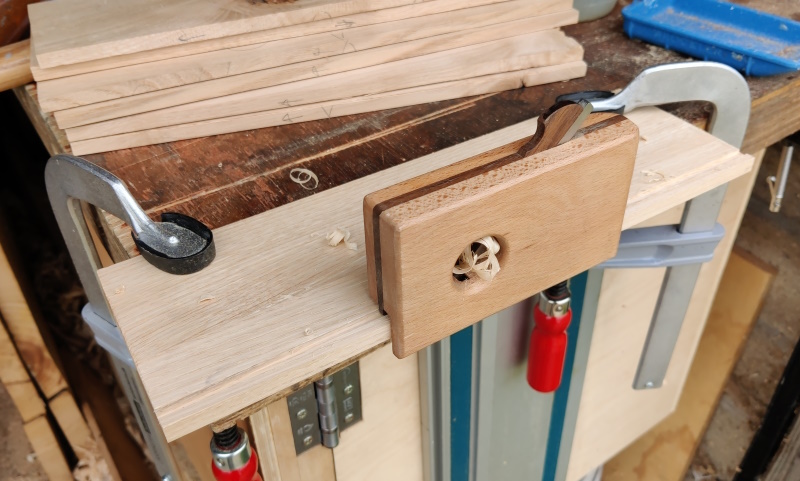
To cut the grooves in the slips, I used one of my home-made grooving/ploughing planes. This one (which also has a matching, but mirrored pair for the opposite grain direction) cuts a 5 mm wide groove, 5 mm from the edge and 5 mm deep. I really like using these little planes as they don't stick out over much of the board (and hence can be used on relatively narrow stock quite easily) and they don't require any set-up time, so I can plough a groove in less time that it would take to find a 5 mm electric router bit, let alone the time to set up a router properly.
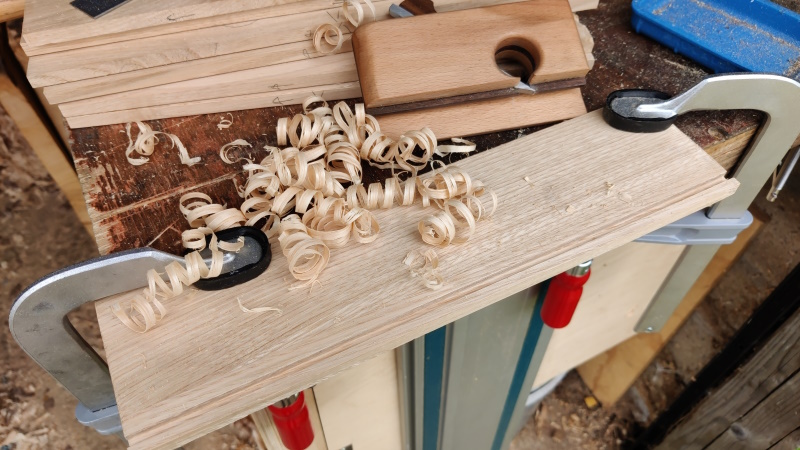
The plane makes lovely little curly shavings:
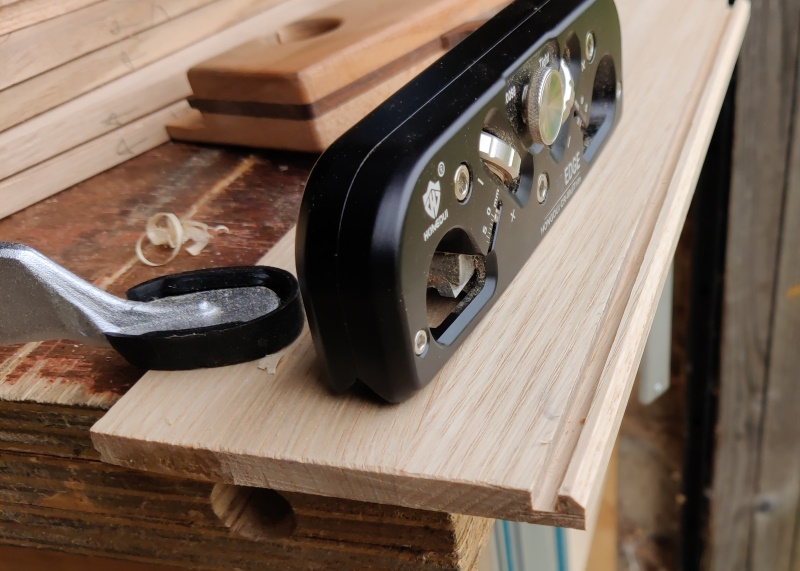
After that was done, I chamfered the outside corner with a Chinese plane made for the purpose...
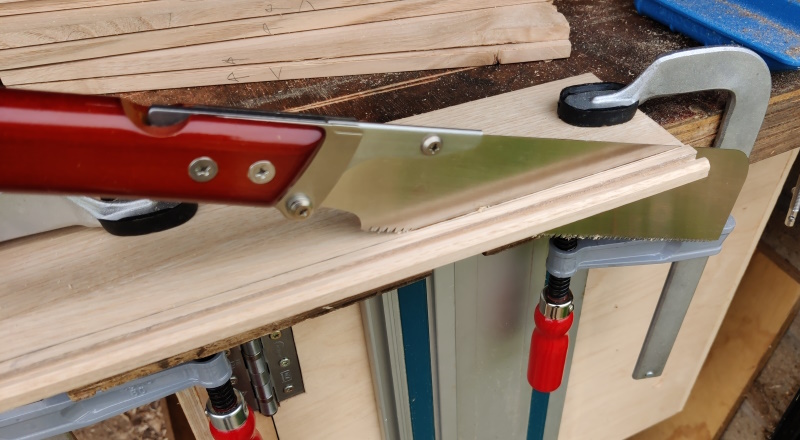
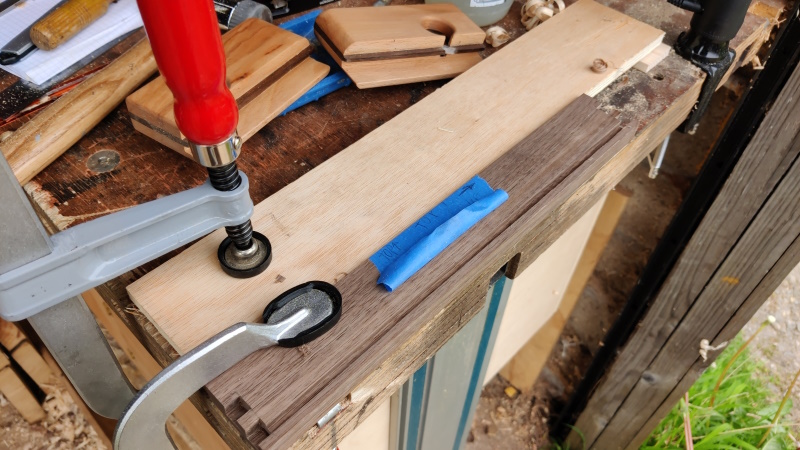
... and sawed the piece off, again with the Kataba:
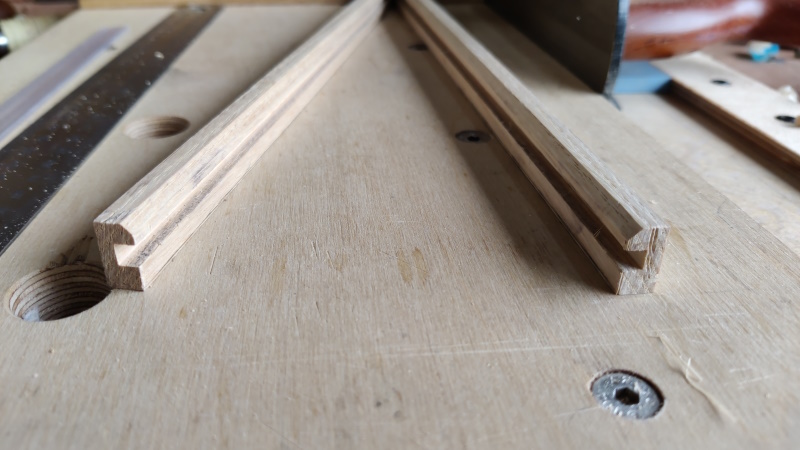
This photo shows the profile of the slips a bit better I think:
They're slightly oversize at the moment: my plan is to glue them into the drawer carcass and then plane the bottom edge flush with the drawer.
I also need a matching groove ploughed in the front piece, for which the little grooving plane came out again:
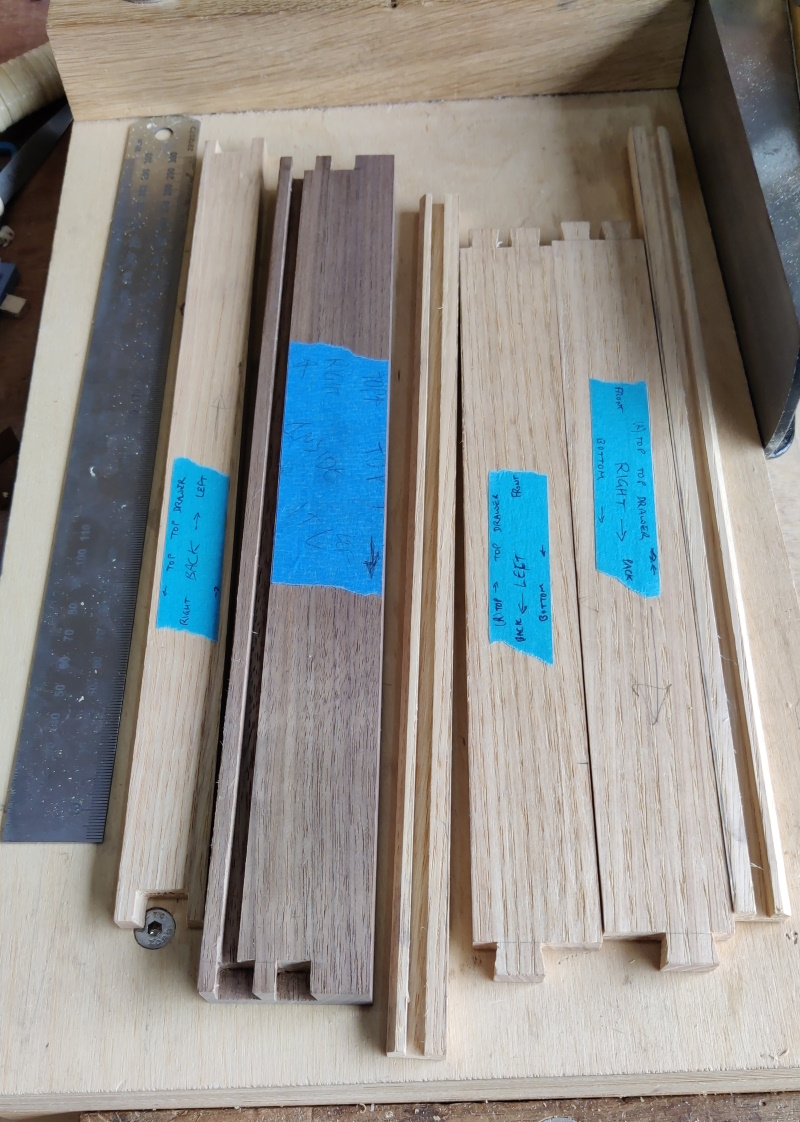
All the bits for one drawer (except the bottom) complete:
At this point I decided that the best thing to do was to get on with the glue-up. With hindsight, it would probably have been better to decide what to do about drawer pulls (i.e. a hole or something sticking out) as it might be easier to do with the front piece separate, but it's too late for that! I'm sure I'll be able to deal with it with a drawer board or something like that, so I won't worry about it for now.
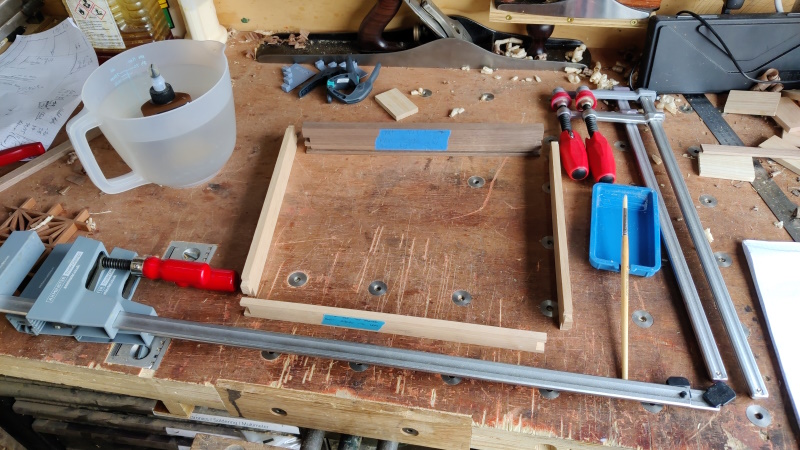
I decided to try the TB hide glue for the drawers (not for any good reason), so I put it in some hot water and did a bit of a half-hearted tidy-up before getting everything I thought I'd need ready and to hand:
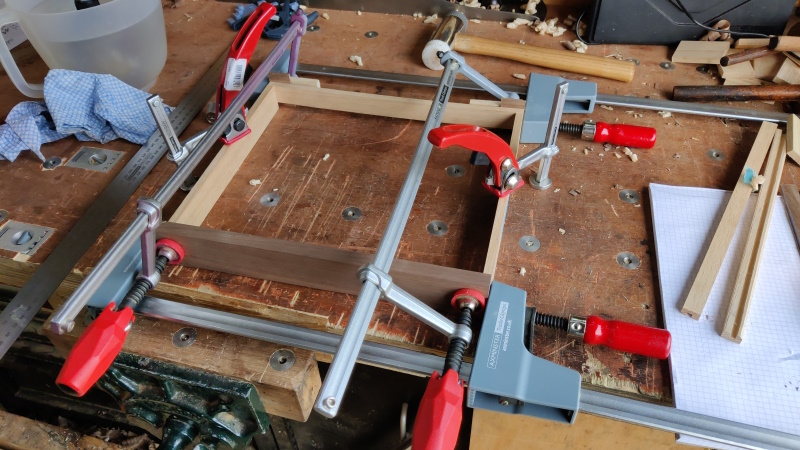
Then it was just a case of using what ended up being a tiny amount of glue (just on the long grain sides of the tails and pins) and clamping it up.
I probably didn't really need that many clamps really, but I figured that the ones holding it down to the bench would keep the bottom fairly flat and would also stop it going trapezoid after I'd carefully measured the diagonals.
Time for lunch now; I haven't decided whether to try to fit the slips today: I could probably do so if I just remove the clamps that are holding it down to the table, so it might be a good idea to try to get the second glue operation done sooner rather than later. I'm very seriously running out of free days to finish this before I head to Brittany, so lots of leave-it-for-24-hours type gluing operations could be a bit of a problem!
Page 74 of 144
This website is free and ad-free, but costs me money to run. If you'd like to support this site, please consider making a small donation or sending me a message to let me know what you liked or found useful.

 Return to main project page