Travel Tool Chest & Workbench Build Process
Page 77 of 144
Posted 31st May 2023
I was away enjoying the sunshine at the Mach motorbike festival for the bank holiday weekend, but I've been managing to do odd bits and pieces in the evenings.
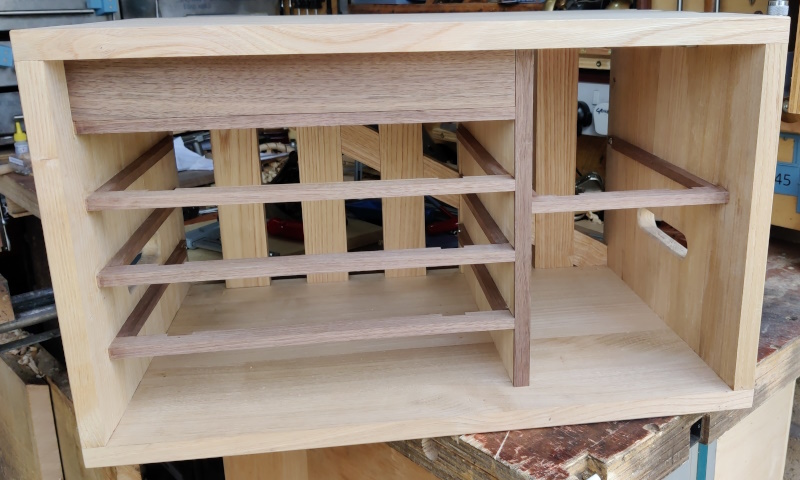
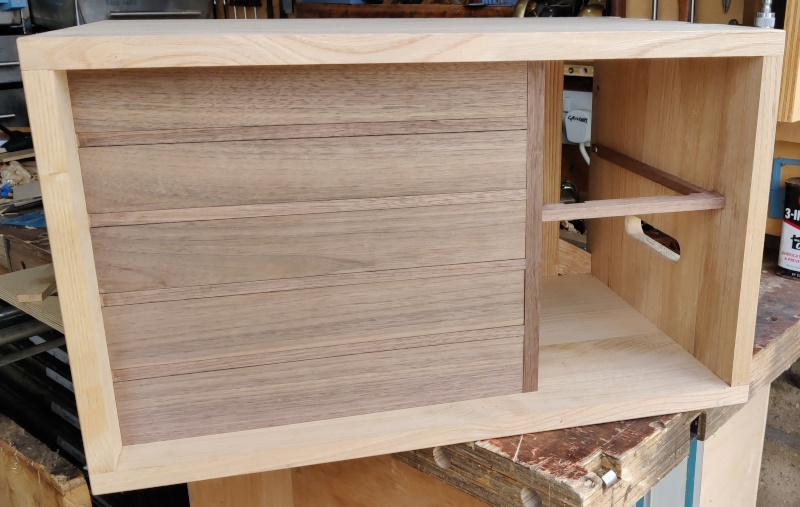
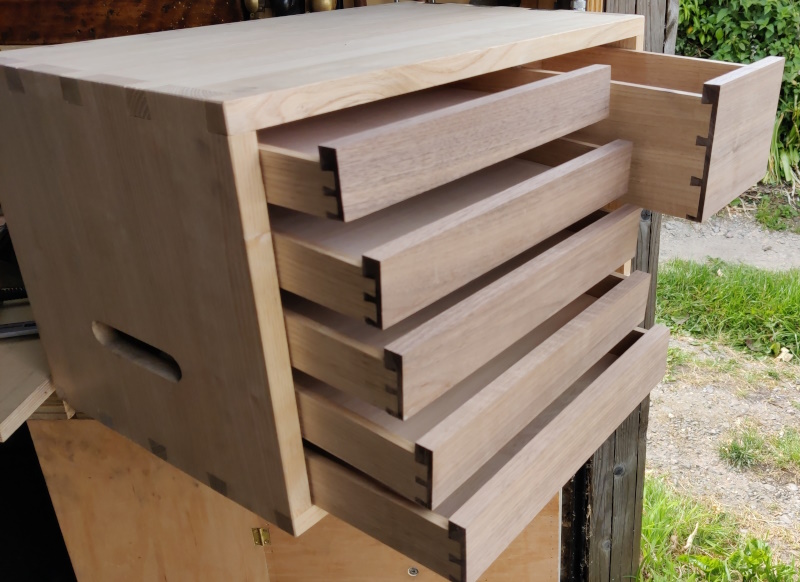
When we last left the story, the chest was looking like this:
Ctrl-C, Ctrl-V:
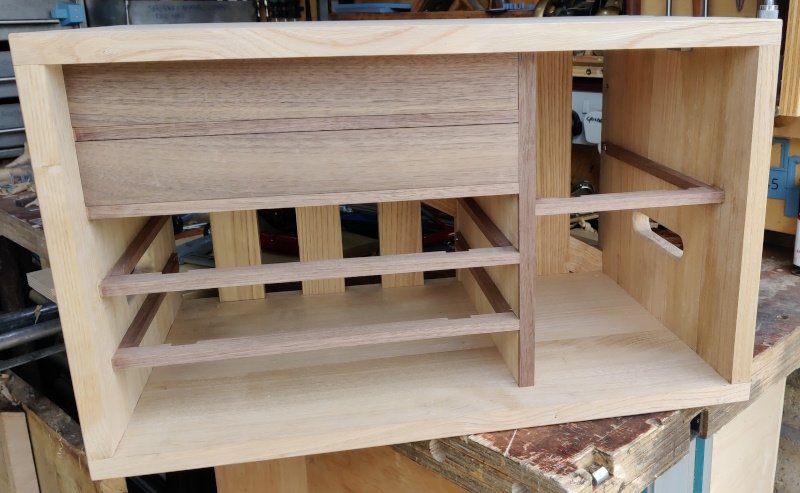
Ctrl-V:
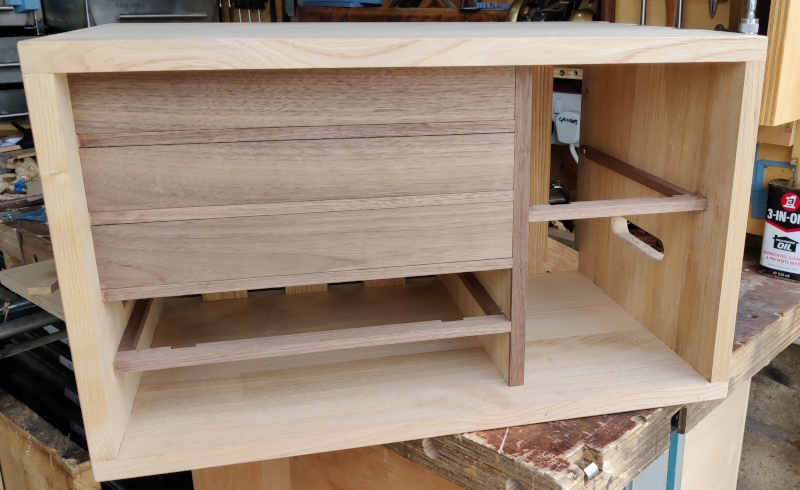
Ctrl-V:
Ctrl-V:
Ctrl-V:
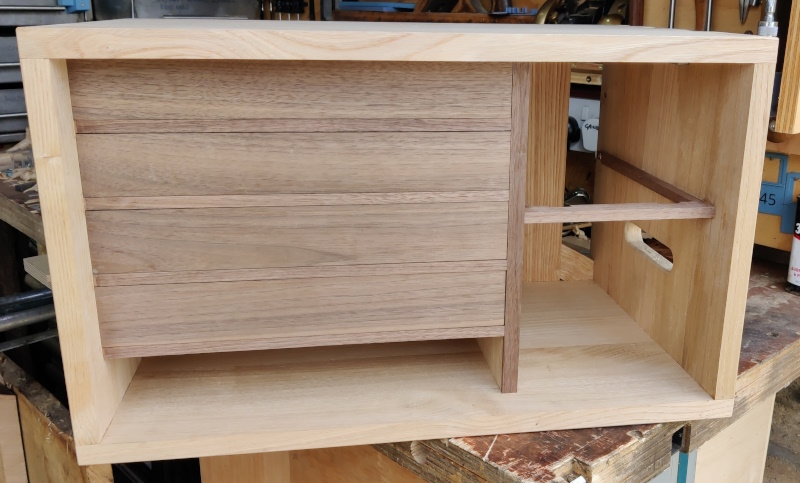
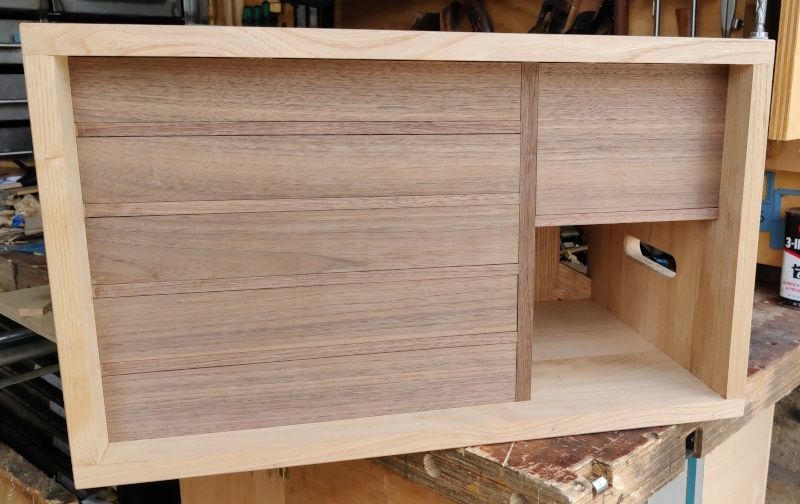
The bottom right section is going to remain drawer-less for now (as it isn't deep enough for my Veritas BU smoothing plane, so until I've decided whether I want that to be part of the kit or not, I'll take it away with me in the gap, probably on a tray of some sort). I've still got the front piece for the drawer, so I can always make the last drawer at a later date if I decide I want it.
The process for the other five drawers was fairly similar to the first one, although there were a few changes. One was that I stopped bothering with the masking tape when cutting the plywood as I found that the Kataba didn't cause any tear out at all so the masking tape was unnecessary.
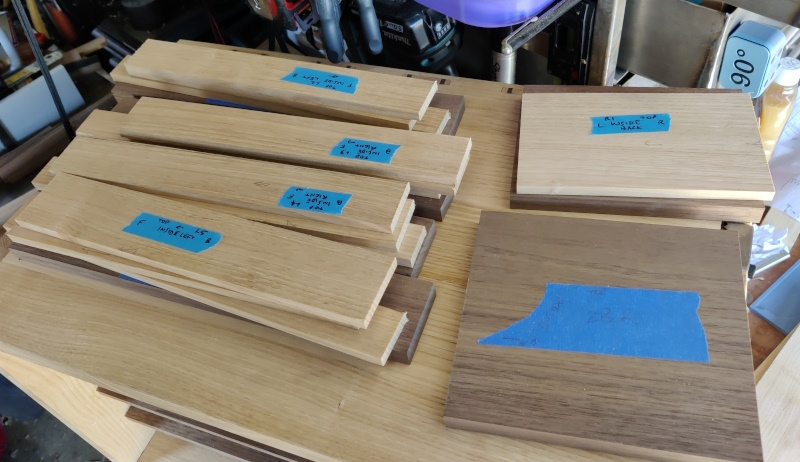
Another change was that I cut all the stock for all the drawers to width in one go:
(apart from the top-right drawer, which needed a new piece cutting and planing to thickness as I didn't have any big enough for the drawer sides). From there, I marked up and sawed all the sides of all the dovetails in one go:
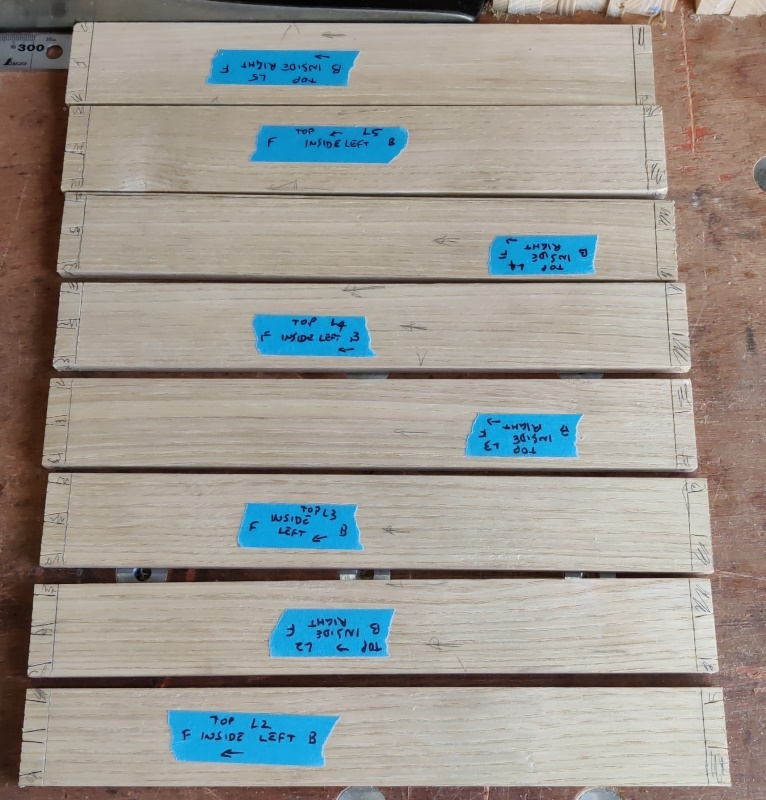
I then did the rest of each drawer (finishing cutting the tails, marking and cutting the pins and ploughing the groove) one-by-one, with each drawer taking about an hour so being easily achievable in an evening.
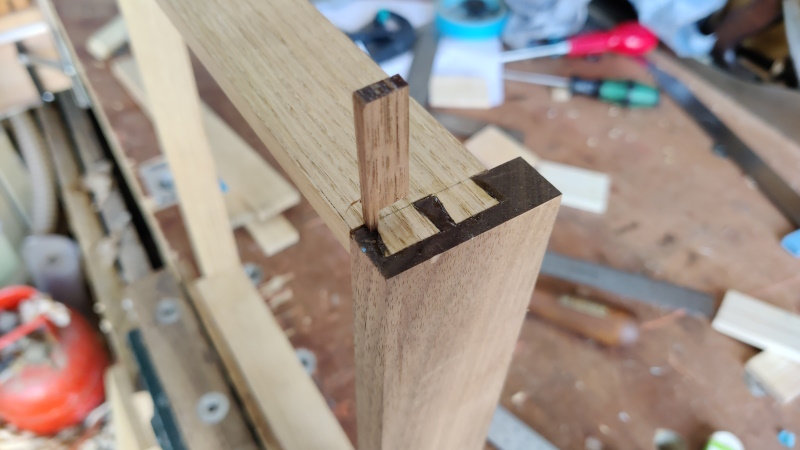
After the second (I think) drawer, I made another small change. I'd laid out the half-blind dovetails such that the pin was too big for my home-made grooving plane, resulting in the groove breaking out of the dovetail and needing a repair:
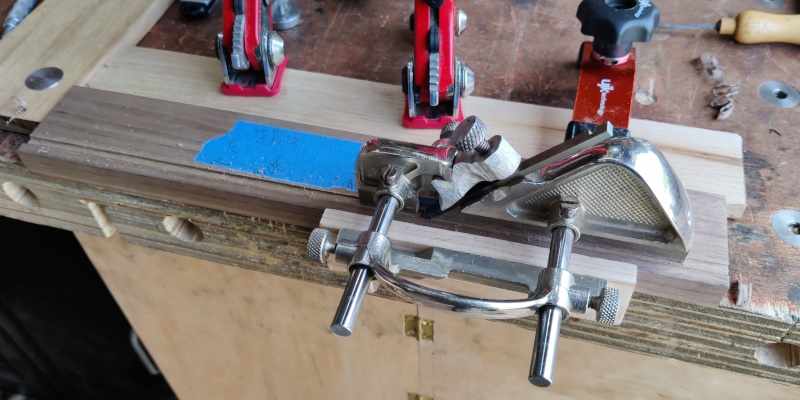
Rather than risk that happening again, I swapped over to my relatively newly acquired Rapier plough plane (which I hadn't used before):
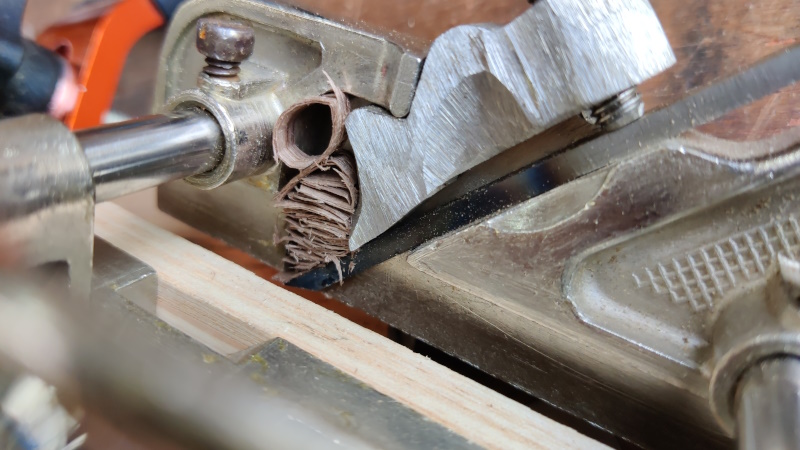
It was a bit harder work than using the home-made one (even after setting it up) as the shavings tended to jam in the mouth, especially when the groove was still quite shallow:
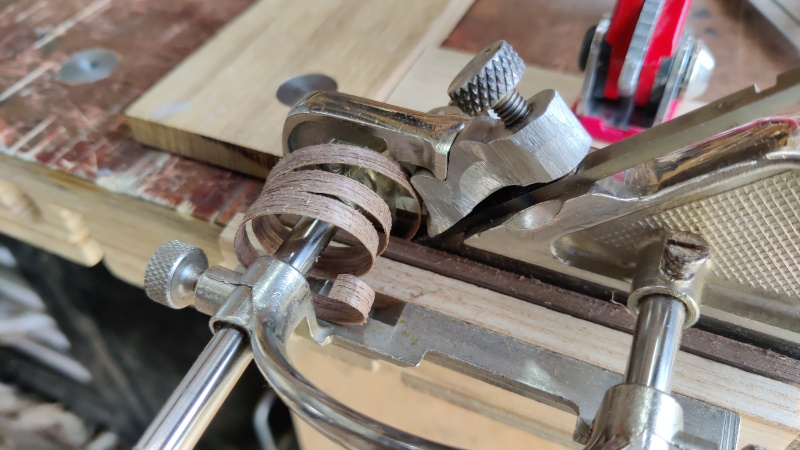
As the groove got deeper, the shavings got more curly:
I'm not sure if that's because I was taking quite an aggressive cut or just because the mouth is much smaller and tighter than that on my home-made plane.
Anyway, that brings us up to date; all (for now) six drawers are in place. They still need knobs of some sort as well as drawer stops and they probably need a bit of smoothing to get rid of any handling marks before finish is applied. I'll probably use this weekend to do something in the way of a front, even if it's just a temporary one to tide me over for the upcoming trip to France.
Longer term I need to think about how to hold the tools in place so they don't rattle around in the drawers, but for this trip I think it'll be something like bubble wrap or scrunched up paper!
Page 77 of 144
This website is free and ad-free, but costs me money to run. If you'd like to support this site, please consider making a small donation or sending me a message to let me know what you liked or found useful.

 Return to main project page