Travel Tool Chest & Workbench Build Process
Page 76 of 144
Posted 19th May 2023
As I rushed ahead with gluing the slips on rather than doing it the way the sensible Mr T later advised, I needed to find an alternative means to mark the size of the base. I could have marked it using the top of the drawer, but I thought I'd try something different first on the off-chance it worked (I've got loads of spare plywood, so if it didn't, it wouldn't matter that much).
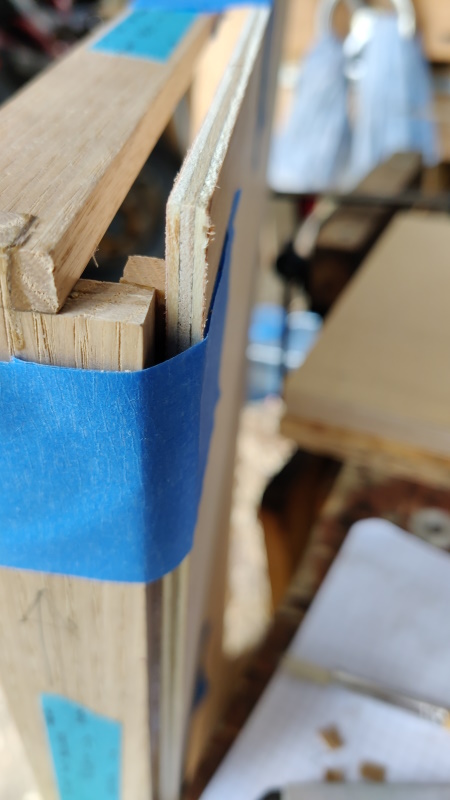
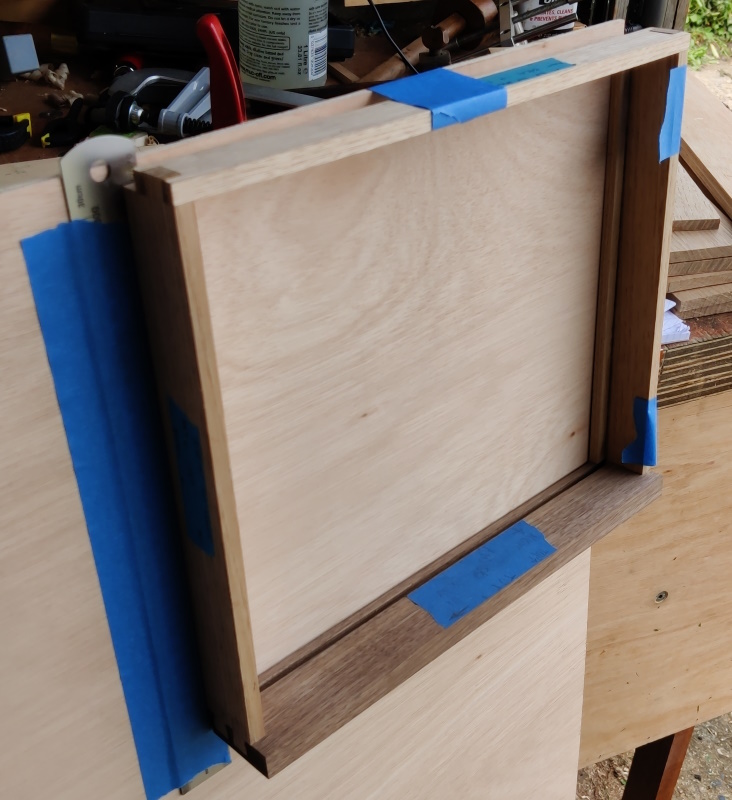
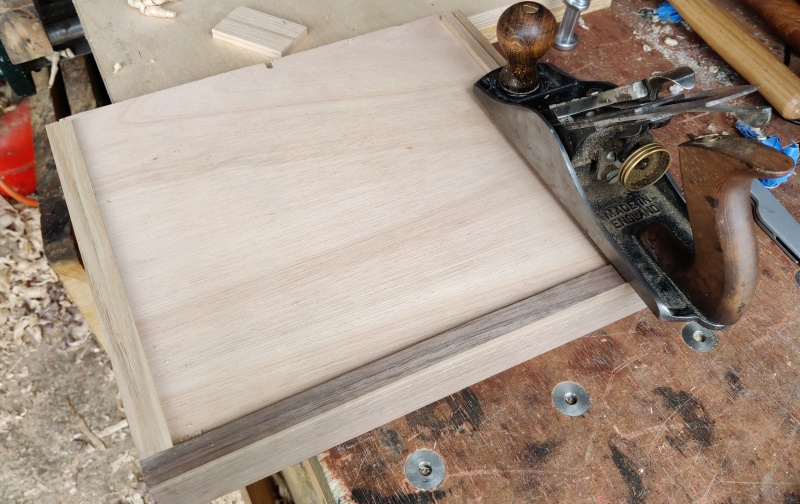
The slips were still protruding from the drawer bottom by a little over a millimetre. I took advantage of that and taped the box to a bit of plywood with the edge of one slip lined up with the edge of the plywood:
I then taped a steel rule to the plywood with the steel rule shoved underneath the side and up against the other slip:
That gave me a nice line to mark that should be in the same place as the inside edge of the drawer side.
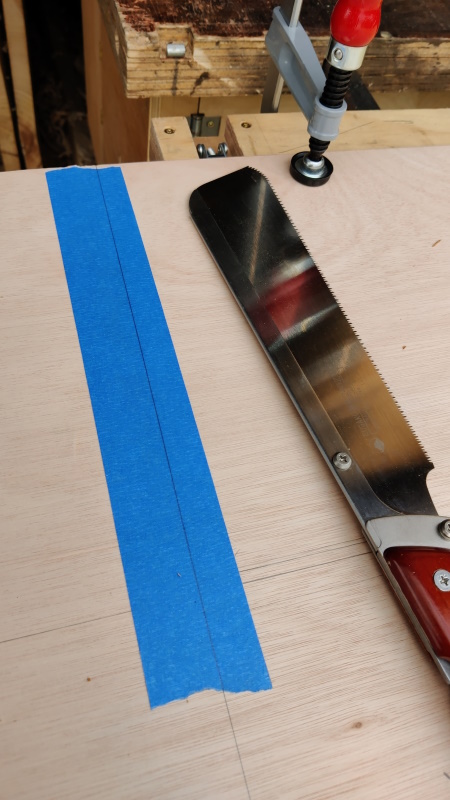
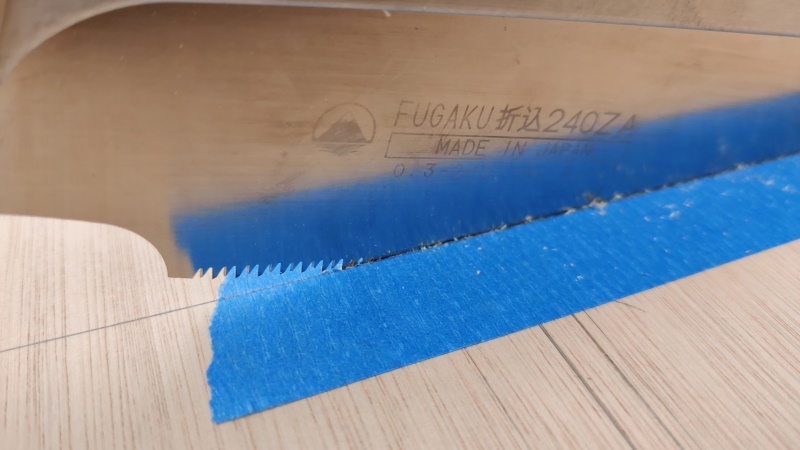
For the cut that was going to be across the grain of the top surface of the plywood, I decided to put a strip of masking tape along the cut line. I've no idea whether this made any difference, but the result was a very clean cut, so it certainly didn't hinder:
I was rather pleased that I was bang on the line all the way along the cut: perhaps I'm getting the hang of this sawing malarkey after all?
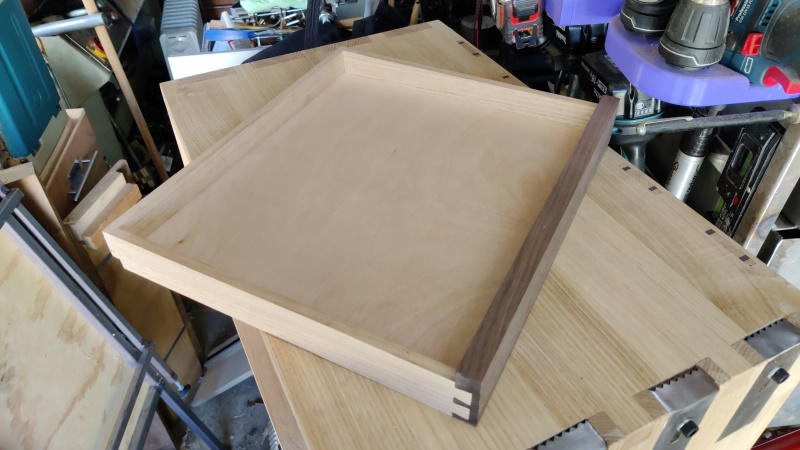
With the base cut to size, I did a bit of chamfering around the underside edges as the plywood is 5.5 mm and the groove is 5 mm. I didn't take any photos of that process, but there were a few test fits and tweaks until it went into the front groove with a few light taps from the persuading stick.
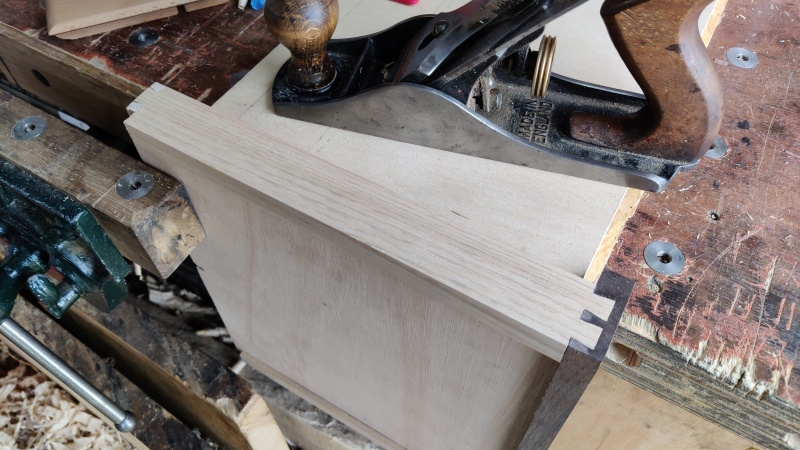
With the base fitted (and a slot made for the screw with an eggbeater drill and a dozuki), I could plane the slips flush with the bottom:
and then use handy offcut of plywood as a drawer board for planing the sides.
The vice jaw in that photo isn't tightened up; I just positioned it there so that if I did something stupid the drawer wouldn't fall onto the floor.
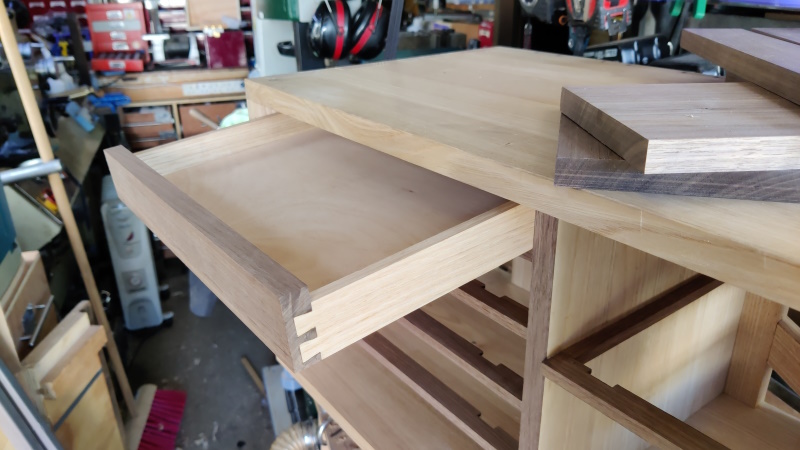
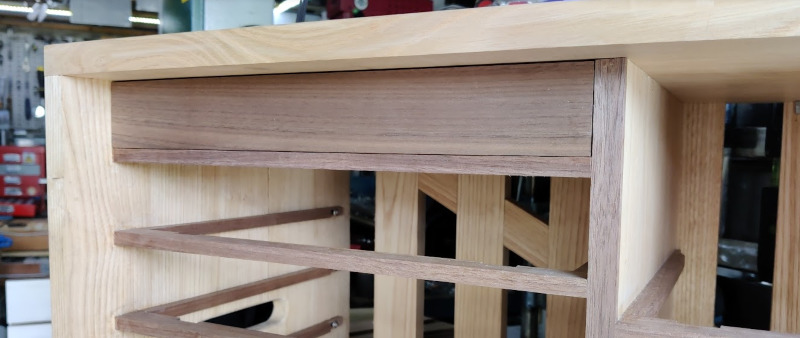
After a few test fits and tweaks, my first ever drawer is finished.
A nice snug fit (with about 1 mm clearance at the top to allow for a bit of movement; I'm guessing that'll be enough on such a shallow drawer, but if it sticks I can always trim it a bit more).
At the moment, I've decided not to think about drawer hardware (pulls or holes). Given that the chest is designed such that the back is easily accessible for clamping etc, it's quite easy to just reach over and shove a finger through one of the gaps in the back and push the drawer out enough to pull it at the front. I'll probably add a pull or something at some point, but I've got too much else to do and too little time to worry about that right now!
Page 76 of 144
This website is free and ad-free, but costs me money to run. If you'd like to support this site, please consider making a small donation or sending me a message to let me know what you liked or found useful.

 Return to main project page