Travel Tool Chest & Workbench Build Process
Page 79 of 144
Posted 2nd June 2023
I'm starting to feel the pressure with only two full days left before I skip the country. I think I'll mostly be doing whatever it takes to get it in a state that will suit going away and then I can worry about doing stuff properly when I get back – I'll possibly also learn a bit from what it's like to use and decide to tweak things (or bung it on the bonfire).
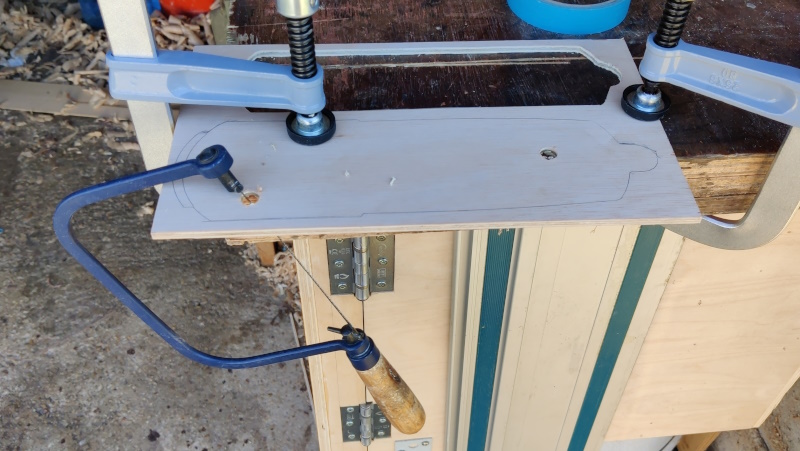
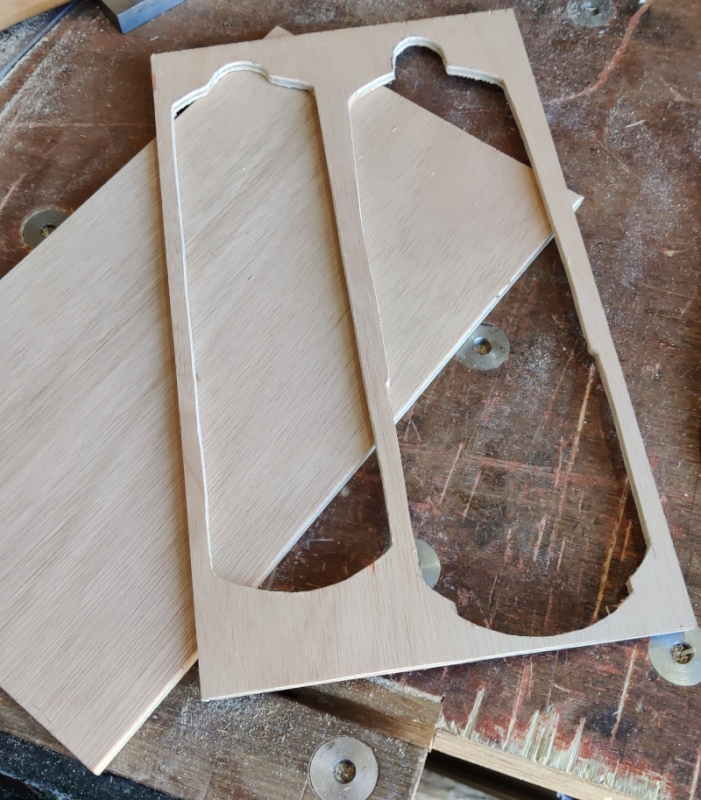
Anyway, this afternoon's quick job was to cut a couple of sheets of plywood to be a nice sliding fit in the bottom right corner. One of them then got drawn on and I attacked it with a coping saw (and then quite a bit of work with a file: I'm not very accurate with a coping saw).
After cleaning it up:
I didn't fancy the idea of trying to stick the two pieces together without any squeeze-out but with good glue coverage, so I cheated and used double-sided tape...
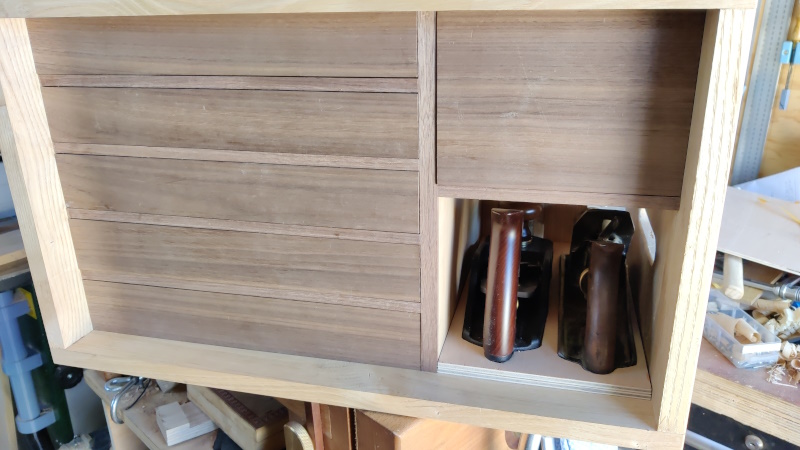
... which also has the advantage of not needing much in the way of curing time, so I could try it out:
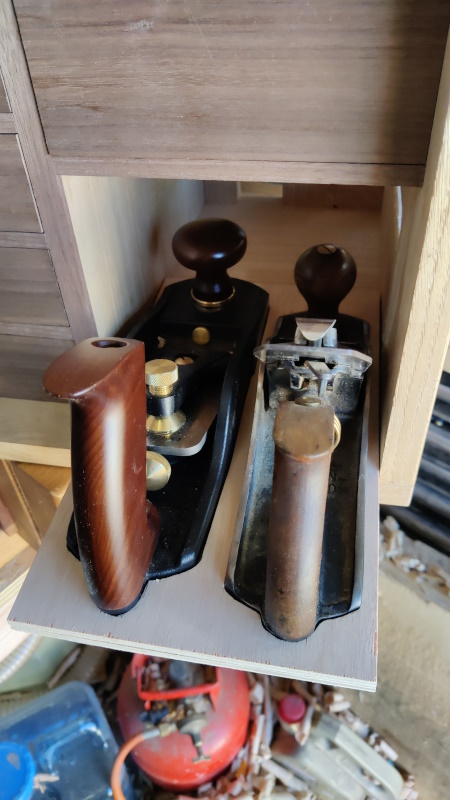
It's nice and easy to push in and pull out as there are two rather large and carefully shaped handles provided.
It looks quite shabby with the exposed plywood ends, but that's something I'm going to think about when I get back from my travels. One option that's quite appealing is to make it again out of sweet chestnut, although I might use a different means of stopping the planes rattling around (e.g. a simple block on each corner). Another potentially easier option is just to shorten the plywood a bit and stick a bit of walnut over the end. We shall see.
Page 79 of 144
This website is free and ad-free, but costs me money to run. If you'd like to support this site, please consider making a small donation or sending me a message to let me know what you liked or found useful.

 Return to main project page


