Travel Tool Chest & Workbench Build Process
Page 80 of 144
Posted 3rd June 2023
Rather than getting straight on with a (probably temporary) front for the chest, I thought I'd start the day with a quick trial run. I dug into the shed and pulled out my Makita mitre saw stand (which a kind member of another forum offered for free a few years ago) – I don't have a mitre saw any more, but I've kept the stand as it is very robust and comes in handy occasionally.
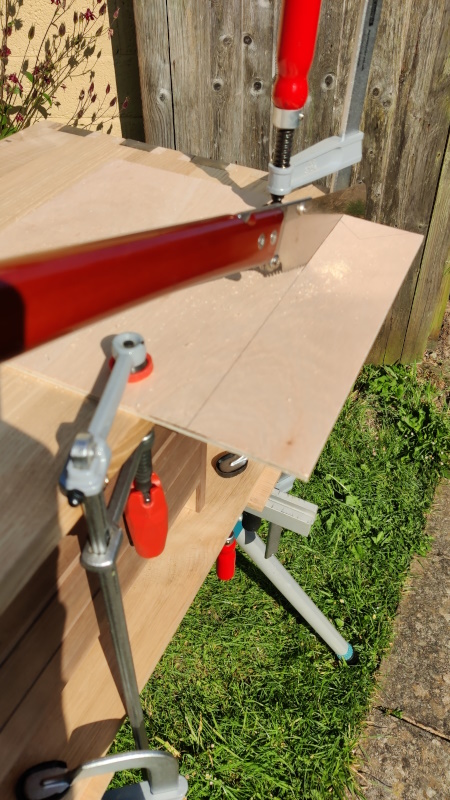
I clamped the box down to the stand and cut a strip off a bit of plywood:
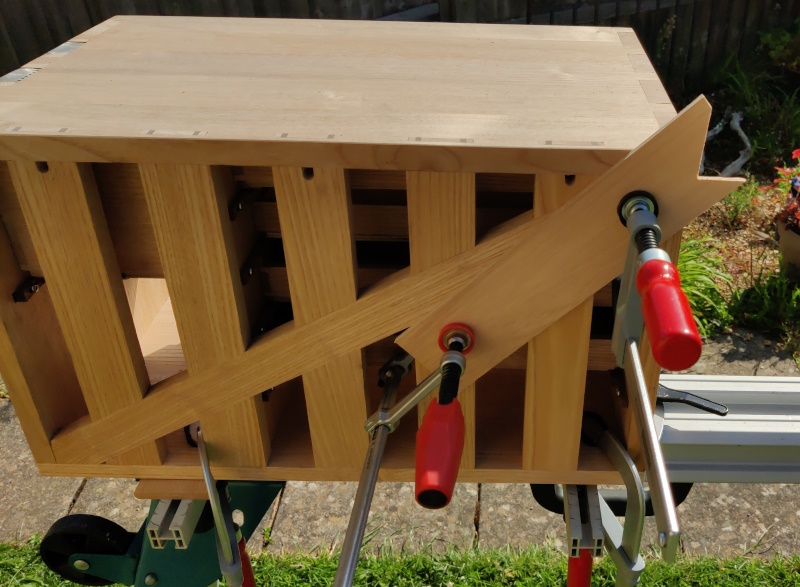
I then clamped the plywood to the back slats and sawed a notch:
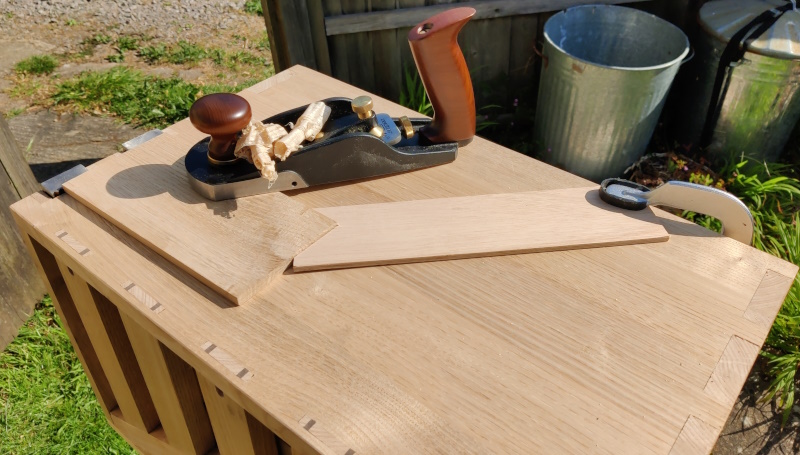
Finally, I used the planing stops and the notched "doe's foot" (I think that's what they're called) to plane the surface of a random offcut of sweet chestnut.
By Jove, it works!
Page 80 of 144
This website is free and ad-free, but costs me money to run. If you'd like to support this site, please consider making a small donation or sending me a message to let me know what you liked or found useful.

 Return to main project page

