Travel Tool Chest & Workbench Build Process
Page 89 of 144
Posted 31st July 2023
I haven't done very much on the toolchest for a while, mainly as a result of work being manic but partly dithering and being indecisive about what to tackle next (and feeling at a bit of a loss as to how to approach the shooting-board-cum-front thing when I was planning to base it around my block plane which I've realised has sides that aren't square to the base).
Anyway, while I ponder on other things, I thought I'd get going on something else for change.
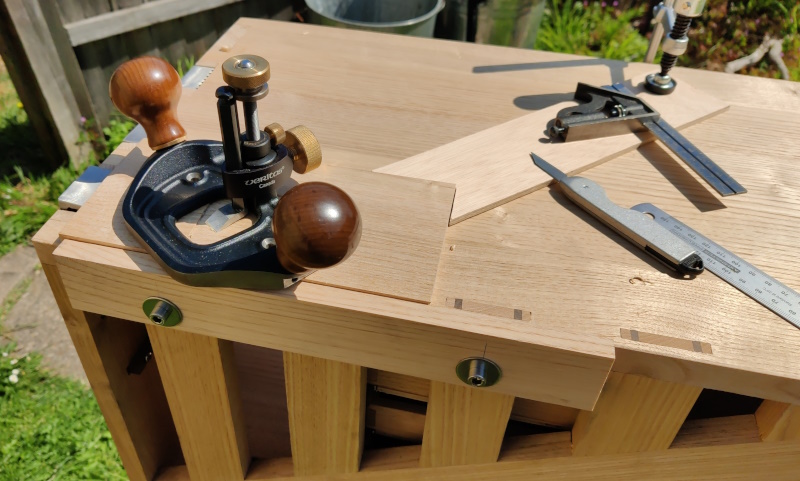
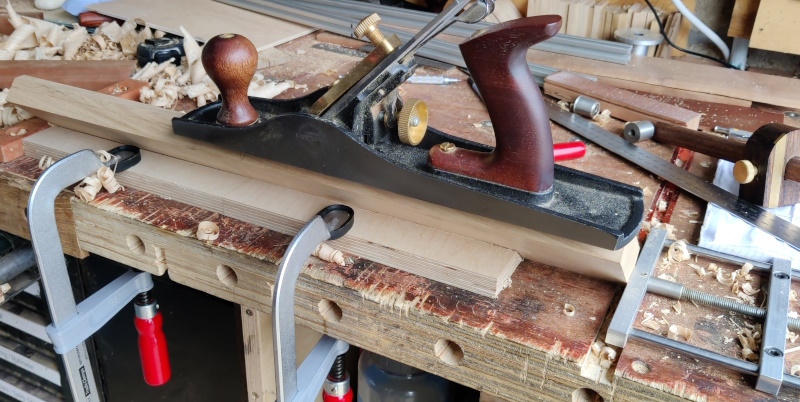
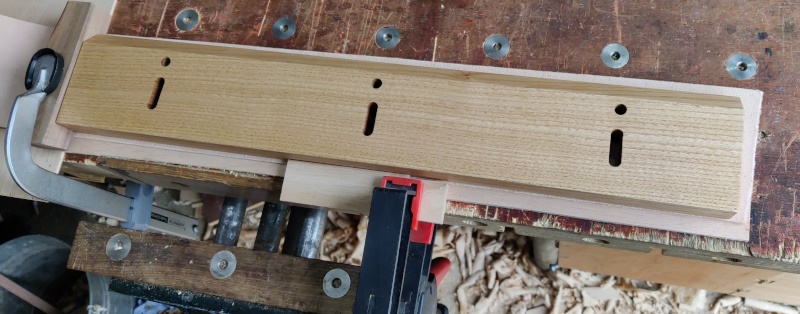
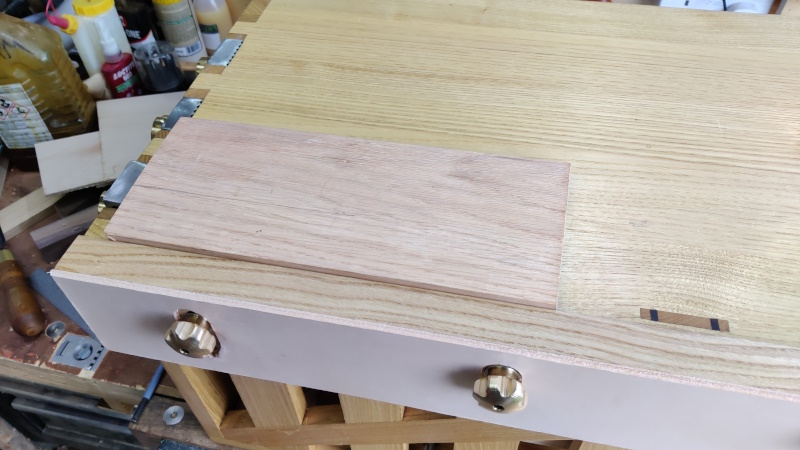
Those of you with a good memory might recall that I took a (rough and ready) bit of ash with me to France to use as a fence. The aim of that bit of ash was that it would hold one edge of a workpiece steady. The planing stops would hold a second edge and a doe's foot thingy would hold the last two. I would then have access to the whole of the top surface of the workpiece for router planing or carving or whatever. You can see it in this image:
While I was away, I realised that the little piece of ash could also be used as a crude vice and it made clamping boards for cutting dovetails on the ends a lot quicker than using an f-clamp into the slots. The f-clamp approach is more versatile, but the vice mode was quicker. One limitation I found (when making the drawer box) was that the hole spacing of the screws wasn't enough to hold very wide boards so I had to go back to f-clamps.
The ash fence was only ever intended to be a temporary thing (I'm making this chest out of sweet chestnut and walnut). I decided it was time to get on with making a new one, this time considering its use as a vice as well as a fence. For it to work as a vice for wider boards, it needed to be thicker.
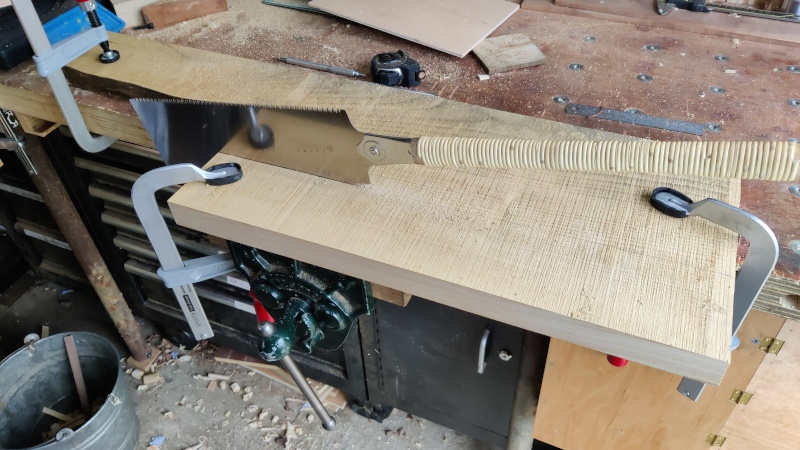
I started in the usual way, by ripping a bit of chestnut up with my big 7 tpi Ryoba.
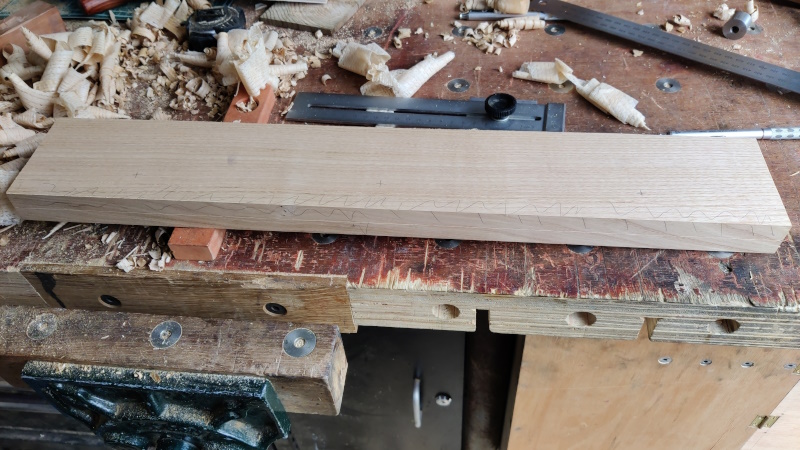
I then planed one face until it was flat and twist free and then planed the two edges square to that face. No photos of that I'm afraid, but there's plenty of them further up this thread.
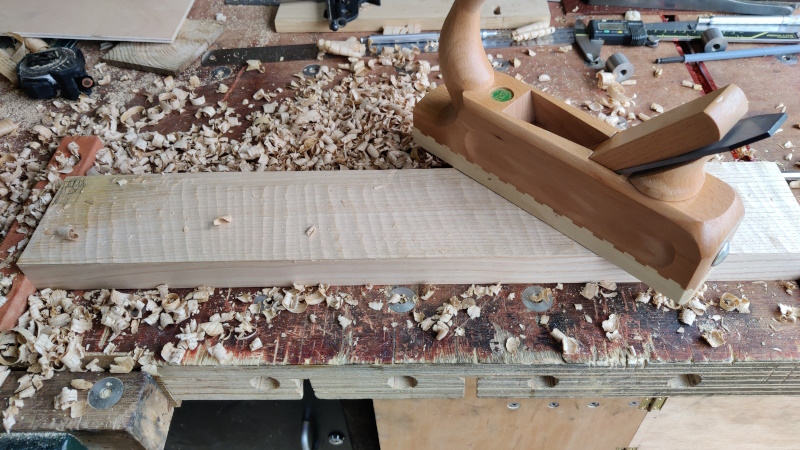
The target thickness (30 mm) was only about 4 mm thinner than the starting thickness, so rather than resawing it, I got my wooden scrub plane out and attacked the board. I really like this little scrub plane as it's so light (being wooden) that it's easy to be quite aggressive with it without wearing myself out.
Once it was planed to dimension, I marked up some hole positions and also a distance in from two edges for a heavy chamfer.
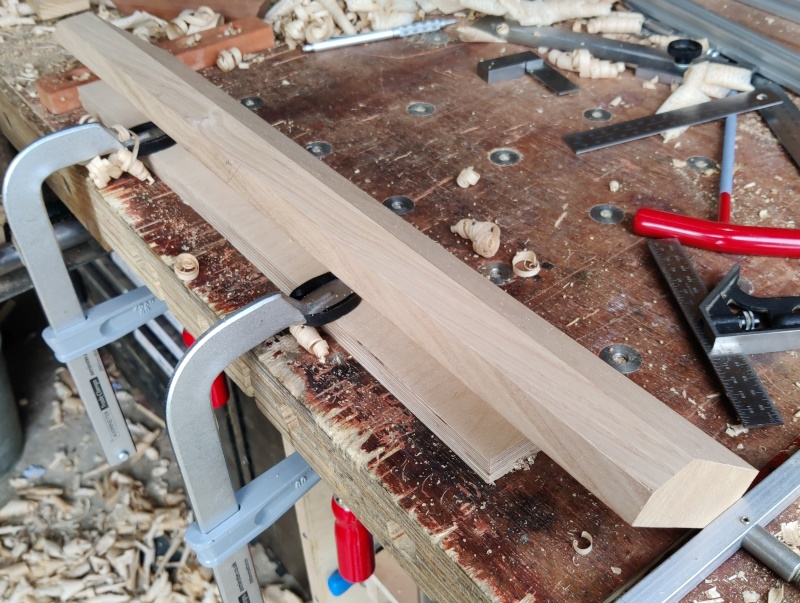
To plane the chamfer, I used my dog hole tail vice to hold the board and a spare French cleat that was lying around to support the bottom surface of the board. I then attacked it with my #5.
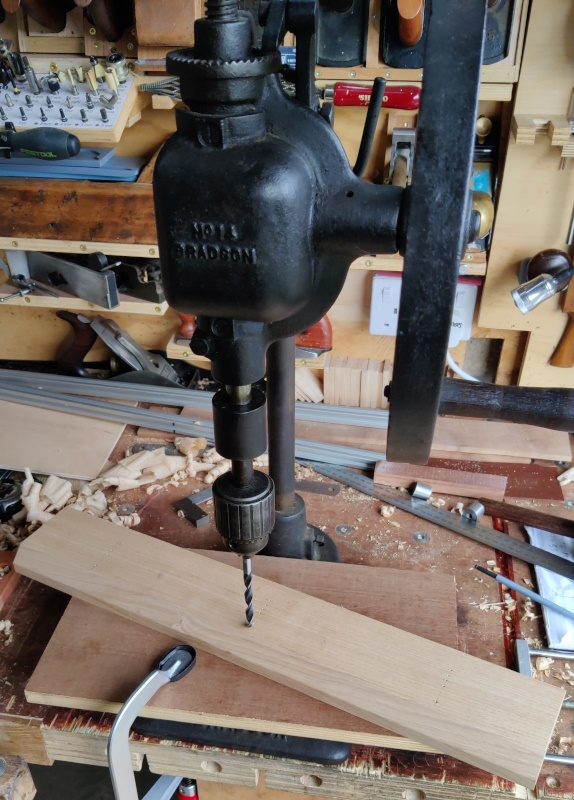
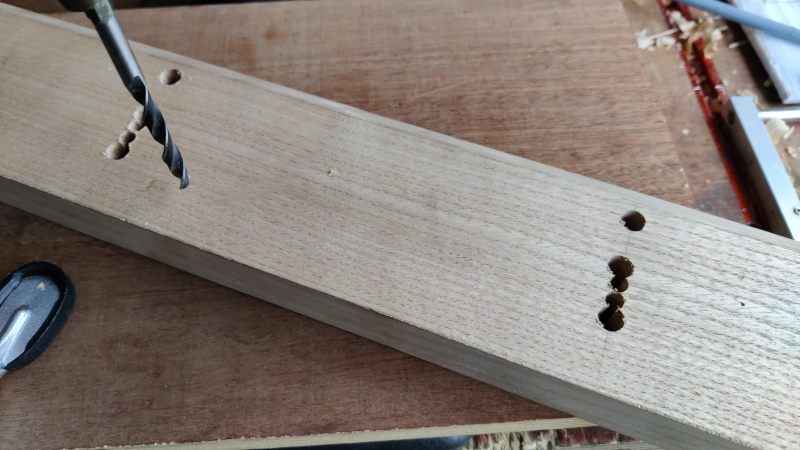
It was then time to lug the hand pillar drill out of the dining room and down the garden path to the garage. First I drilled some 8 mm holes:
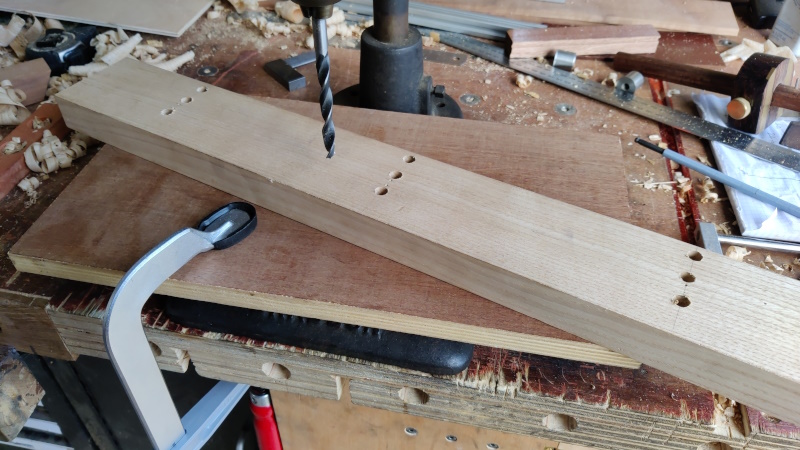
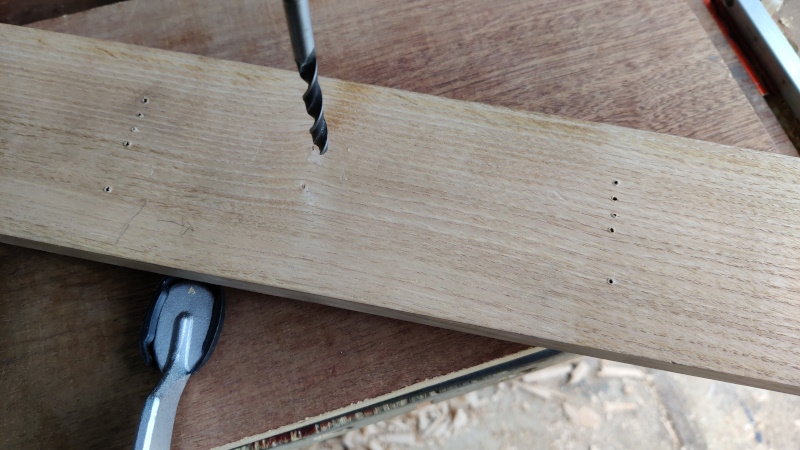
Then I drilled some 6 mm holes:
For each of those holes, I set the pillar drill up so that it wouldn't quite break through the bottom of the board. Once all the holes were drilled, I flipped the board over and came in from the other side.
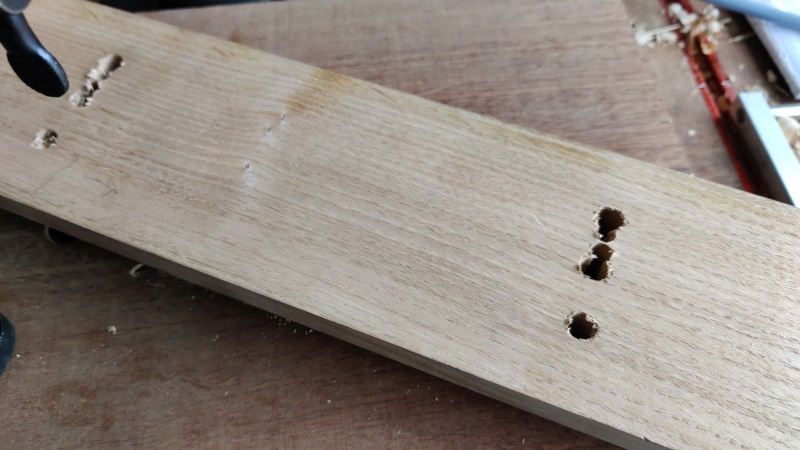
With hindsight, it would probably have been better to just hold / clamp it down firmly and drill through into a sacrificial board: I got quite a lot of tear-out as the drill entered from the rear:
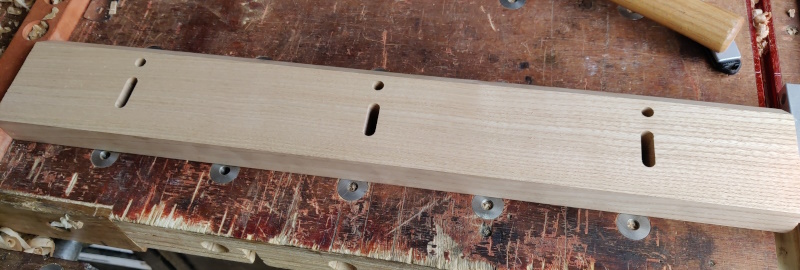
Not the end of the world though: it was easily dealt with using a #4. The smaller drill holes were turned into slots with a 16 mm chisel:
After sawing it to length, shooting the ends square and applying a light chamfer to all the edges with a #4, it was time to apply some magic to five out of the six faces:
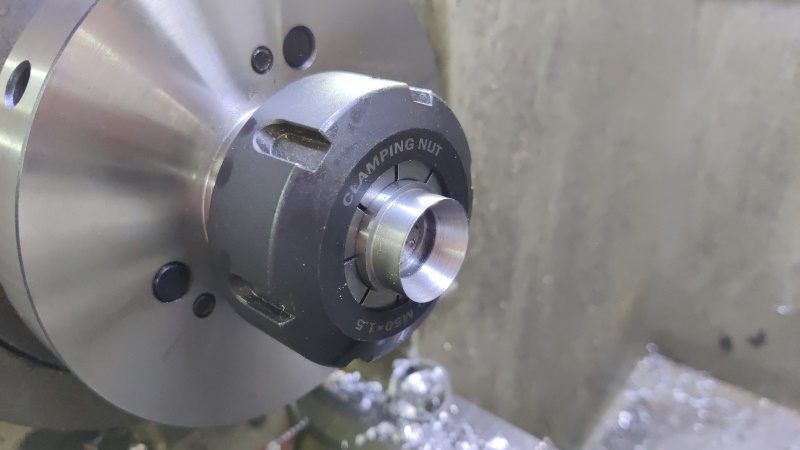
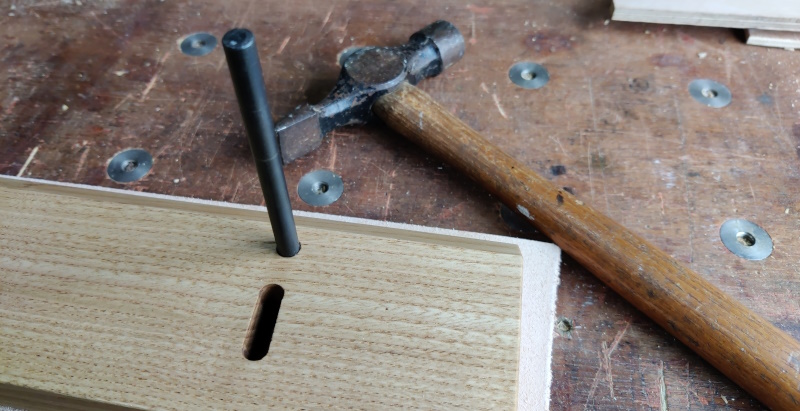
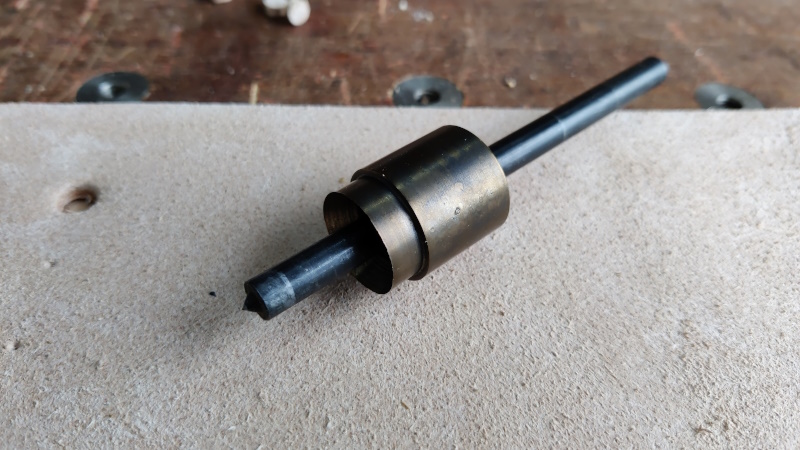
While it had three coats of magic mix over the course of a few days, I got an offcut of 25 mm silver steel, drilled it through 8 mm, turned the end down to 22 mm and then made a chamfered bore:
The piece then got heated up with a blowtorch until it wouldn't stick to a magnet, plunged in water to quench and then chucked in the domestic oven at 220°C (± quite a lot) for a few hours to temper.
Once all the coats of magic mix had dried, I gave the unfinished face a quick pass with a smoothing plane to get rid of the bits where the oil and found its way round the corner.
I then clamped a bit of thick undyed leather to the bench (on some plywood scraps). The bits of wood clamping the leather down had some heavy chamfers on the underside to stop glue attaching them to either the leather or the wood. The bits of wood also acted as a reference up to which to push the chestnut.
I then used an 8 mm transfer punch to mark the centres of the holes and each end of the slots.
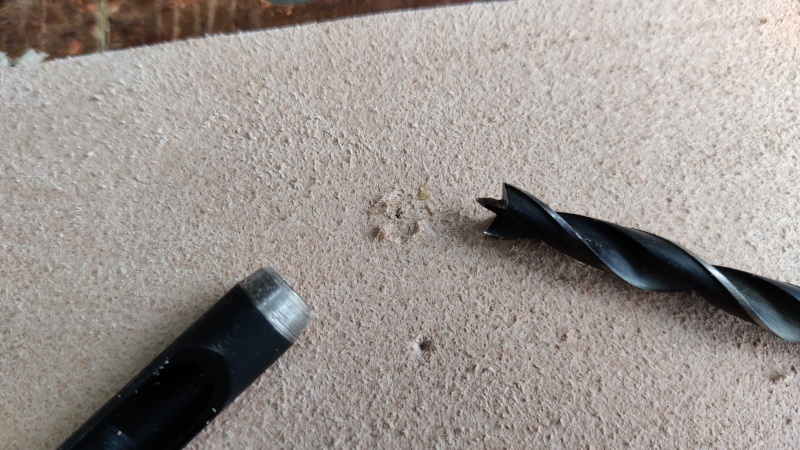
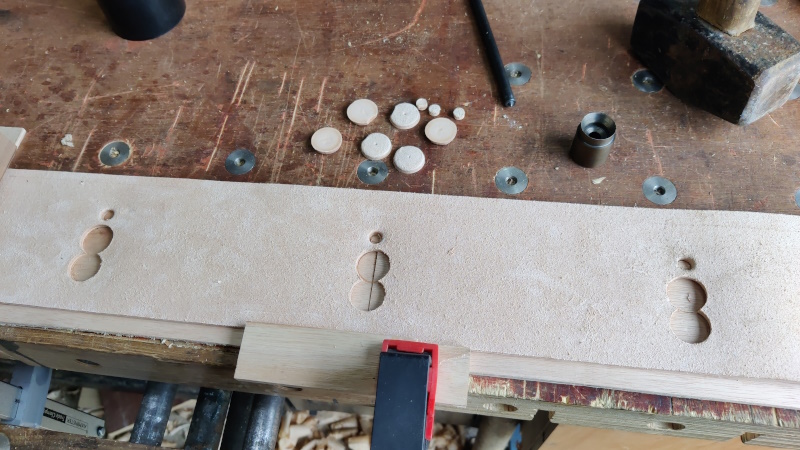
With the wood removed, I used an 8 mm drill bit to mark the outline of the holes from the centre and then a punch to remove an 8 mm circle around the holes.
For the slots, the transfer punch could be slid onto my hardened silver steel punch and located into the mark it had made. The transfer punch could then be removed and I could attack the silver steel punch with a club hammer to remove a large circle.
Et voila:
The two big circles were then turned into a big slot using a chisel.
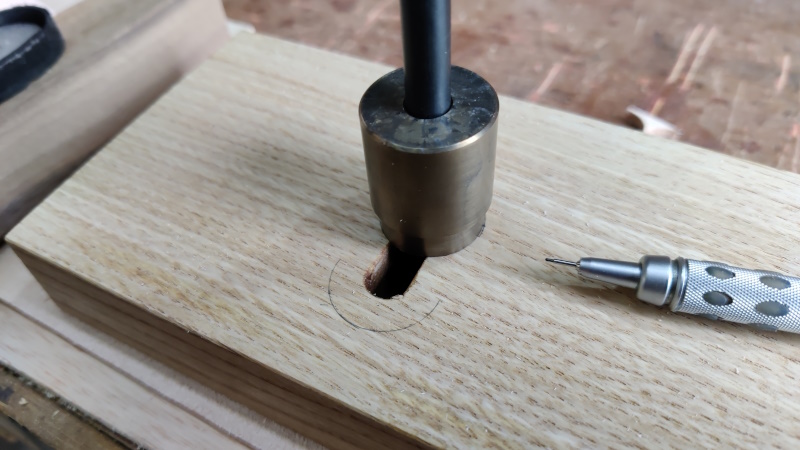
To keep glue away from the area that would align with the slot in the leather, I used the big punch as a template to draw a pencil line onto the wood:
I then applied lots of contact adhesive to both faces and left it for 5 minutes or so to cure.
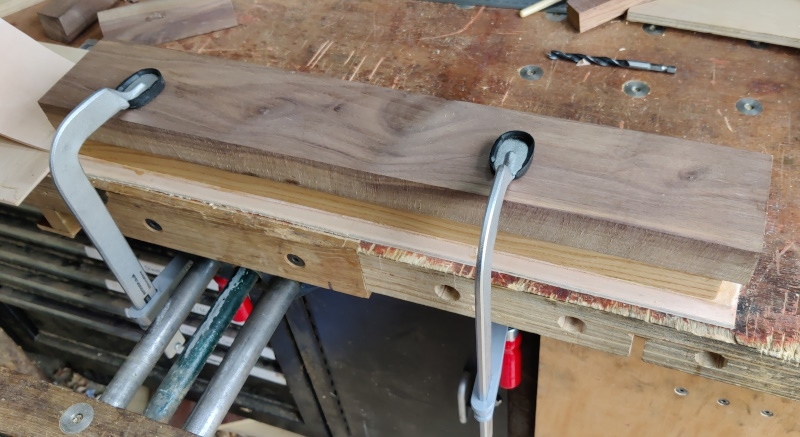
Once the contact adhesive was touch dry, I lined the wood up against the stops and pressed down. I then grabbed a random bit of wood from the pile and clamped it down hard for a few minutes to make sure:
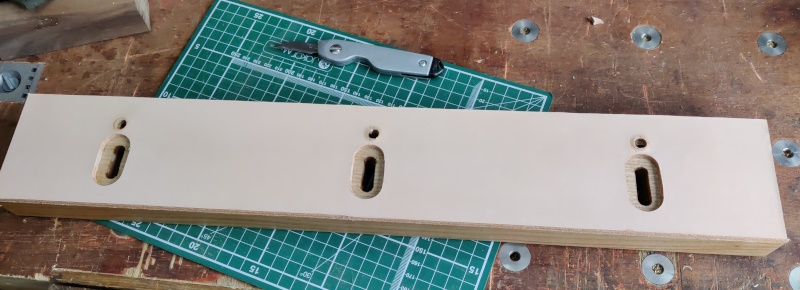
Then it was time to trim the leather to size with a knife and then flip the jaw over to inspect. First impressions were very good:
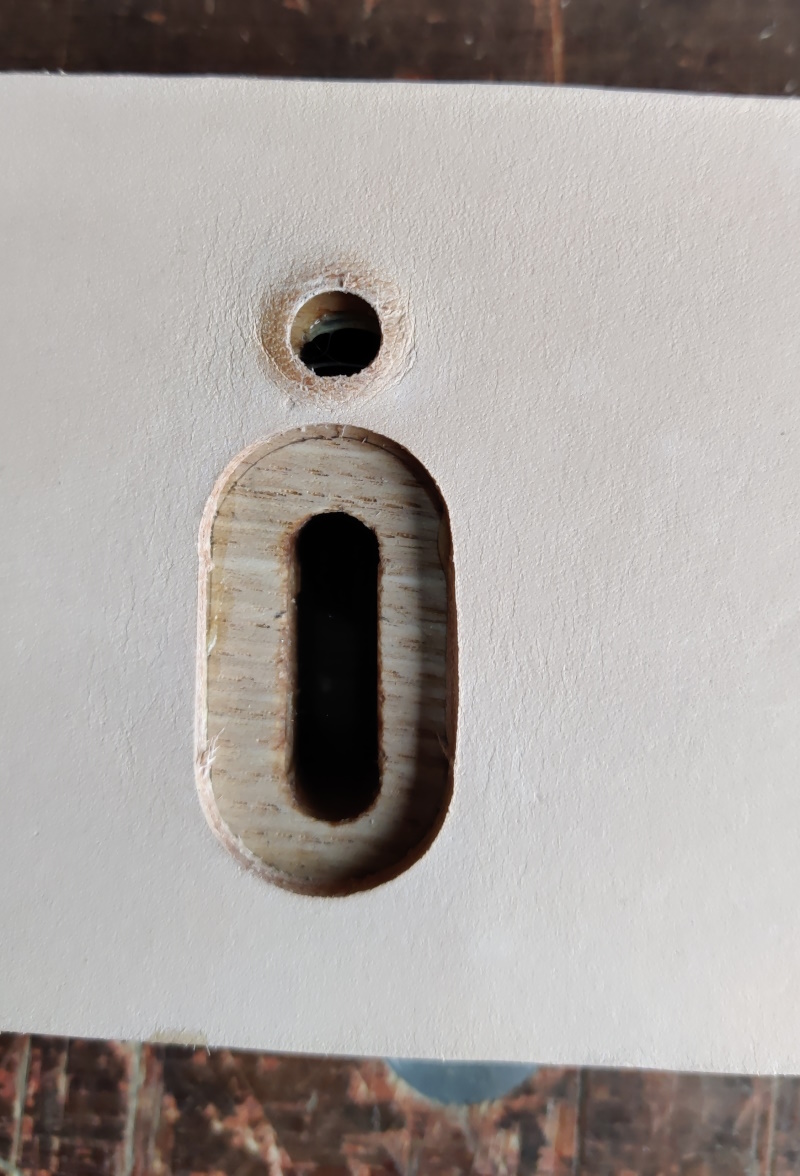
But the hole and slot that were furthest away from the clamps were a little bit off (the photo makes it look worse than it is as a result of some wood chips in the hole, but they definitely weren't lined up perfectly):
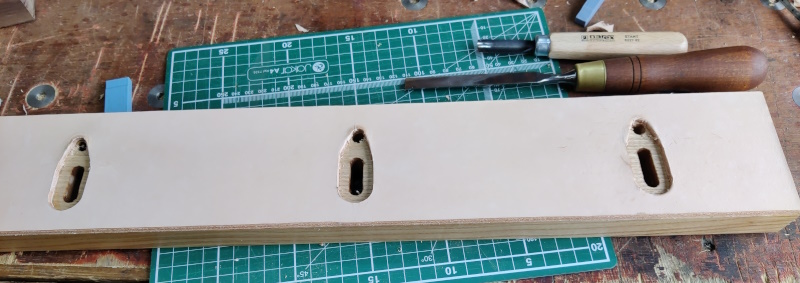
Rather than worrying about it unduly, I just decided to double down and chisel / gouge out a bit more leather:
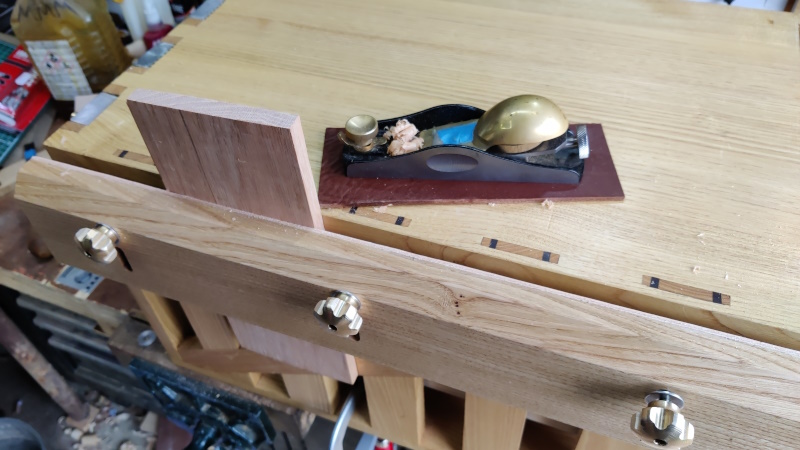
With that done, the vice jaw/fence is complete. To see how well it worked, I thought I'd try a fairly brutal test: taking a relatively heavy end-grain planing cut (with a slightly blunt plane):
The board stayed put, without rotating as I would expect it to do if it wasn't held robustly.
I also did a quick test using it as a fence:
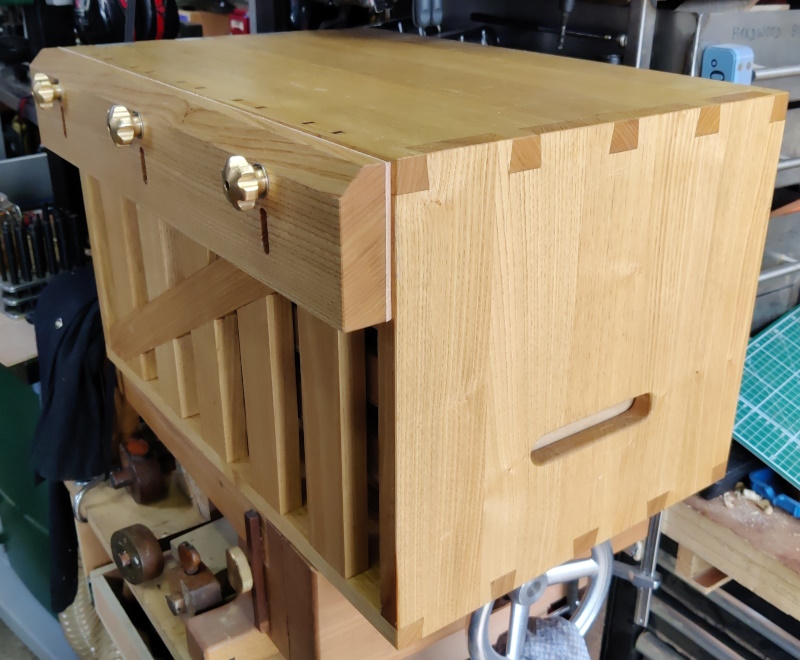
... and then finished with a beauty shot because, well, why not?
Page 89 of 144
This website is free and ad-free, but costs me money to run. If you'd like to support this site, please consider making a small donation or sending me a message to let me know what you liked or found useful.

 Return to main project page