Travel Tool Chest & Workbench Build Process
Page 92 of 144
Posted 3rd September 2023
After pondering a bit overnight, I decided that the best option would be to split the board in half lengthways and join the two ends together, rather than trying to resaw & bookmatch. That way I can shoot (pun intended) for a 20 mm thickness for the shooting board. If I later decide to drop that to 15 mm, it's going to be a lot easier than starting at 15 mm and then trying to make it up to 20 mm!
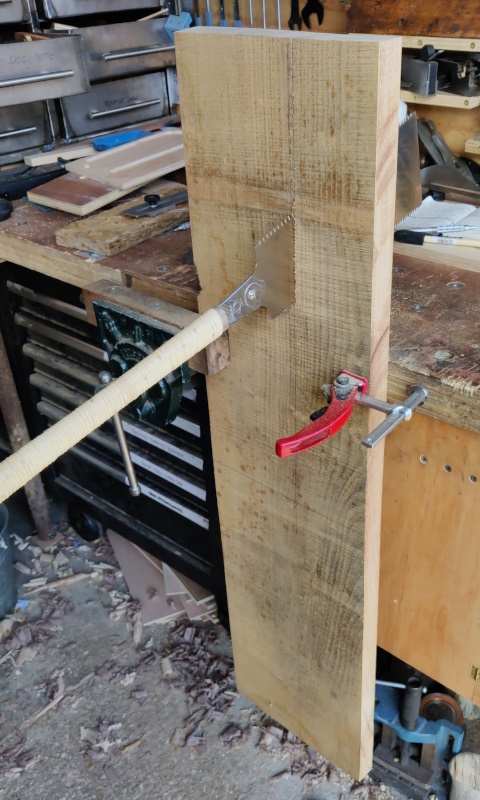
As I knew I was going to use both ends of the wood, I started by ripping the width down with the big ryoba (so I end up with one long offcut rather than two short ones):
I then chopped the wider piece in half:
One of the ends sat quite flat on the bench (so not too twisted) but the other wobbled all over the place, so obviously had quite a lot of wind. I thought I'd deal with the twisted one first and save the easier one for later.
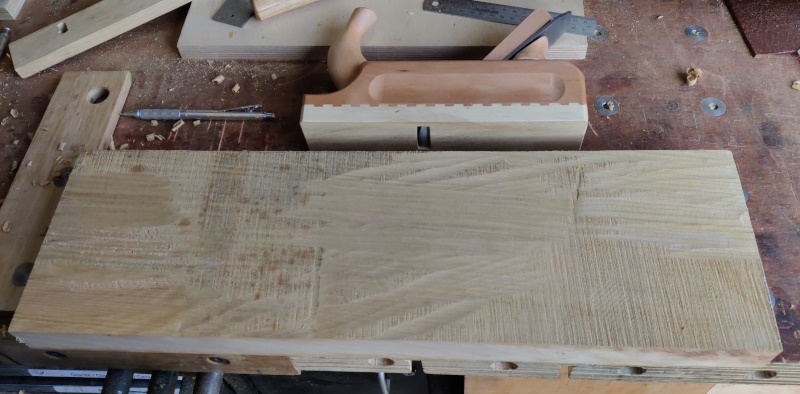
I started by attacking on side of the board with the scrub plane. I wasn't aiming for any particular amount of coverage or anything else, I just kept taking more off until, when flipped over, it would sit on the bench without rocking:
I could then use the scrub plane to get the other side flat enough that it looked good when sighted along the winding sticks:
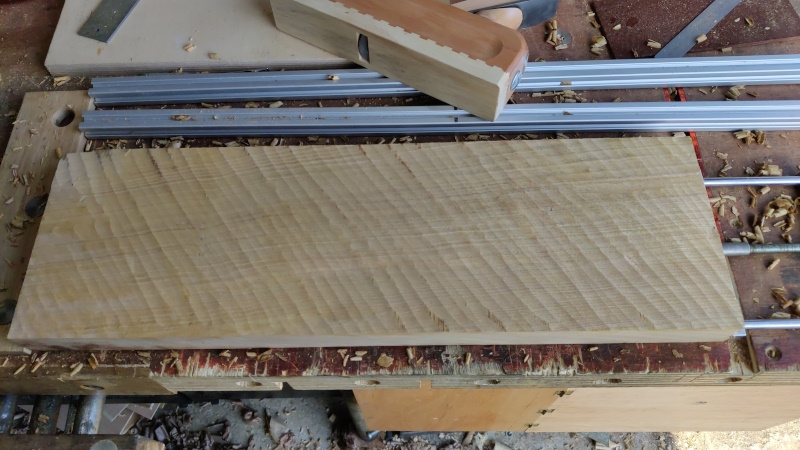
Once that was done, I gave the whole surface a once-over with the scrub plane in preparation for some more elegant work with the #5:
That's it for now; it was getting very hot in the workshop despite being only 10am and I decided it was time for a tea break.
Page 92 of 144
This website is free and ad-free, but costs me money to run. If you'd like to support this site, please consider making a small donation or sending me a message to let me know what you liked or found useful.

 Return to main project page


