Travel Tool Chest & Workbench Build Process
Page 91 of 144
Posted 2nd September 2023
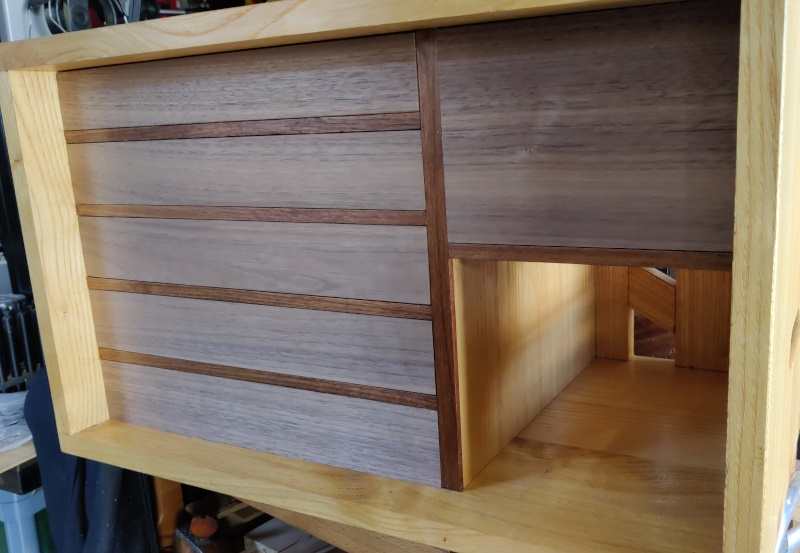
With all the drawers having their stops, it seemed like a good idea to do a few light passes with a smoothing plane on all the drawers and make sure everything lined up nicely:
I'm thinking I'll probably oil the drawers next and then think about handles afterwards (although if anyone thinks that's a stupid idea, please do say!) If I use wooden handles, they'll likely be set into pockets (maybe?) in the surface, so the oiled surface would be removed in that area. If I use leather then I guess it'll need a screw or something. Either way, I'd imagine that oiling it now won't be a disaster.
I'll ponder on it anyway and perhaps oil them tomorrow evening. I wouldn't be surprised if I have to tweak the fit after oiling (by planing a little more off the drawer sides and oiling them again) as I'm guessing that the wood will expand a little.
To continue the spirit of avoiding making any decisions until the last possible moment, I thought I'd move onto another big unknown: the shooting board. I don't really know what this is going to look like yet (or even which plane I'll use with it), but it's likely to be made out of sweet chestnut. All my previous shooting boards have been plywood, but I'm trying to make this chest as much as possible out of "real" wood, so I'd like the shooting-board to be the same if possible.
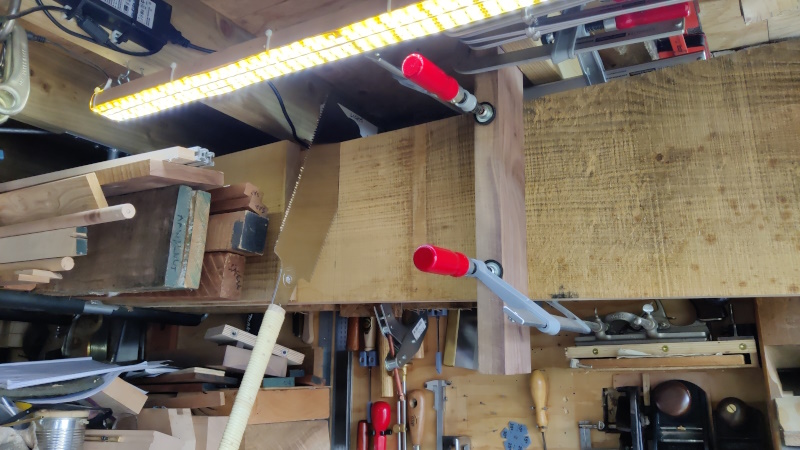
I've got quite a lot of chestnut stored on the ladder racks above my head in the workshop, so I picked one of them, slid it part way out and (with some clamps and a bit of walnut that was a convenient size attaching the hanging-out piece to a joist), attacked it with the big ryoba:
That might look like a slightly daft way to saw, but it's actually quite comfortable for someone of my height. Having the to-be-cut-off piece attached to the joists means everything's nice and stable and vibration-free as I cut and nothing moves at the end of the cut, which is always nice!
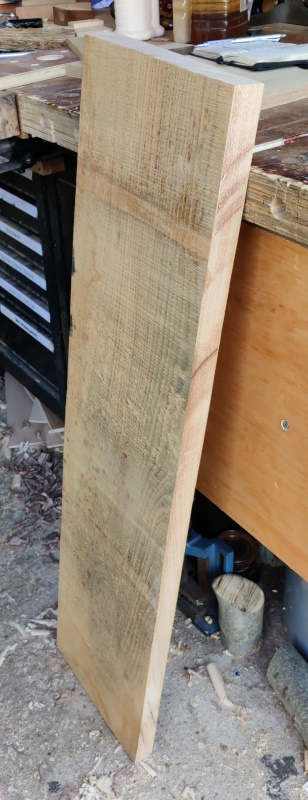
That gave me a length of chestnut to play with:
Now I need to decide what to do with it. It's probably not quite wide enough to form the chest front as a single piece (although if I were very careful, I might just get away with it). However, that piece I've cut off is twice as long as it needs to be and quite a lot wider. Therefore, one option is that I can cut a slice off it that's half the required width, cut it in two lengthways and then join the two pieces together to get the width I want.
Alternatively, I could cut it in half lengthways and then resaw one half into two pieces and unfold/bookmatch it.
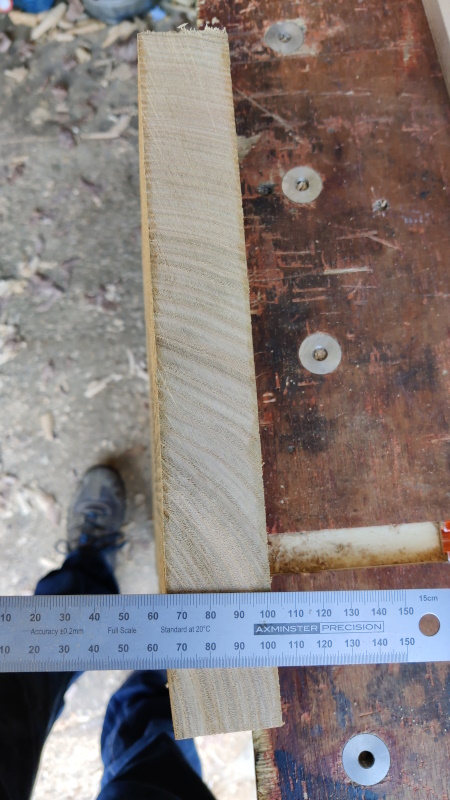
It's currently a little over 35 mm thick. The grain is perpendicular (effectively quartersawn?) in a lot of the width (probably most of the width once it's been trimmed down to half the height of the chest), so it should be nice and stable, which seems like a good feature for a shooting board.
My completely made-up-in-my-head idea of the shooting board was going to be based on a 20 mm thick base. There's obviously no way I'd get two 20 mm thick pieces out of that if I resaw it in half, but I expect I'd manage 15 mm and that might be enough.
It would probably help if I'd decided what the shooting board was going to look like.
Page 91 of 144
This website is free and ad-free, but costs me money to run. If you'd like to support this site, please consider making a small donation or sending me a message to let me know what you liked or found useful.

 Return to main project page


