Woodturning Lathe Build Process
Page 10 of 43
Posted 17th February 2024
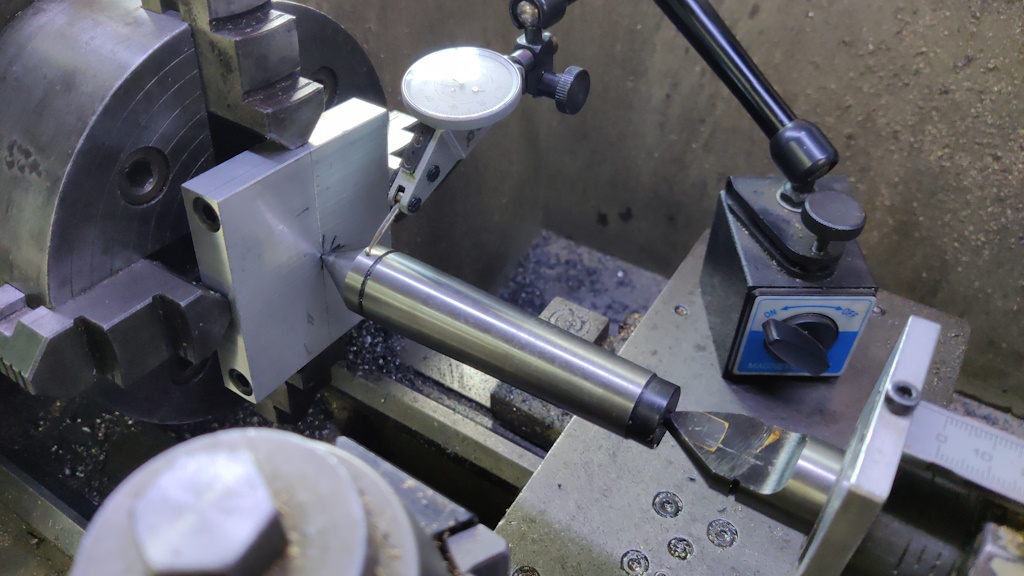
The first job of the morning was to fit one of the bearing retainers in the four-jaw chuck and clock it centred. It's not absolutely crucial that the bore is on the centre, but it may make assembly easier later if the centre of the hole is on the split line.
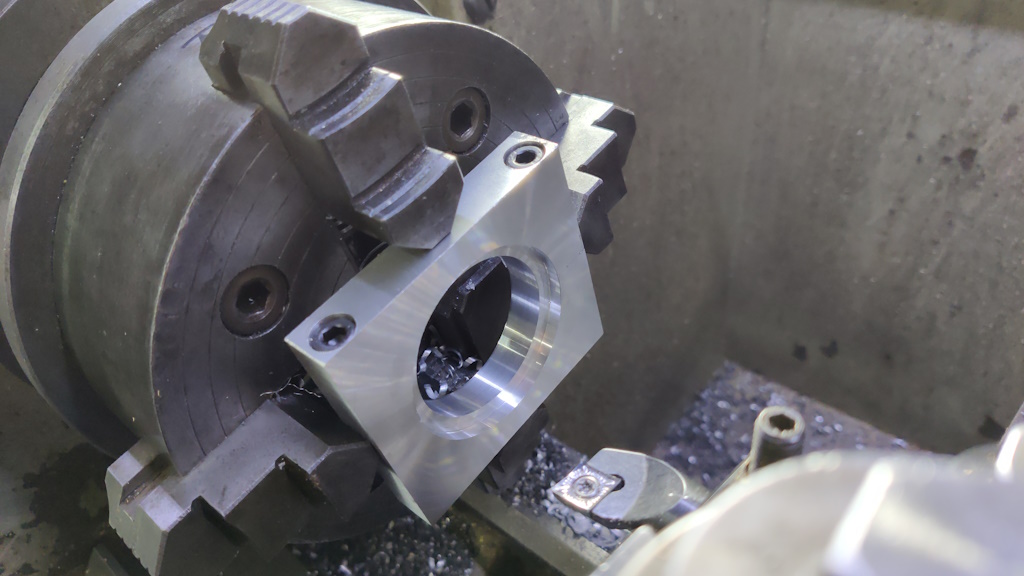
With that done, I skimmed the face (to make sure it ends up square with the axis of the bore) and then drilled and bored the through hole and the bearing seat:
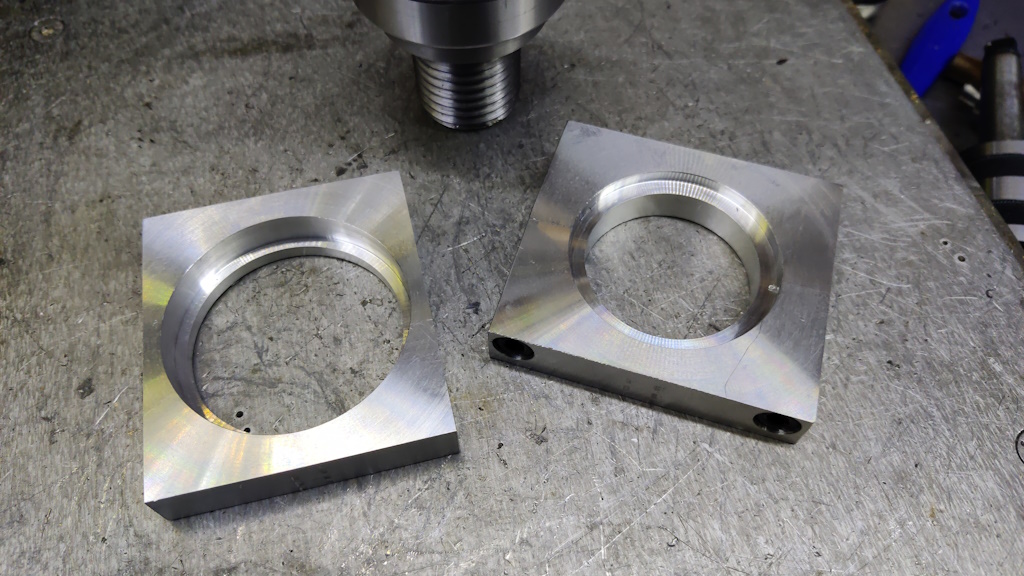
I did exactly the same on the other one:
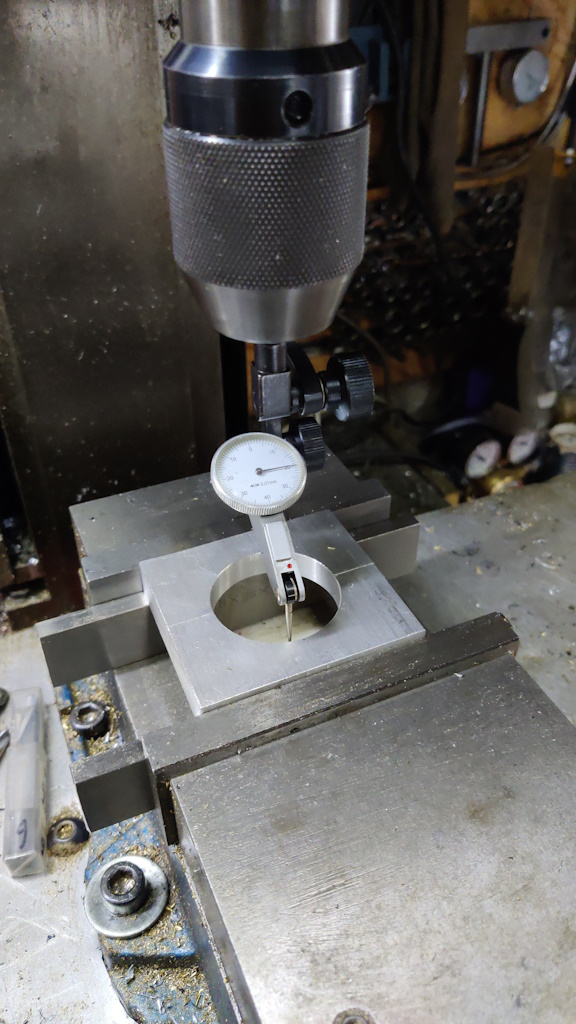
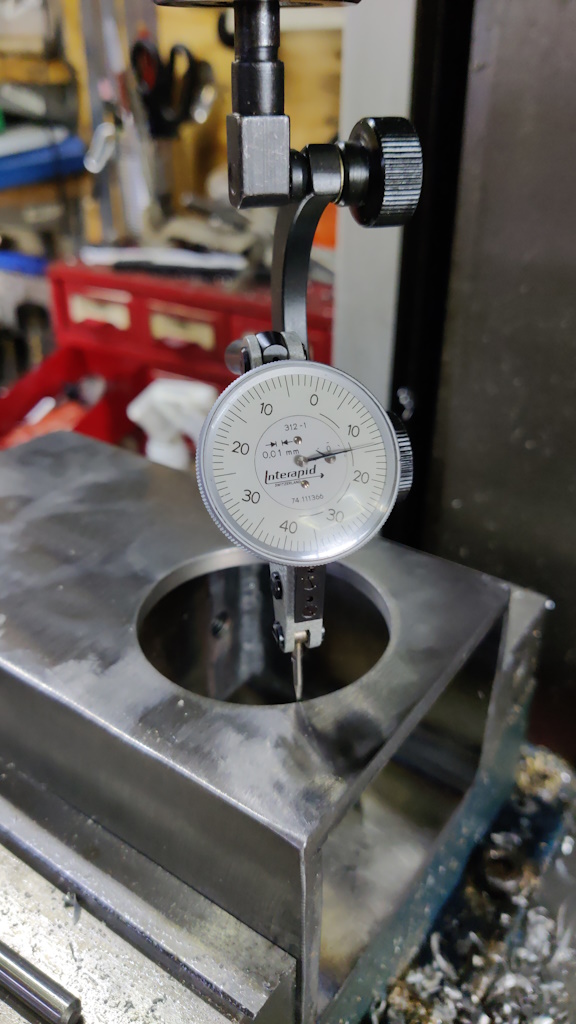
Each retainer was the mounted in the mill vice and the scales zeroed on the centre of the bore using a dial test indicator:
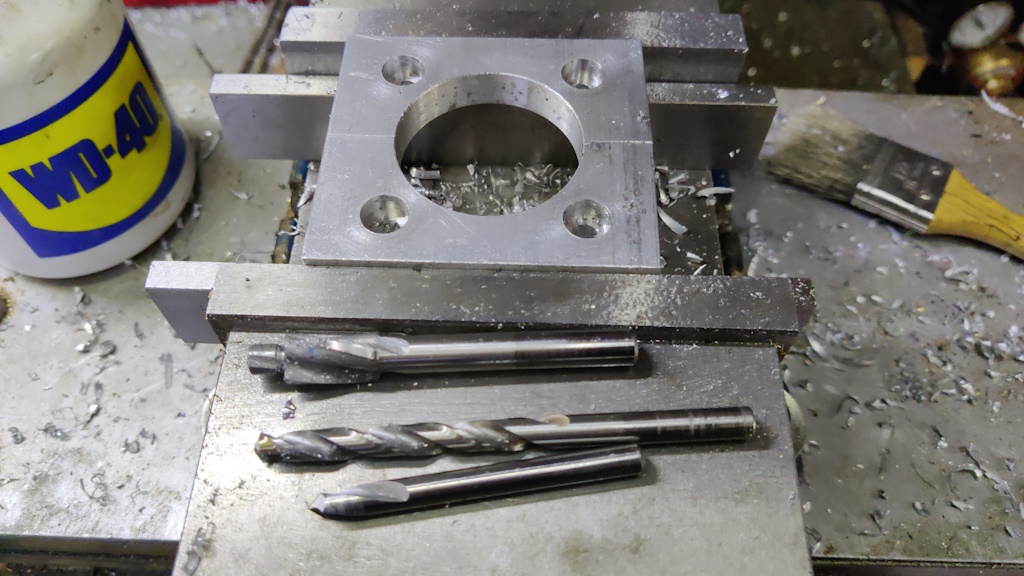
The mounting holes were then spot drilled, drilled and counterbored:
By this point, it was late enough that I felt I wouldn't upset anyone too much by making noise, so the angry grinder and flap disc were used to clean up yesterday's welds:
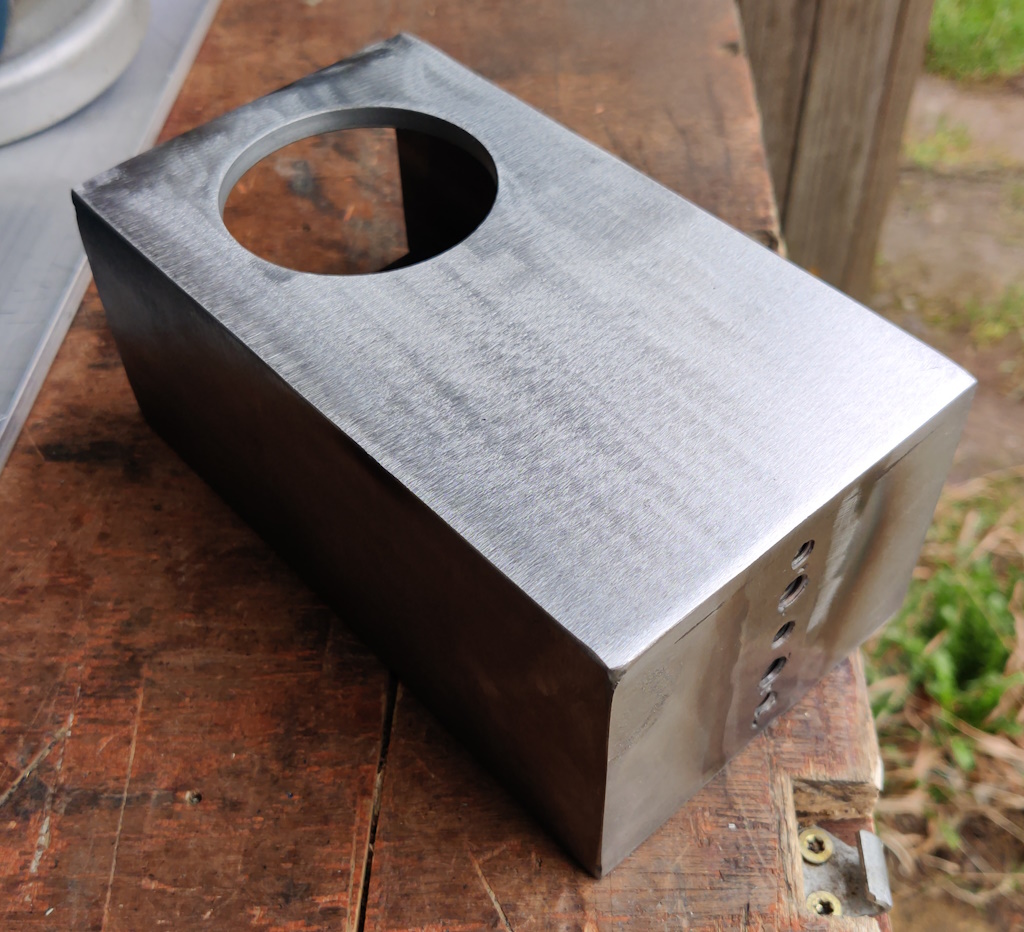
I could then mount the headstock in the mill vice and zero the scales on the centre of the bore as before:
Holes to match the bearing retainers were spot drilled, drilled and tapped M6:
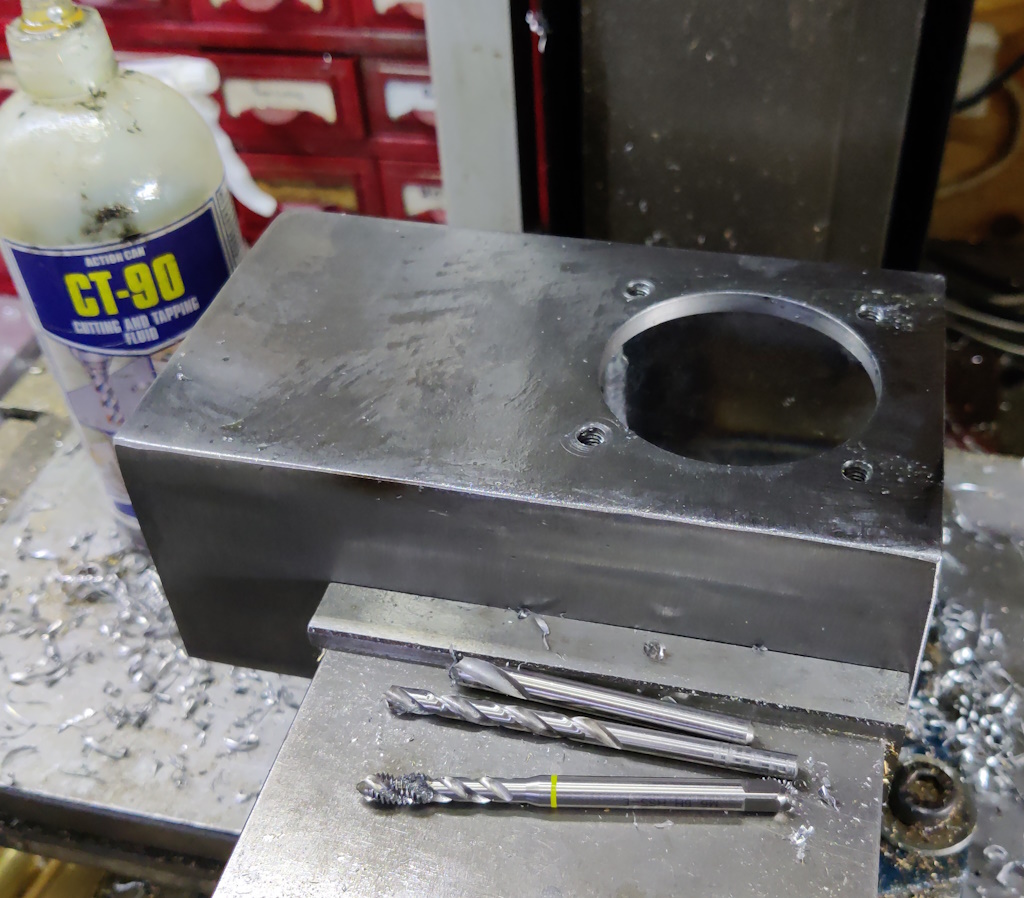
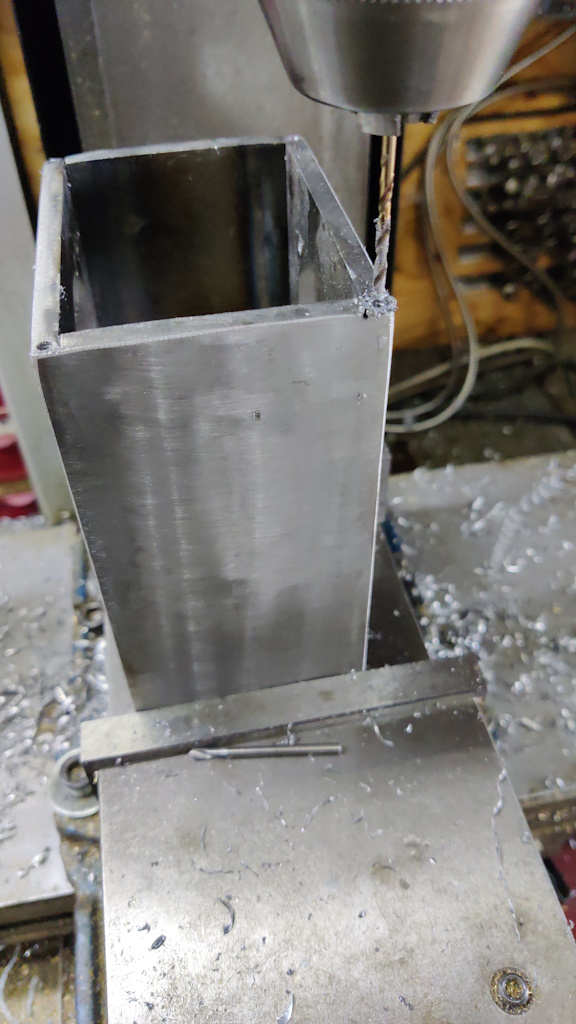
The final job on the headstock body was to add some small tapped holes to the top for a lid of some sort (to stop sawdust getting into the headstock). With the milling machine's head raised as far as it would go, there was just enough room to get a spot drill and a 2.5 mm drill bit in to drill these holes:
If space had been a real issue, I could have mounted the headstock to an angle plate (or directly on the bed) as before, but this was a bit easier.
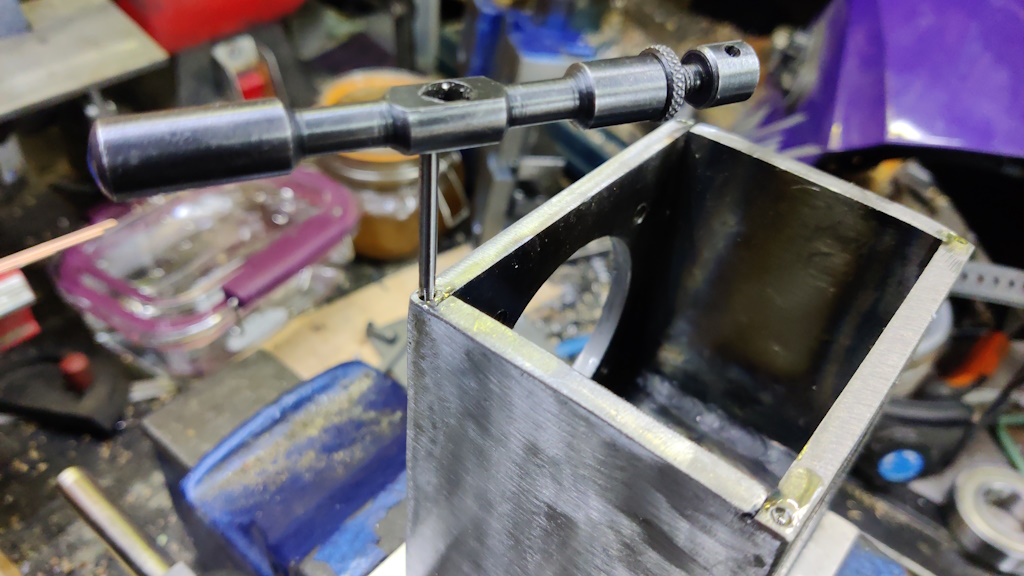
I didn't fancy machine tapping M3 and there wasn't room for a spring centre, so I took the headstock out of the mill vice and gingerly tapped the holes:
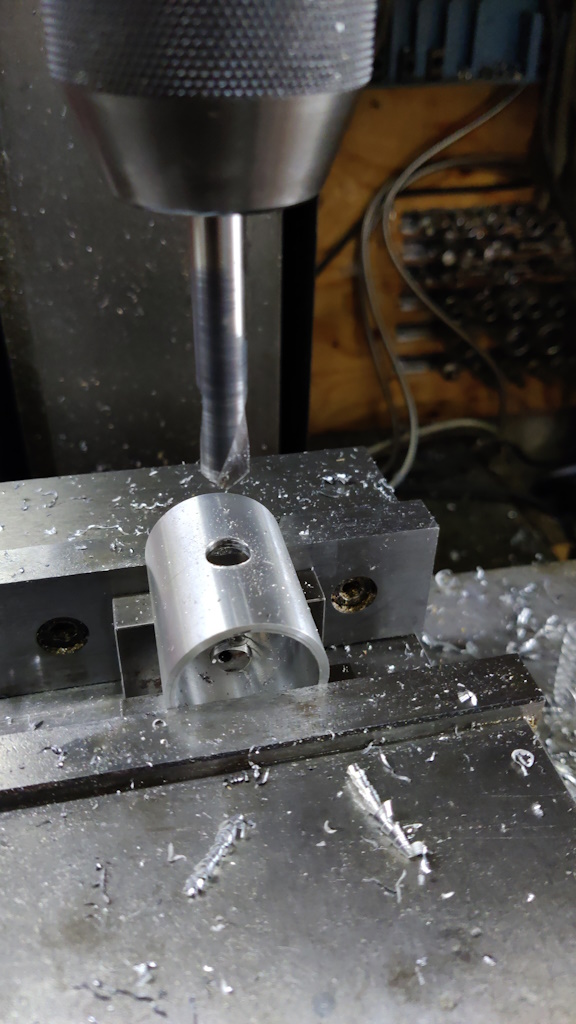
To add the hole for the tommy bar (for tightening a chuck or the rear nuts), I dismantled the spindle with a bearing puller and put the sleeve on a couple of small v-blocks in the mill vice. I could then drill a through hole 10 mm:
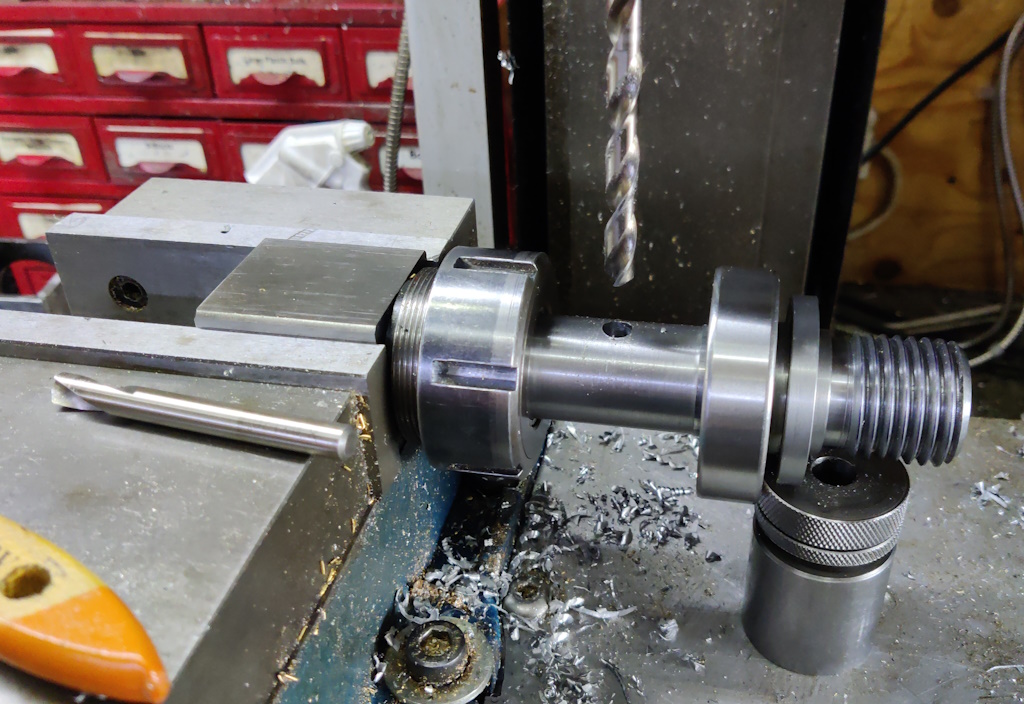
A collet block was used to hold the rest of the spindle for drilling the 8 mm hole for a tommy bar:
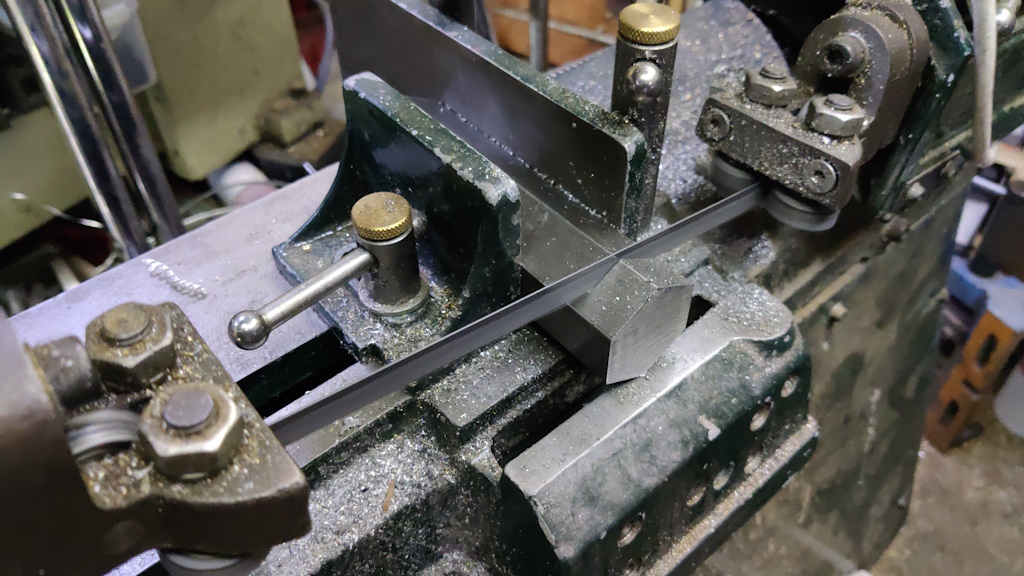
The next job was to get on with making nuts. I've got two to make, one with an M30×1.5 mm thread (for retaining the bearing) and one with an M20×1.5 mm thread for retaining the pulley. I've got a bit of big hex steel bar, so I used the horizontal bandsaw to chop off a couple of slices:
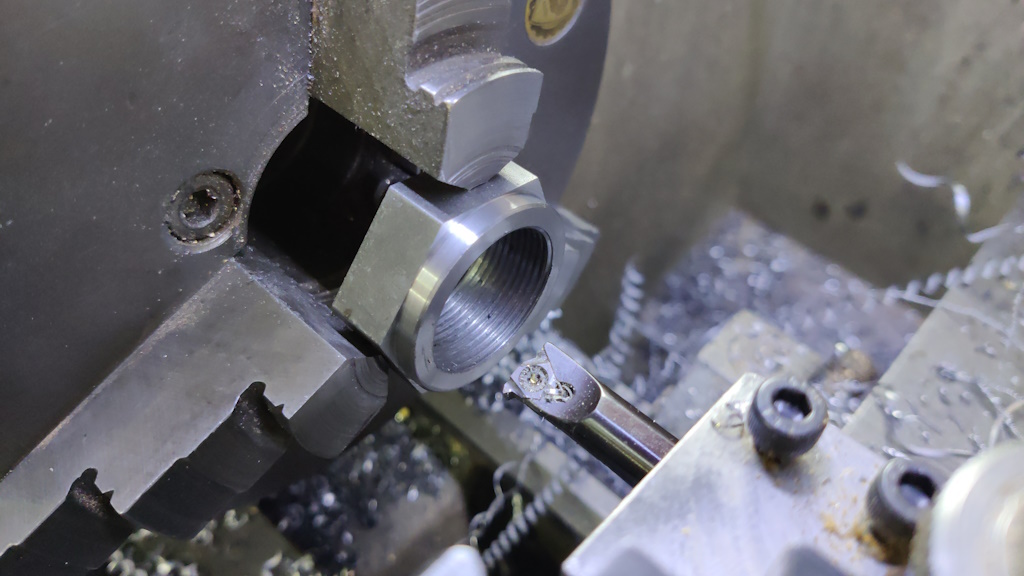
It could then be held in the three-jaw chuck and faced. It was then reversed in the chuck and faced again before turning a reduced diameter section (to push against the inner race of the bearing) and then drilling, boring and single-point threading:
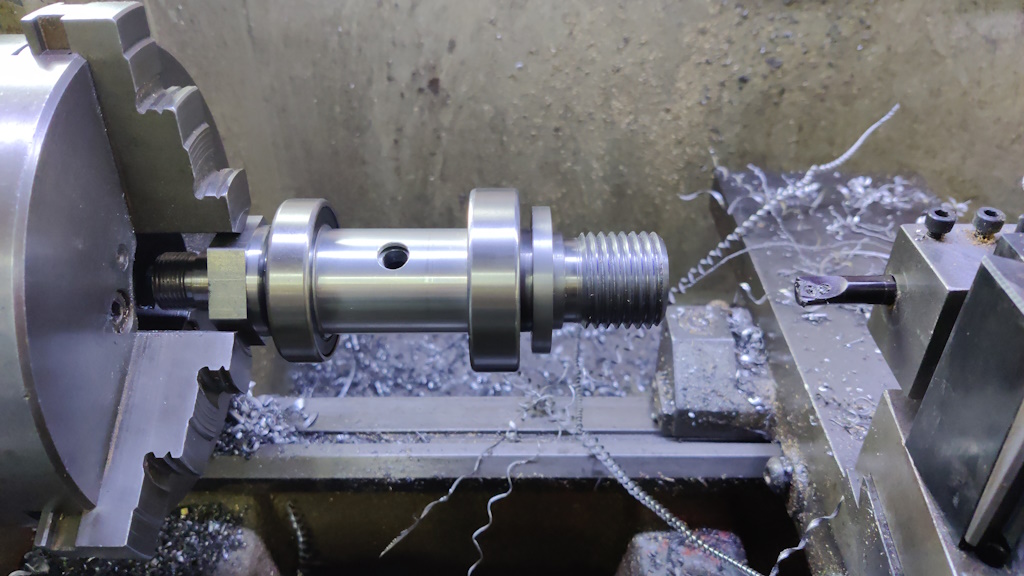
Before removing it from the lathe, the fit was tested with the spindle:
With that, everything on the headstock is essentially finished (apart from the lid, which is trivial, and the pulley, which needs a bit more thought yet). After assembling it the first time, I realised that my little ratcheting screwdriver bit holder thing has a lot more backlash than I thought and that made it quite hard to do up the lower screws on the bearing retainers while the spindle was in. In particular, it was going to make adjusting the bearing pre-load quite hard.
On a positive note, that method of assembly had ensured that the bearing retainers were perfectly aligned with the bores in the headstock. While everything was seated correctly (and the top screws were tightened down hard), I pulled the spindle out (leaving the rear bearing in the headstock). I could then tighten all the bearing retainer screws firmly against the headstock.
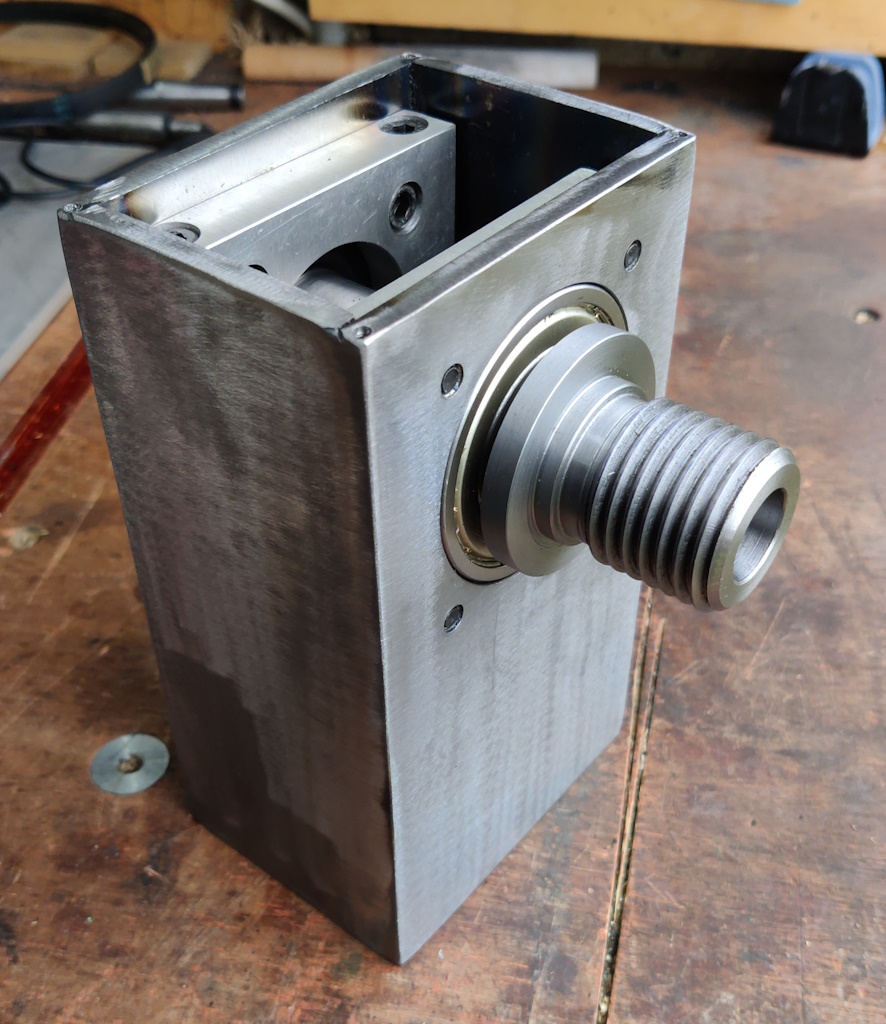
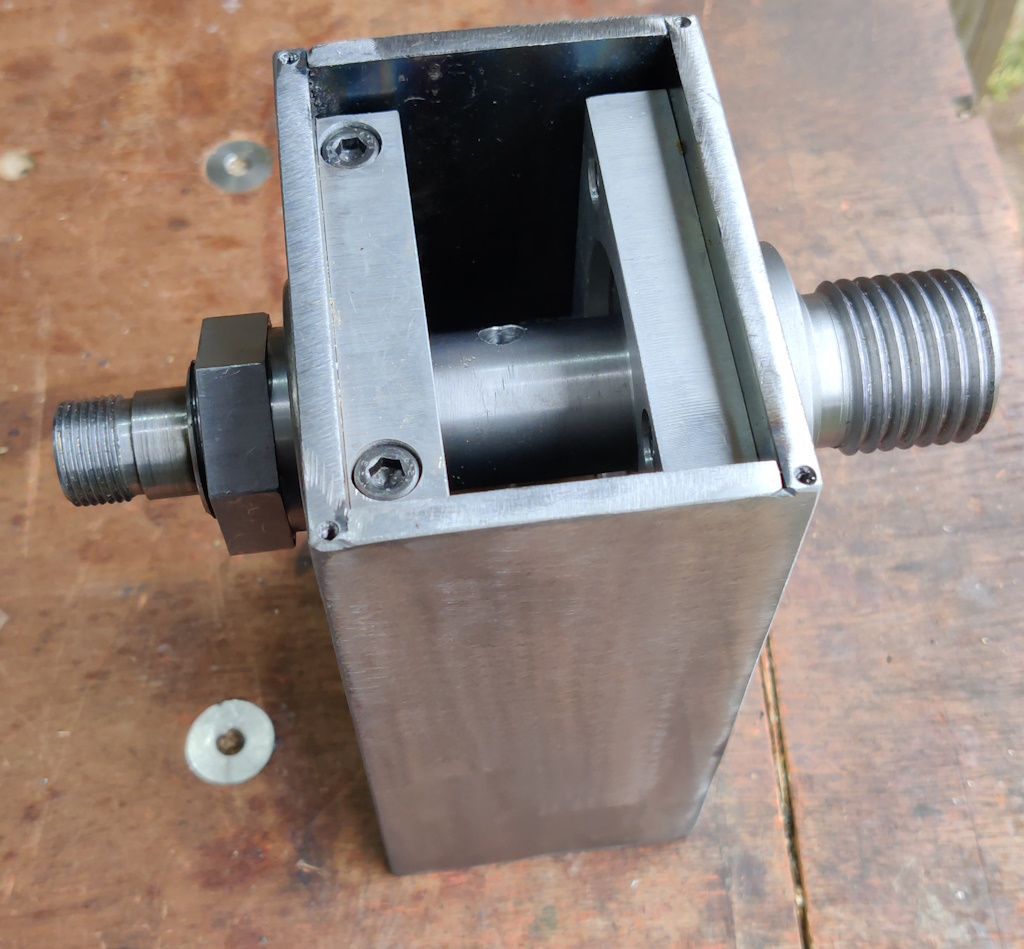
Having the bearing retainers held firmly against the headstock means that there's no way to use them to adjust the bearings. The simple solution to that was to remove the aluminium spacer before refitting the spindle. With that done, the nut that I made from hex bar sets the pre-load (depending on how far the bearing is pulled onto the shaft). I might make the nut a bit thinner and add a second one so I can lock them together and prevent movement, but for now it was good enough to call the headstock done:
Page 10 of 43
This website is free and ad-free, but costs me money to run. If you'd like to support this site, please consider making a small donation or sending me a message to let me know what you liked or found useful.

 Return to main project page