Woodturning Lathe Build Process
Page 9 of 43
Posted 16th February 2024
I decided that the next area to focus on was finishing the headstock. That needs the headstock itself to be finished but also the bearing retention pieces and the nut that will make sure the bearings can't come off the spindle.
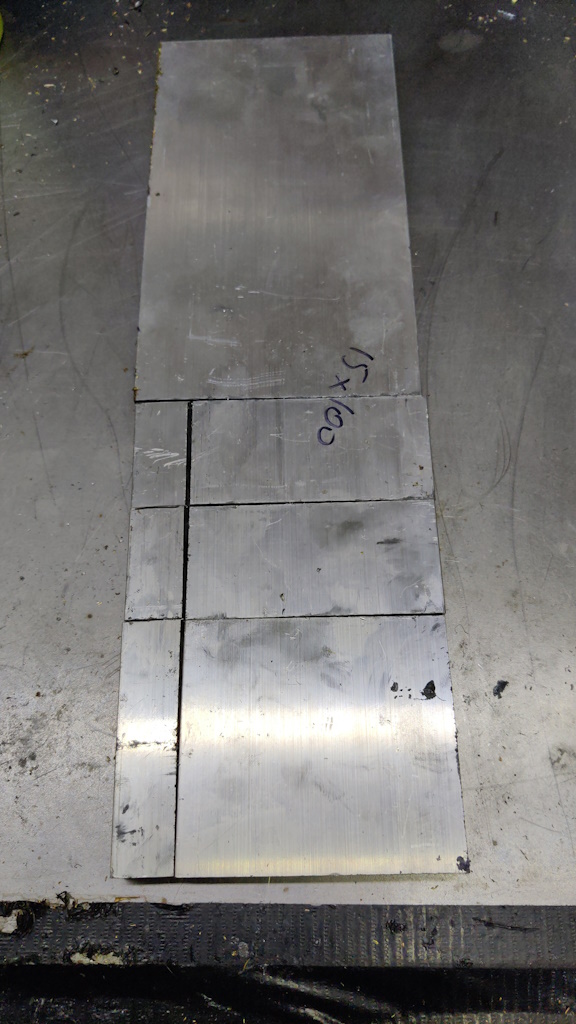
I started on the bearing retention pieces. I used the horizontal bandsaw to chop up a bit of 15 mm thick aluminium plate.
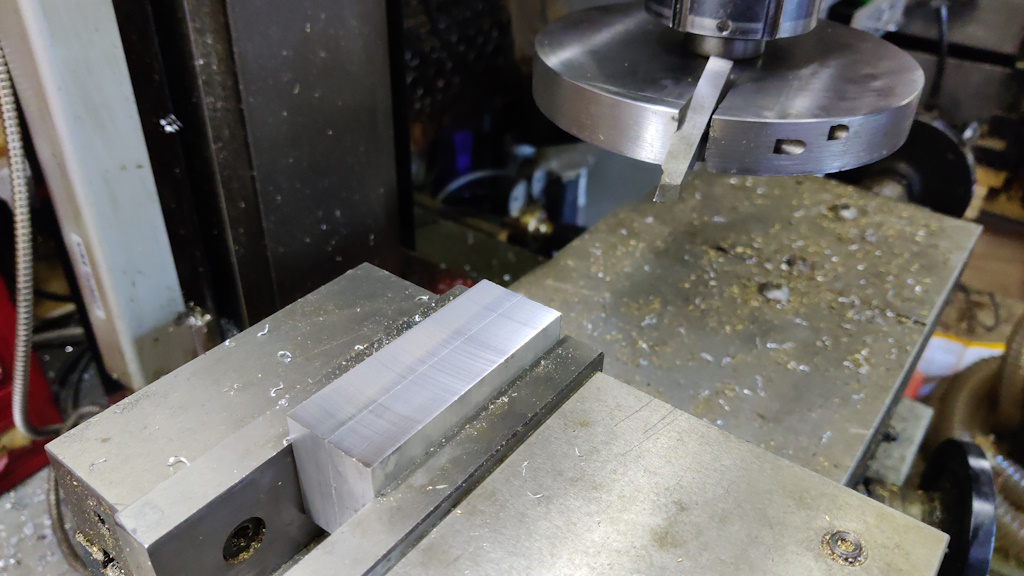
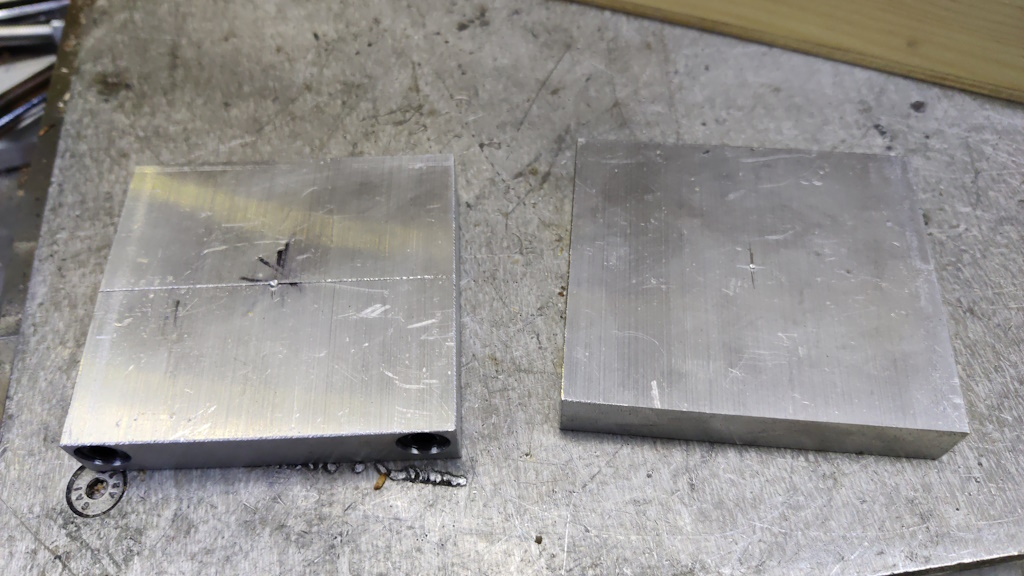
I took the smallest two pieces (not counting the offcuts!) and used my fly-wheel fly cutter to skim the surface:
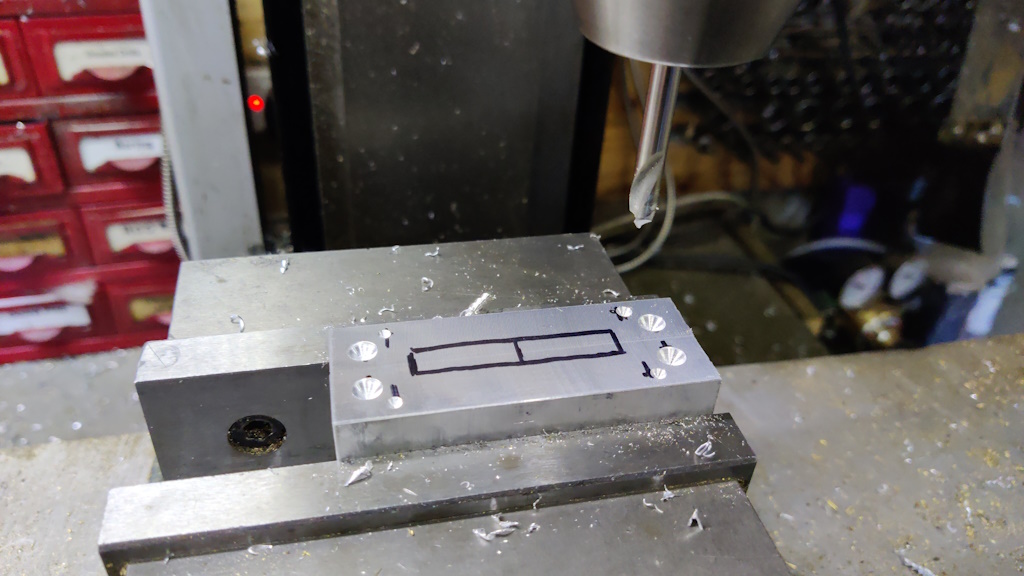
Four holes were started with a spot drill:
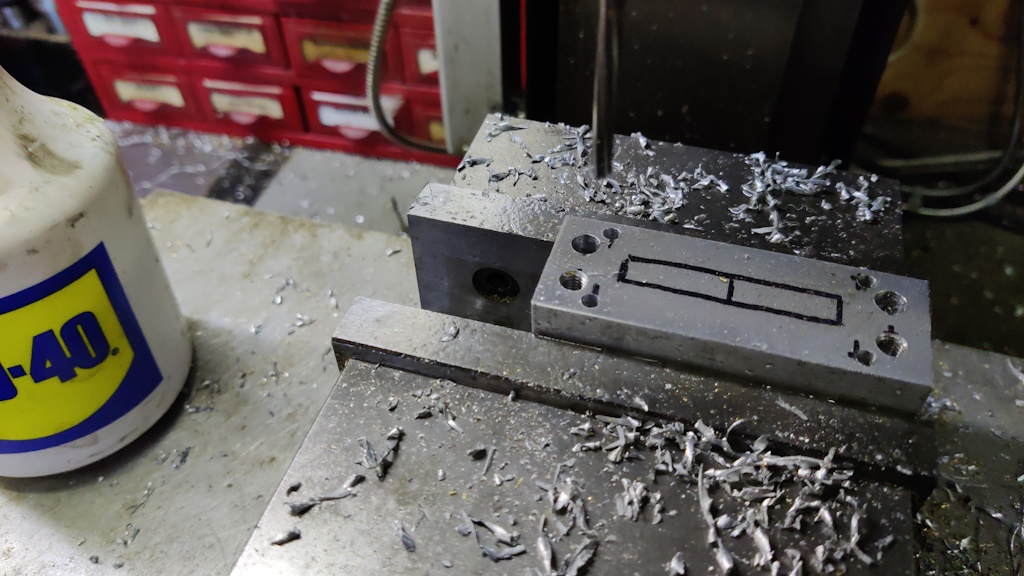
Then drilled out. Two were reamed 4 mm (for some dowel pins for consistent alignment), two were tapped M6 and two were drilled out 6.5 mm:
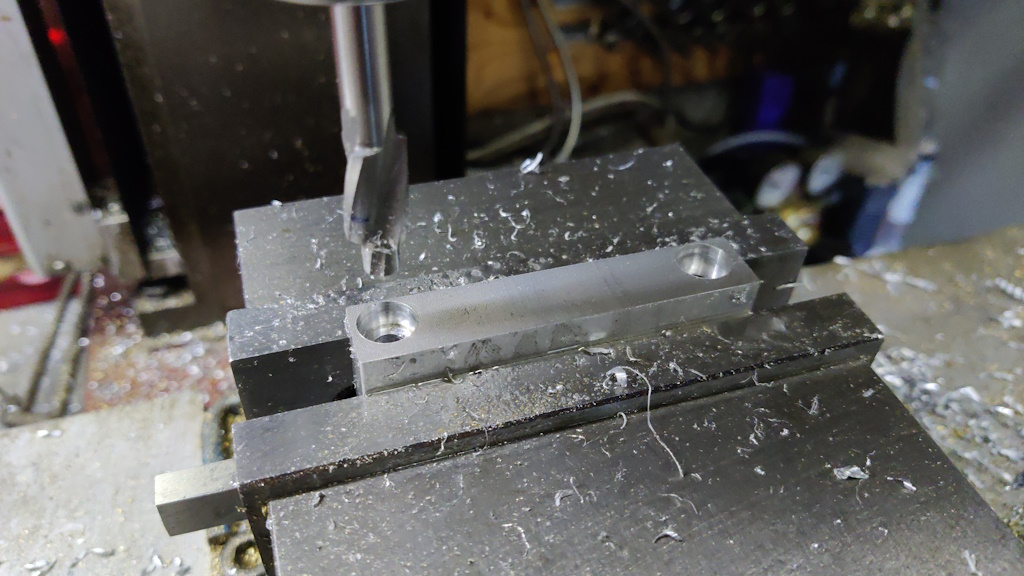
I then flipped the piece with the two 6.5 mm holes over, fly cut the surface and counterbored for an M6 cap screw:
I could then join the two halves together and fly cut the remaining surfaces.
With that done (and the other piece prepared by simple fly cutting three faces), the bearing retention pieces are ready to be bored:
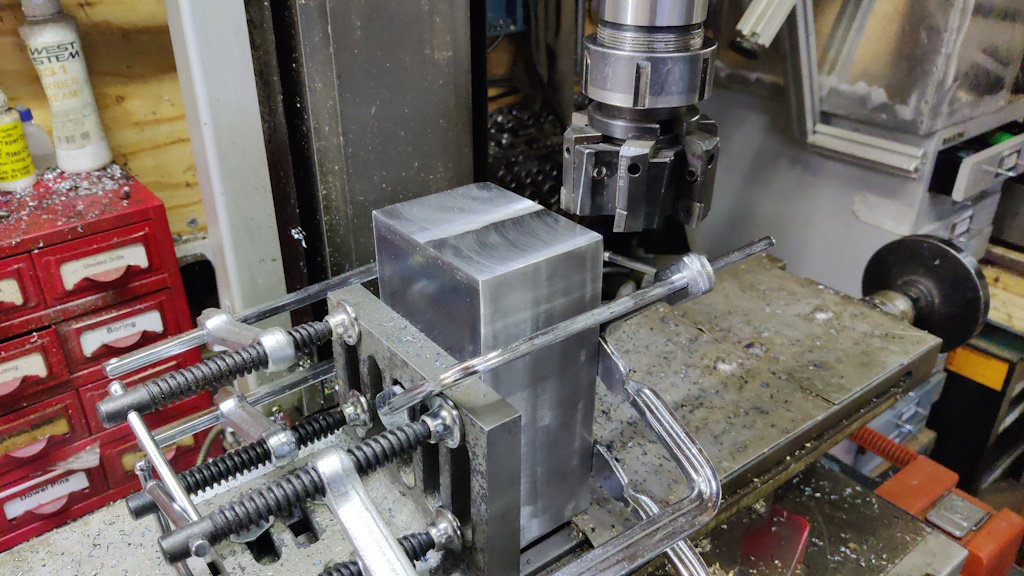
While I was set up for using the milling machine (i.e. the big bandsaw was wheeled out of the way), I carefully mounted an angle plate to the milling table and clocked it square to the axis. I could then mount the headstock to the angle plate using lots of F-clamps:
As the headstock is mounted on the same reference face that was used (on the lathe) when boring the holes for the bearings, I could face mill the bottom of the headstock (taking very, very light cuts as it's all my milling machine could cope with!) and be reasonably confident that it would be parallel to the spindle axis:
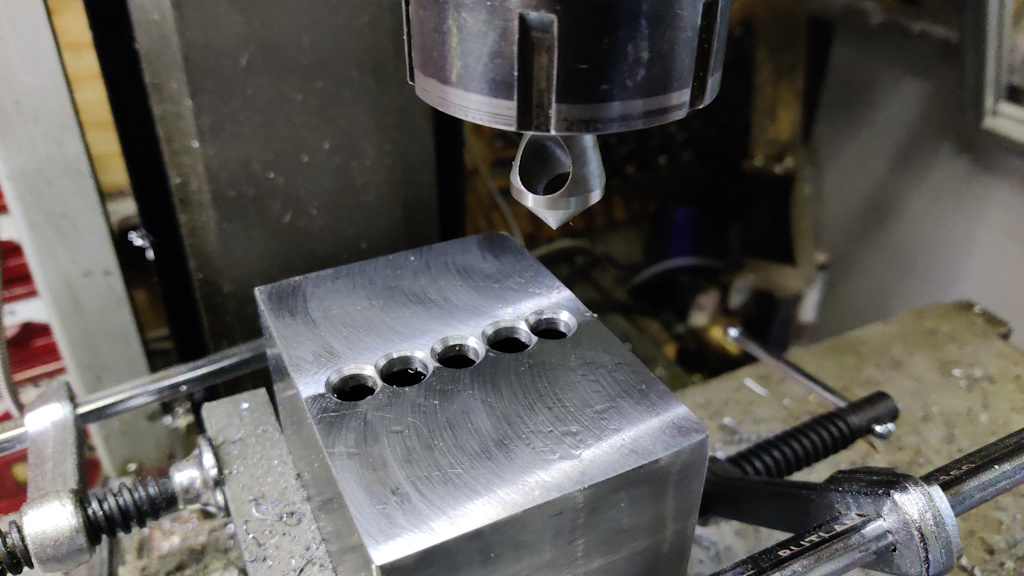
I then drilled and countersunk a series of holes along the middle of the base of the headstock. Again I can be reasonably confident that these are in line with the spindle axis (although it's less critical):
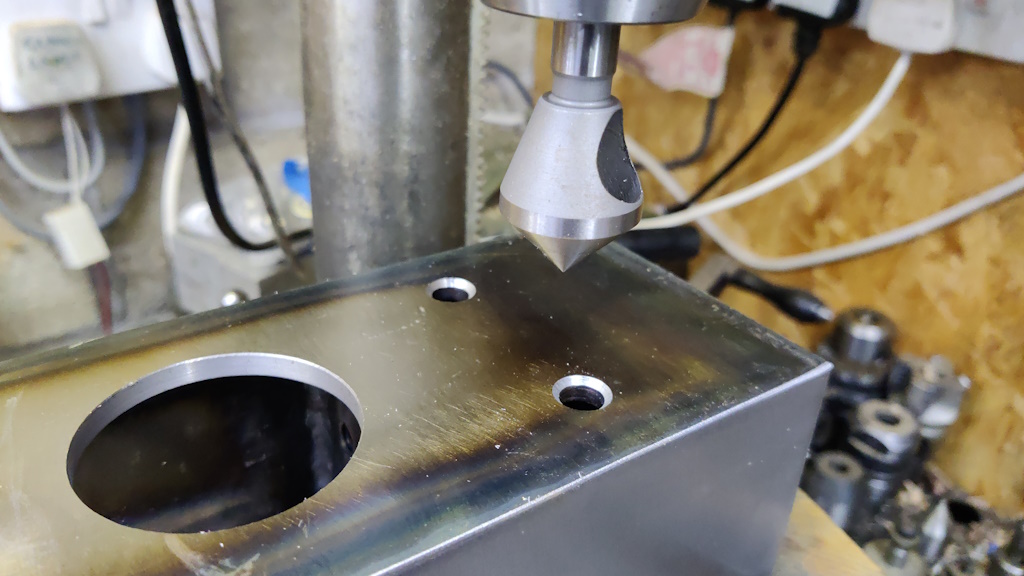
While I had the countersink bit out, I used the pillar drill to countersunk the holes that I'd used for mounting the headstock on the lathe faceplate:
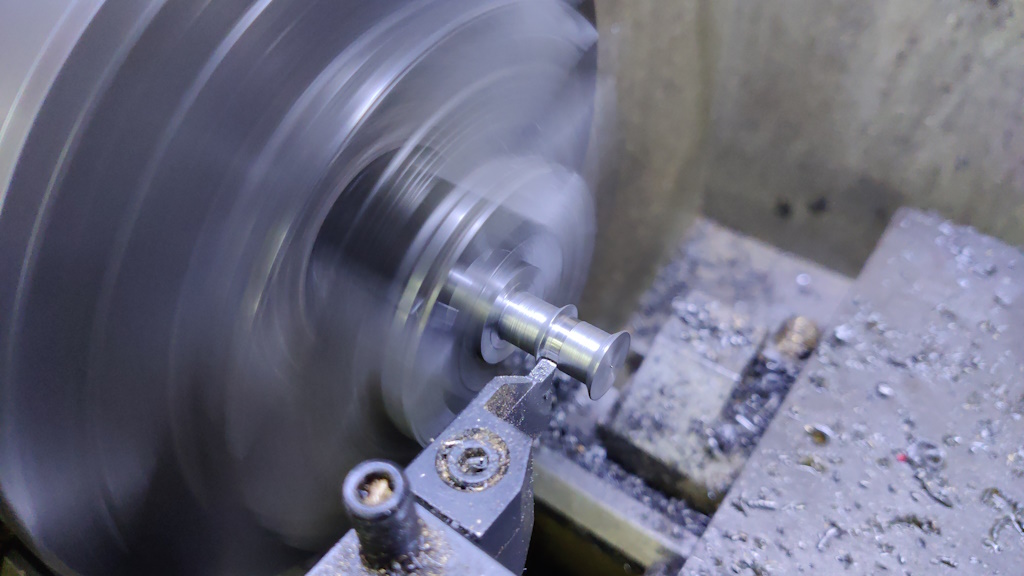
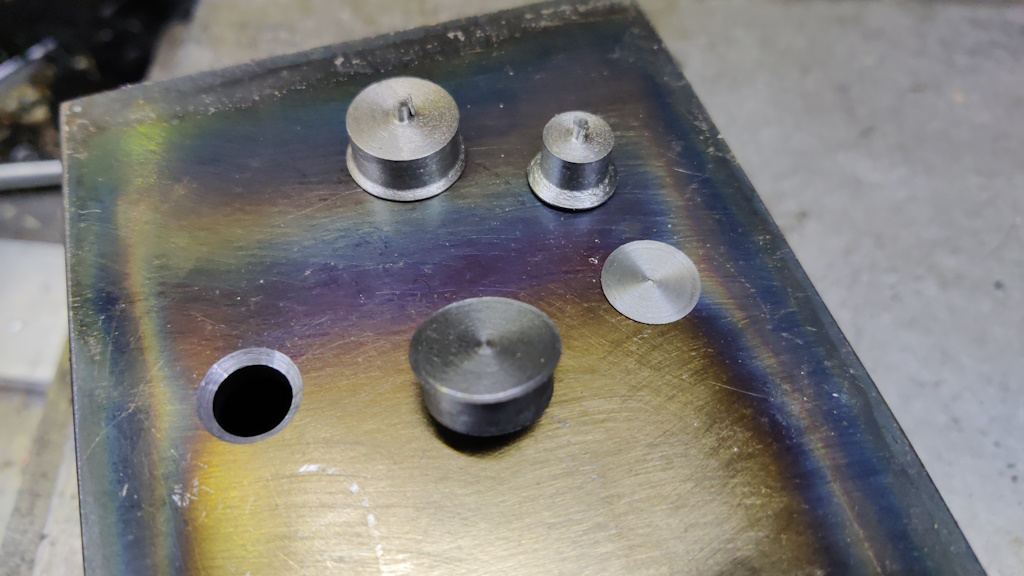
I had a little offcut of EN8 steel, so I used the lathe to turn it into some little filler pieces:
The four plugs I made drop into the (ex-) mounting holes in the headstock...
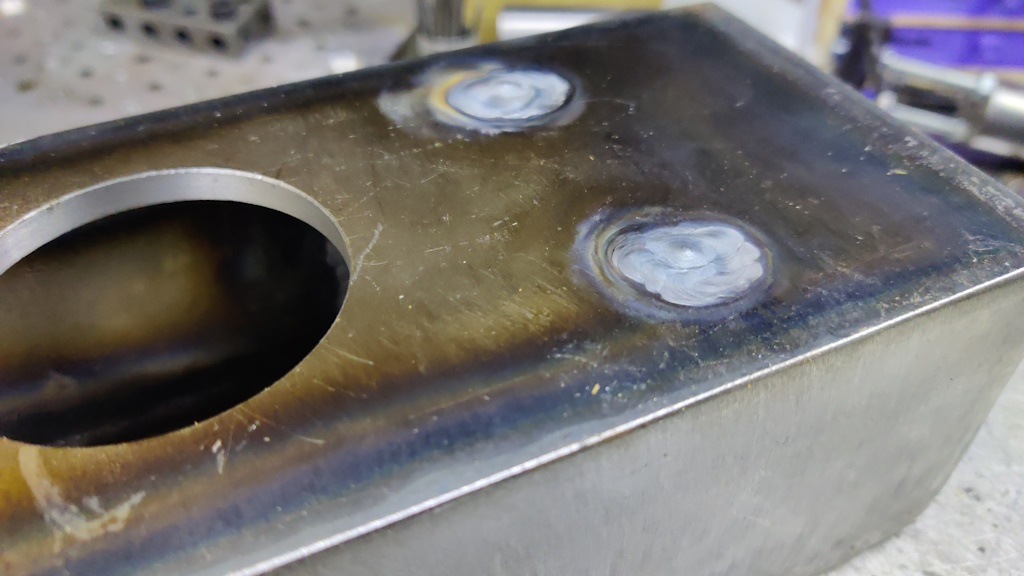
... and a little bit of attention with the TIG welder means the holes are gone:
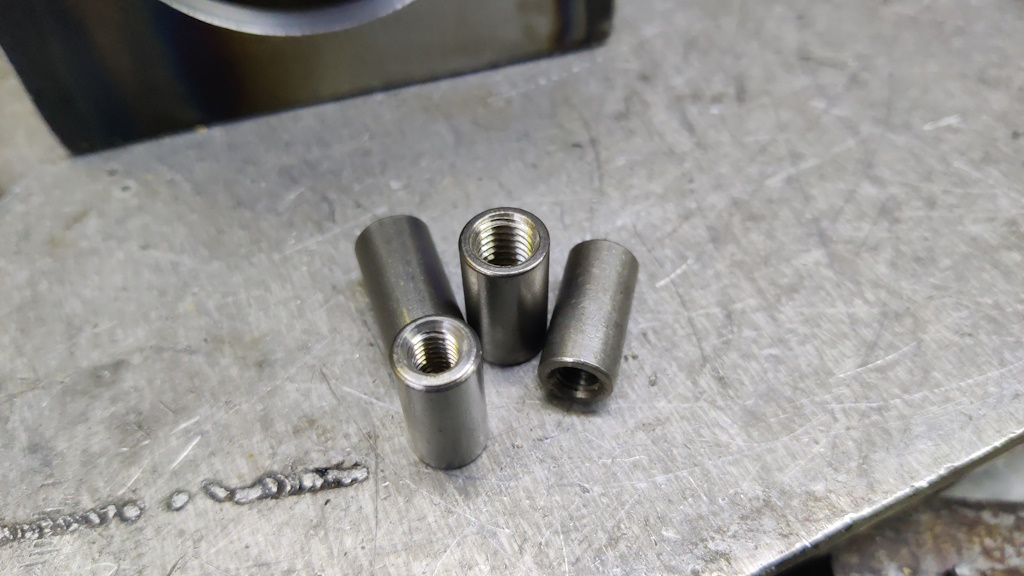
I then rummaged in my drawers for some of these so-called "cylindrical coupling nuts", which are an easy way of getting a decent length (20 mm) thread in a relatively thin (6 mm in this case) bit of plate:
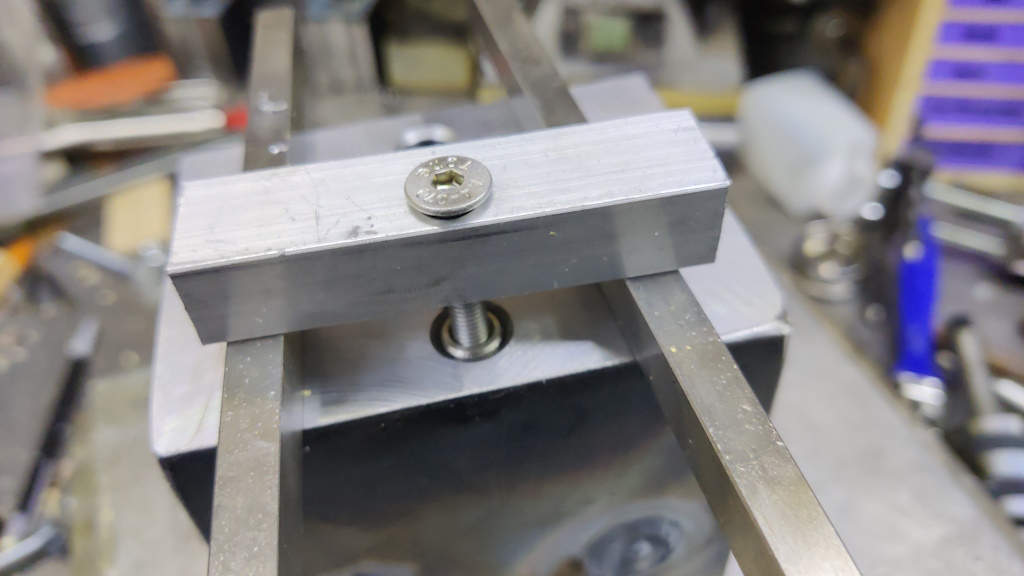
A very simple jig (basically a hole in an offcut of aluminium) holds them at the right place for tacking:
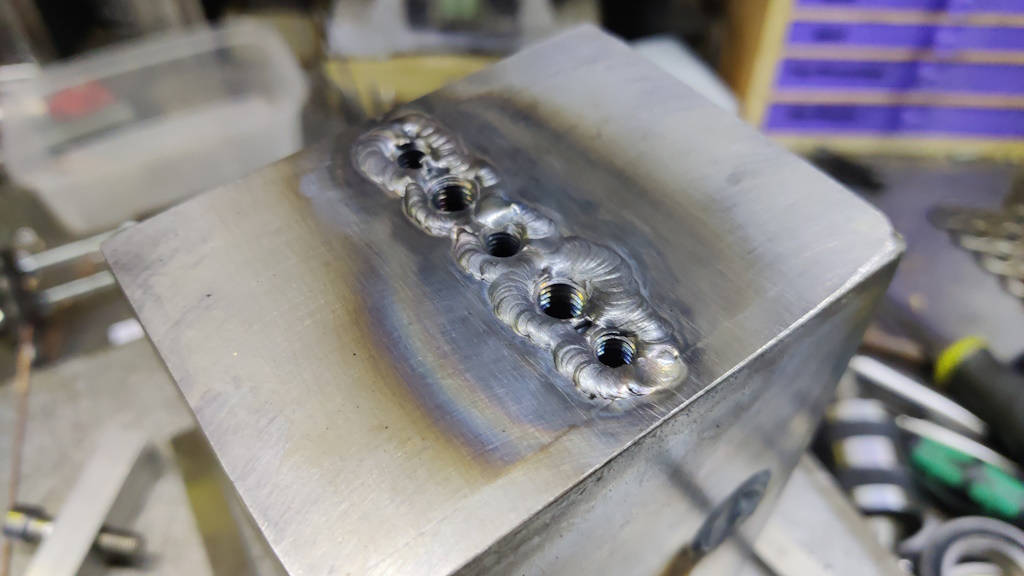
They can then be fully welded:
Once it has had time to cool down (in practice this will be tomorrow now), I'll clean up all the weld beads with a flap disc in the angle grinder and (if necessary) run a tap into those coupling nuts to repair any damage done by the weld.
Three of the holes (which are M6) will be used for alignment pieces (to keep the spindle axis aligned with the bed); the other two (which are M8) will be used to hold the headstock down to the bed.
Page 9 of 43
This website is free and ad-free, but costs me money to run. If you'd like to support this site, please consider making a small donation or sending me a message to let me know what you liked or found useful.

 Return to main project page